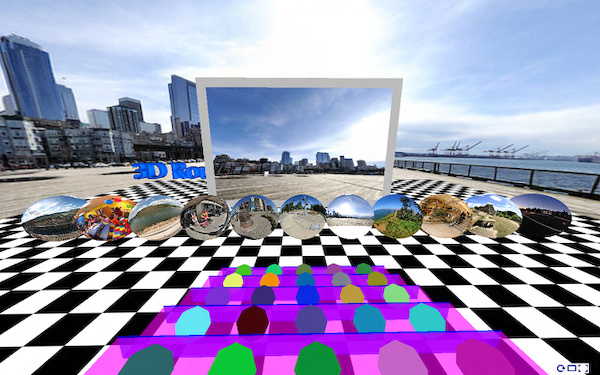
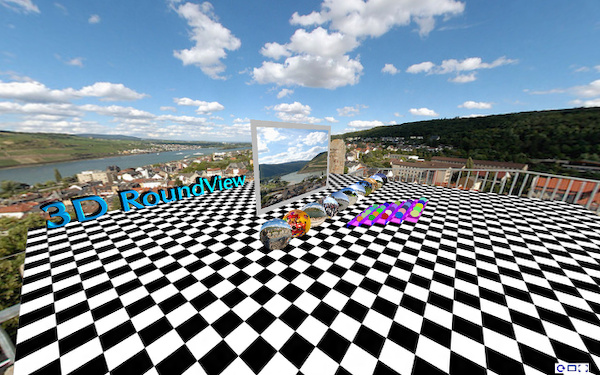
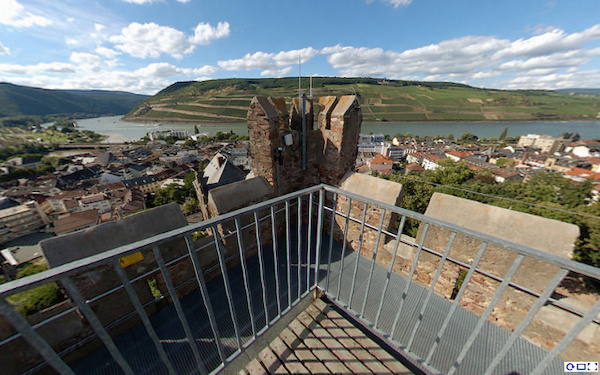
cPicture Photo Blog

3D RoundView

3D RoundView is a panoramic viewer for a modern Browser.

Click and drag to move the view, click inside the screen to drag the current selection or click one of the preview spheres to change the current view for the 25 cats on the bleachers. Double click for the single view.

To get started:

Add the following scripts

<script type="text/javascript" src="http://thecloudsite.net/3DRoundView/js/three.min.js"></script>
<script type="text/javascript" src="http://thecloudsite.net/3DRoundView/js/KeyboardState.js"></script>
<script type="text/javascript" src="http://thecloudsite.net/3DRoundView/js/CSS3DRenderer.js"></script>
<script type="text/javascript" src="http://thecloudsite.net/3DRoundView/js/font.js"></script>

Add the panorama div tag that will contain the panorama:

<div id="panorama">
    <div id="reset">
        <img alt="Reset" title="Reset (R)" src="http://thecloudsite.net/3DRoundView/img/reset.png" /></div>
    <div id="vollbild">
        <img alt="Fullscreen" title="Fullscreen" src="http://thecloudsite.net/3DRoundView/img/vollbild.png" /></div>
    <div id="singleView">
        <img alt="Single View" title="Single View (S)" src="http://thecloudsite.net/3DRoundView/img/singleView.png" /></div>
</div>

Set the panorama list:

<script type="text/javascript">
    var panoramaFiles = ['myPanorama1.jpg',
                         'myPanorama2.jpg'];

    var floorTextureImg = 'floorTexture.jpg';
    var movieScreenClr = 0xbbbbbb;
</script>

followed by the 3D-RoundView script

<script type="text/javascript" src="http://thecloudsite.net/3DRoundView/js/3dRoundView.js"></script>

For a more simplified step:

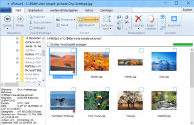
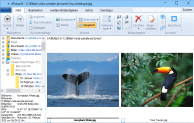
Download cPicture for your language, select your panorama pictures and use the function to create a panorama website. This will add all the project files to a selected folder which can be copied to your webserver to publish the panorama.
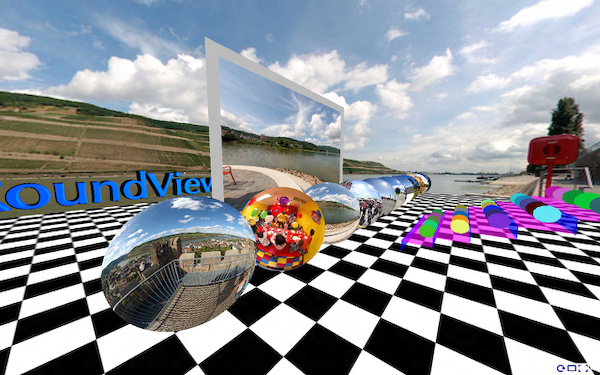
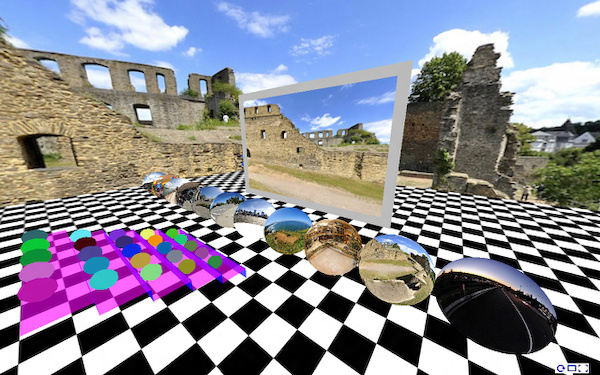
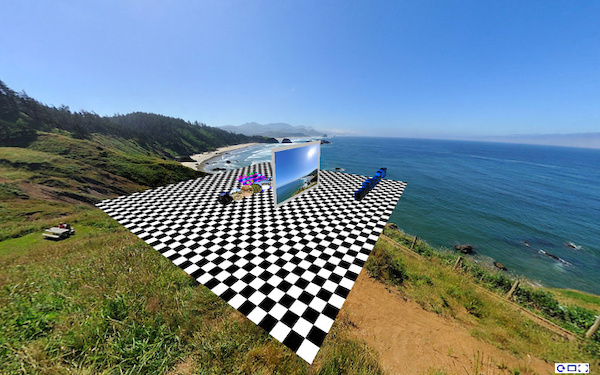
Examples:

cPicture 3.5.3

cPicture is updated to version 3.5.3

  • added function to create panorama websites using 3D-RoundView

  • added option to resize with or without fixed aspect ratio

cPicture is a portable App with no installation required.

Download the .ZIP file, (click here for the 64bit version) open the ZIP file and copy the cPicture.exe anywhere on your computer to run the app or use the 'Check for updates' button in the 'Other' category.

For convenience use the Microsoft Installer to create a program folder and copy the app:
Download German 32bit Installer MSI      Download English 32bit Installer MSI
Download German 64bit Installer MSI      Download English 64bit Installer MSI

See the Download Instructions for more details.

For questions, please mail to: cpicture

Perfectly Square

How to make a rectangular object perfectly square using the panotools:

The frame is straight, but somehow the photo looks distorted.


The camera (film/sensor) was not exactly parallel to the object during the exposure and resulted in a slightly skewed frame along with some distortions (bowed lines) caused by the lens:


This can easily be fixed with the panotools: start with vertical and horizontal control points. For this I'm using the PTGui software. Note: by default t1 points (vertical line) are selected. Change horizontal control points to the t2 type.


It is important to align vertical and horizontal control points not only at the corner points but also in the middle of the sides. Any camera lens has a distortion and lines are not straight. Using the middle points will fix those bows too.


Make sure the lens type is rectilinear:


And the projection is set to rectilinear:


Select Raw, Pitch and Roll and run the first optimization. It is important not to select all variables at once: optimization is finding a low spot in a multidimensional field and optimizing for Raw, Pitch and Roll first you make sure not to optimize on a local spot in a wrong location.


The first result looks good and corners are aligned correctly. Now we fix the bowed lines.


Add the Field of View, b and vert/horz shift. Do not use a, b and c altogether. Just the b parameter is perfectly suited for the non-wavy camera lens distortions. The optimizer can now calculate the exact parameter values:


The object is now straitened:


The panotools take all the calculated parameters and create the final output image:


Perfectly square:

This is what you get in the upgraded version

  • Display mode 'Detail'
     

  • Display mode 'Overview'
     

  • Display mode 'Compare'


  • Picture format conversion
  • Picture quality enhancement
  • Red-Eye removal
  • Lossless panorama splitting
  • Function plugins
  • Picture index pages
  • Internet picture pages
  • 3D picture creation
  • Check duplicate pictures
  • Check similiar pictures
  • Check and search for broken pictures


  • Save thumbnail picture
  • Recreate thumbnail picture
  • Save color profile
  • Exif-Audio support
  • Import/Export of picture data (Exif)
  • Create picture lists in Text and XML
  • Read picture from Scanner
  • Tethered camera
  • Copy from clipboard


  • Fast picture folder search
  • Picture folder diff
  • External display on 2nd monitor
  • Jpeg repair function
Neuere Posts → Home ← Ältere Posts