Final Drive Rebuilt for CJ750 / M72 - The Spring
24 April, 2023
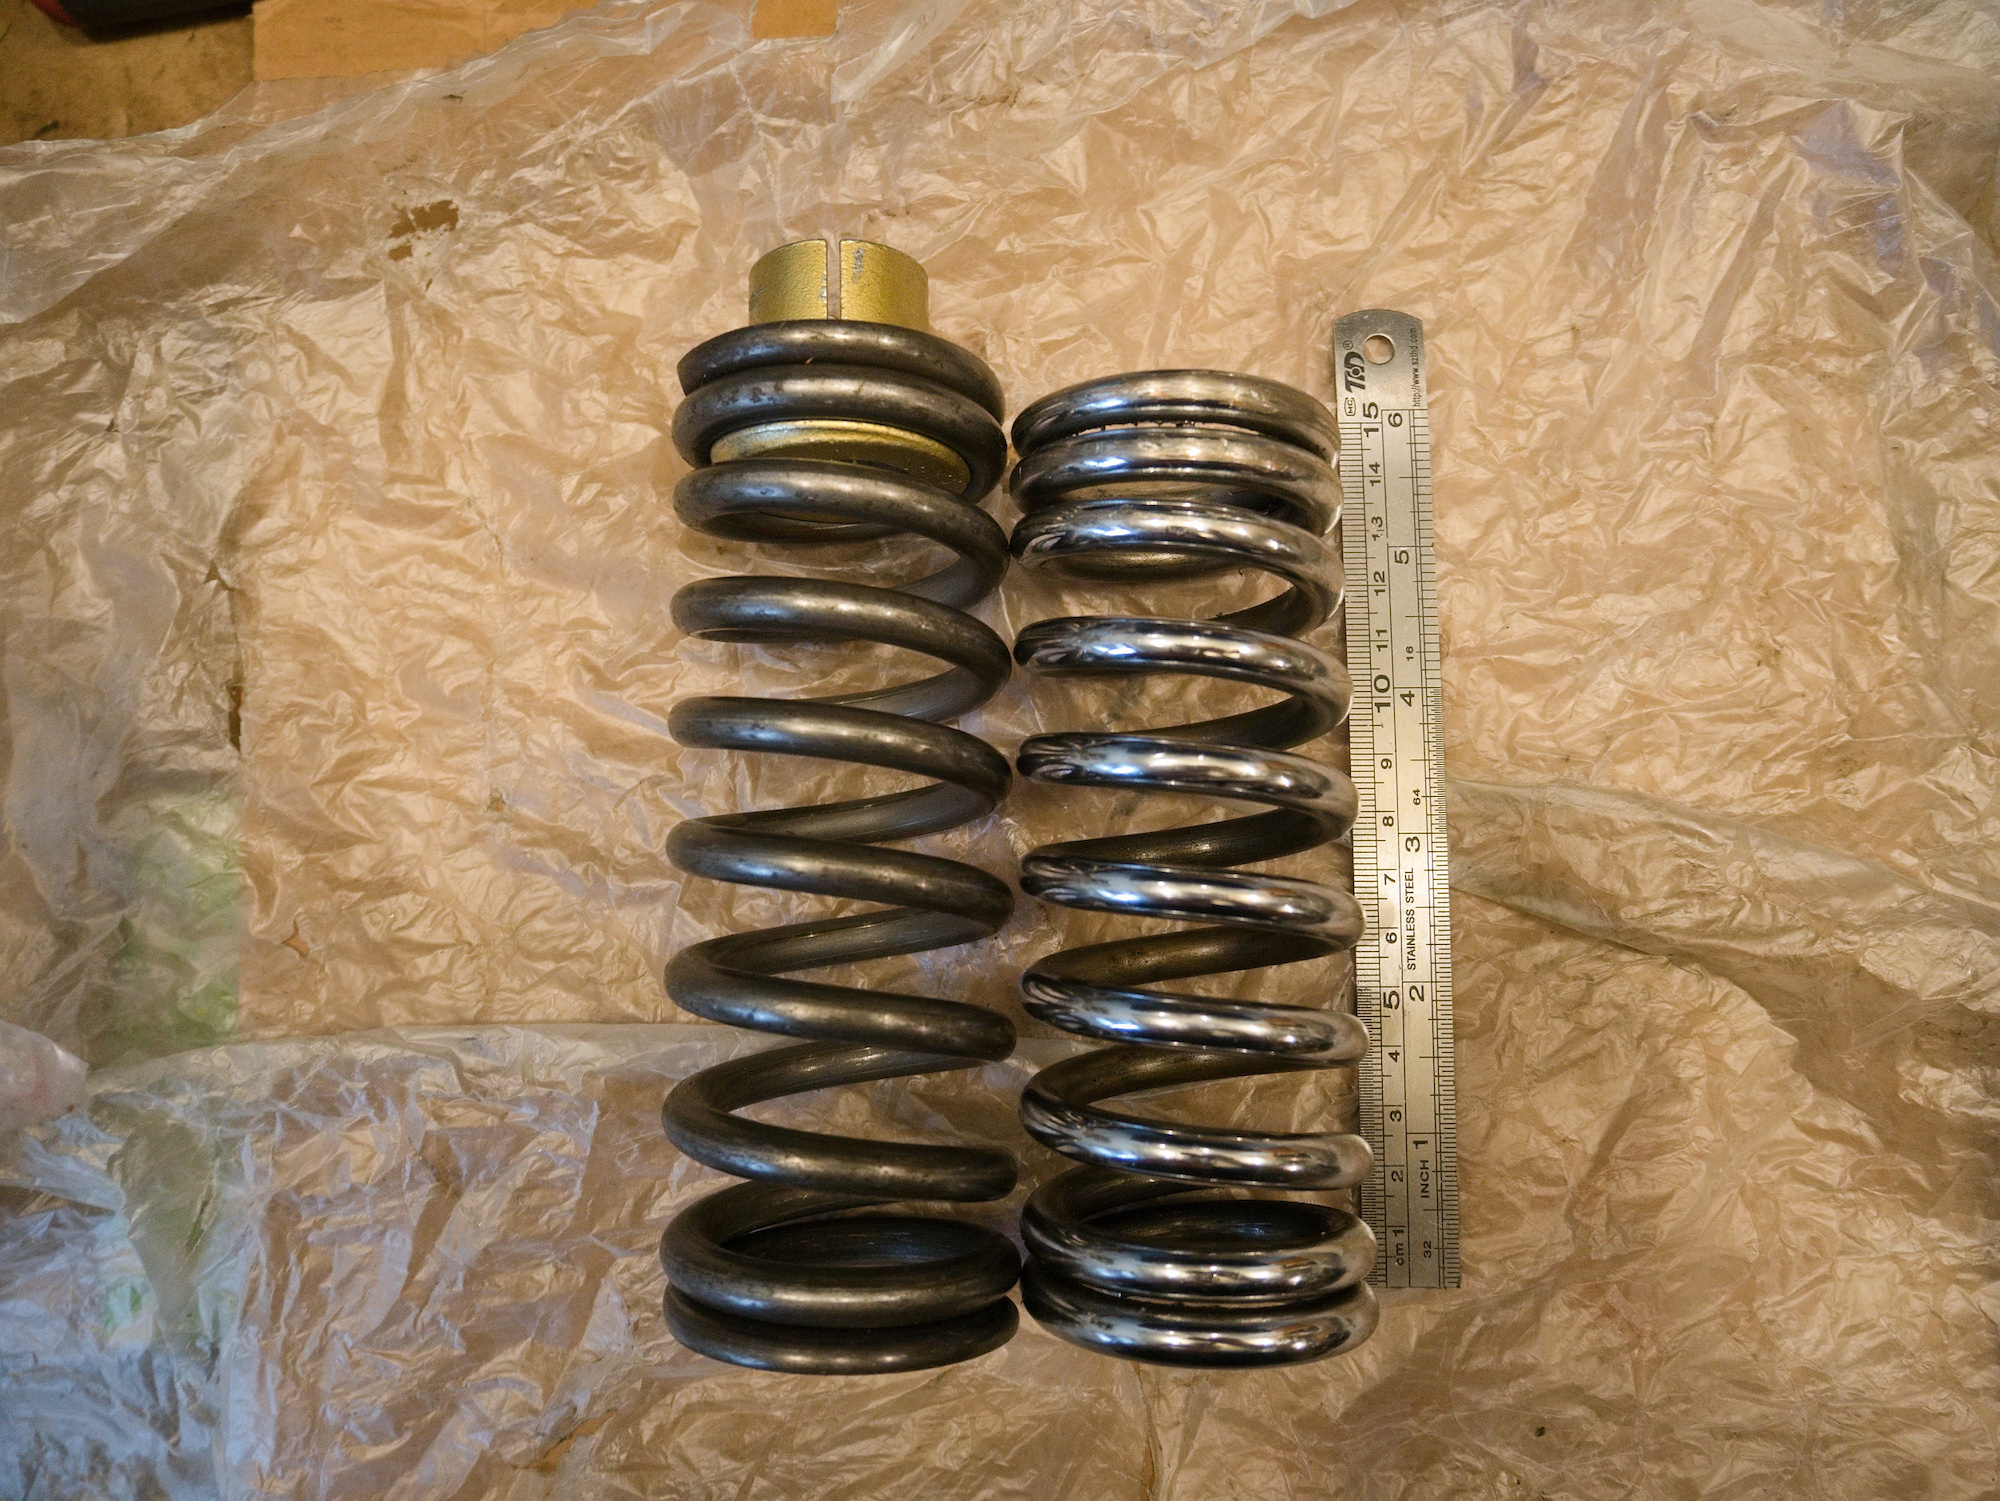
The suspension spring on the old final drive (FD) needs to be removed as it is reused for the new FD. It turned out that the measurement of the new suspension spring is different from the old one. It is only a small amount, but left and right suspension side need to match.
Level 1 of spring removal
The cap of the spring has a small hole to access the end of the spring and can be tapped out with a punch through the small hole. Simply twisting the spring will not work as the spring tightens when turned. Tapping will move the spring the opposite direction to unscrew from the holder.
Not the case here.
Level 2 of spring removal
Small access hole in the cap is not in the correct position and cap needs to be turned to access the end of the spring.
Not the case here.
Level 3 of spring removal
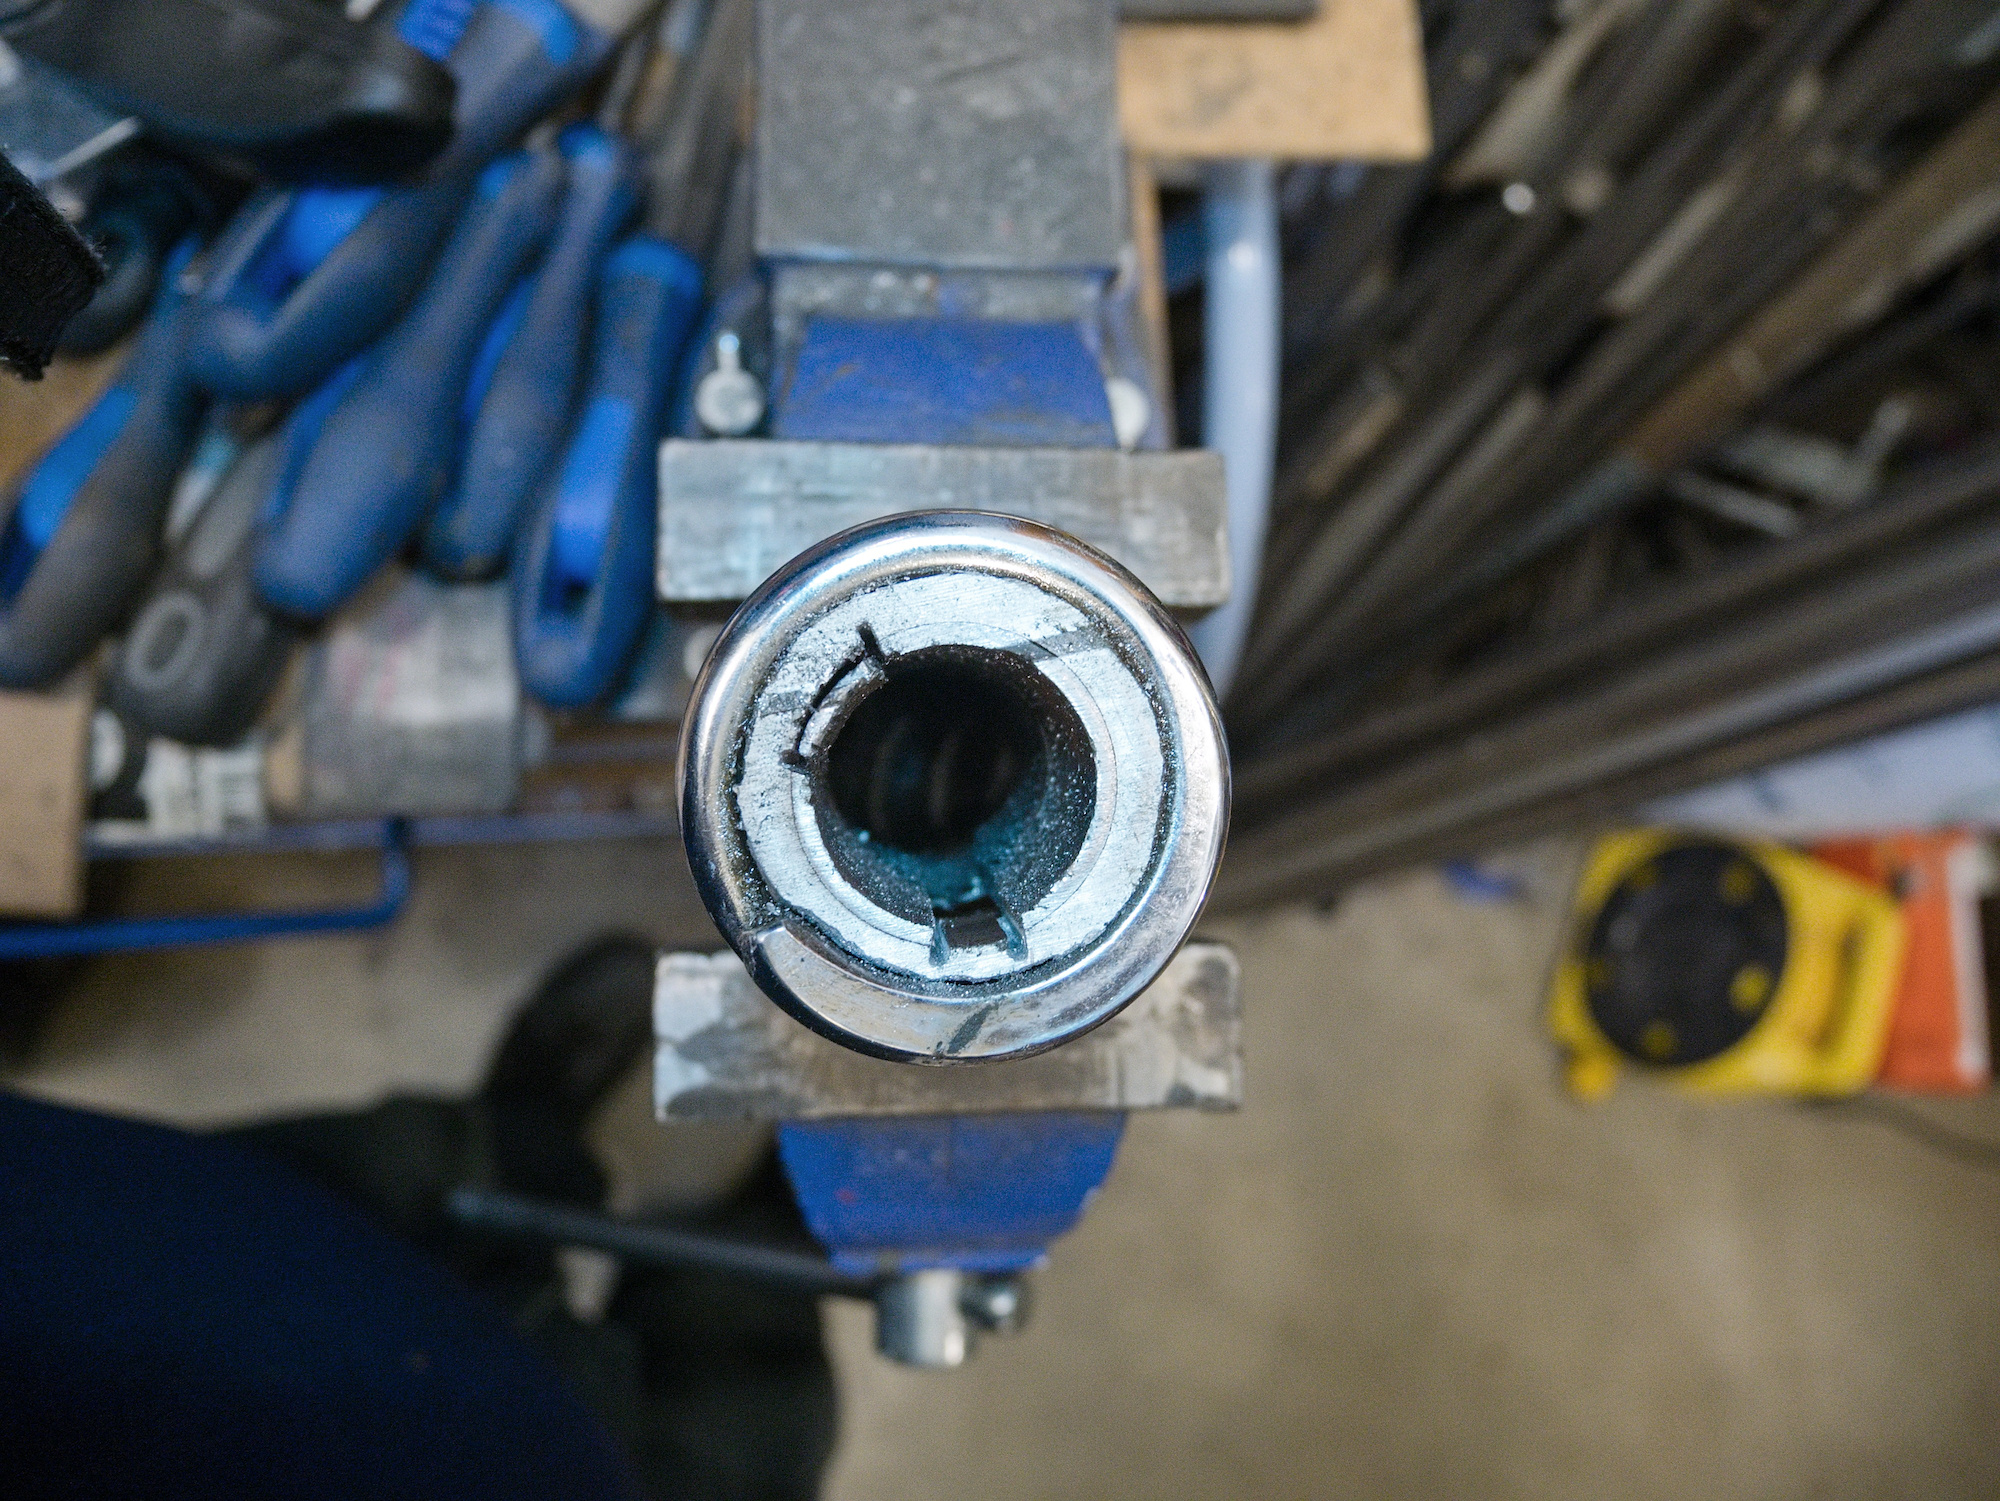
Everything is stuck. The cap won't turn, and the end of the spring is in a position that is not accessible to tap out.
This is the case here.
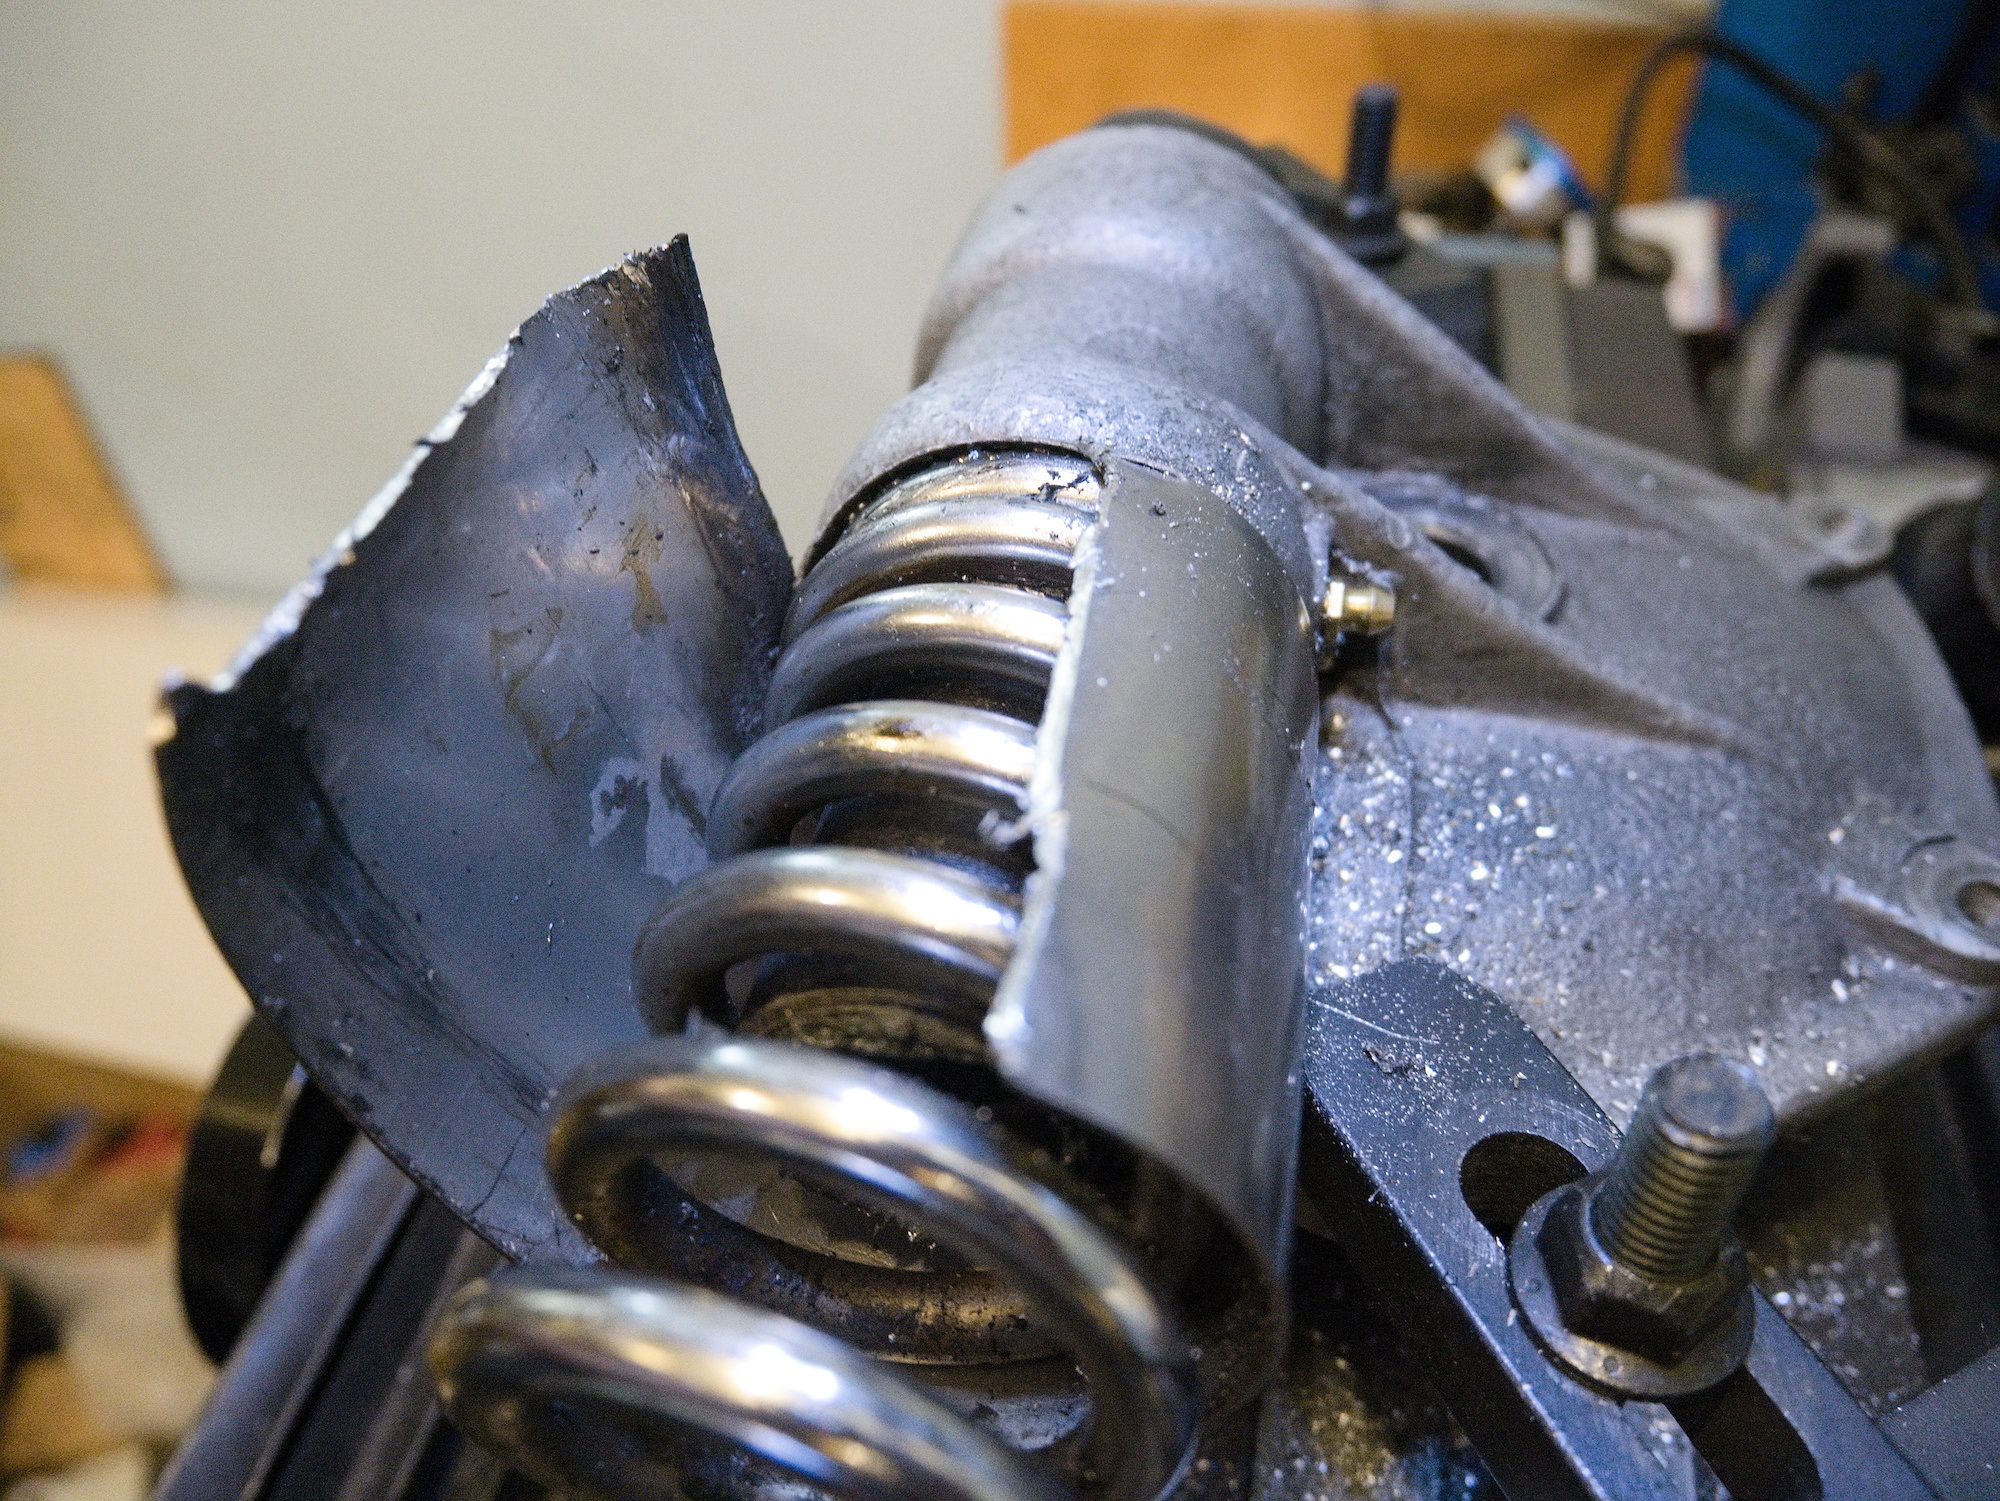
The surgery starts with the removal of the cap. The endmill is positioned to not cut all the way through the metal to not damage the spring.


Carefully bending back and forth.


To try to turn the spring, a spanner is modified to hook into the end of the spring.

The position of the end of the spring is tight. The spanner need to be rather thin on the end to reach the spring position. Usually it doesn't take too much force to get the spring started, but unfortunately the spring is too tight and the spanner fails and the end of the modified spanner breaks.
Upgrade to level 4 of spring removal.

Level 4 of spring removal
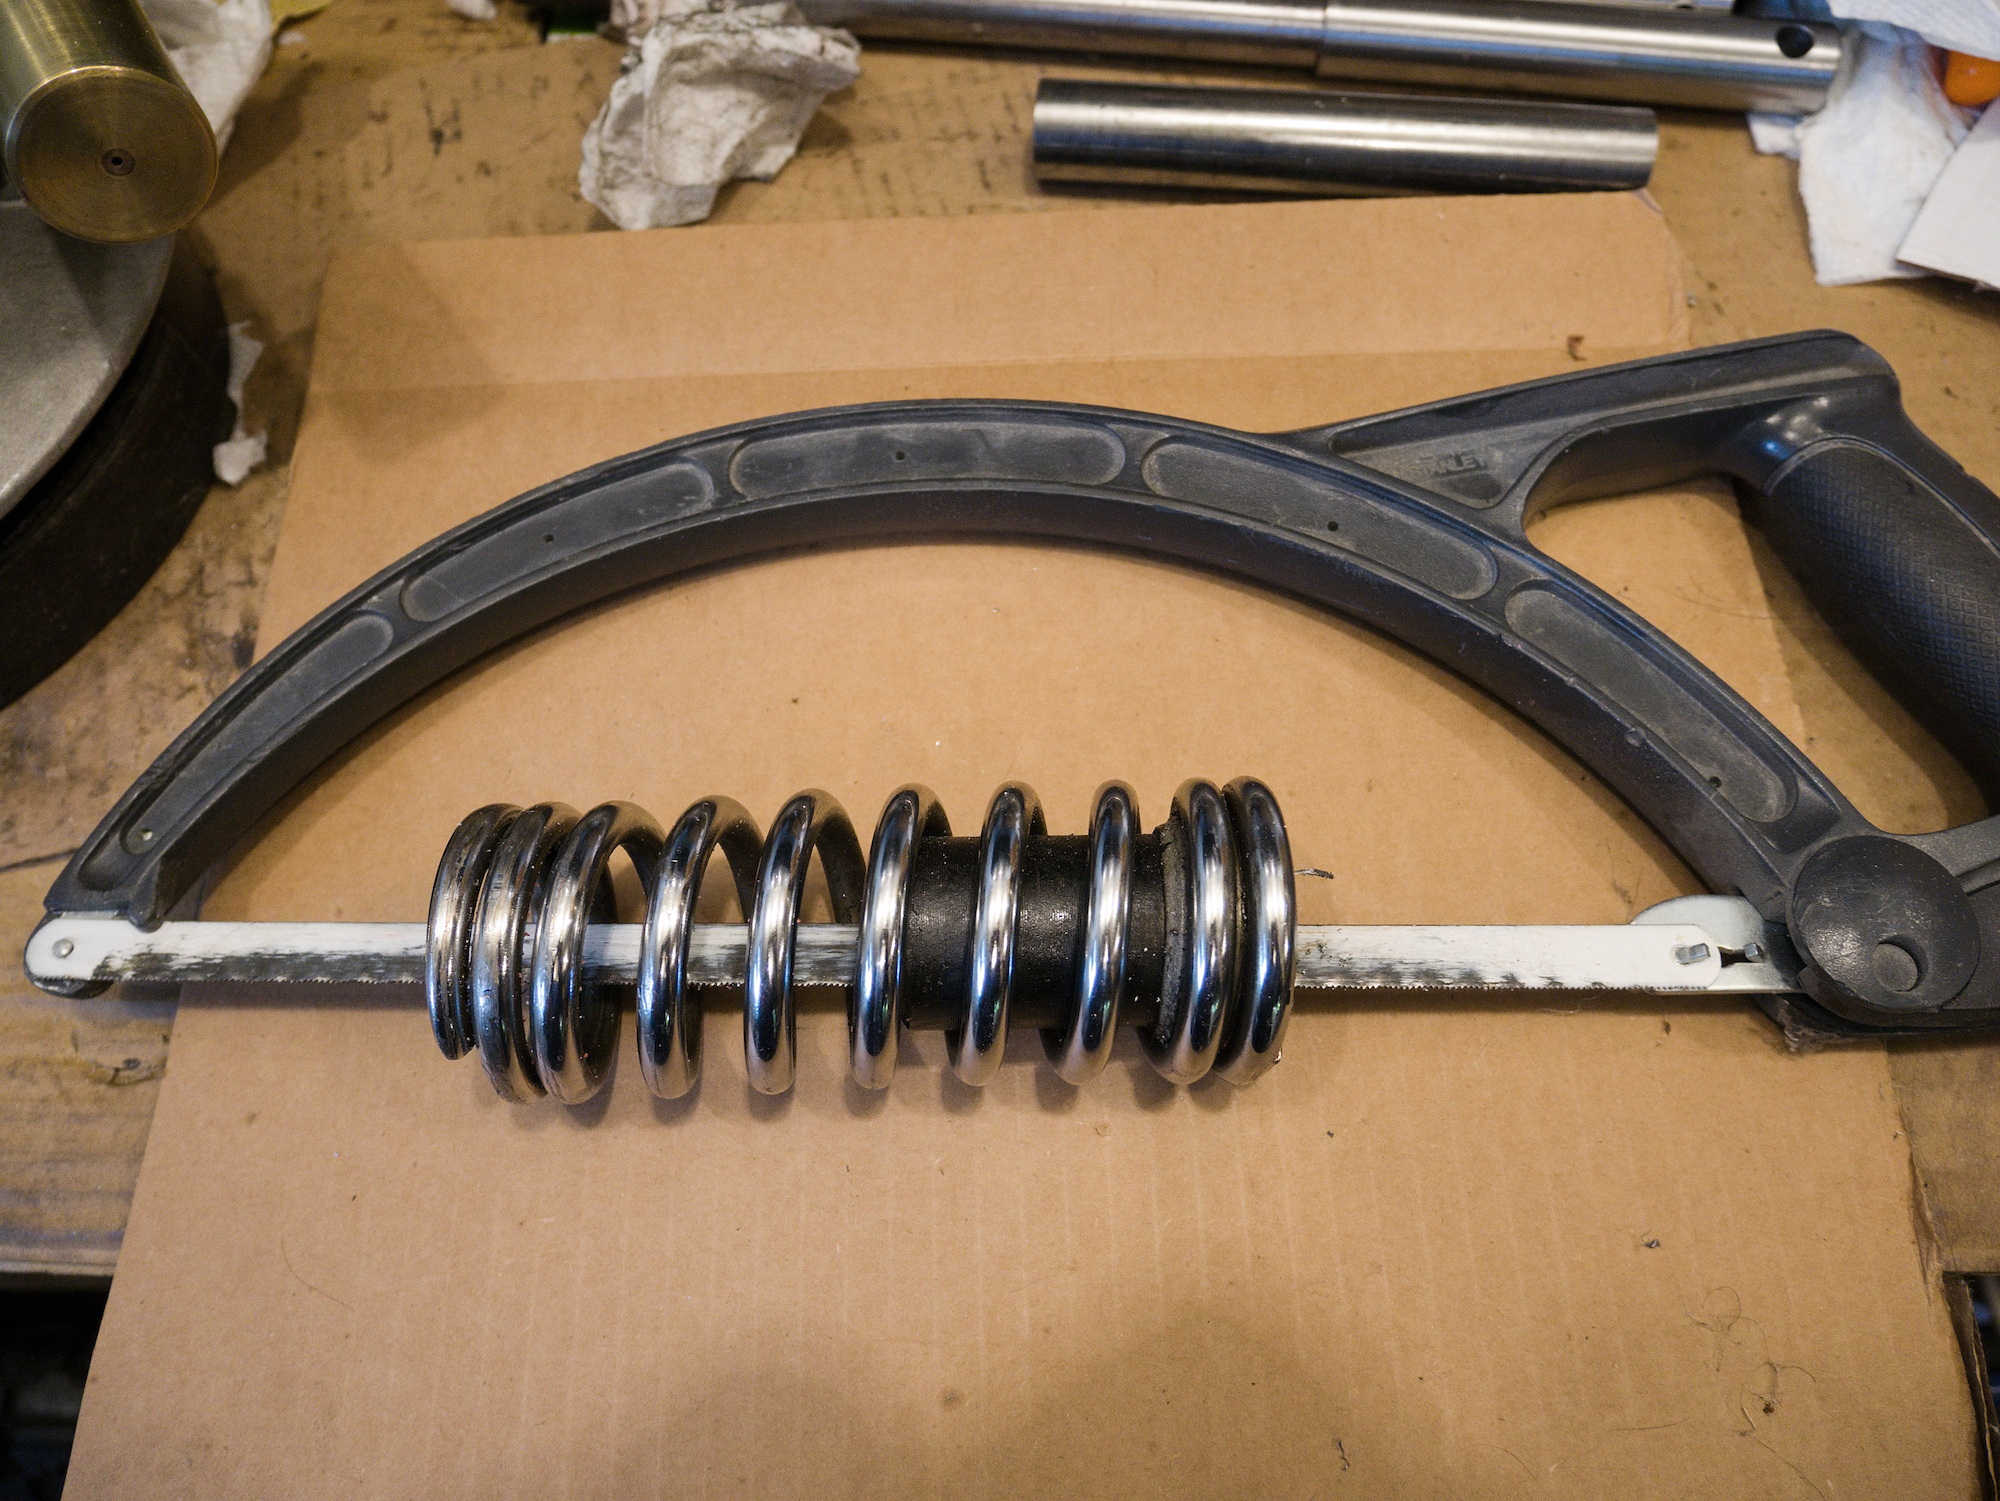
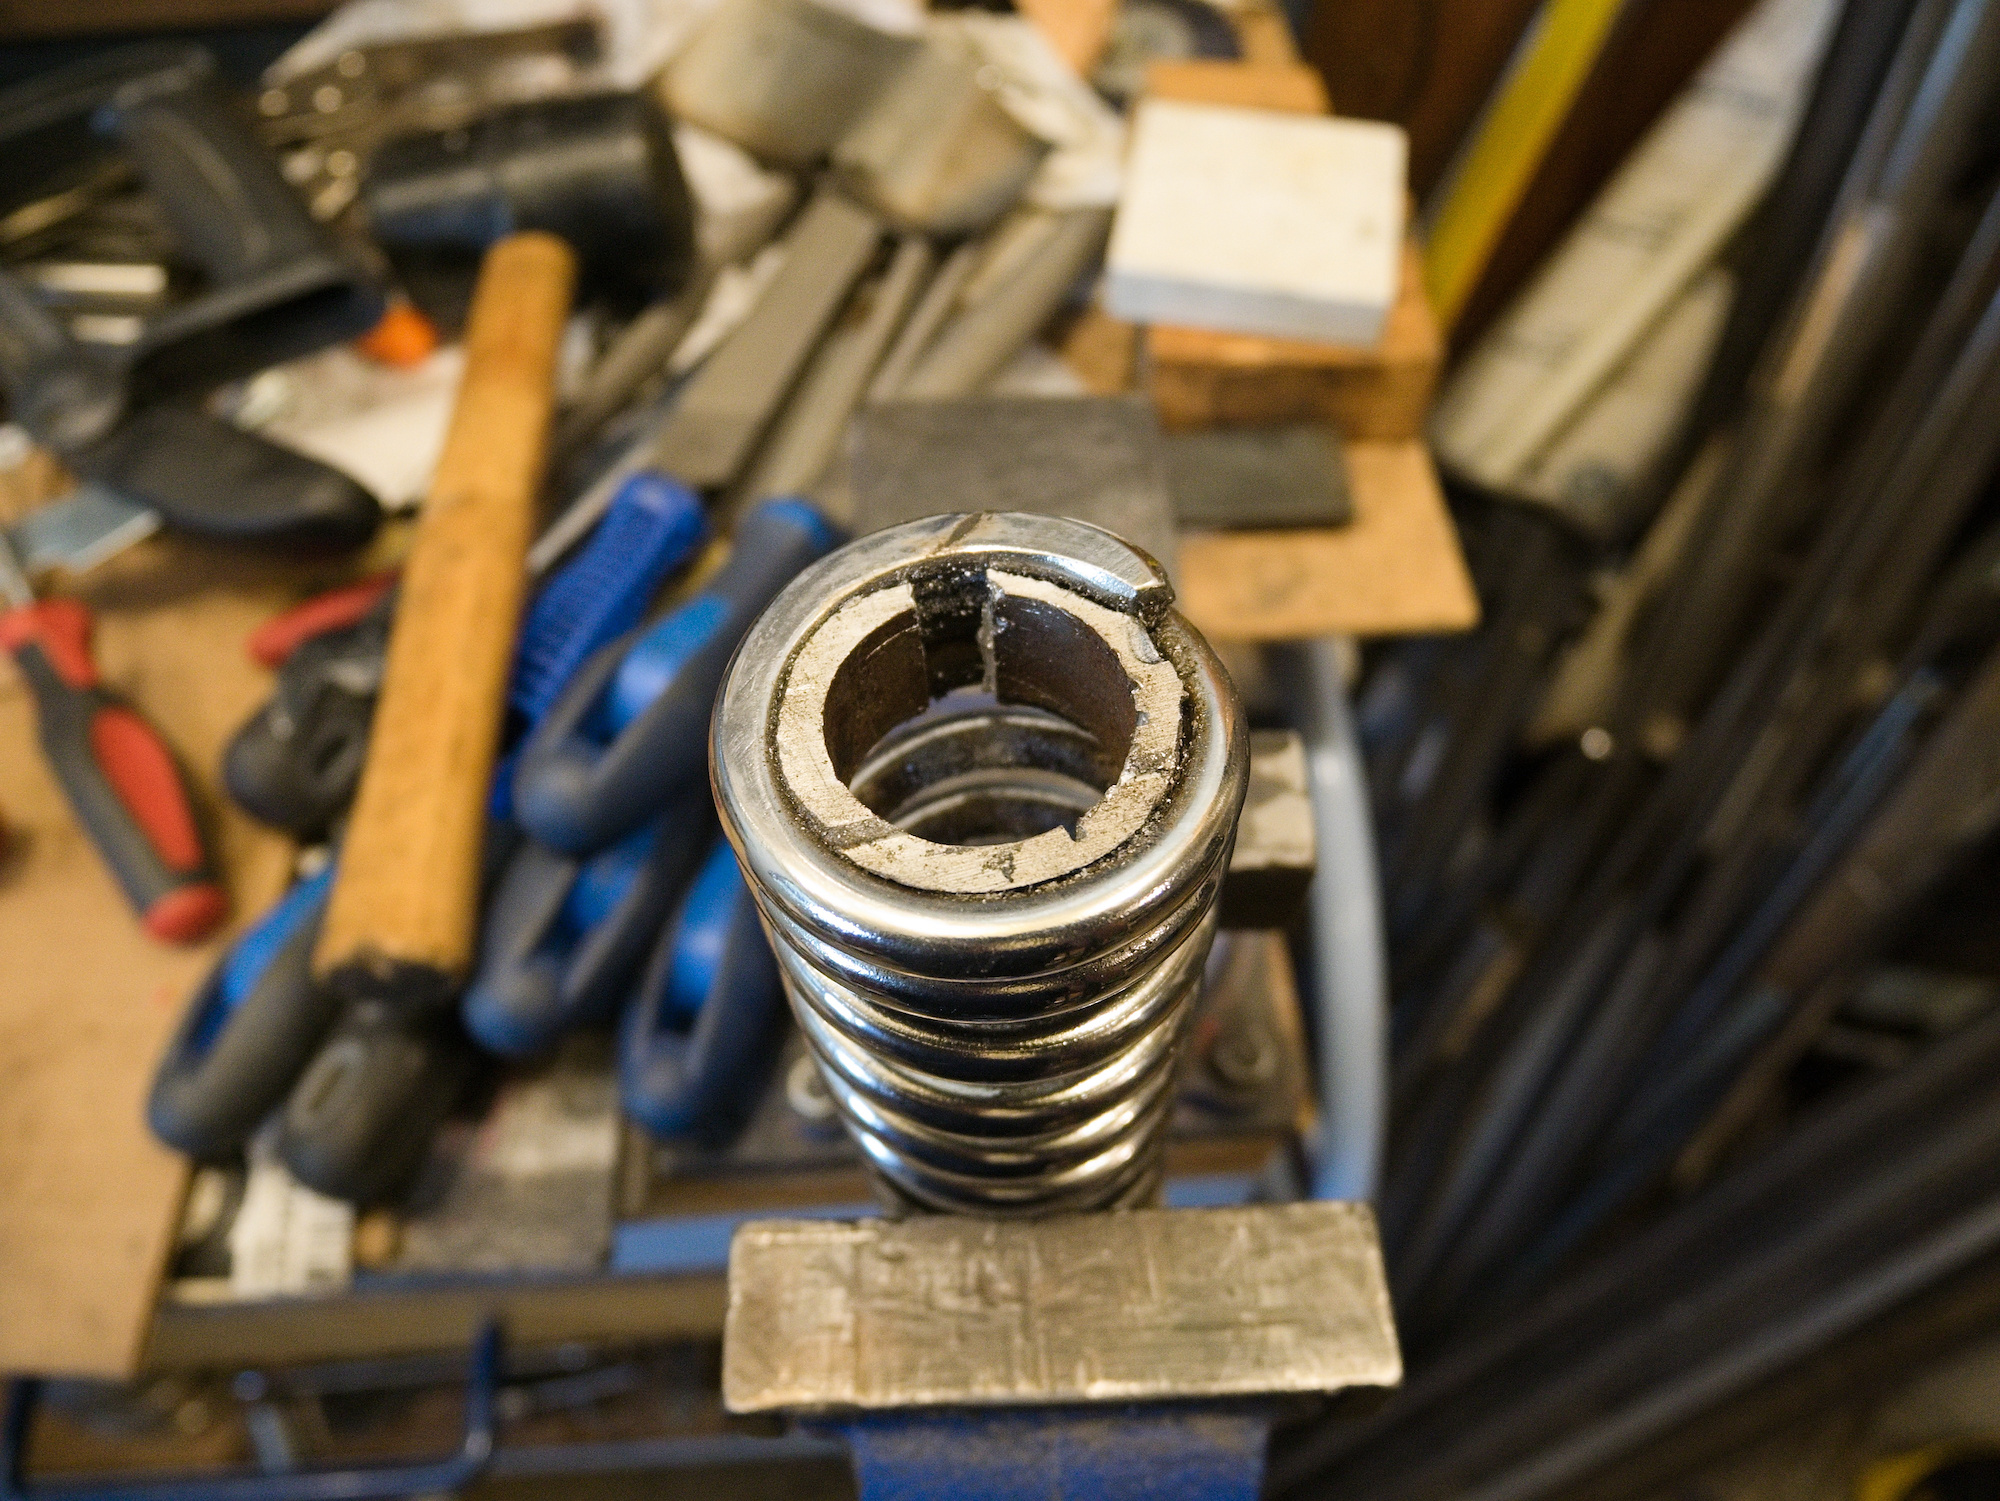
The cut.
I have only this perfectly matching spring, but enough of FD covers. The cover needs to go.

The spring tension cause the blade to break and get stuck halfway through the cut.

The spring is separated, but the guide for the suspension rod is still stuck.
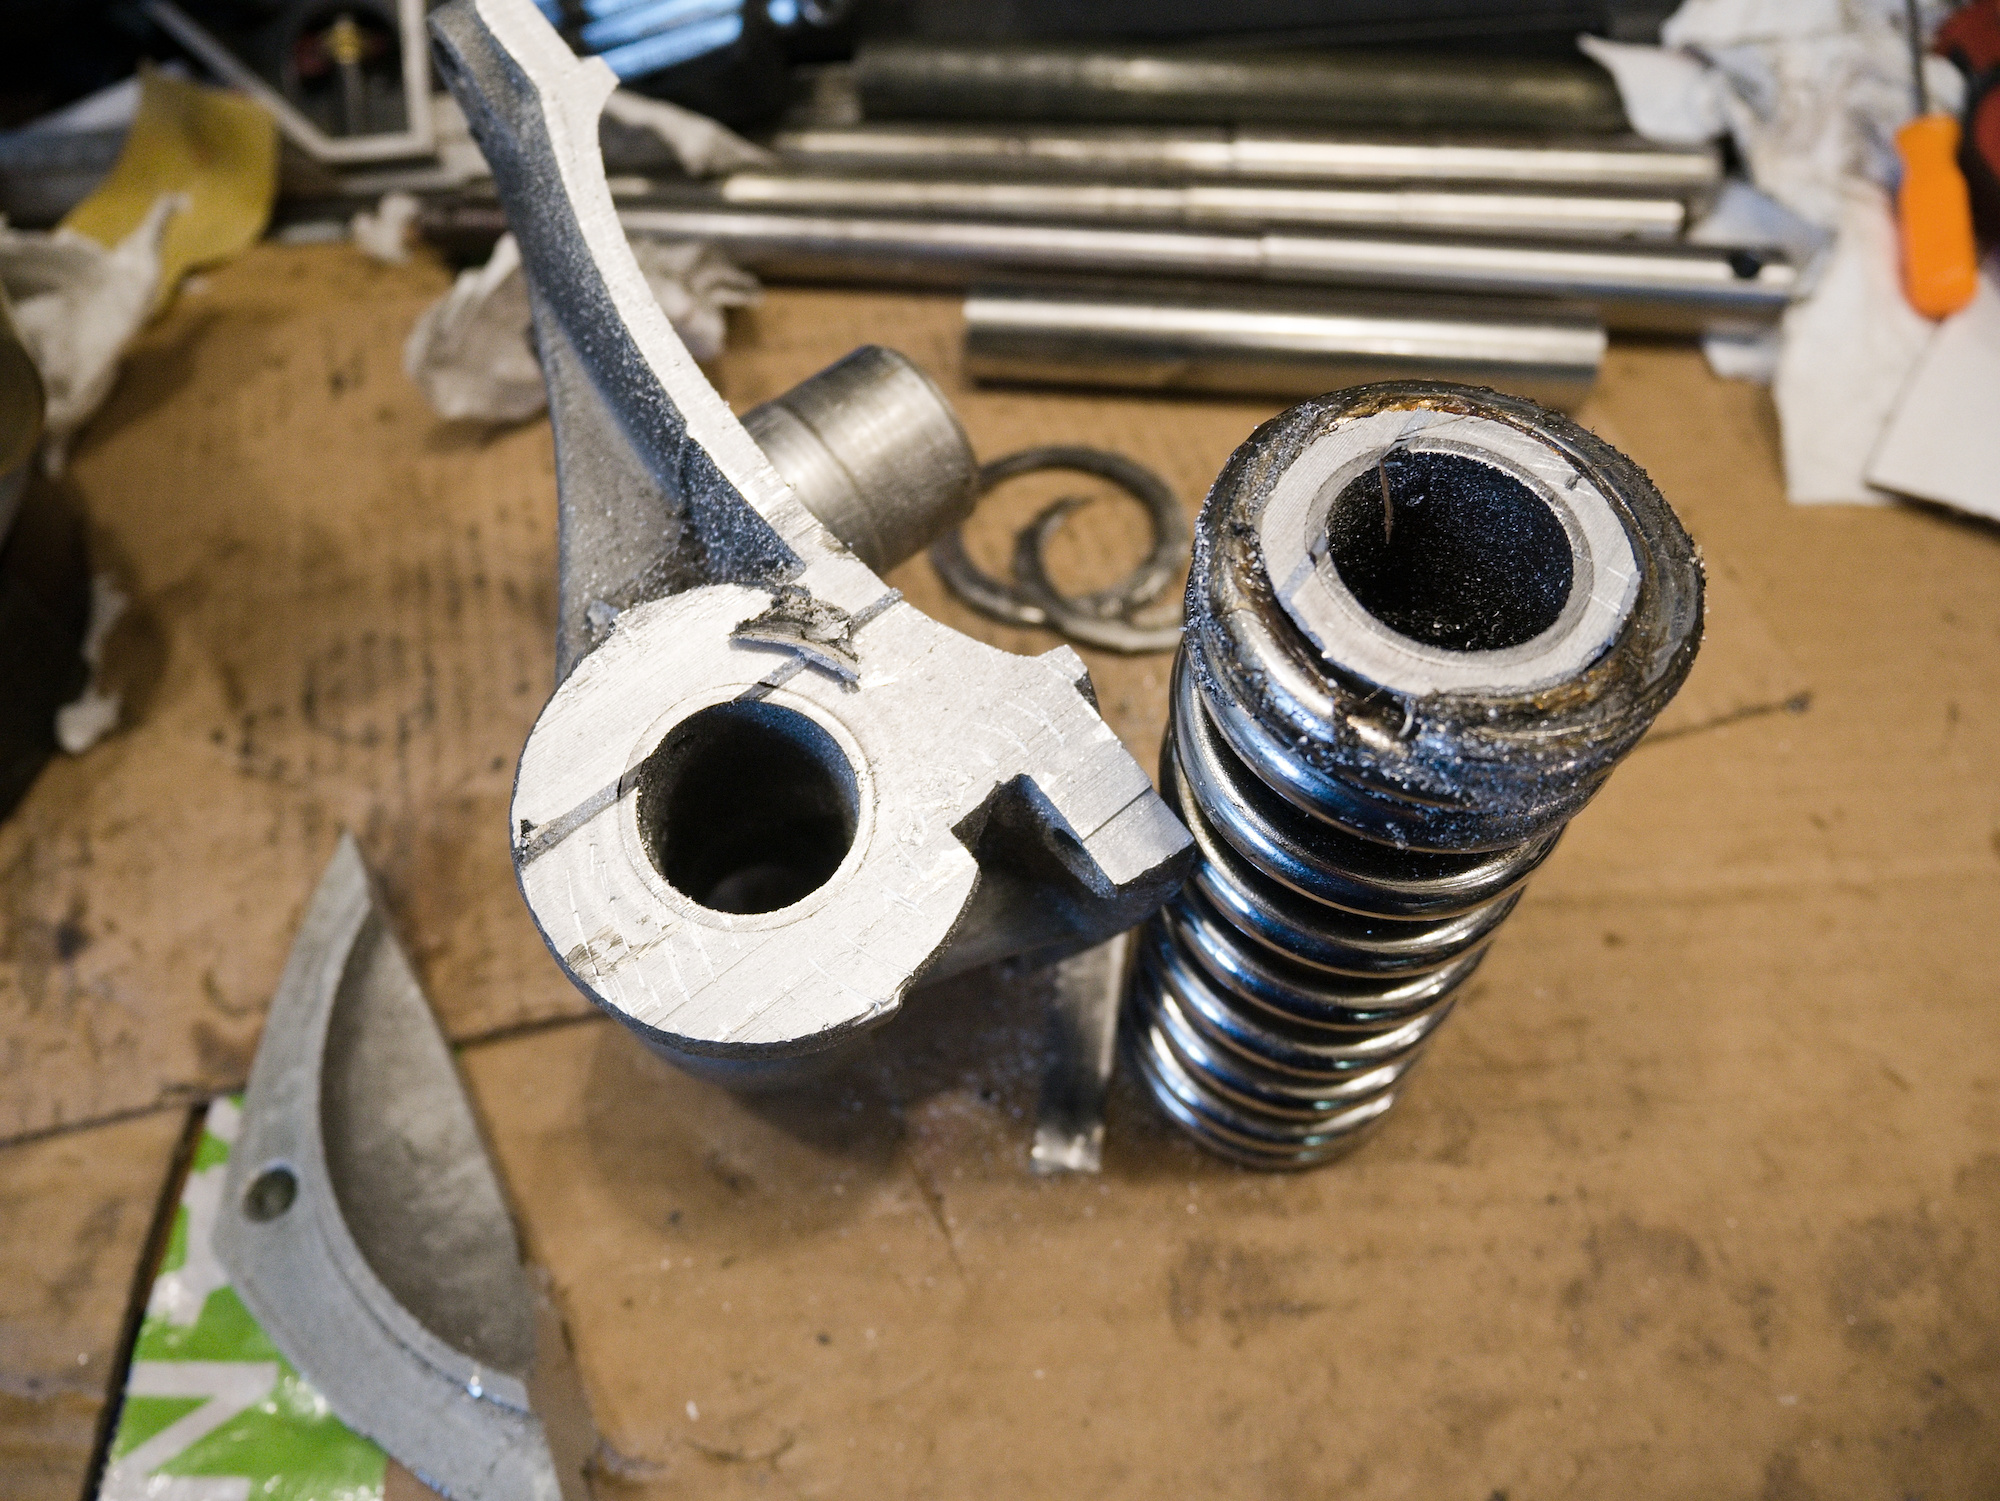
The plan is to make a saw cut from the inside.
The guide consists of two parts. The inner part can now be tapped out.

The outer part of the guide needs to be very carefully cut to not damage the spring.
Left side is the newly ordered spring, right side is the rescued spring.