IOT: Arduino weather station, Overview and Installation
25 December, 2016
Using a Arduino M0 Pro to power a weather station to measure wind speed/direction, humidity and temperature inside and outside, barometric pressure and rainfall, support REST API for the weather app and HTTP Server:
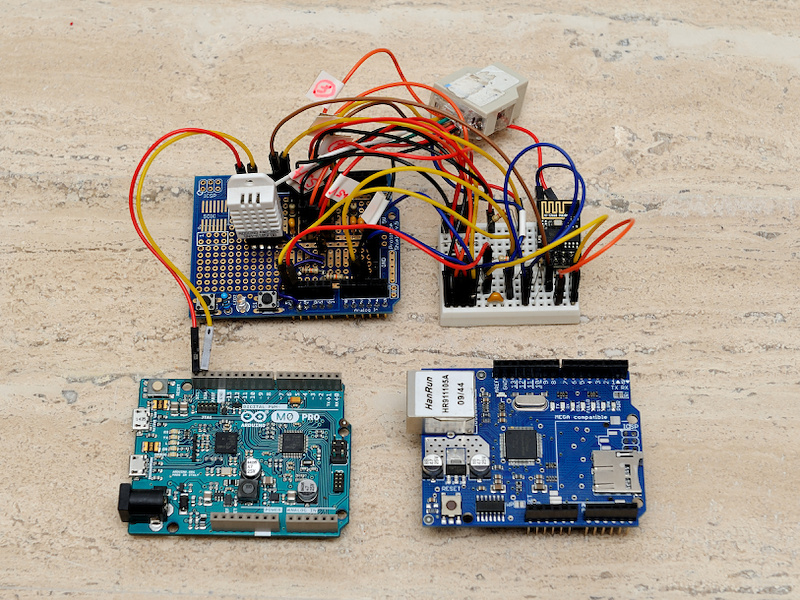
The white sensor is a DHT22 to measure the humidity and temperature inside.

The 8 pin DIP on the experimental board is a 24LC256 (32KB) to hold weather data statistics.
The wireless module is already connected and will be used later to upload data to the Azure IOT hub.

First test with the weather station to check the directional sensor and the areometer signal.
The weather station is a very popular model, but the documentation has a wrong value for the resistance for one direction.
Here is the correct list:
| Direction (Degrees) | Resistance (Ohms) | Voltage (V=5v, R=10k) |
|---|---|---|
| 0 | 33k | 3.84v |
| 22.5 | 6.57k | 1.98v |
| 45 | 8.2k | 2.25v |
| 67.5 | 891 | 0.41v |
| 90 | 1k | 0.45v |
| 112.5 | 688 | 0.32v |
| 135 | 2.2k | 0.90v |
| 157.5 | 1.41k | 0.62v |
| 180 | 3.9k | 1.40v |
| 202.5 | 3.14k | 1.19v |
| 225 | 16k | 3.08v |
| 247.5 | 14.12k | 2.93v |
| 270 | 120k | 4.62v |
| 292.5 | 42.12k | 4.04v |
| 315 | 64.9k | 4.33v |
| 337.5 | 21.88k | 3.43v |
This translates to the following analog values using the recommended 10K resistor. The analog2index function returns the index (the wind direction) of the received value from the Arduino analog input port. Since the differences between the individual values is not constant, this mapping is the most precise mapping to get the wind direction.
const int analogwerte[] = {
    787,
    406,
    461,
    84,
    93,
    66,
    185,
    127,
    287,
    244,
    631,
    601,
    947,
    828,
    887,
    703
    };


const int8_t richtungen = sizeof(analogwerte) / sizeof(int);

int8_t analog2index(const int analogwert)
{
    // nächsten Wert zu analogwert in analogwerte suchen
    int t = 20;  // Starttoleranz: +-20
    int index = -2; // return -1 für Fehler
    for(int8_t i = 0; i < richtungen; i++)
    {
        const int d(abs(analogwert - analogwerte[i]));
        if(d < t)
        {
            t = d;
            index = i;
        }
    }

    return index / 2;
}

The installation:
Everything is packed and pulled up by rope up to the roof.
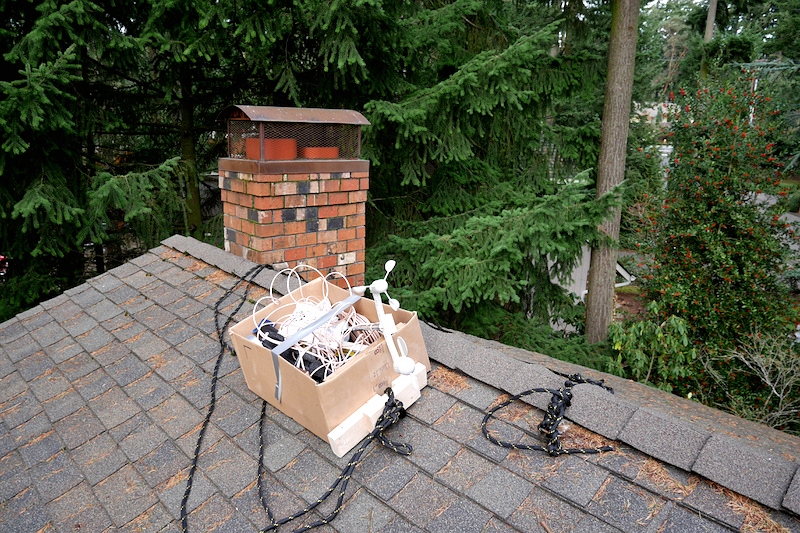
Bolted to the chimney.

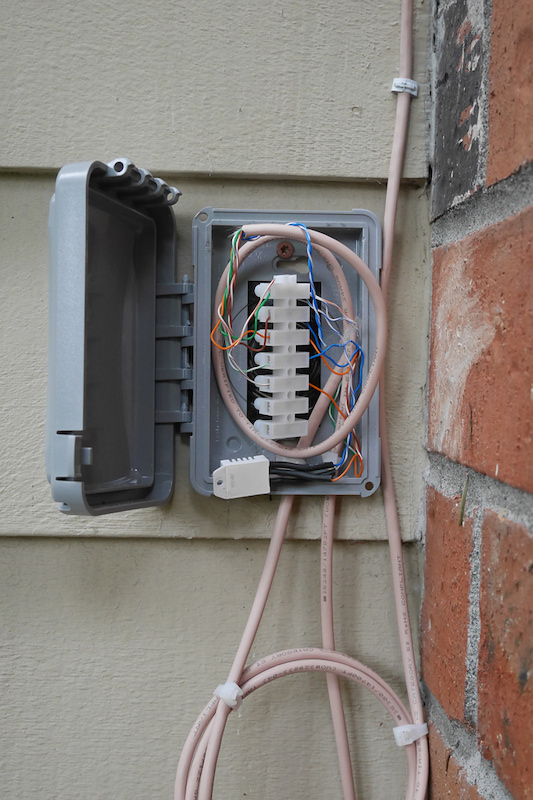
The junction box hosting the outdoor sensor for humidity and (shadow) temperature.
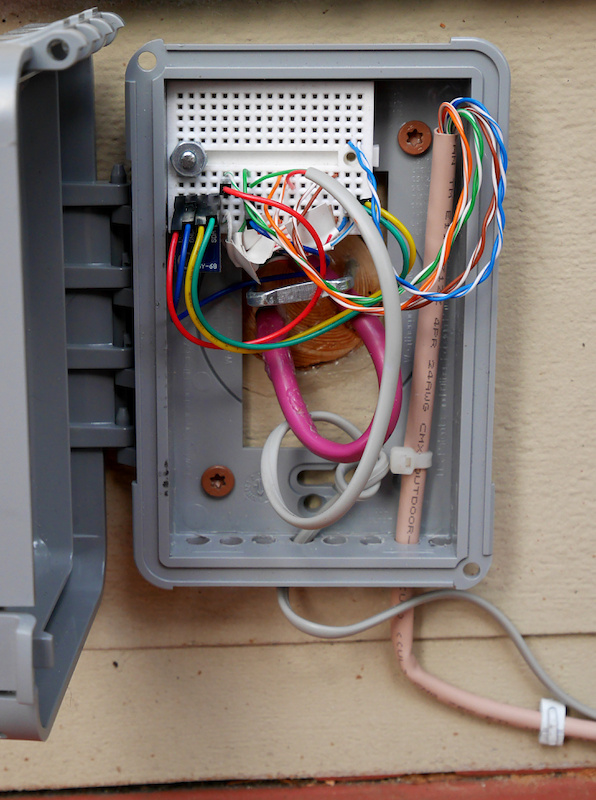
The main junction box hosting the barometric pressure sensor (BMP180) including the second outdoor temperature.
The barometric pressure sensor is located on the lower left of the experimental board.