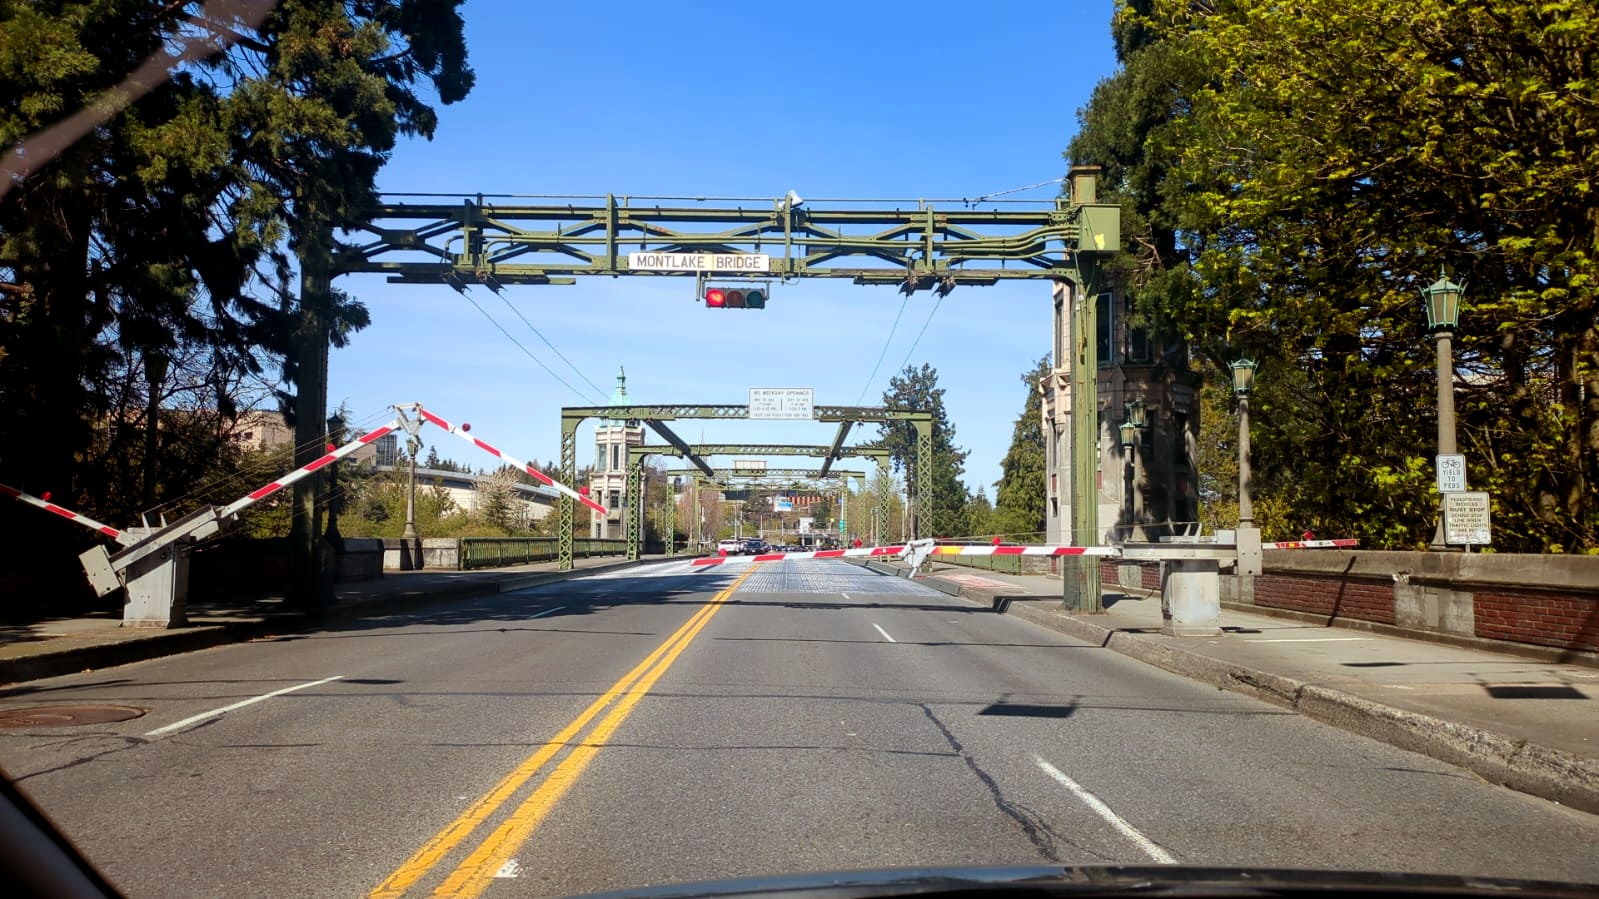
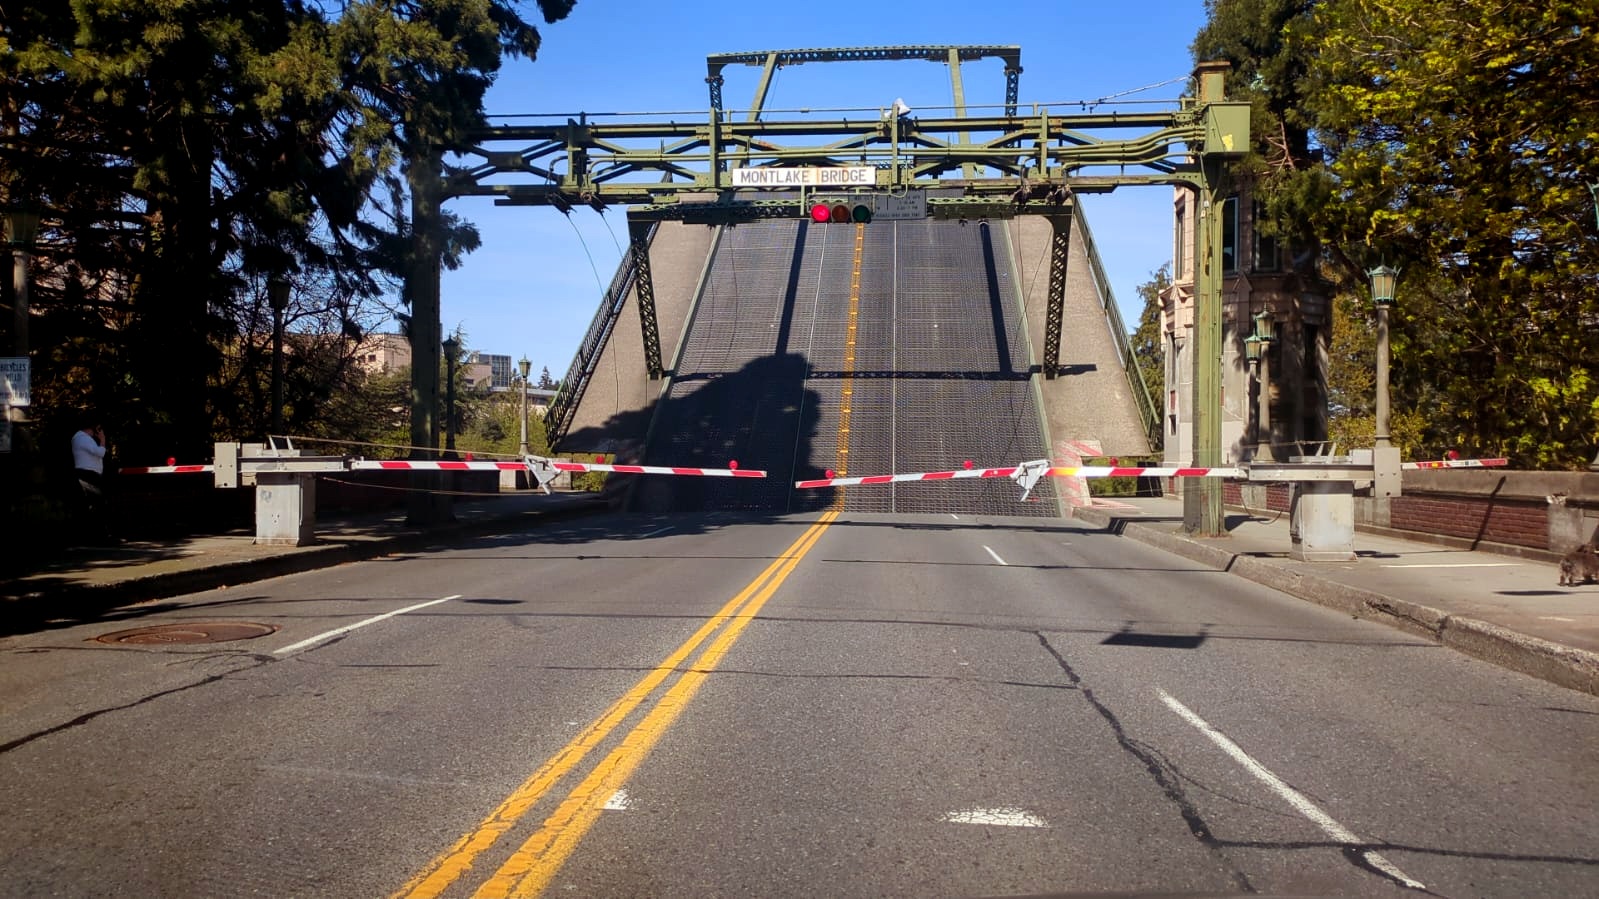
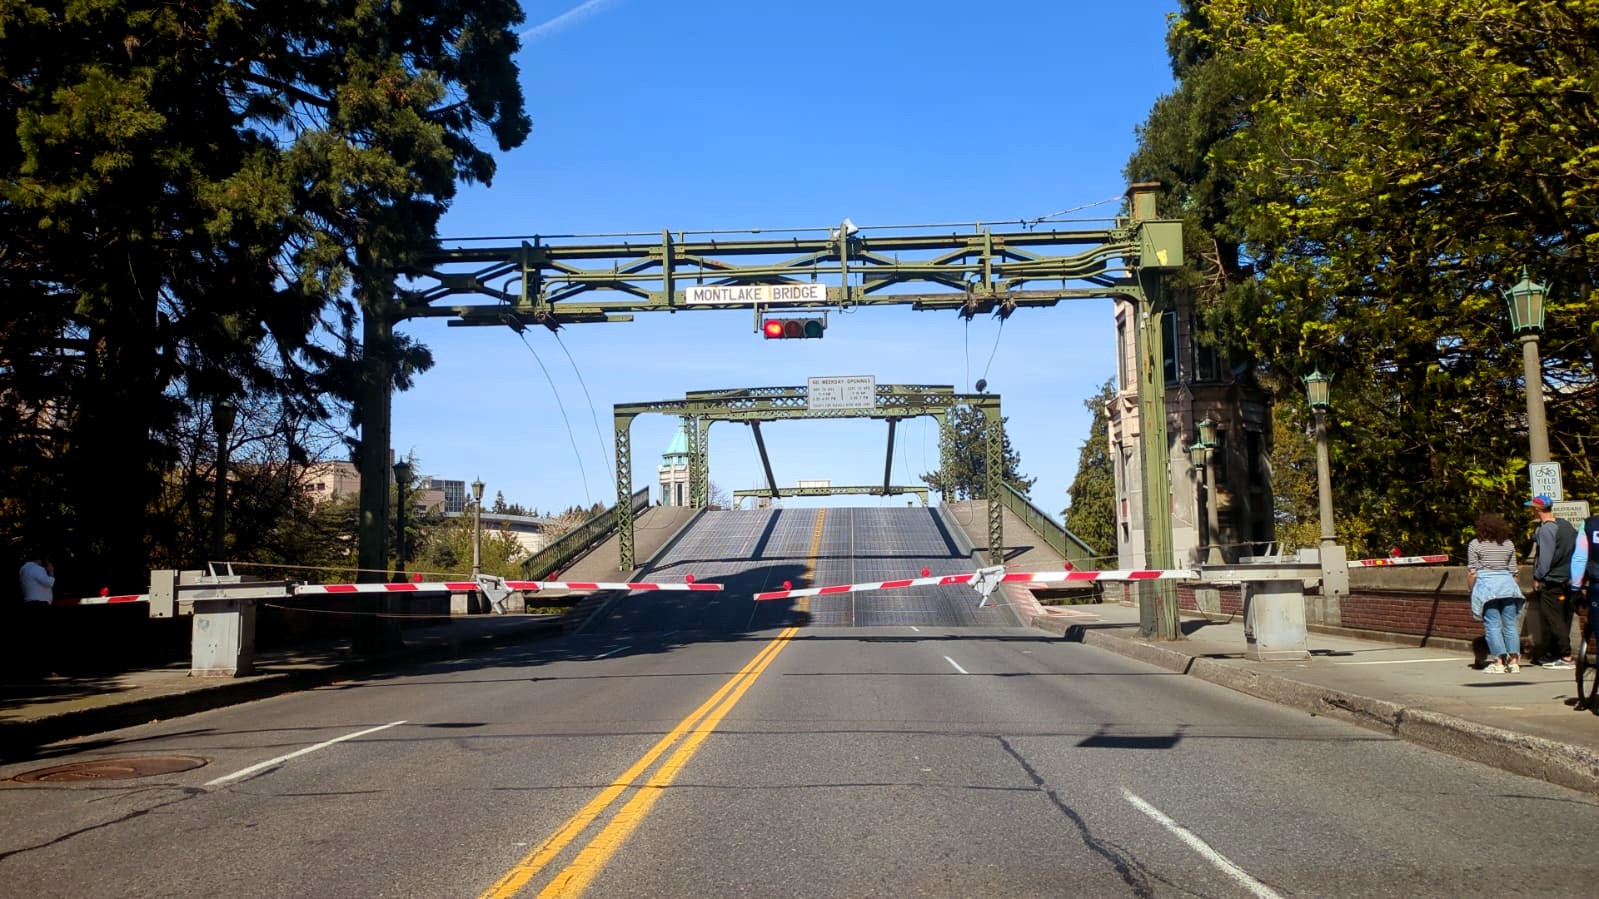
I often pass the Montlake Bridge on my way to UW, but today was different—the bridge opened for water traffic just as I got there. The light turned red, and the bars descended, signaling the bridge's closure. I watched as the bridge slowly lifted to allow a sailboat to pass through, but I only saw the sailboat's mast passing by. Interessting to see the massive structure rise and then descend back into place.
14:00:56, Bridge starting to open
14:01:36
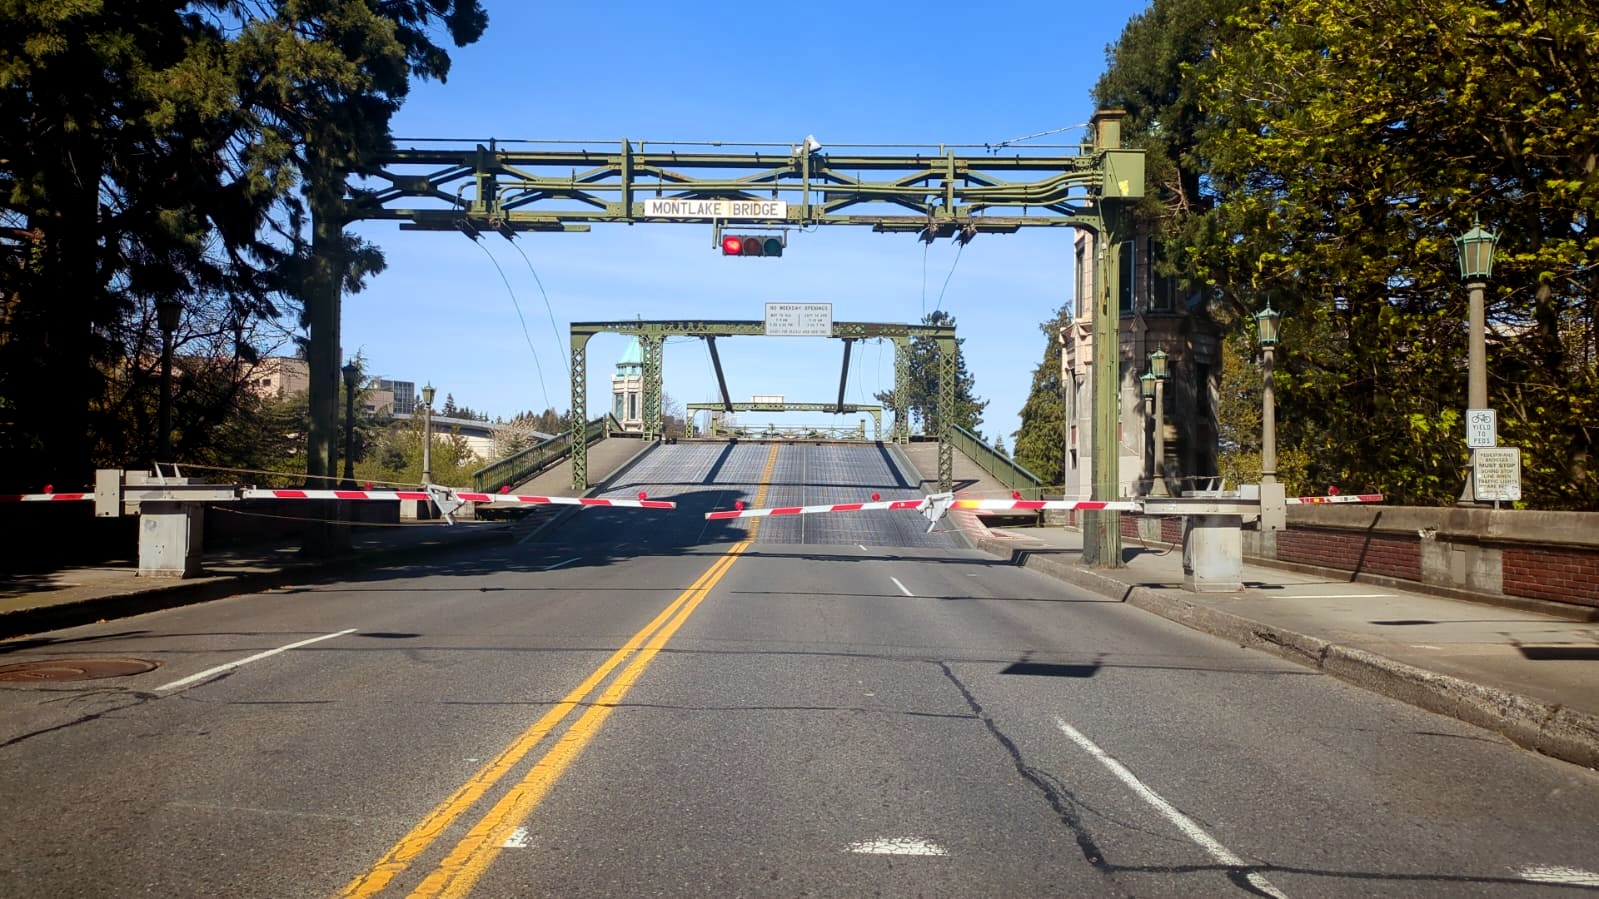
14:01:52
14:02:06
14:02:36

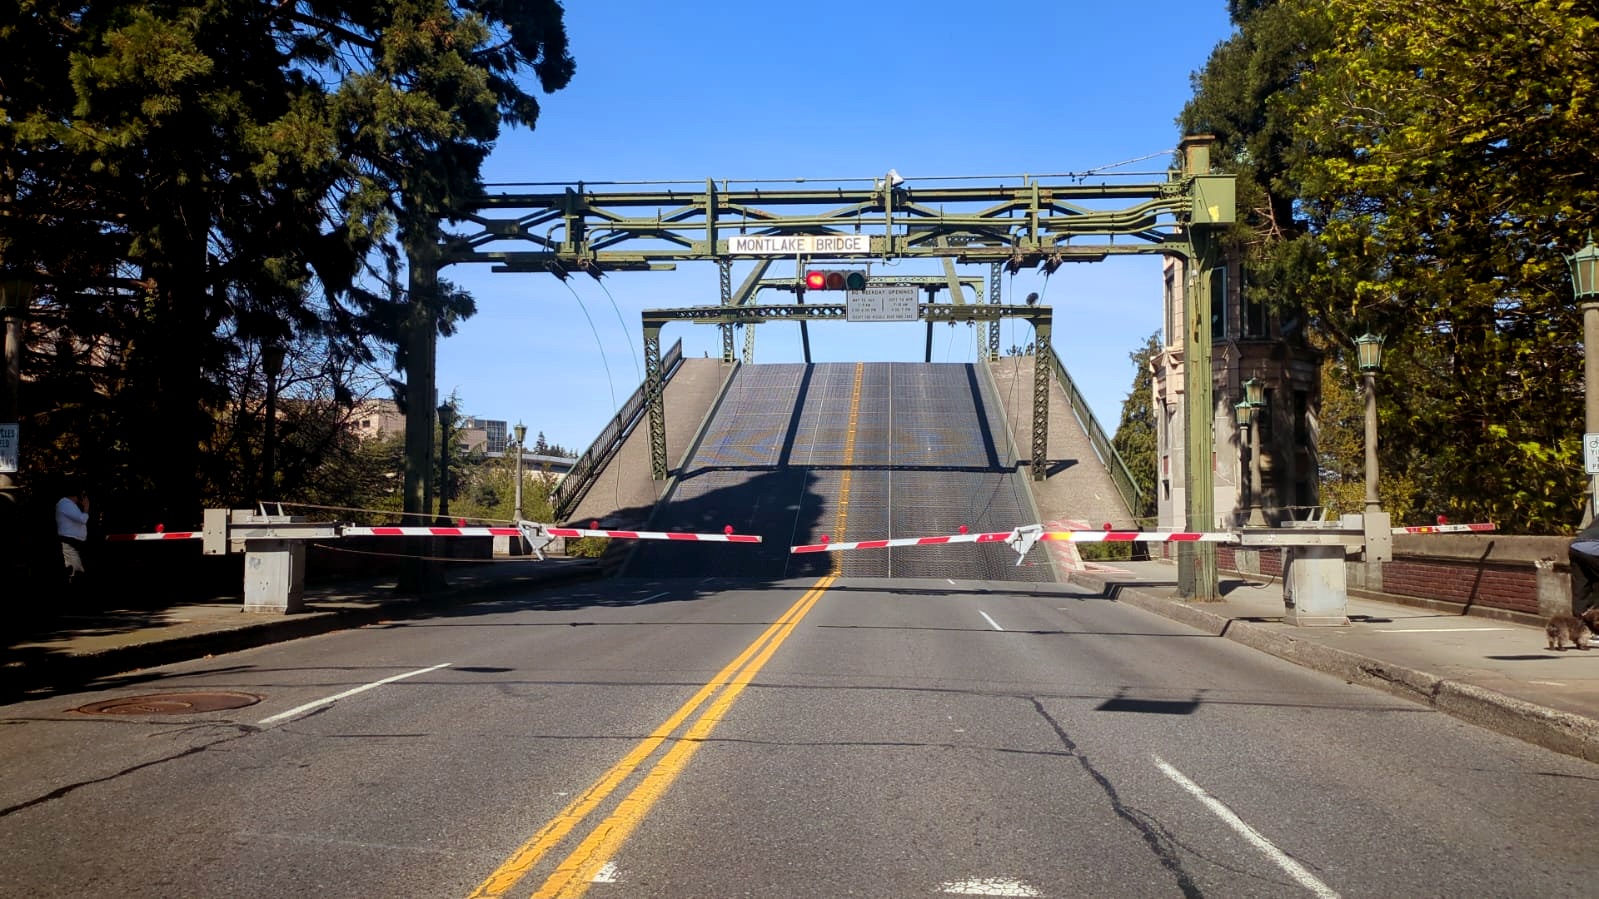
14:03:06, Bridge fully opened

14:04:52, Bridge closing
14:05:08
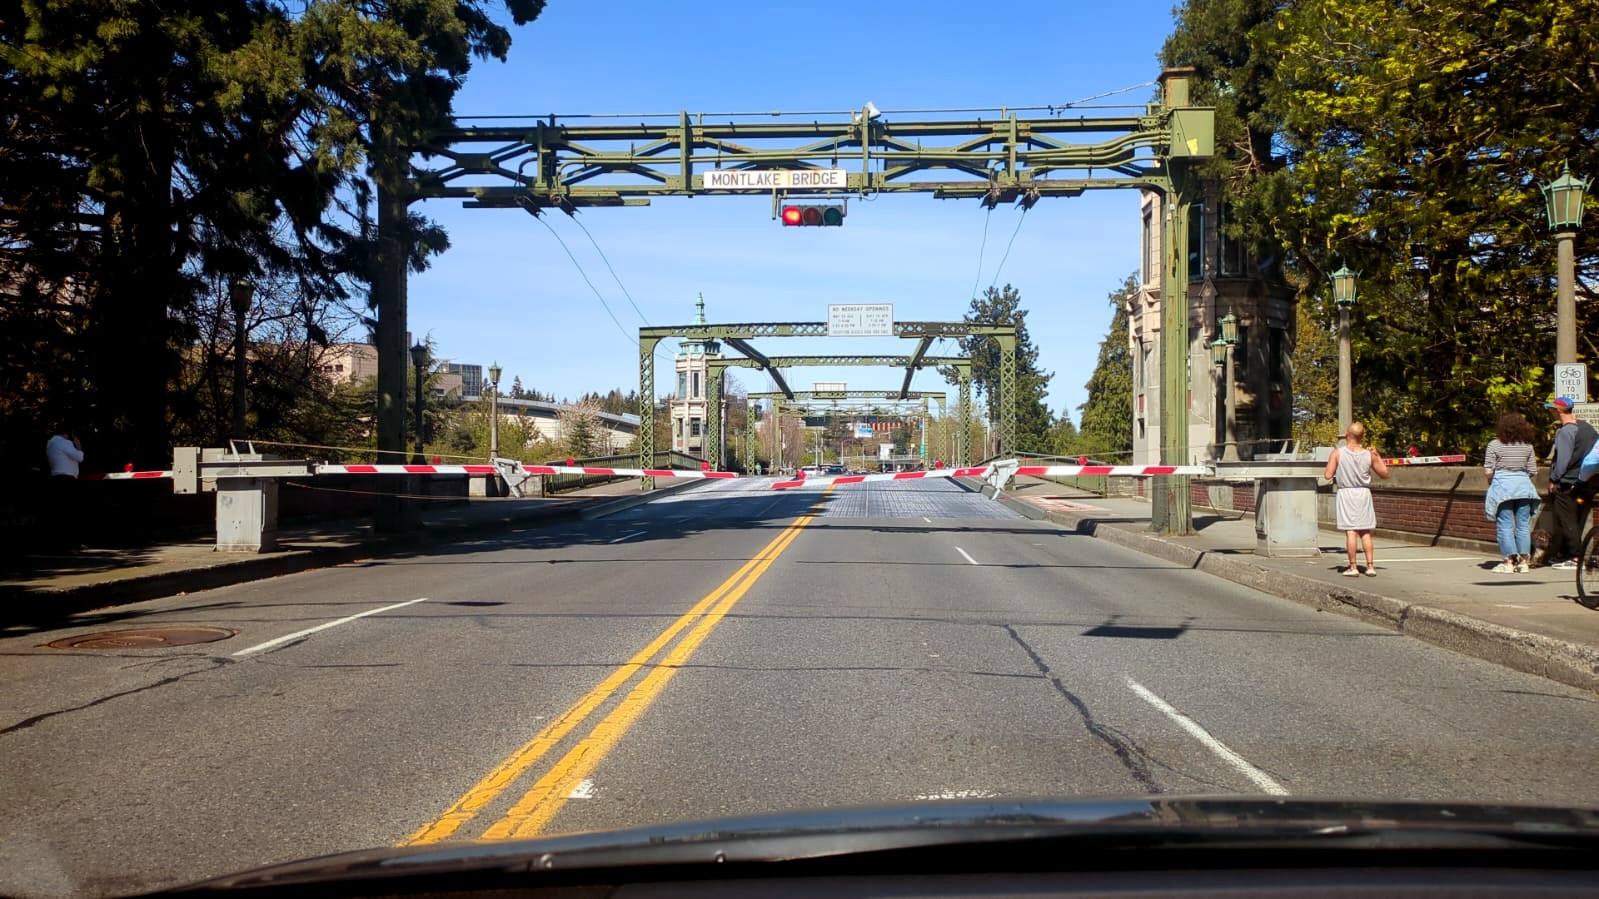
14:05:50, Bridge completed its cycle and traffic resumes in a few seconds

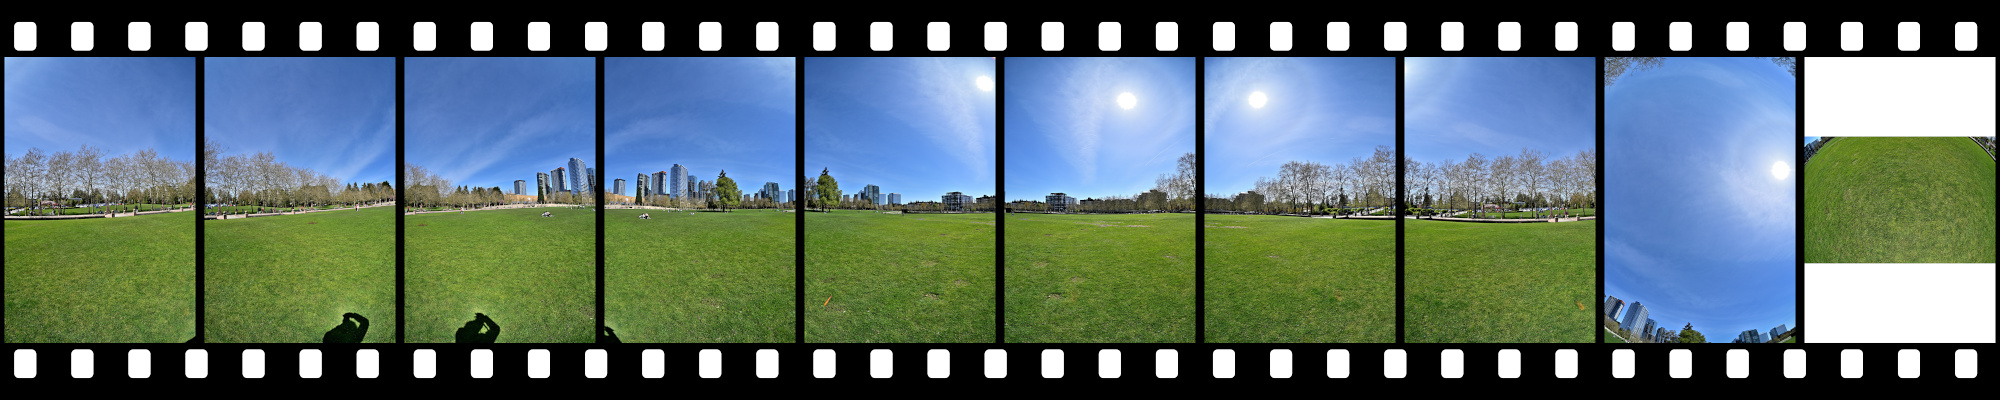
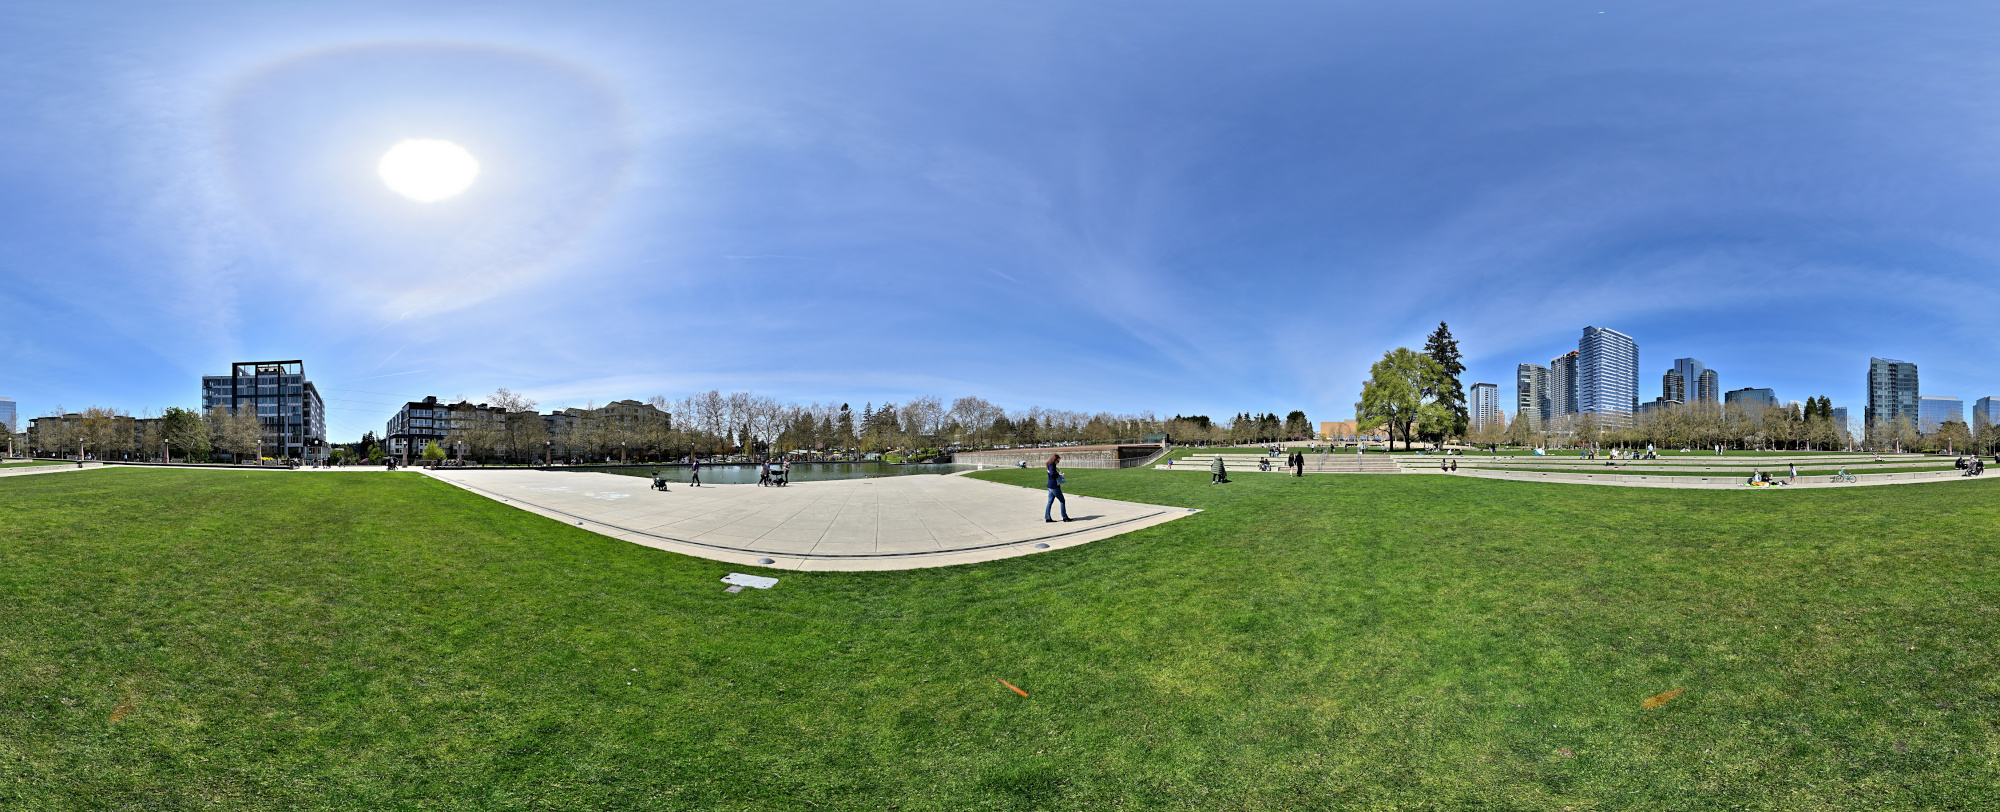
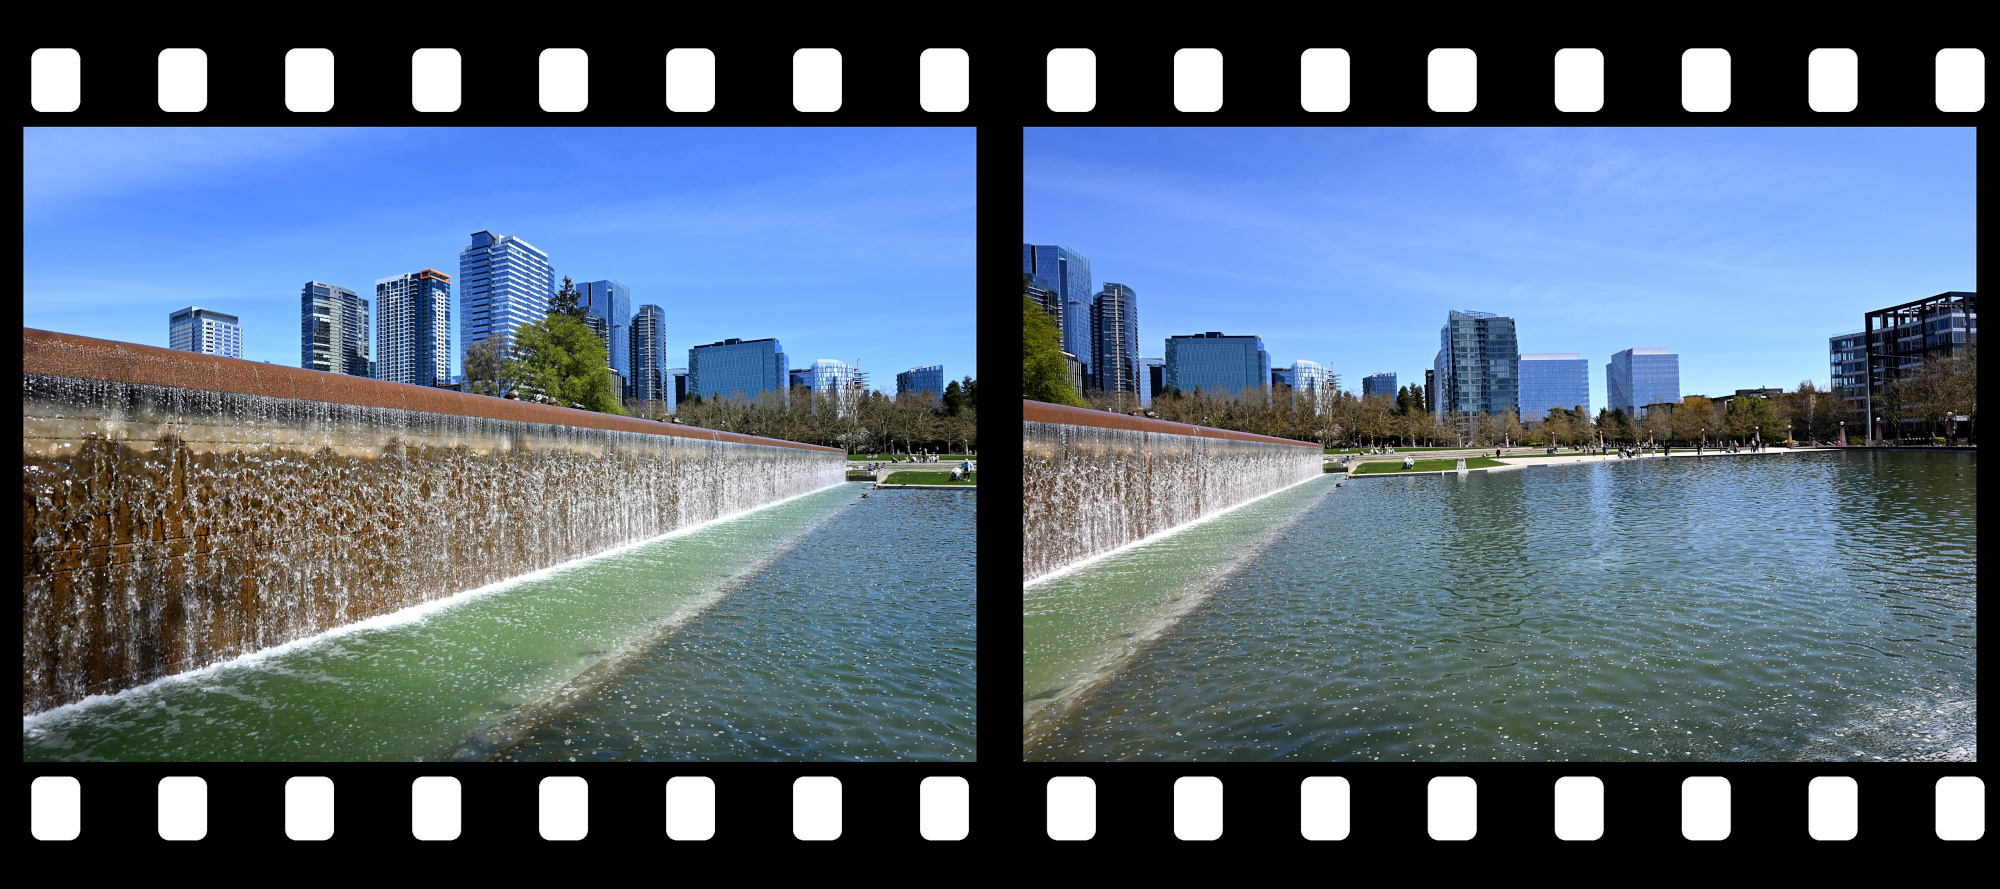
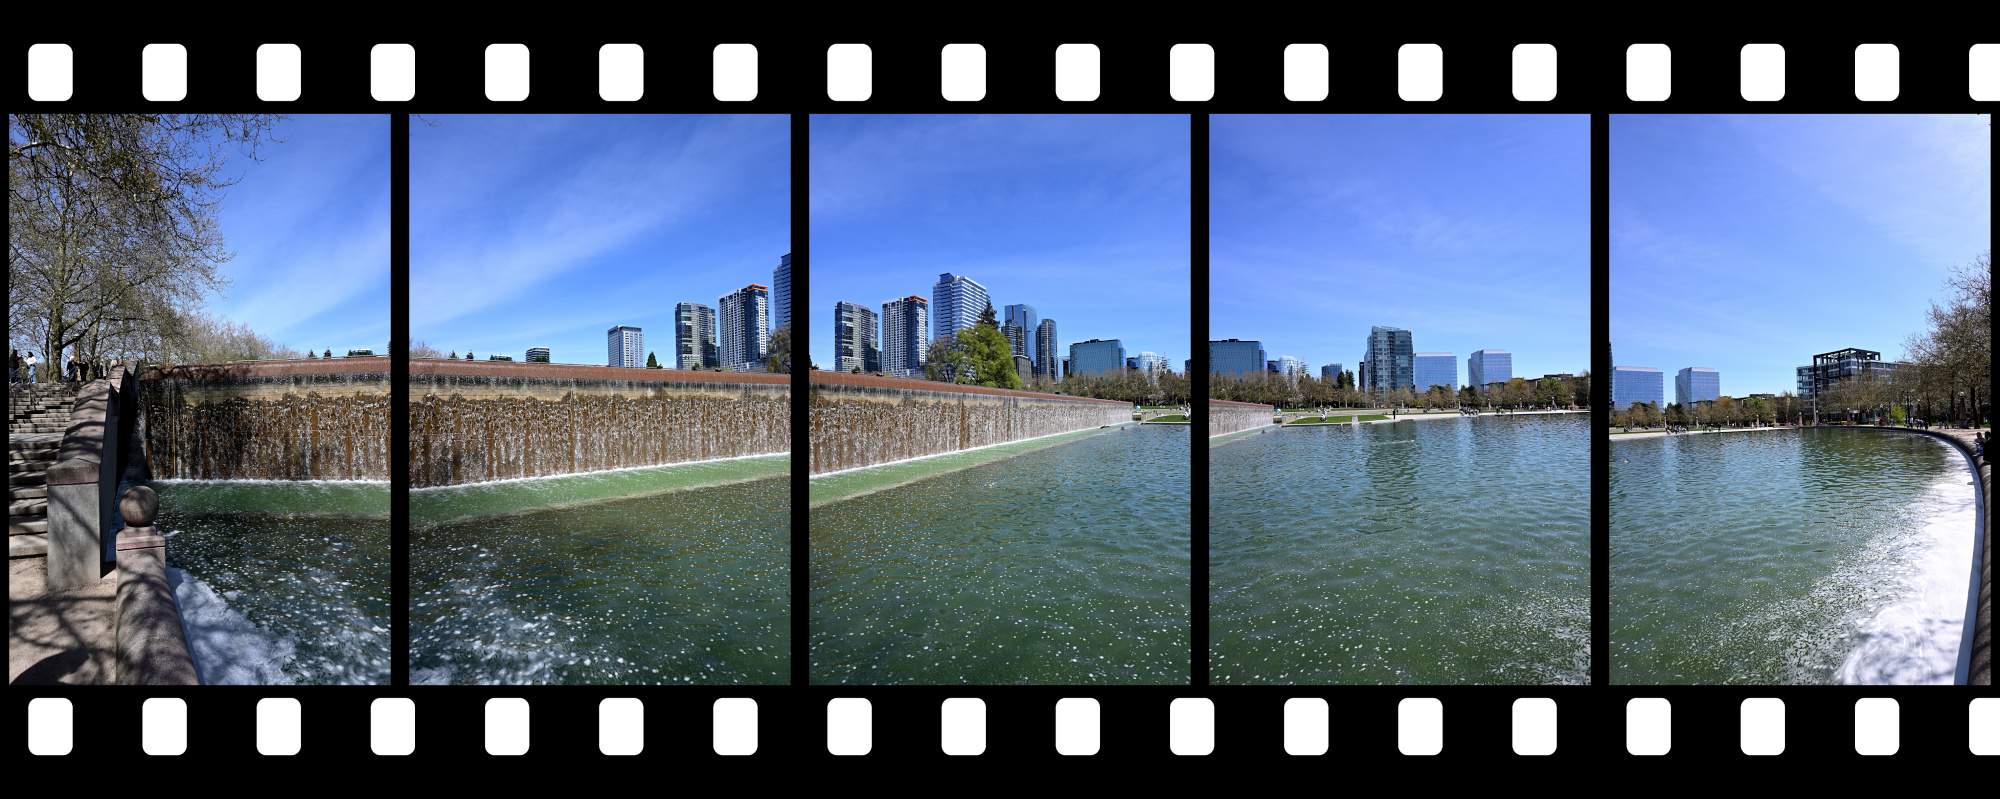
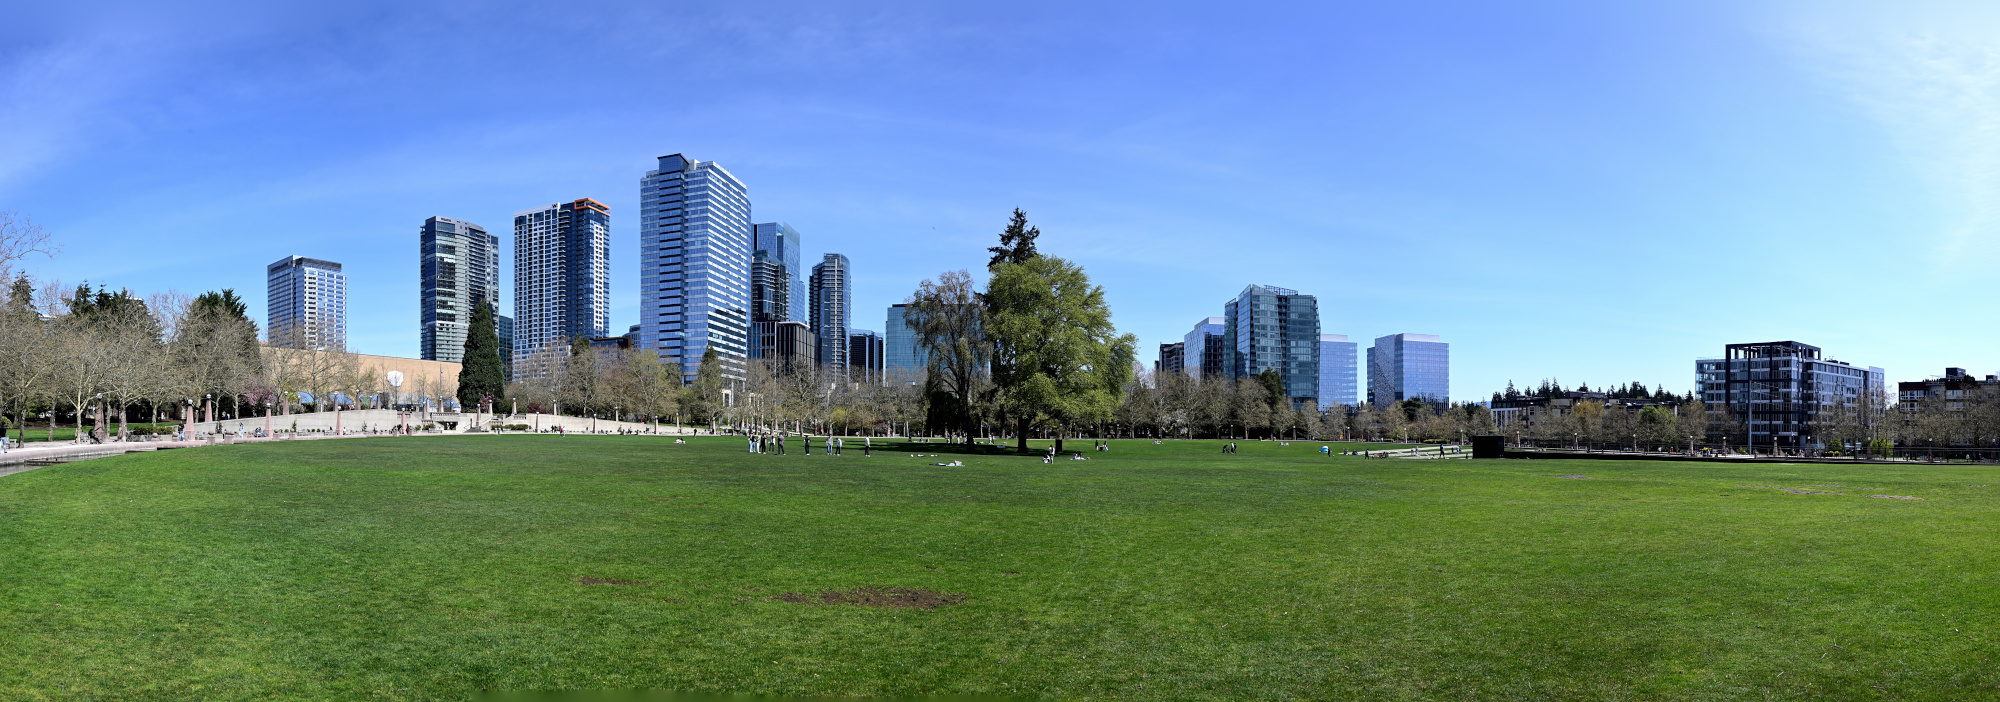
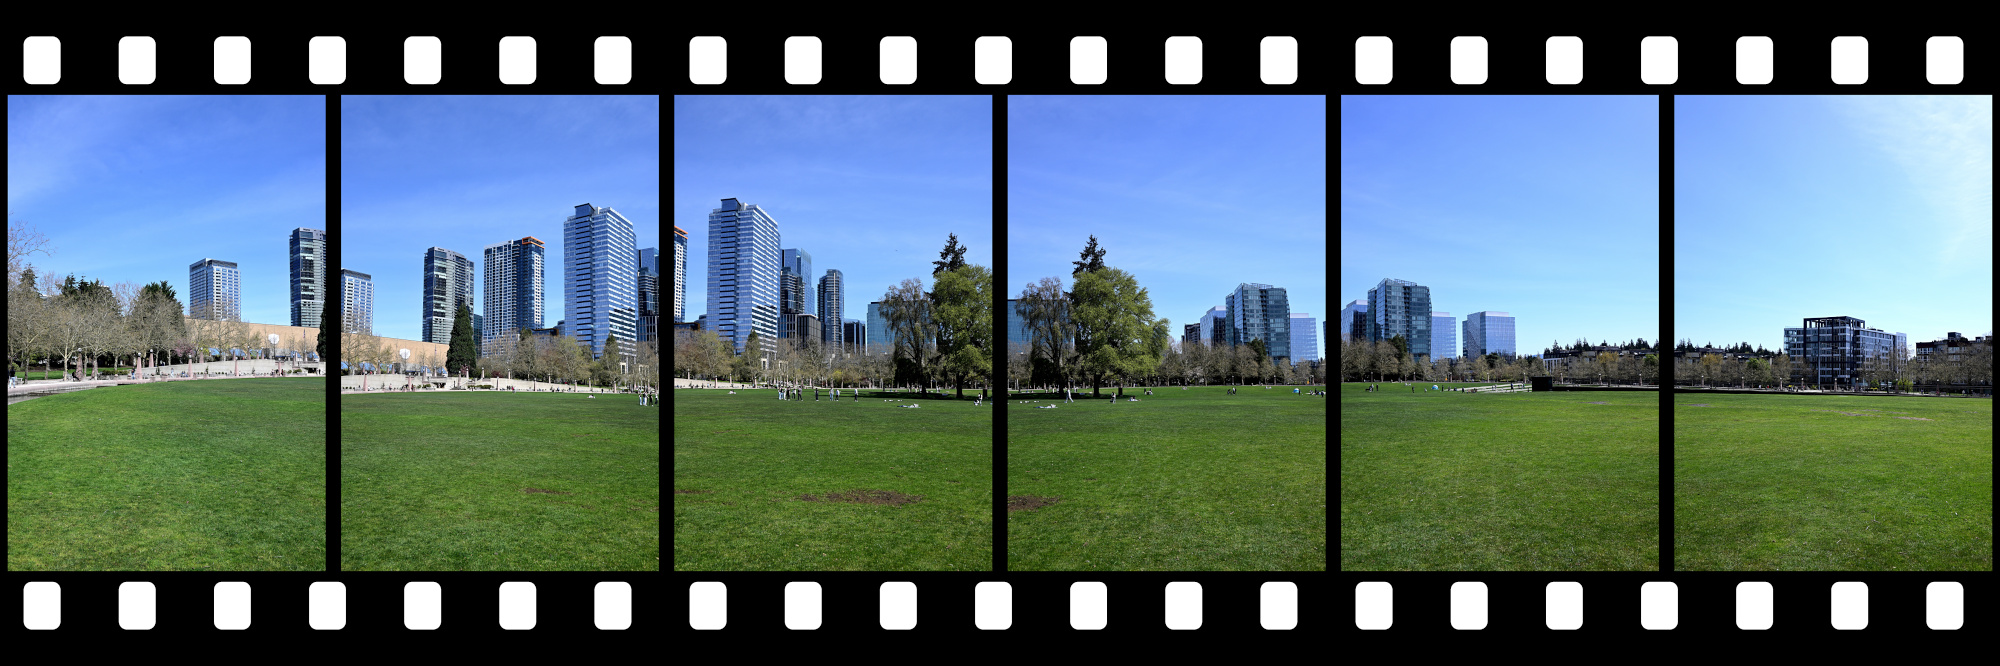
Sunny Sunday afternoon at the Bellevue Downtown Park.
Interactive Panorama Bellevue Downtown Park 1
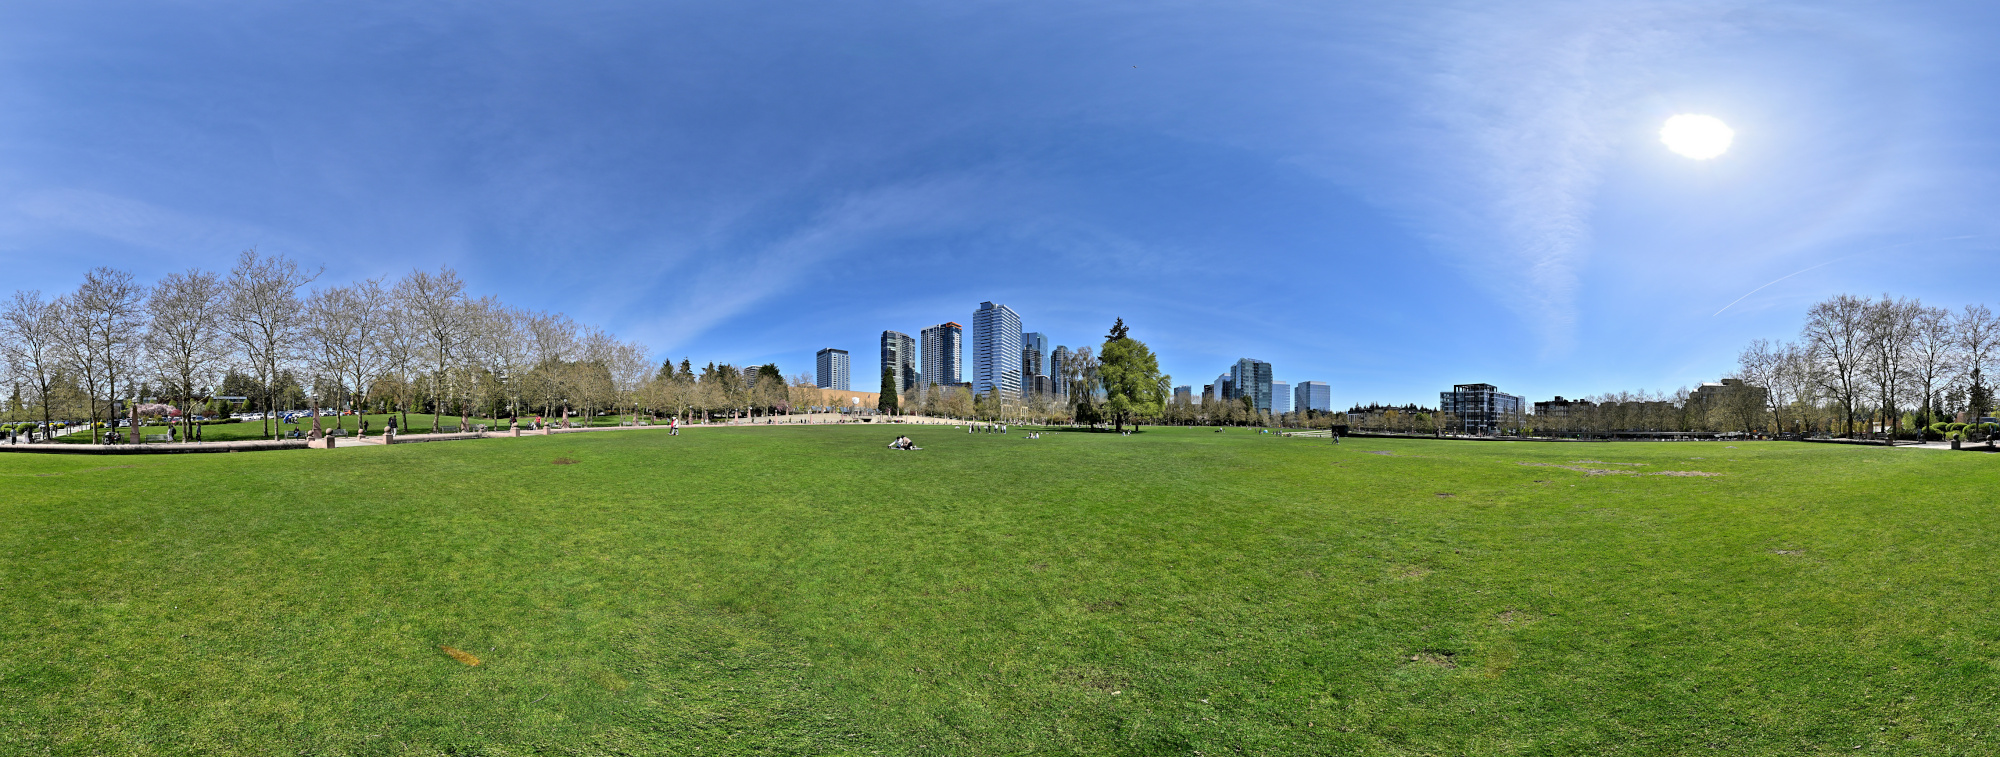
1/800s f/5,6 ISO 100/21° f=7,5mm

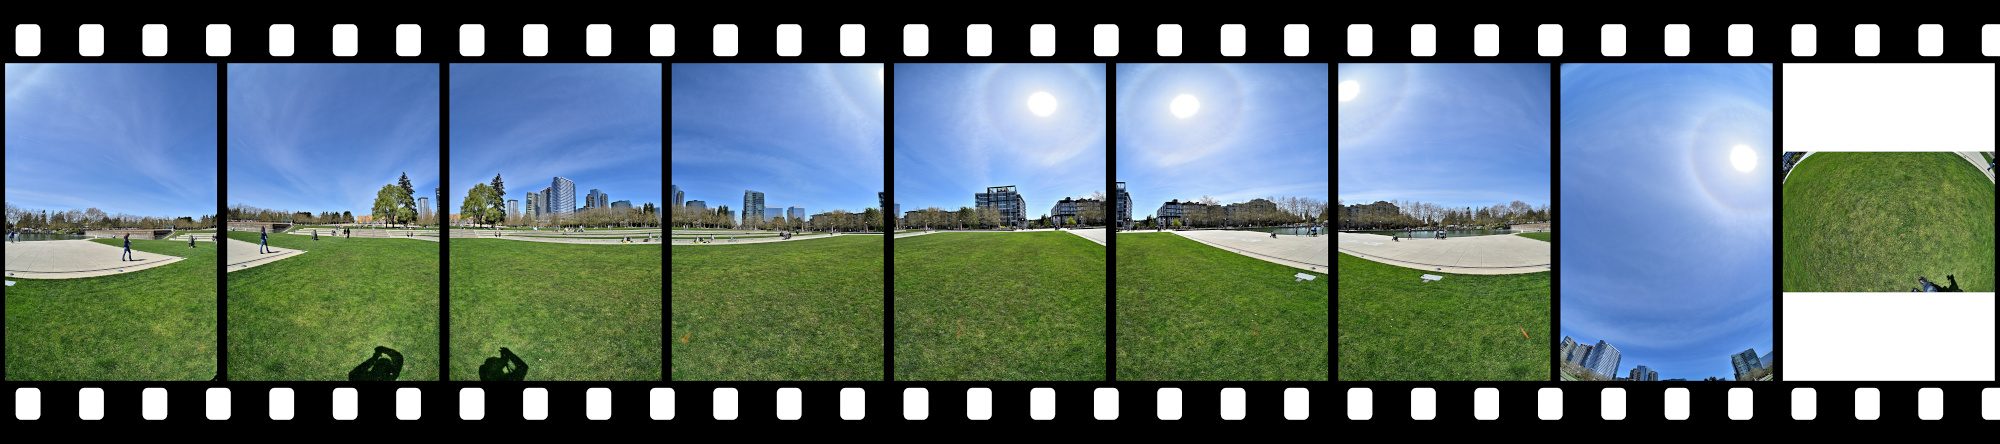
Interactive Panorama Bellevue Downtown Park 2
1/800s f/5,6 ISO 100/21° f=7,5mm

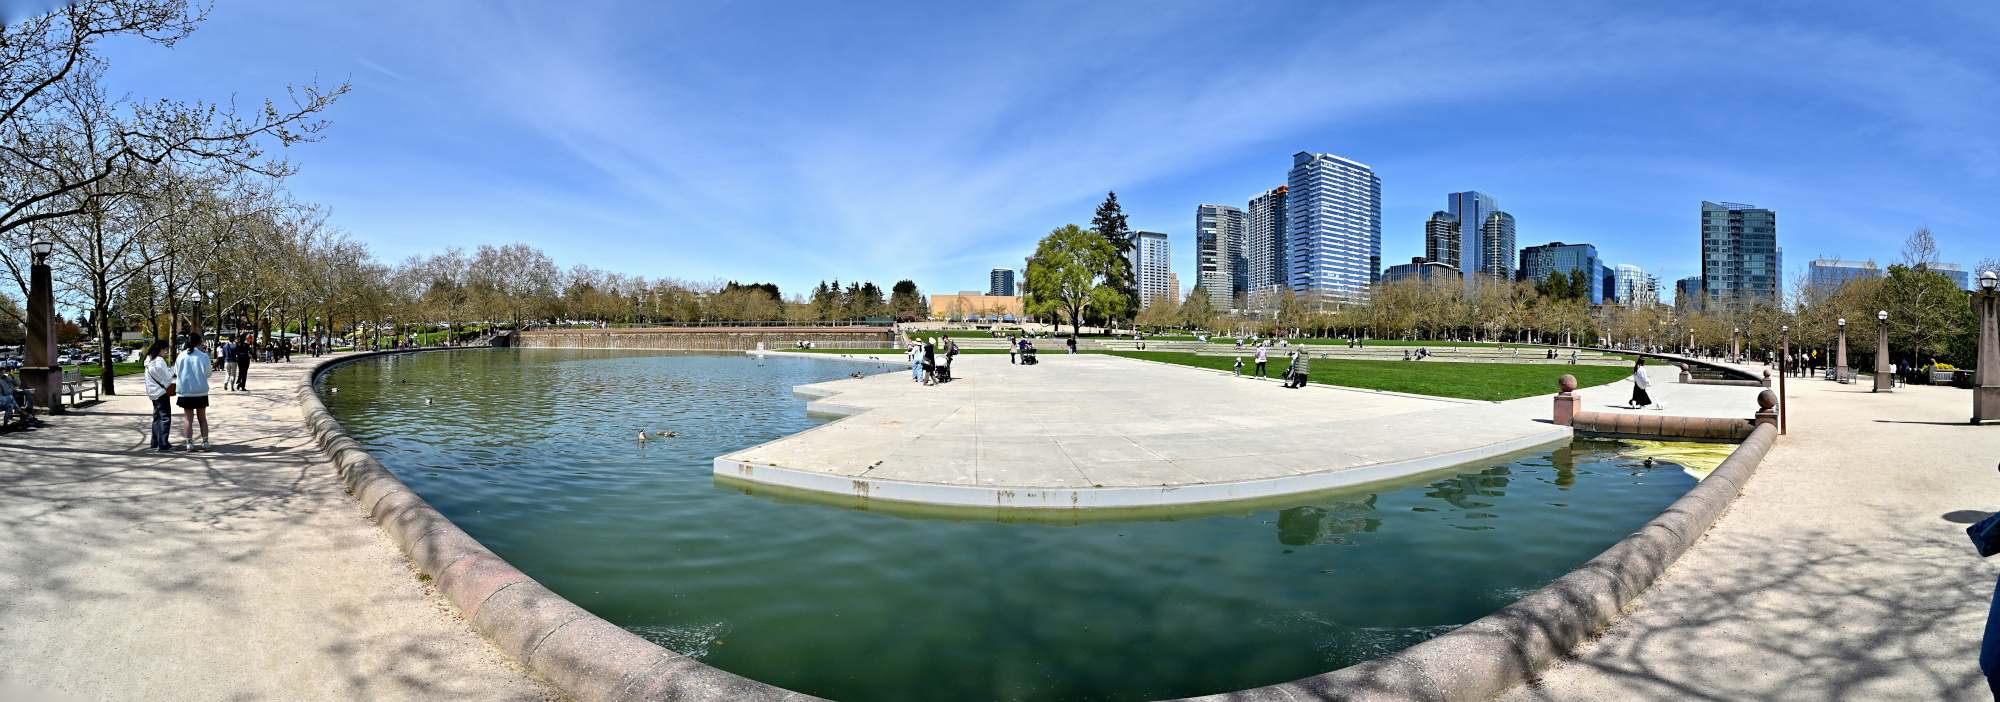
Lake 1
1/400s f/7,1 ISO 100/21° 16-50mm f/3,5-6,3 VR f=16mm/24mm
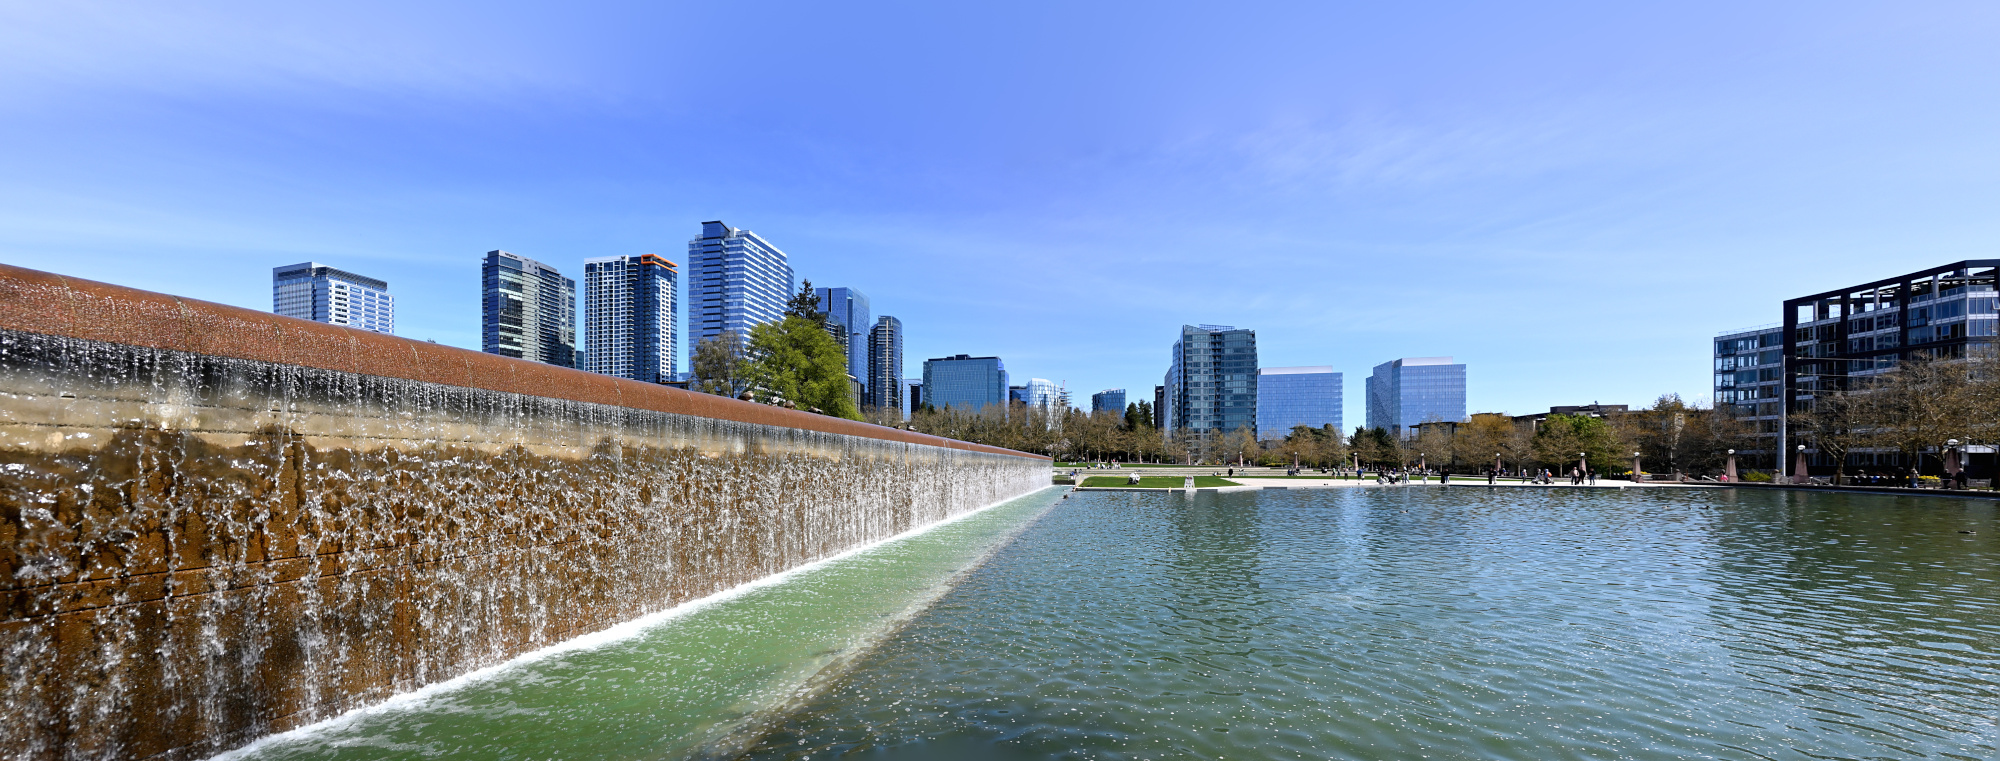
Lake 2
1/1000s f/5,6 ISO 100/21° f=7,5mm
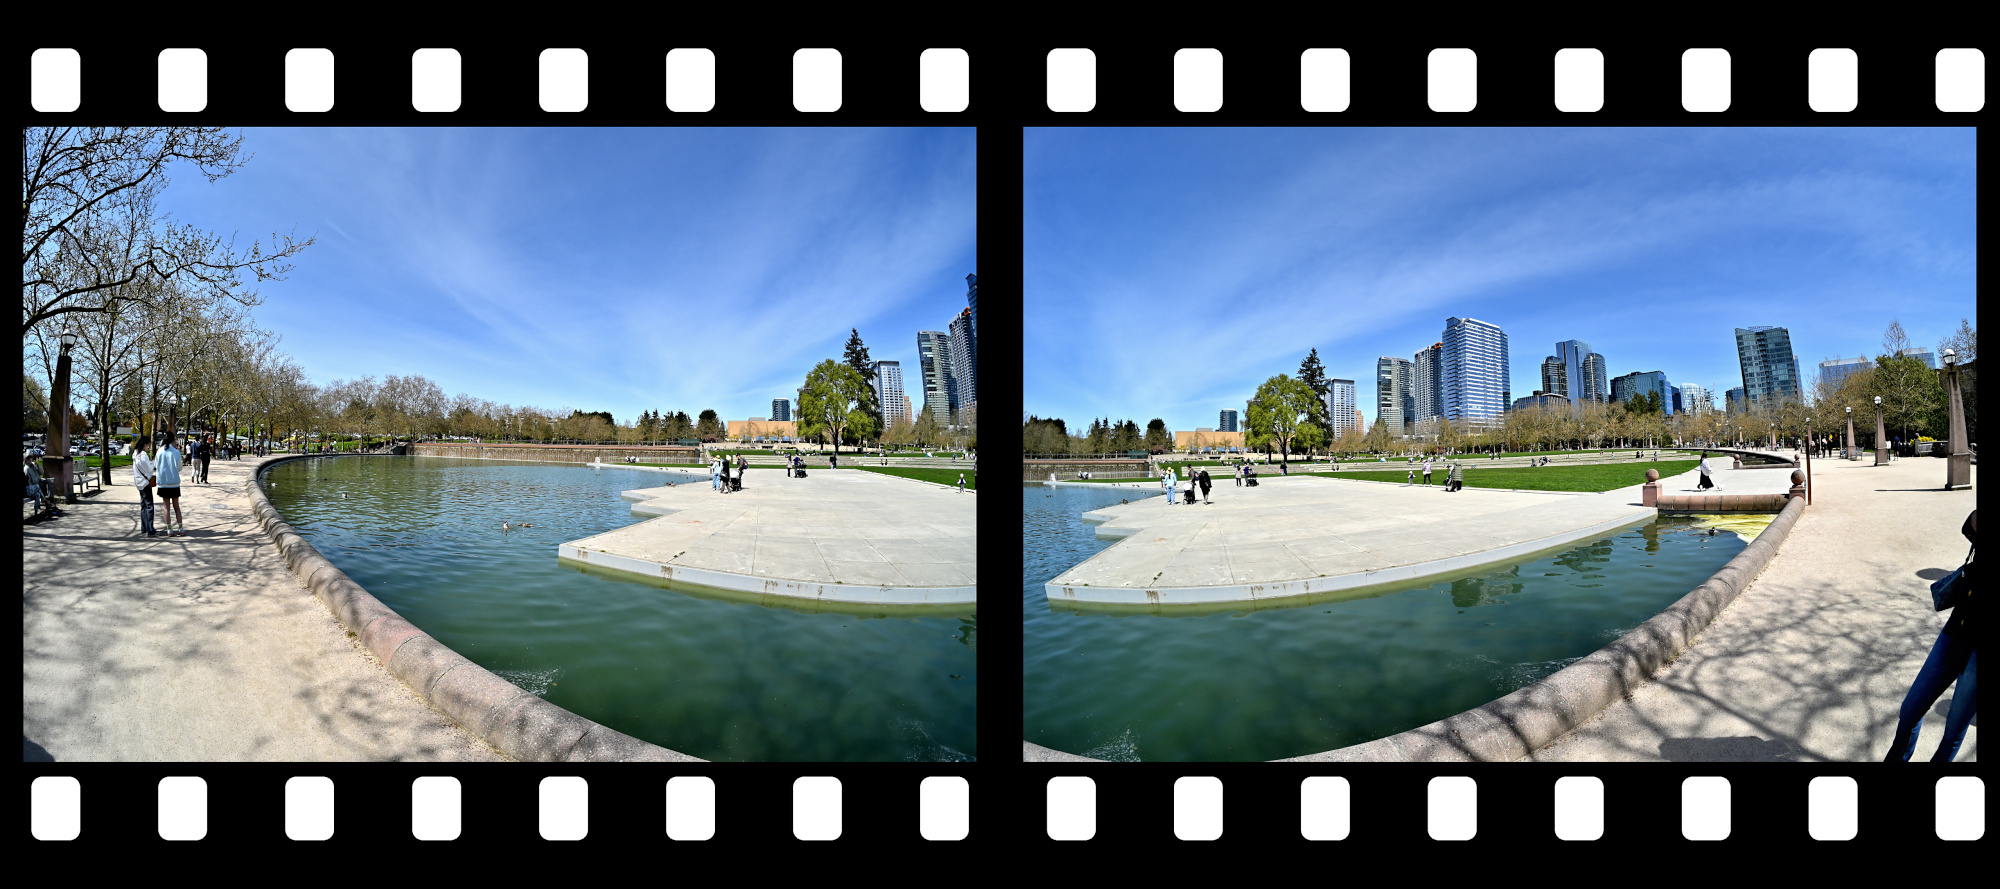
Lake 3
1/400s f/7,1 ISO 100/21° 16-50mm f/3,5-6,3 VR f=16mm/24mm
Downtown View
1/400s f/7,1 ISO 100/21° 16-50mm f/3,5-6,3 VR f=24mm/36mm
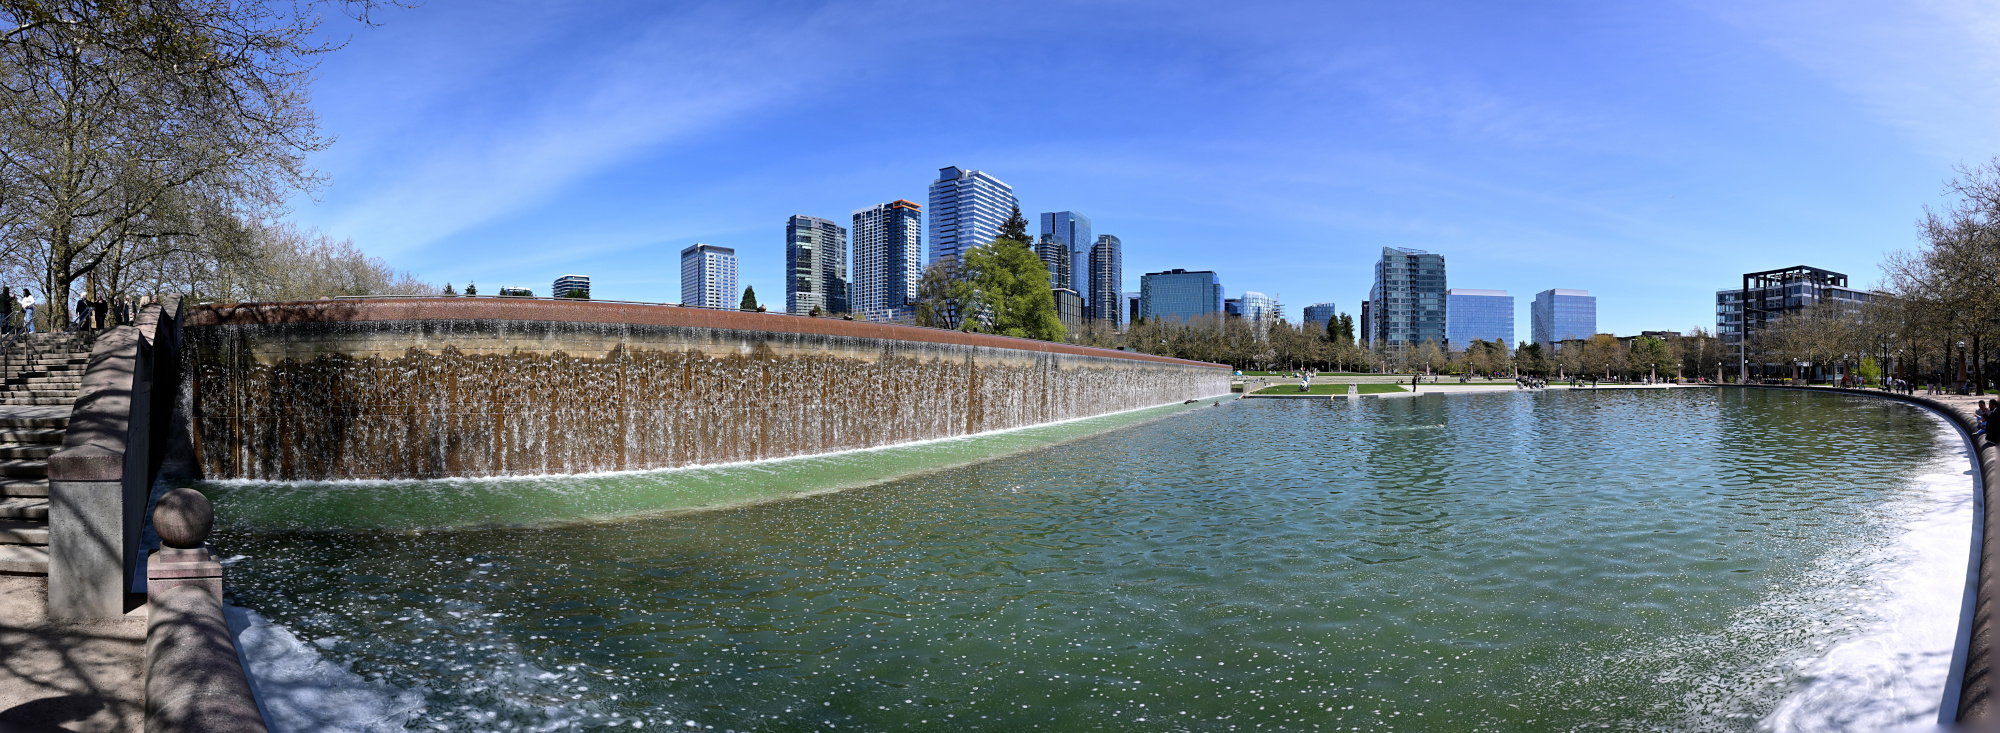
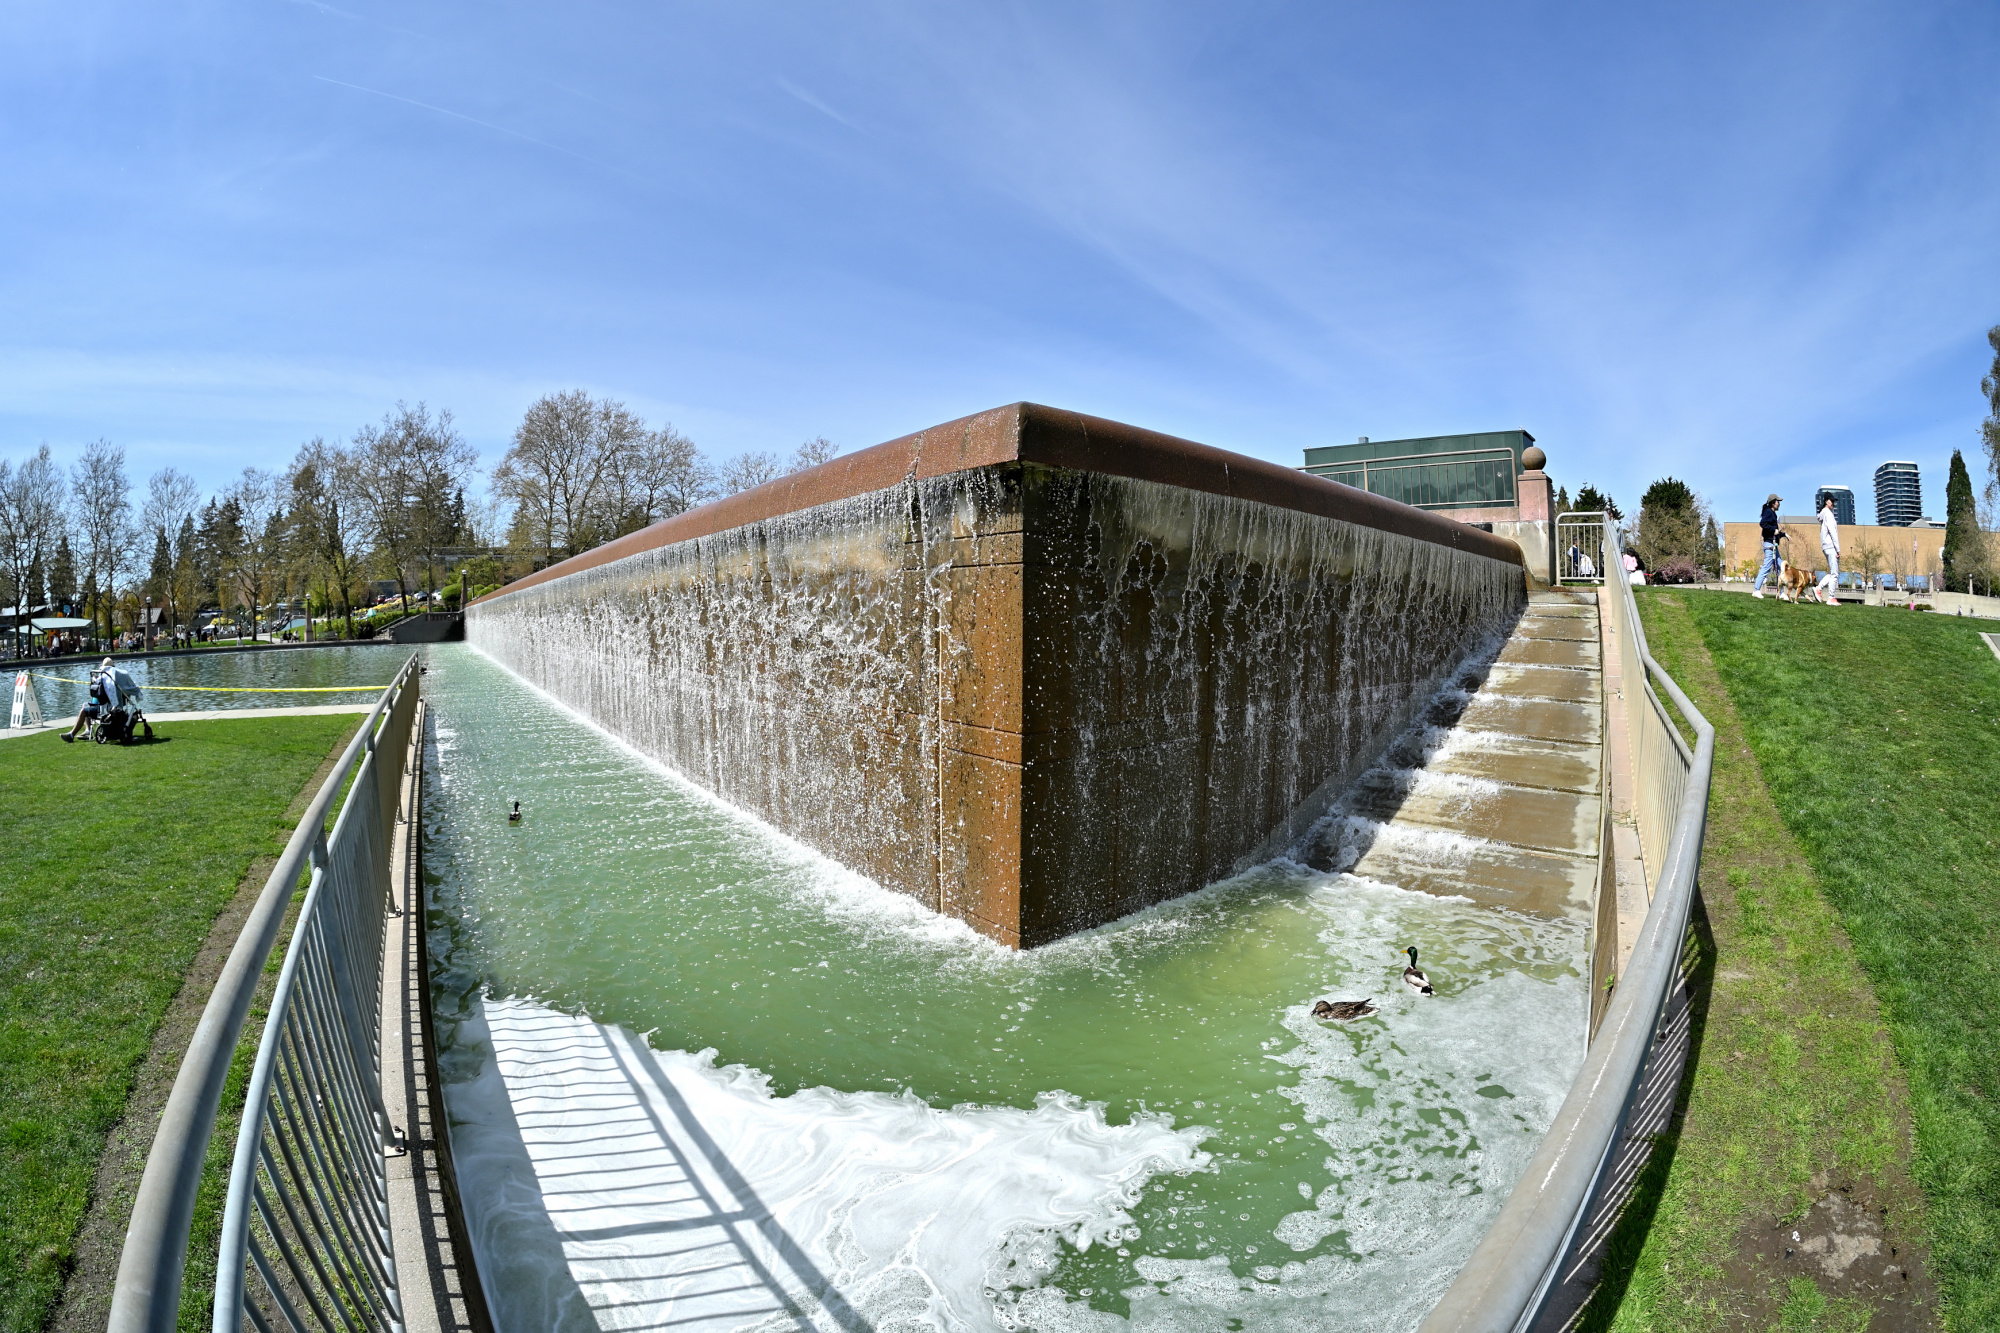
Duck's corner
Fisheye lens captures the corner of the waterfall, a favorite haunt for 🦆
1/800s f/5,6 ISO 100/21° f=7,5mm
Different projections:
[Cylindric] [Equirectangular] [Mercator] [Rectangular] [Vedutsimo]

NAS (Network Attached Storage) is a convenient solution for storing pictures, videos, and all your other files. The NAS device is typically configured as RAID-1, utilizing two disks to ensure data is mirrored in case one disk fails thereby improving resilience. It connects to your local network, providing reliable and accessible storage, but it is not a backup.
Backing up files from a NAS device is very important to ensure data integrity and availability.
Many NAS systems, such as my Synology NAS, come equipped with backup software like Hyper-Backup. Unfortunately those software is getting slower over time during a backup run for some reason.
And do not copy your files over the network to a drive attached to your computer. This process is slow and there's a risk of the connection dropping.
Using PuTTY, a popular SSH client, and simple Linux commands, you can efficiently perform backups and verify them running on the NAS. Here’s a step-by-step guide.
Prerequisite
NAS devices typically feature USB ports, allowing you to connect an external hard drive of the required size directly to the NAS via USB. External drives are available in two main types: SSD (Solid State Drives) and HDD (Hard Disk Drives with spinning disks). I'm using HDD because of their long-term data retention capabilities, but SSDs are faster and maybe perfect for frequent short term backups. The drive connects to the system with a path like /volumeUSB1/usbshare1-2. Simply check with the cd and dir command.
Step 1: Connect to your NAS using PuTTY
Download and Install PuTTY.
Open PuTTY and enter the IP address of your NAS in the "Host Name (or IP address)" field. Default Port is 22.
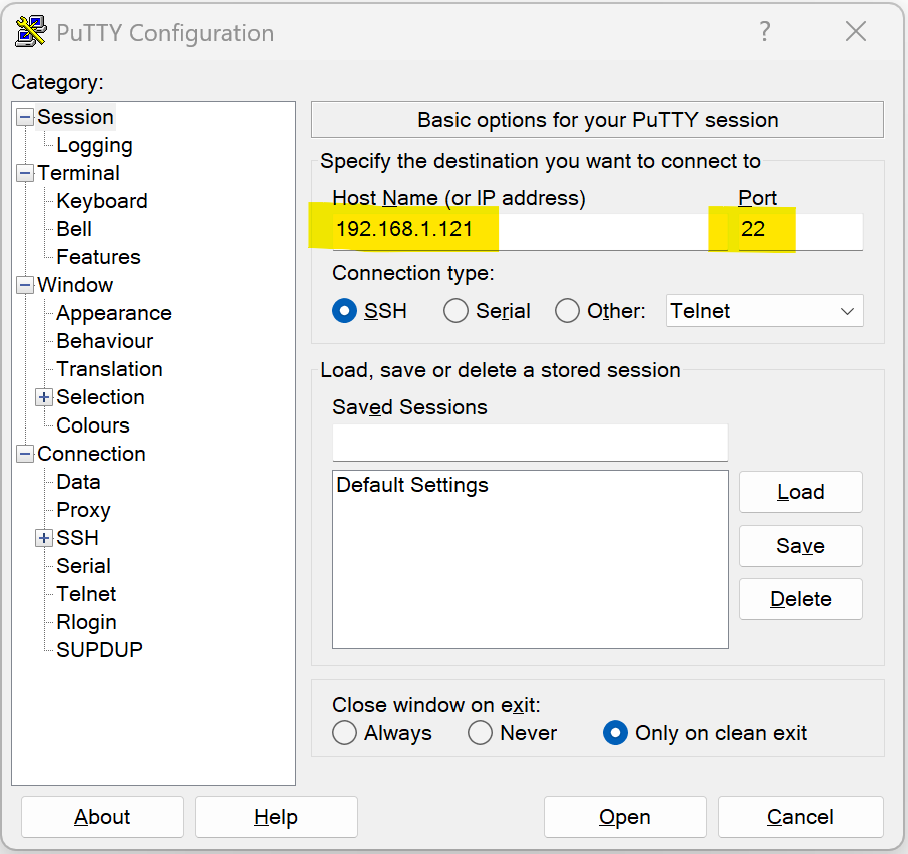
Login: Click "Open" and log in using your NAS credentials. You should now have access to the NAS embedded Linux console.
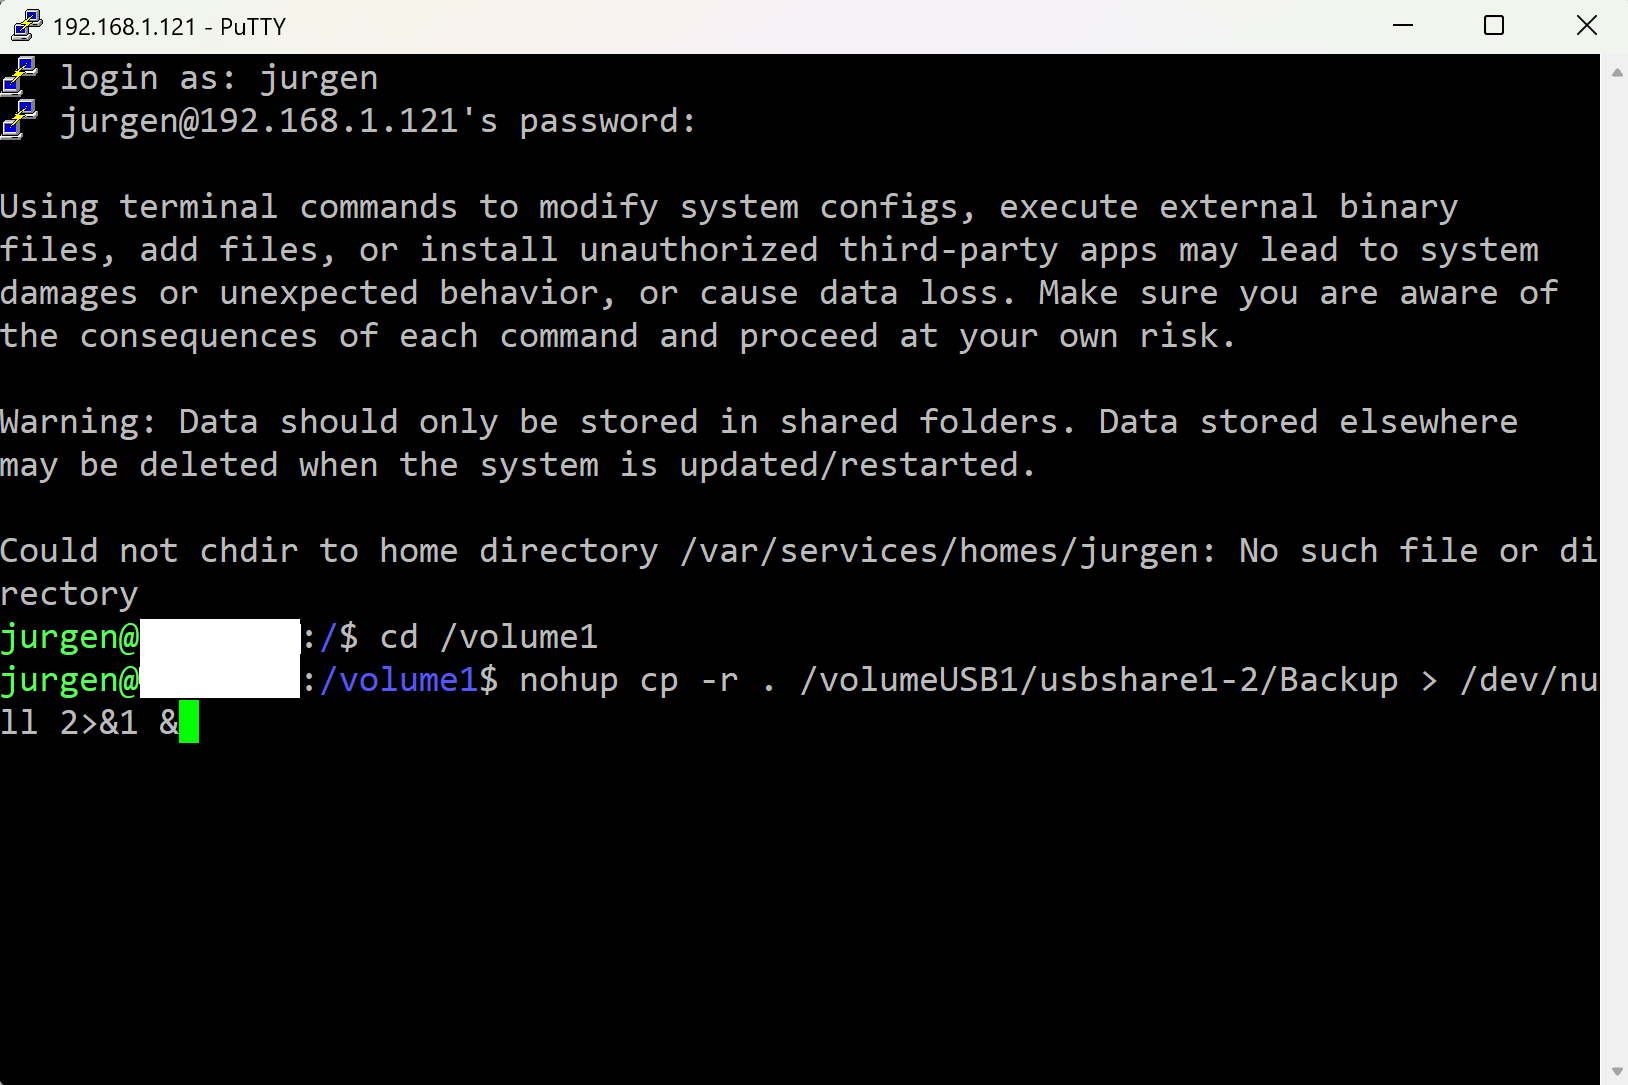
Step 2: Backup Files using the cp command
The cp command of the embedded Linux system of the NAS is used to copy files and directories.
To backup files from your NAS to another drive, follow these steps:
Navigate to the Source Directory:
cd /volume1
For large data sets, the copy process can take several days, and the PuTTY terminal may disconnect, closing the command. To prevent this, use the nohup command to keep the process running even if the terminal disconnects.
While commands like screen or tmux can be used to detach from the current terminal session, they are not always available on every system. At least, it is not available on the Synology NAS.
Copy Files to the Backup Location using cp command with nohup:
nohup cp -r . /volumeUSB1/usbshare1-2/backup > /dev/null 2>&1 &
If you only want to back up specific folders, list those folders in the cp command instead of using the dot (.), which copies everything. Enclose folder names that contain spaces in quotes.
nohup cp -r pictures1 pictures2 "some foldername with space" /volumeUSB1/usbshare1-2/backup > /dev/null 2>&1 &
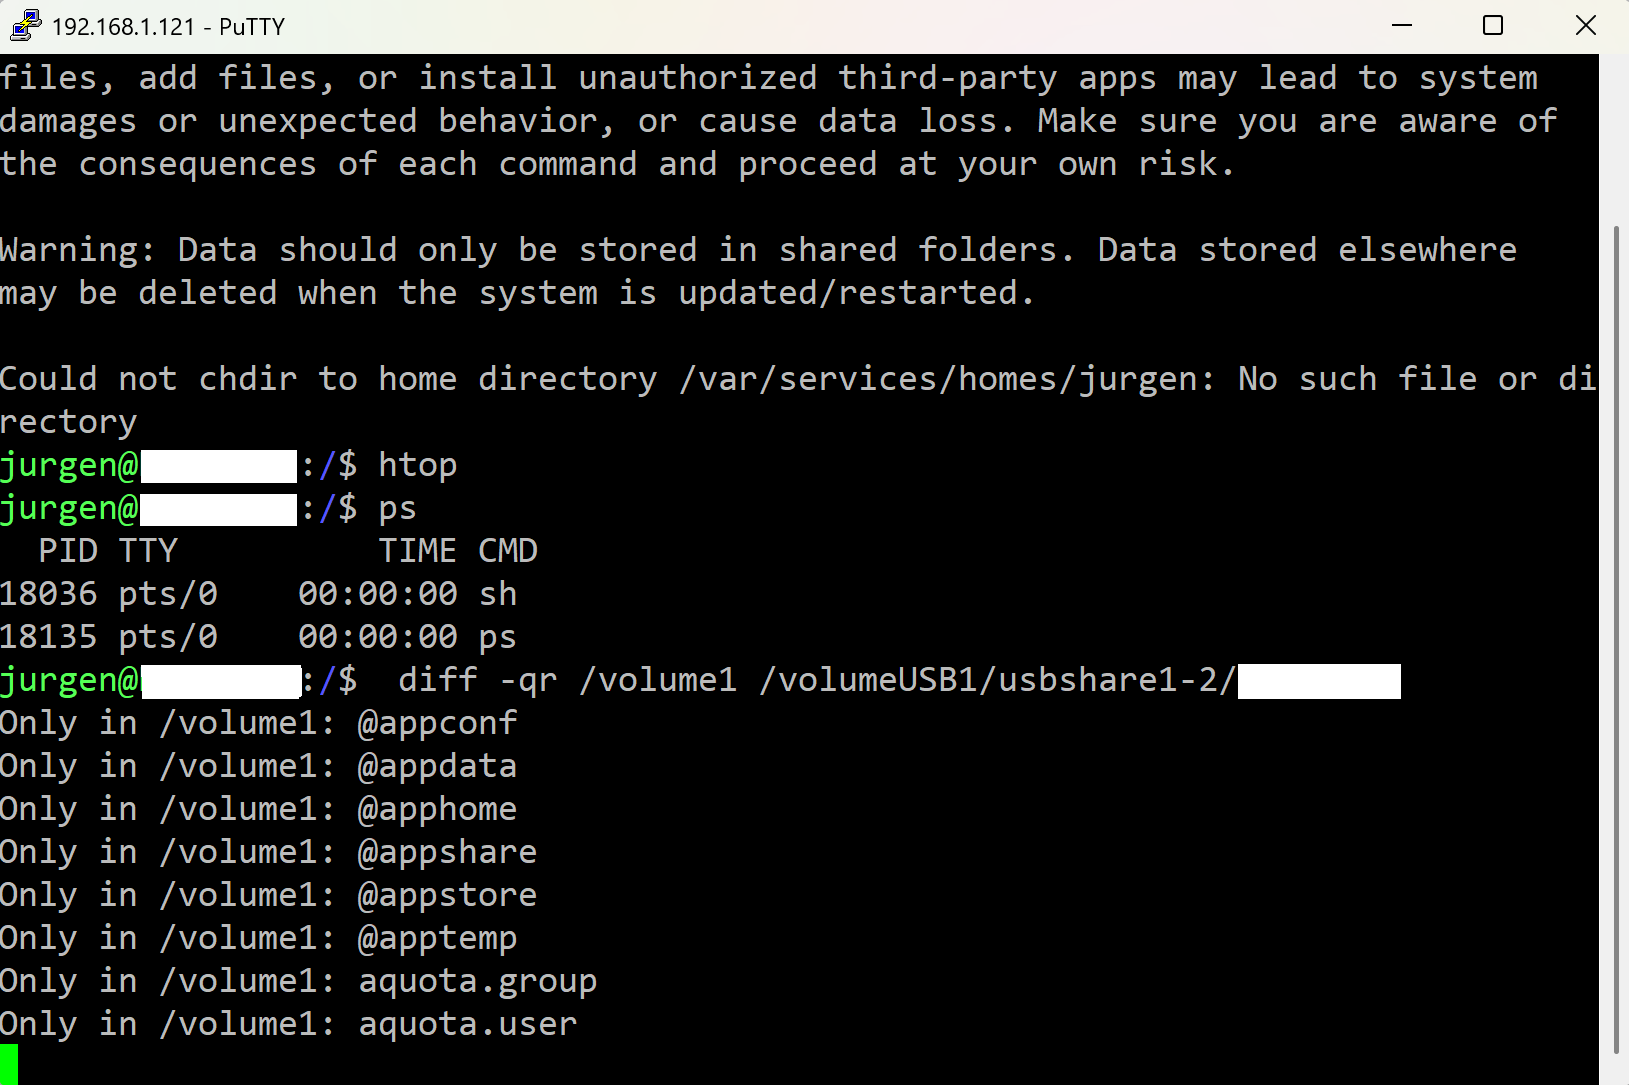
The nohup command immediately returns and provides a process ID (PID). You can use the ps or htop command to check for this PID if it is still running in later sessions. Use the kill command with this PID to stop the backup.
Step 3: Verify the Backup using the diff command
To ensure that the backup is identical to the original files, you can use the diff command to compare the contents of the source and backup directories.
diff -qr /volume1 /volumeUSB1/usbshare1-2/backup
If the directories are identical, diff will not produce any output. If there are differences, it will list the differing files.
For large file sets, use the nohup command to not rely on the active terminal session. Any output will be written to the redirected file (for example /var/services/tmp/diff.txt) and can be checked later.
nohup diff -qr /volume1 /volumeUSB1/usbshare1-2/backup > /var/services/tmp/diff.txt 2>&1 &
My first digital camera was a Kodak DC-260, and I used 3.5" 💾 for backup.
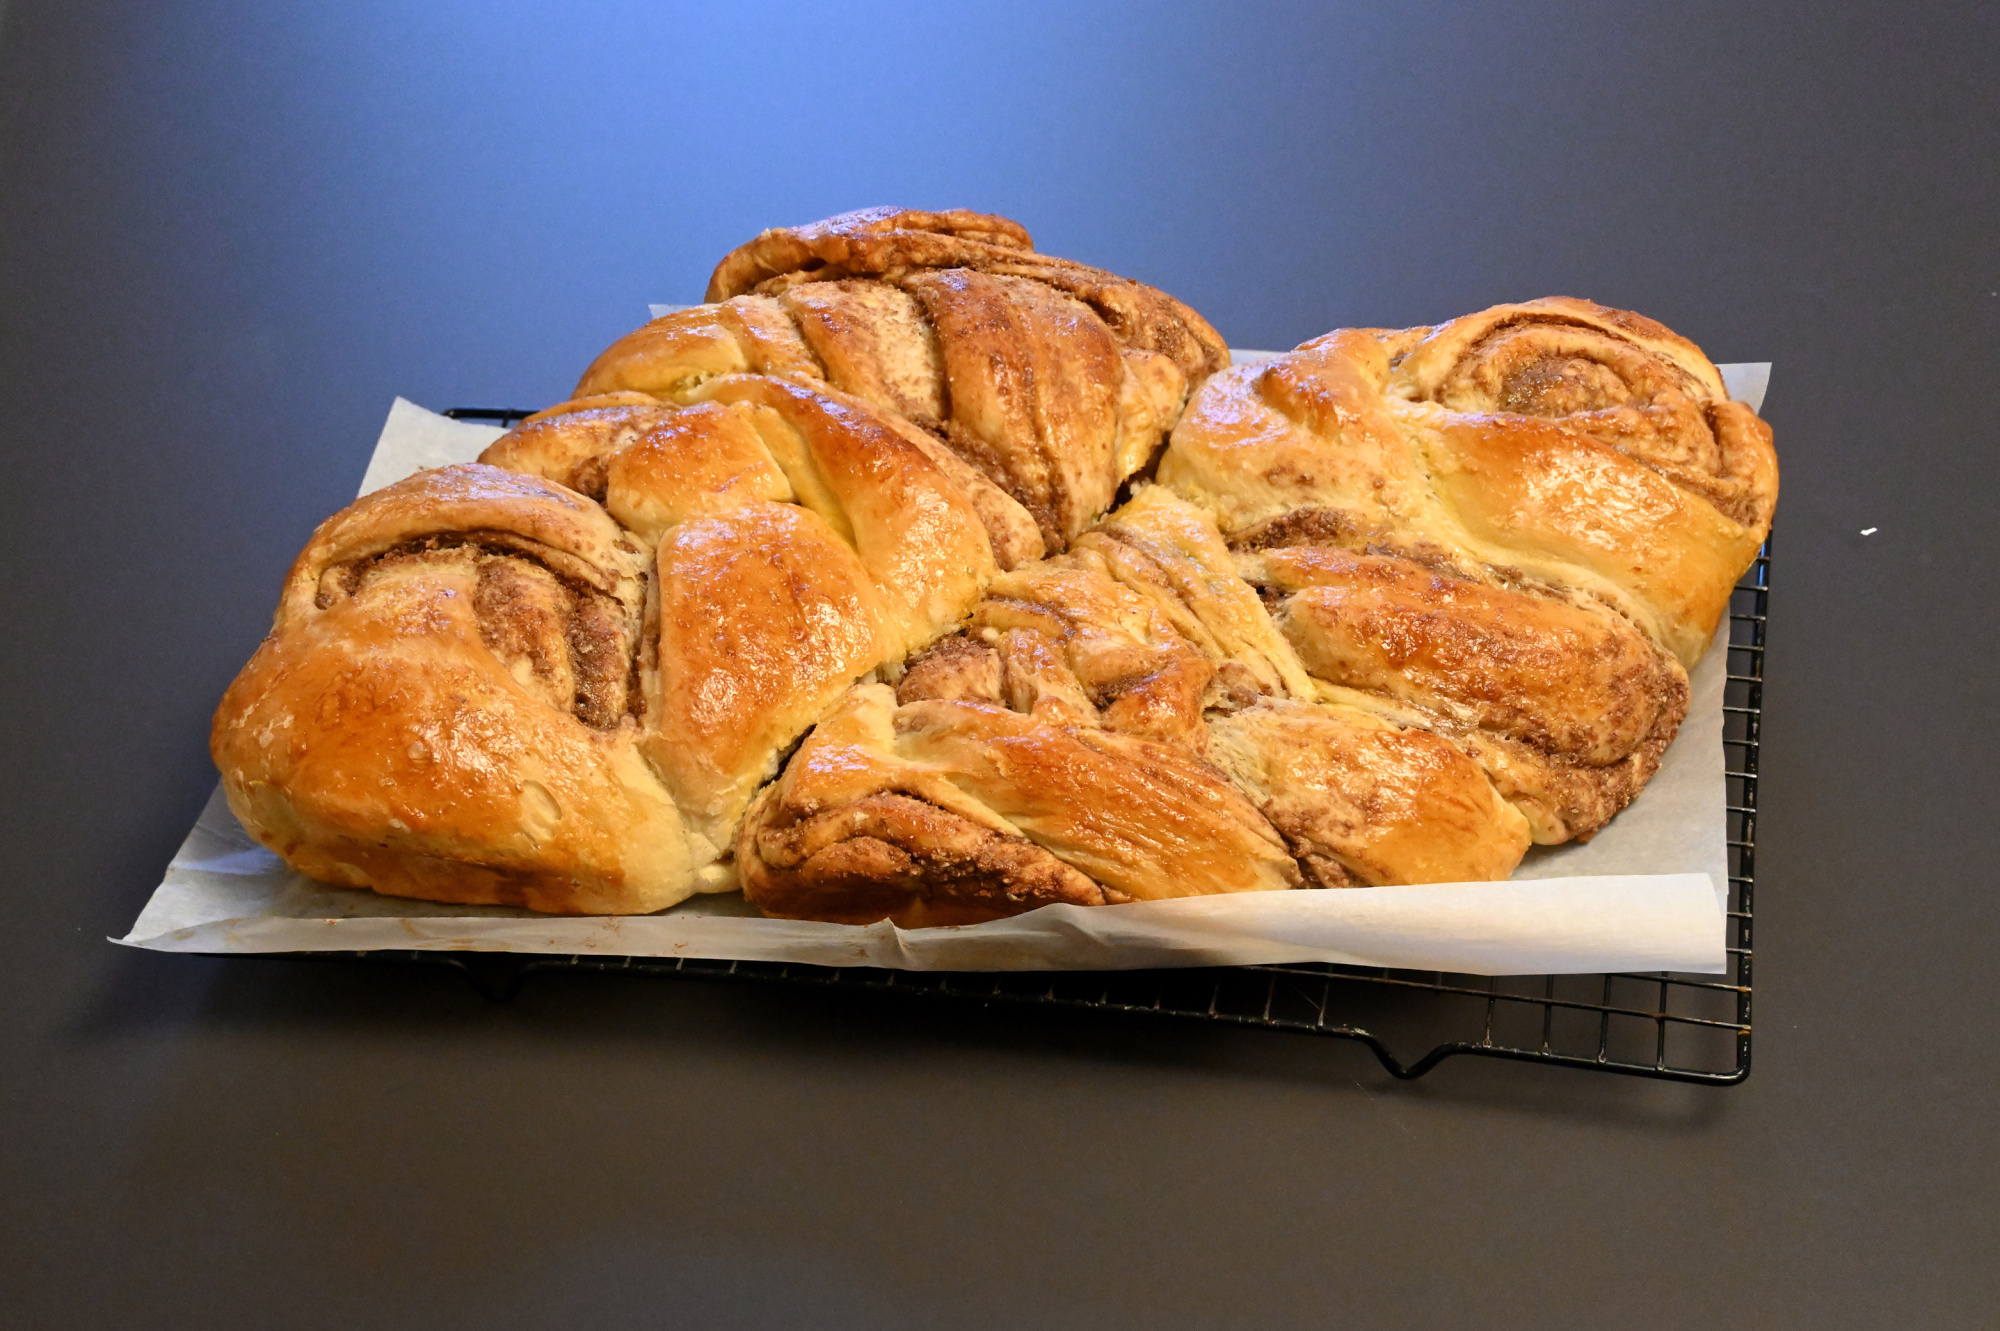
Ein besonderer Tag, und dazu was besonderes.
Zopf
1/60s f/5,0 ISO 4000 16-50mm f/3,5-6,3 VR f=34mm/51mm


1/125s f/3,5 ISO 3200/36° 16-50mm f/3,5-6,3 VR f=16mm/24mm

Lagoon
Ohne Fokus-Stacking
1/80s f/4,8 ISO 3200/36° 16-50mm f/3,5-6,3 VR f=30mm/45mm

Mit Fokus-Stacking

1/80s f/4,5 ISO 3200/36° 16-50mm f/3,5-6,3 VR f=26mm/39mm

Siehe Combine pictures with PTGui, Focus stacking
Schokoladentorte
[1/60s f/4,0 ISO 100/21° 16-50mm f/3,5-6,3 VR f=21mm/31mm] [1/100s f/4,2 ISO 3200/36° 16-50mm f/3,5-6,3 VR f=25mm/37mm]

Last year, the waterfront project was still under construction (see
Seattle Waterfront Park Project).
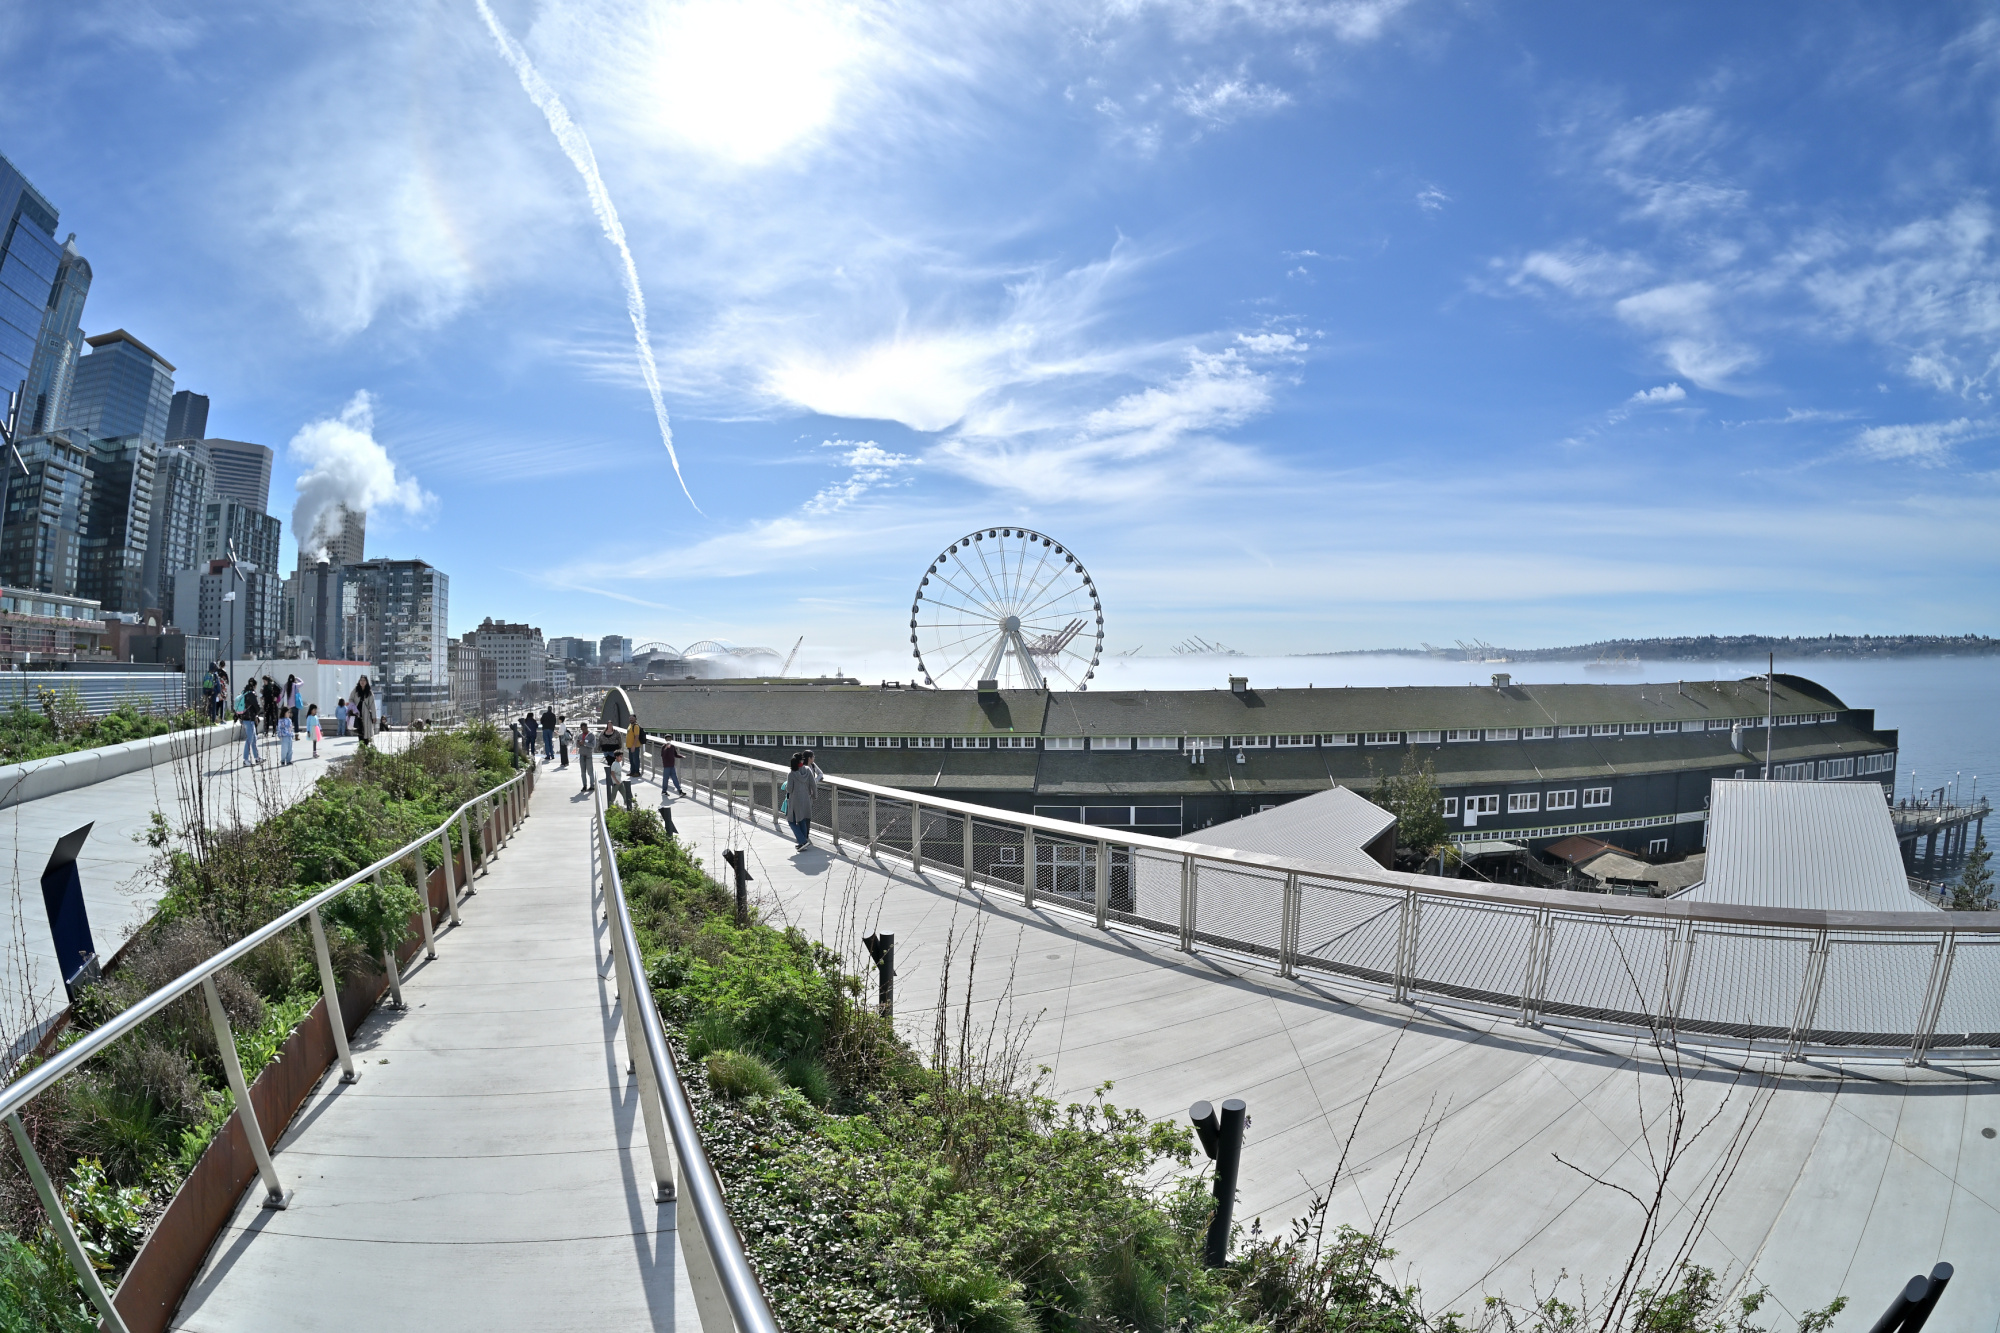
Now, it has been completed and is open to the public as the Seattle Overlook Walk, connecting the iconic Public Market with the Aquarium.
View from the Pike Place Market:
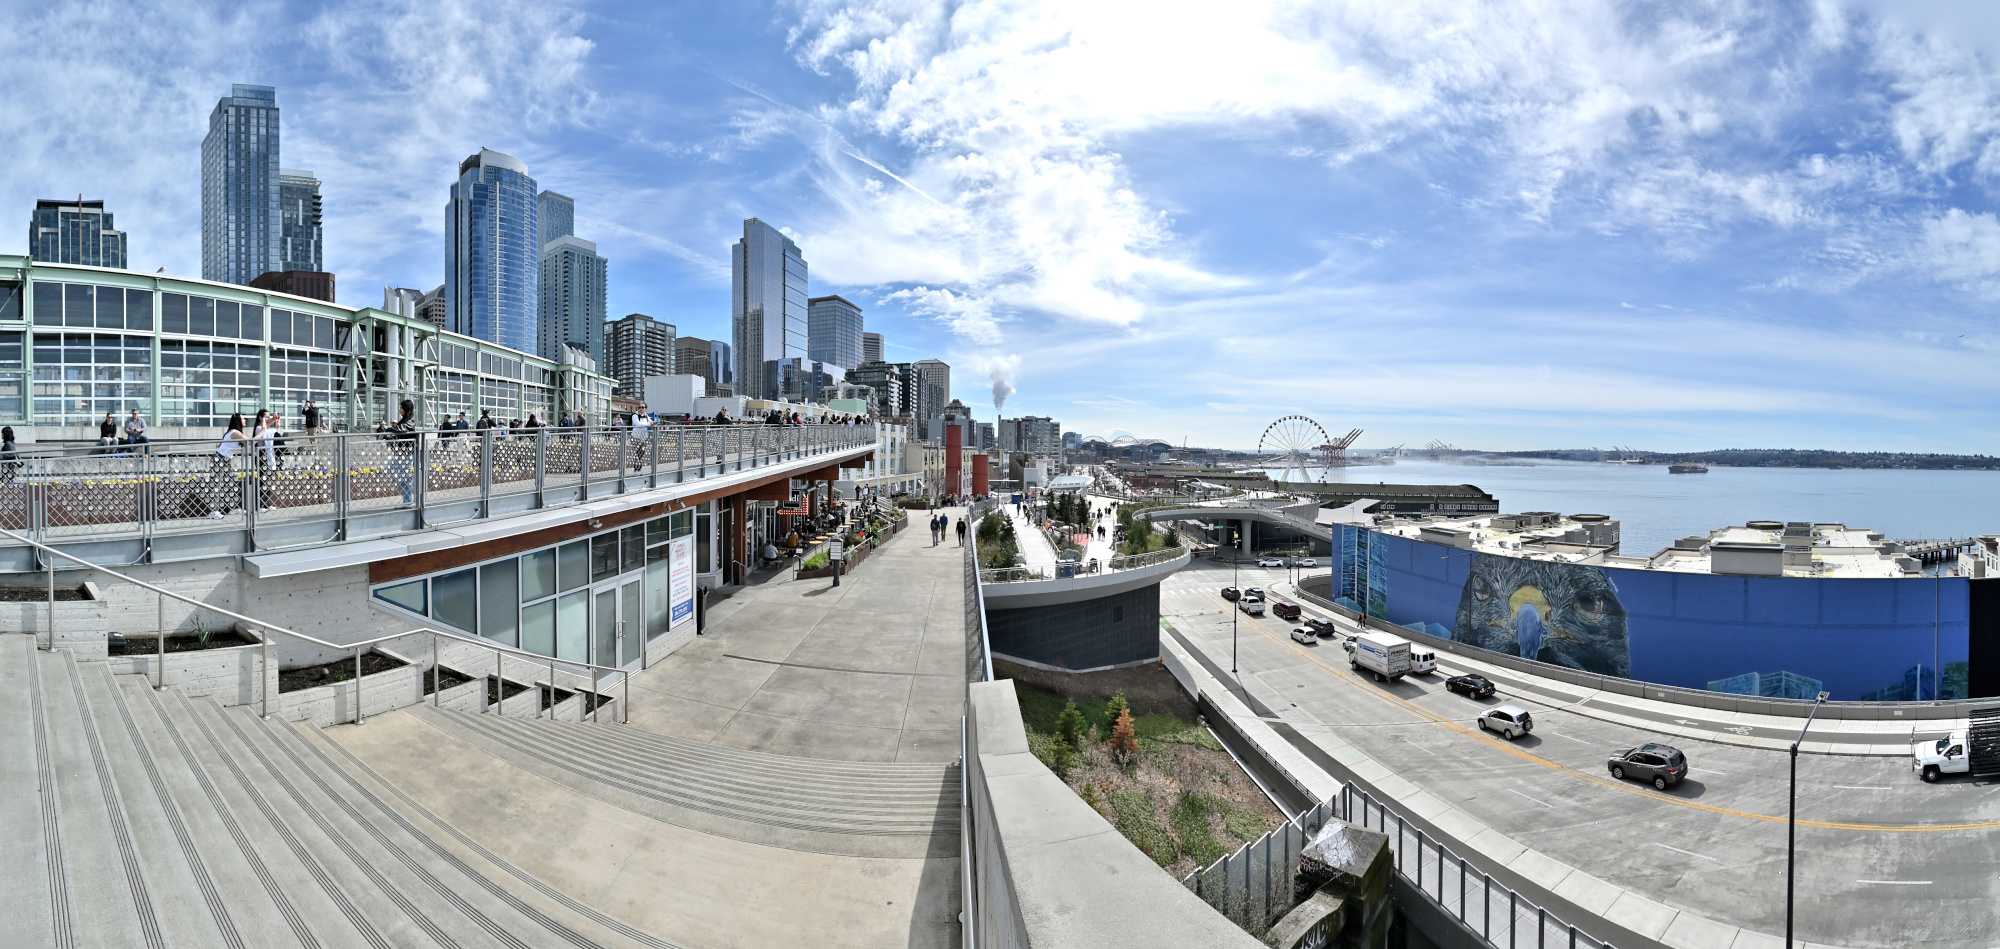
1/1250s f/5,6 ISO 100/21° f=7,5mm


1/1250s f/5,6 ISO 100/21° f=7,5mm
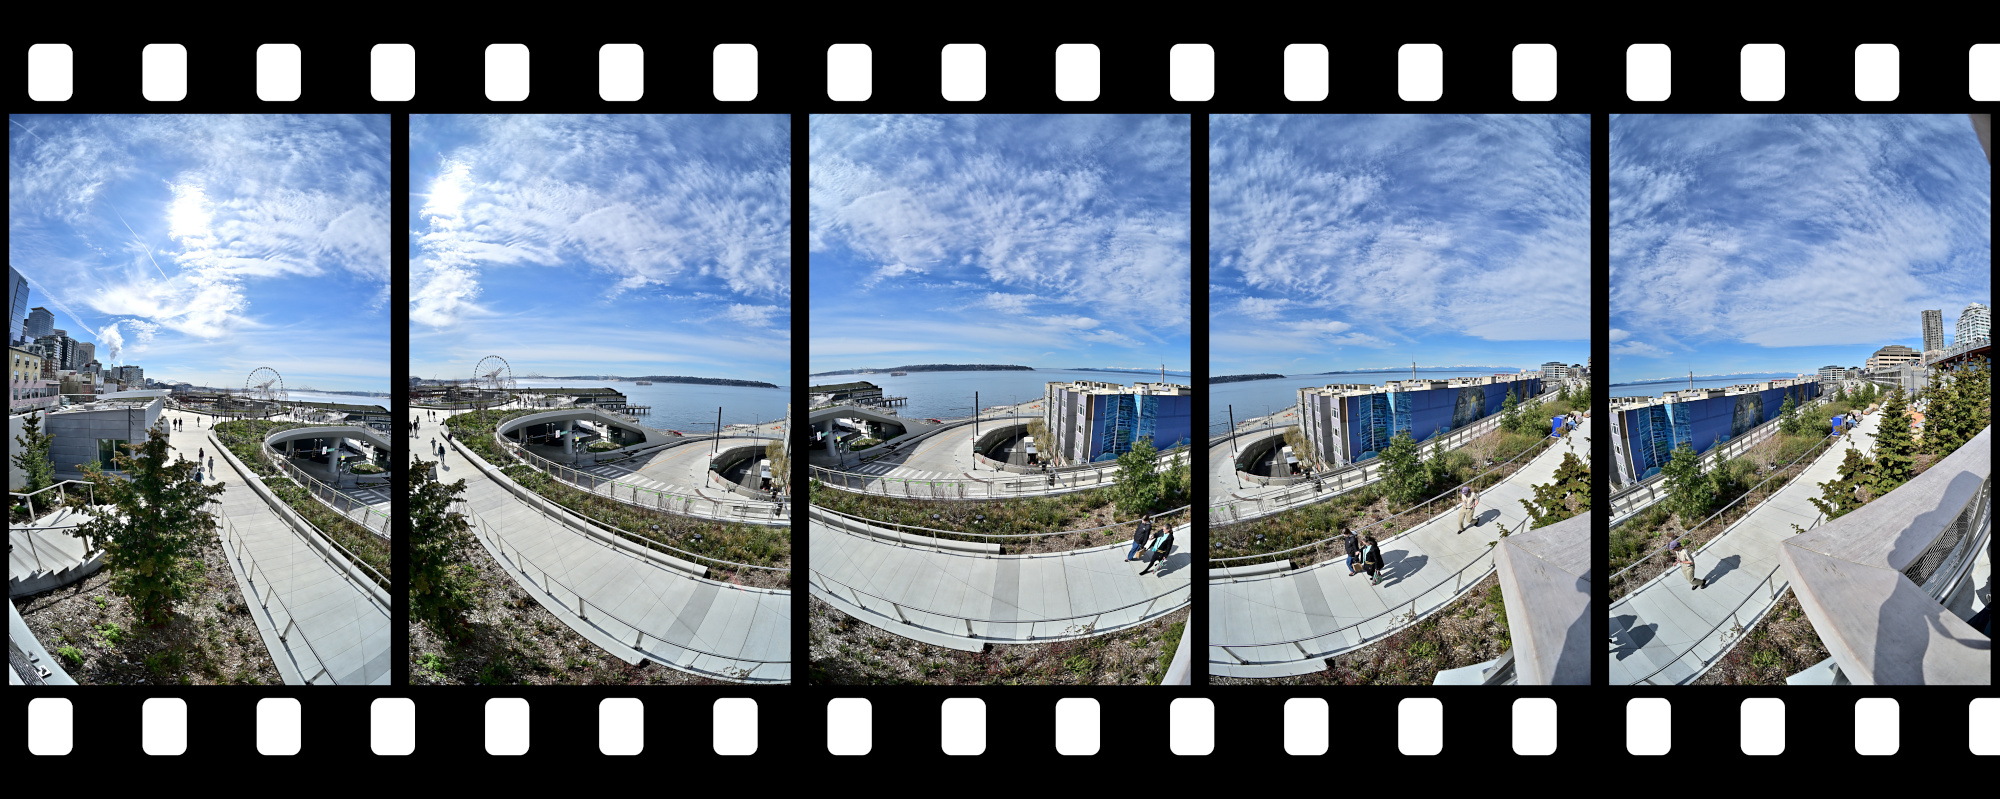
Seattle Overlook Walk 1
In the early morning, the fog drifts over the Puget Sound, creating a serene and mystical atmosphere.
Interactive Panorama Seattle Overlook Walk 1
1/1000s f/5,6 ISO 100/21° f=7,5mm
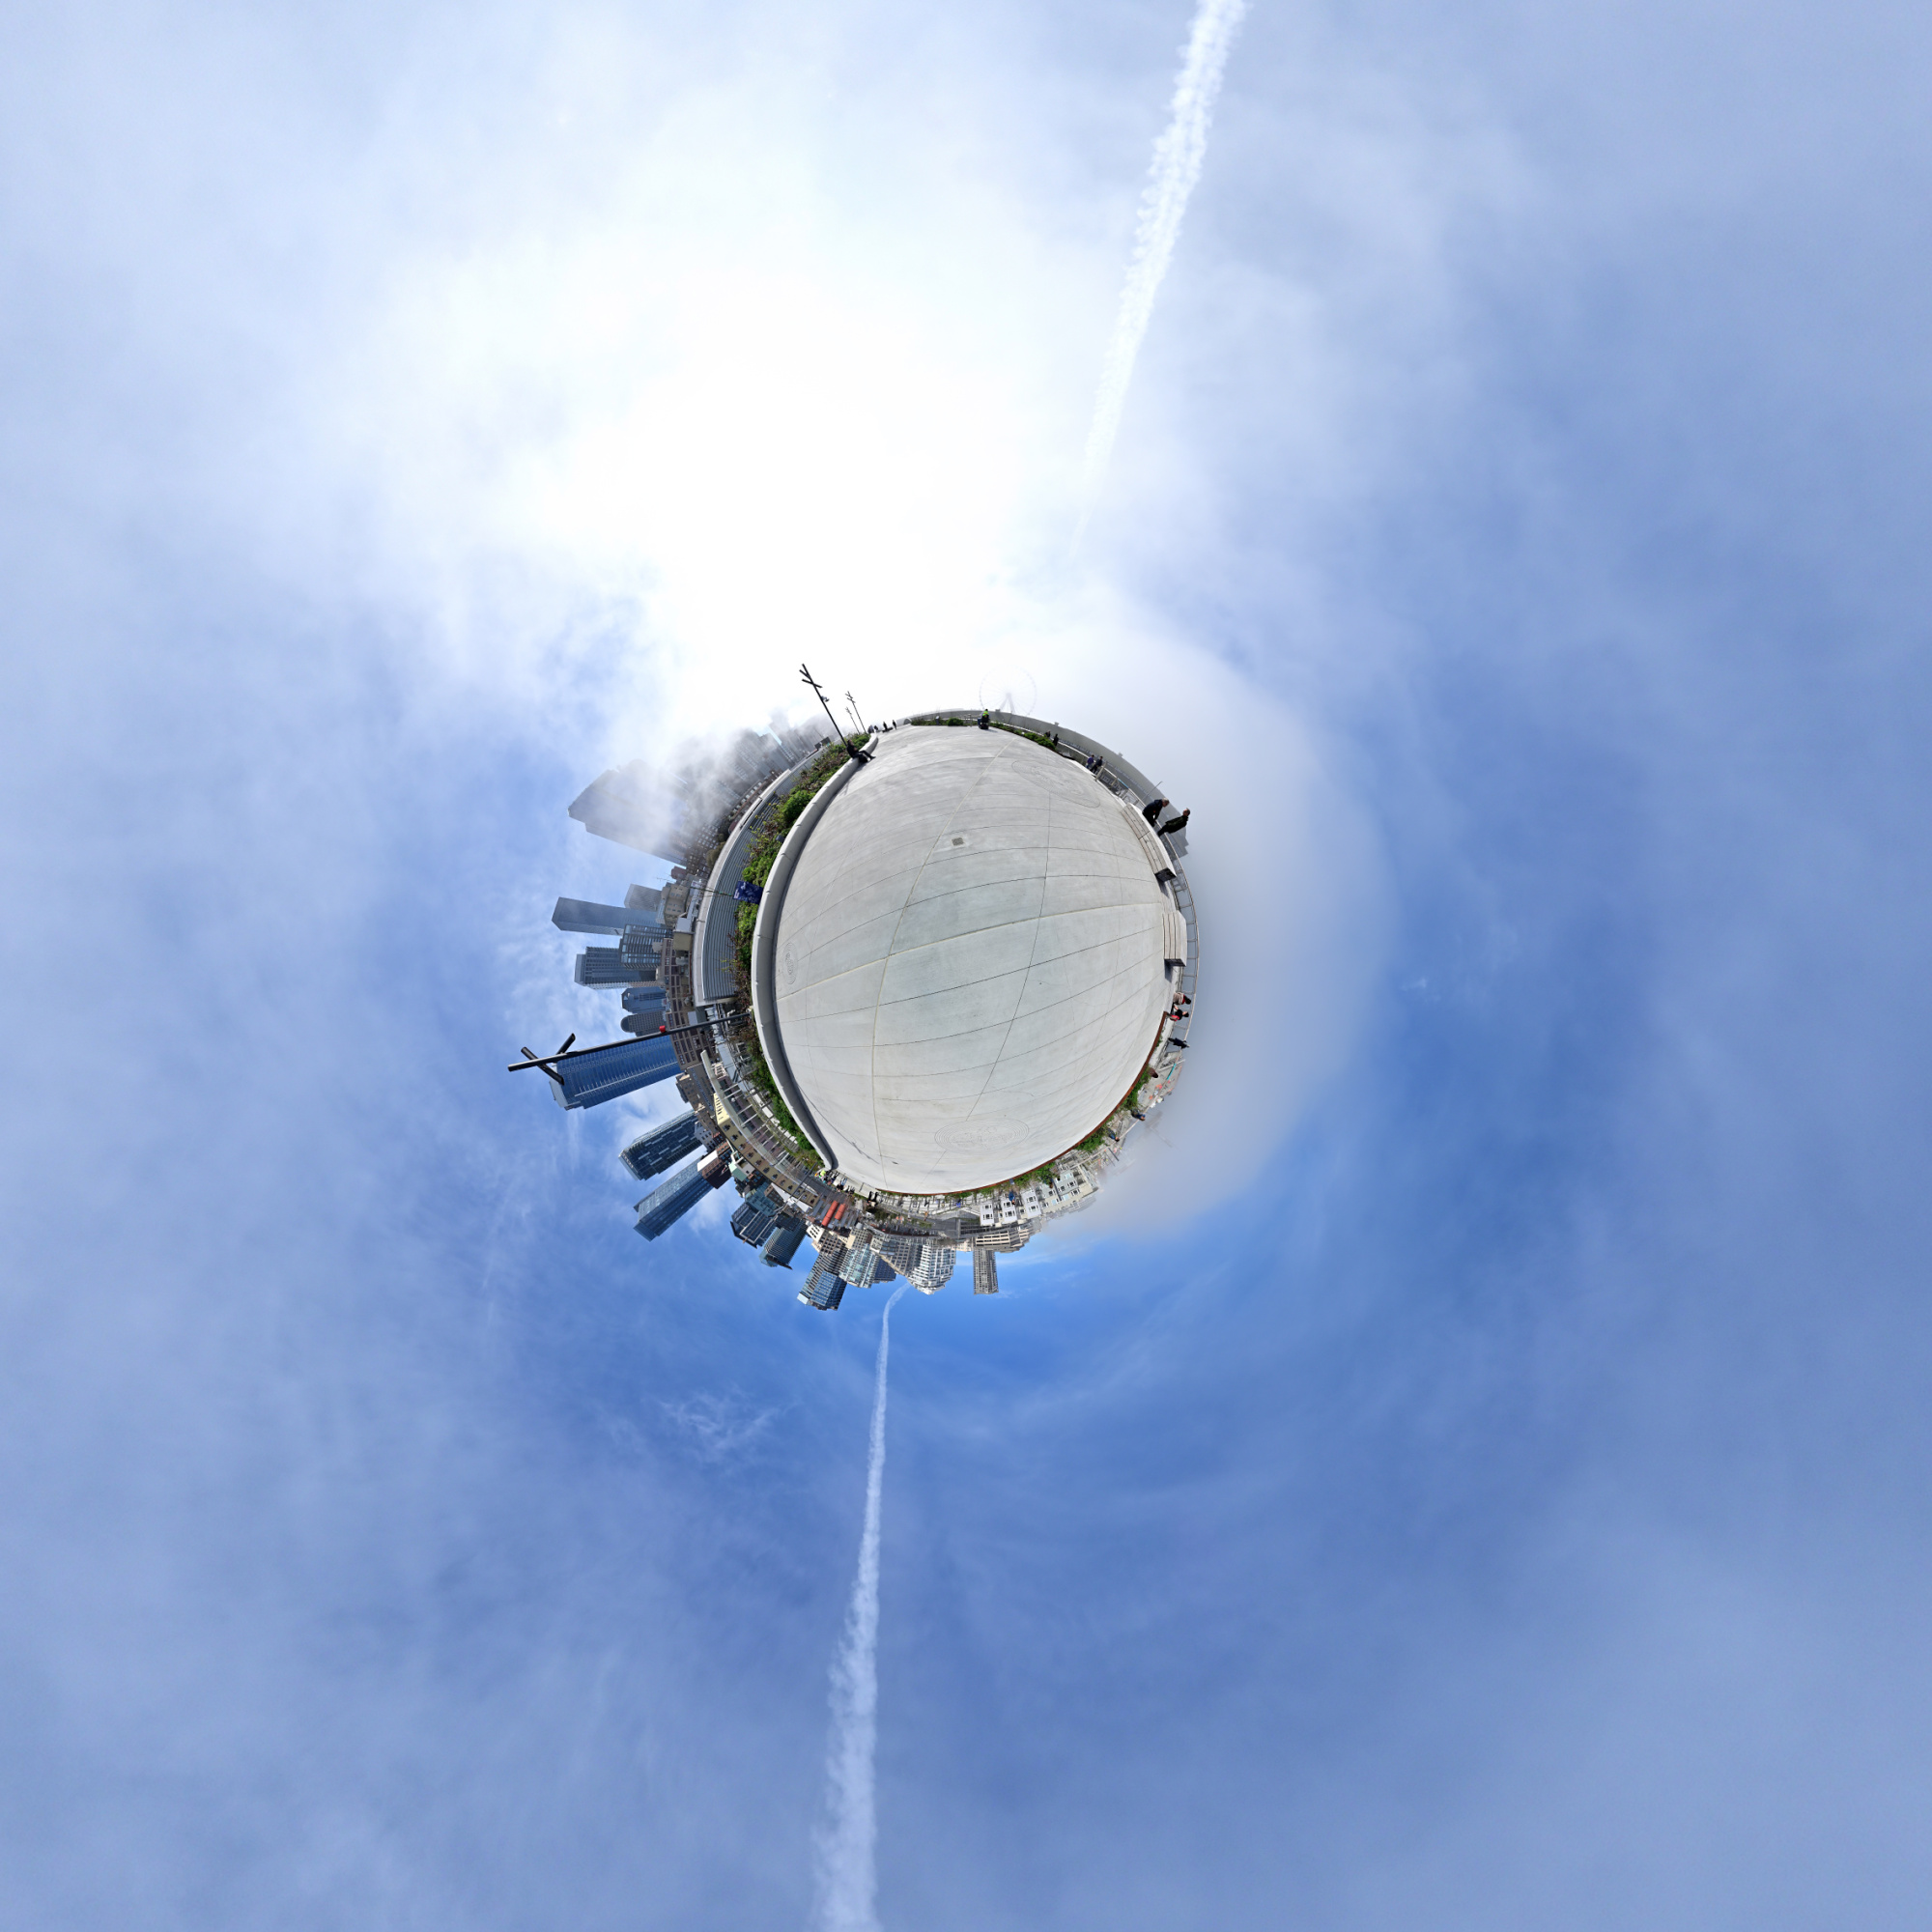
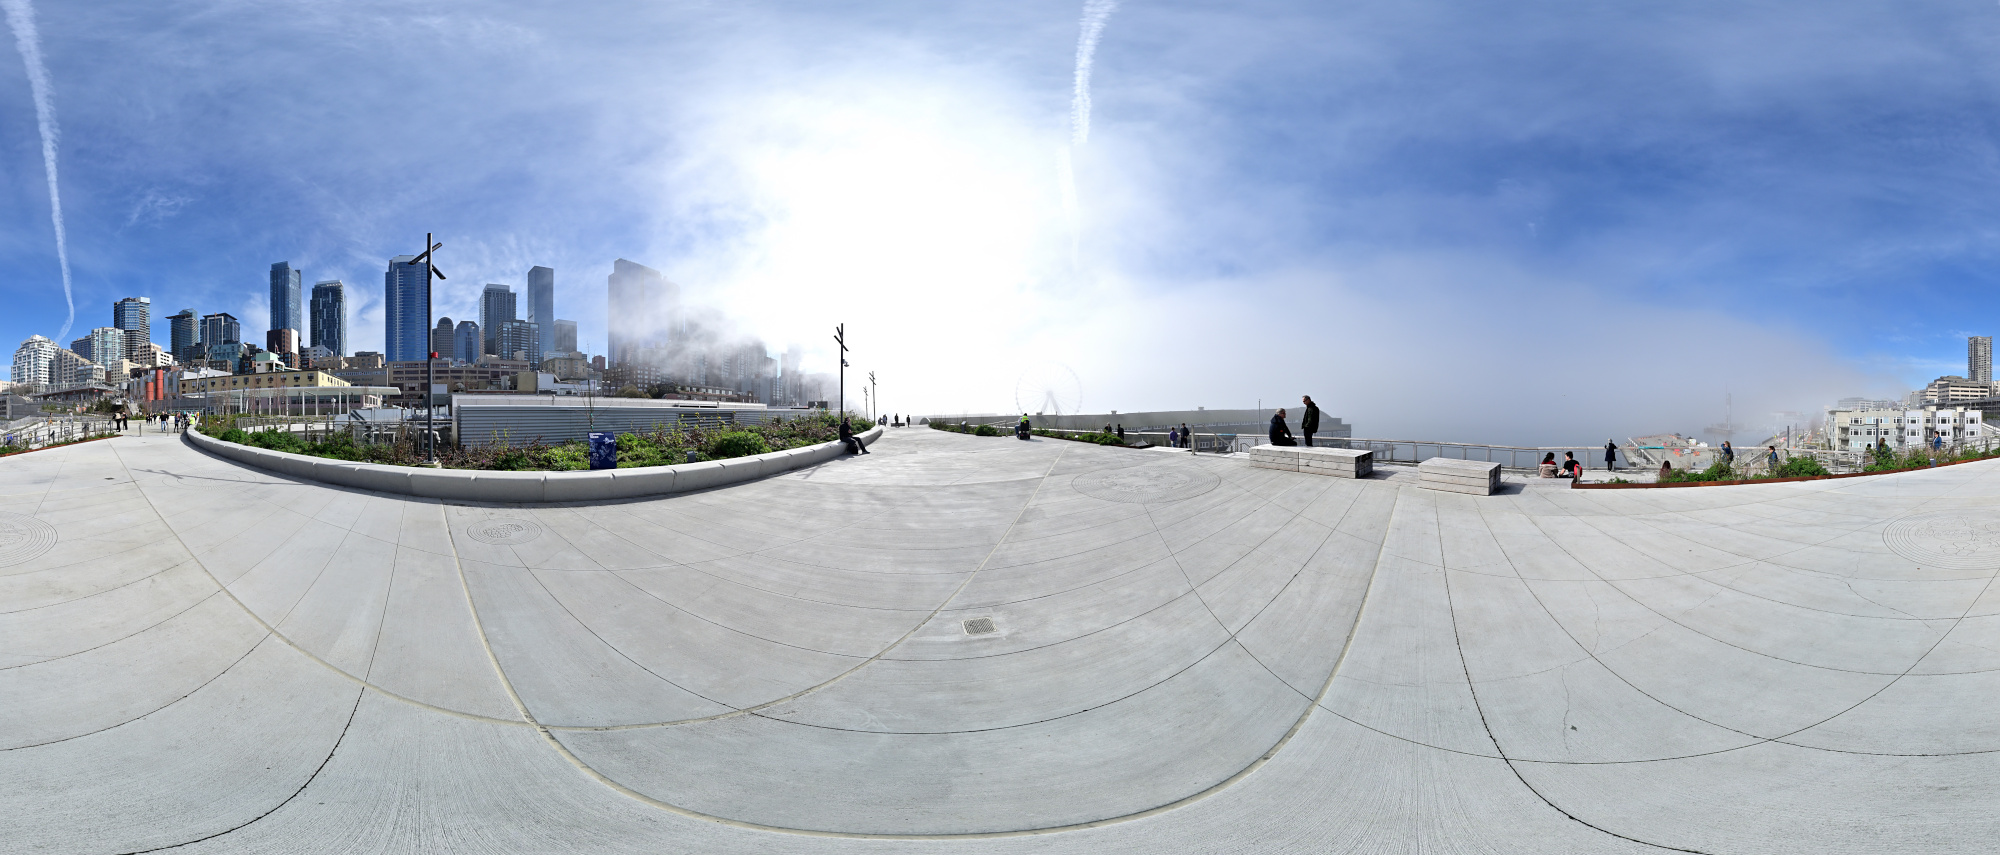
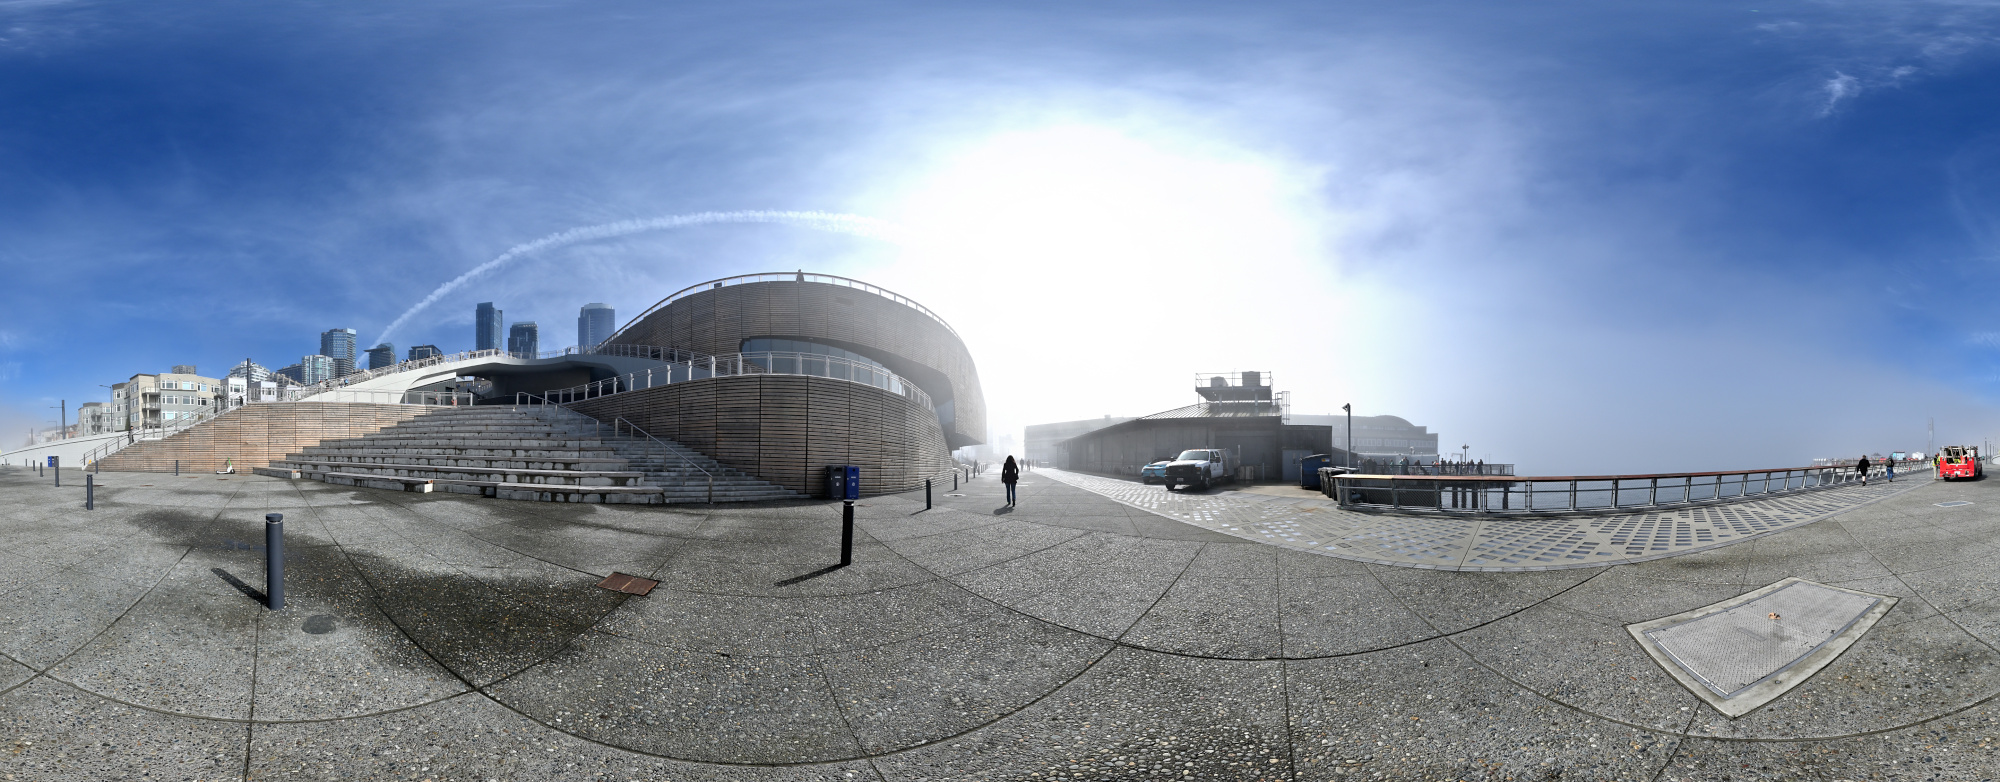
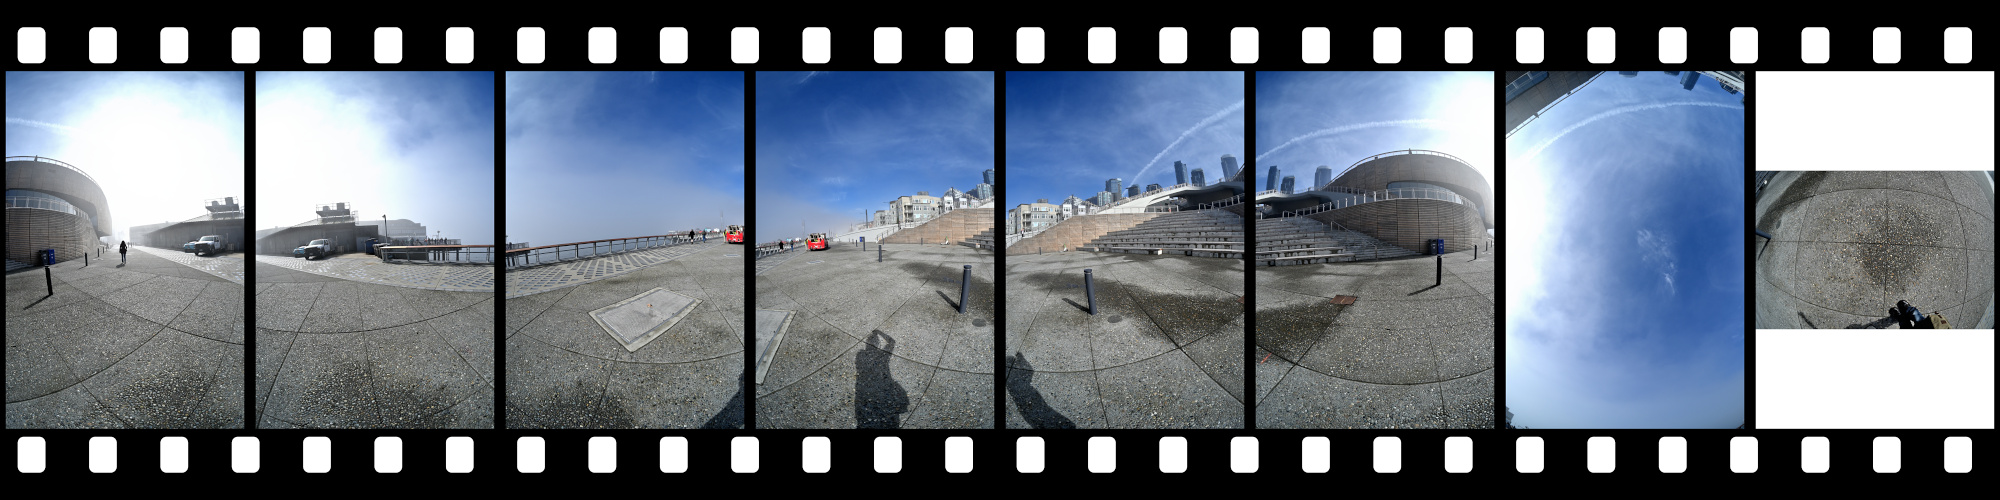
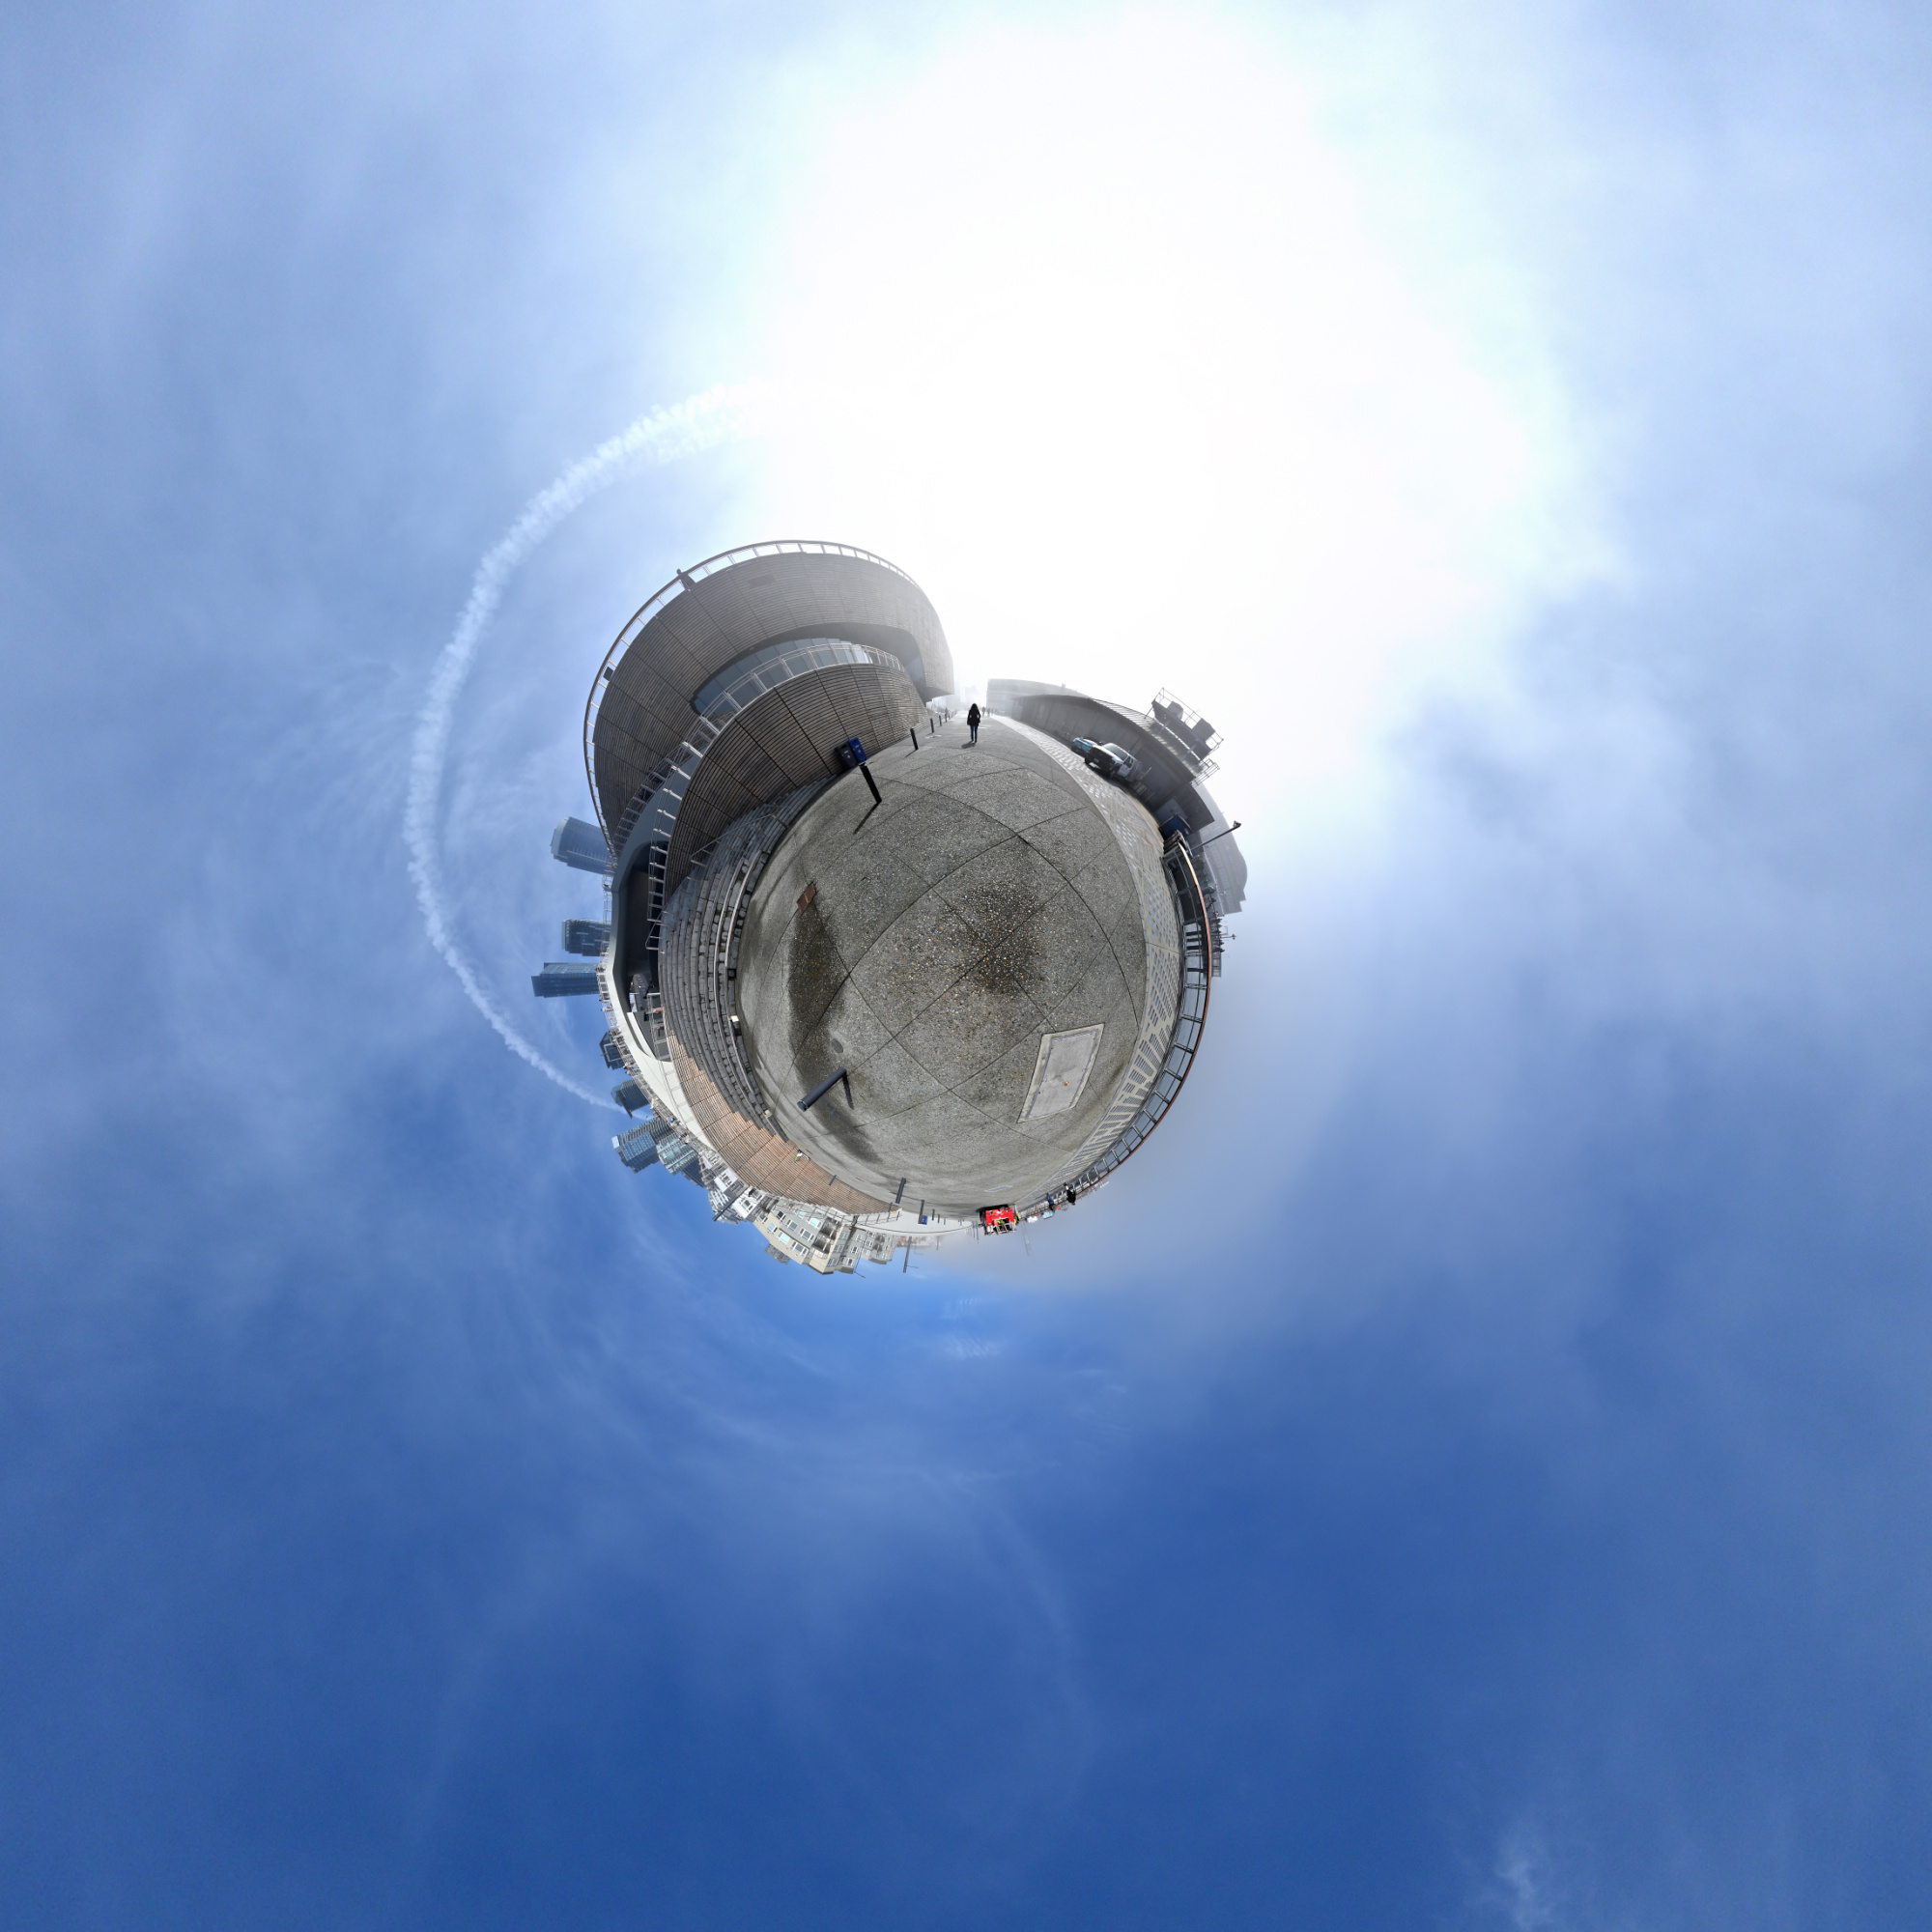
Seattle Overlook Walk 2
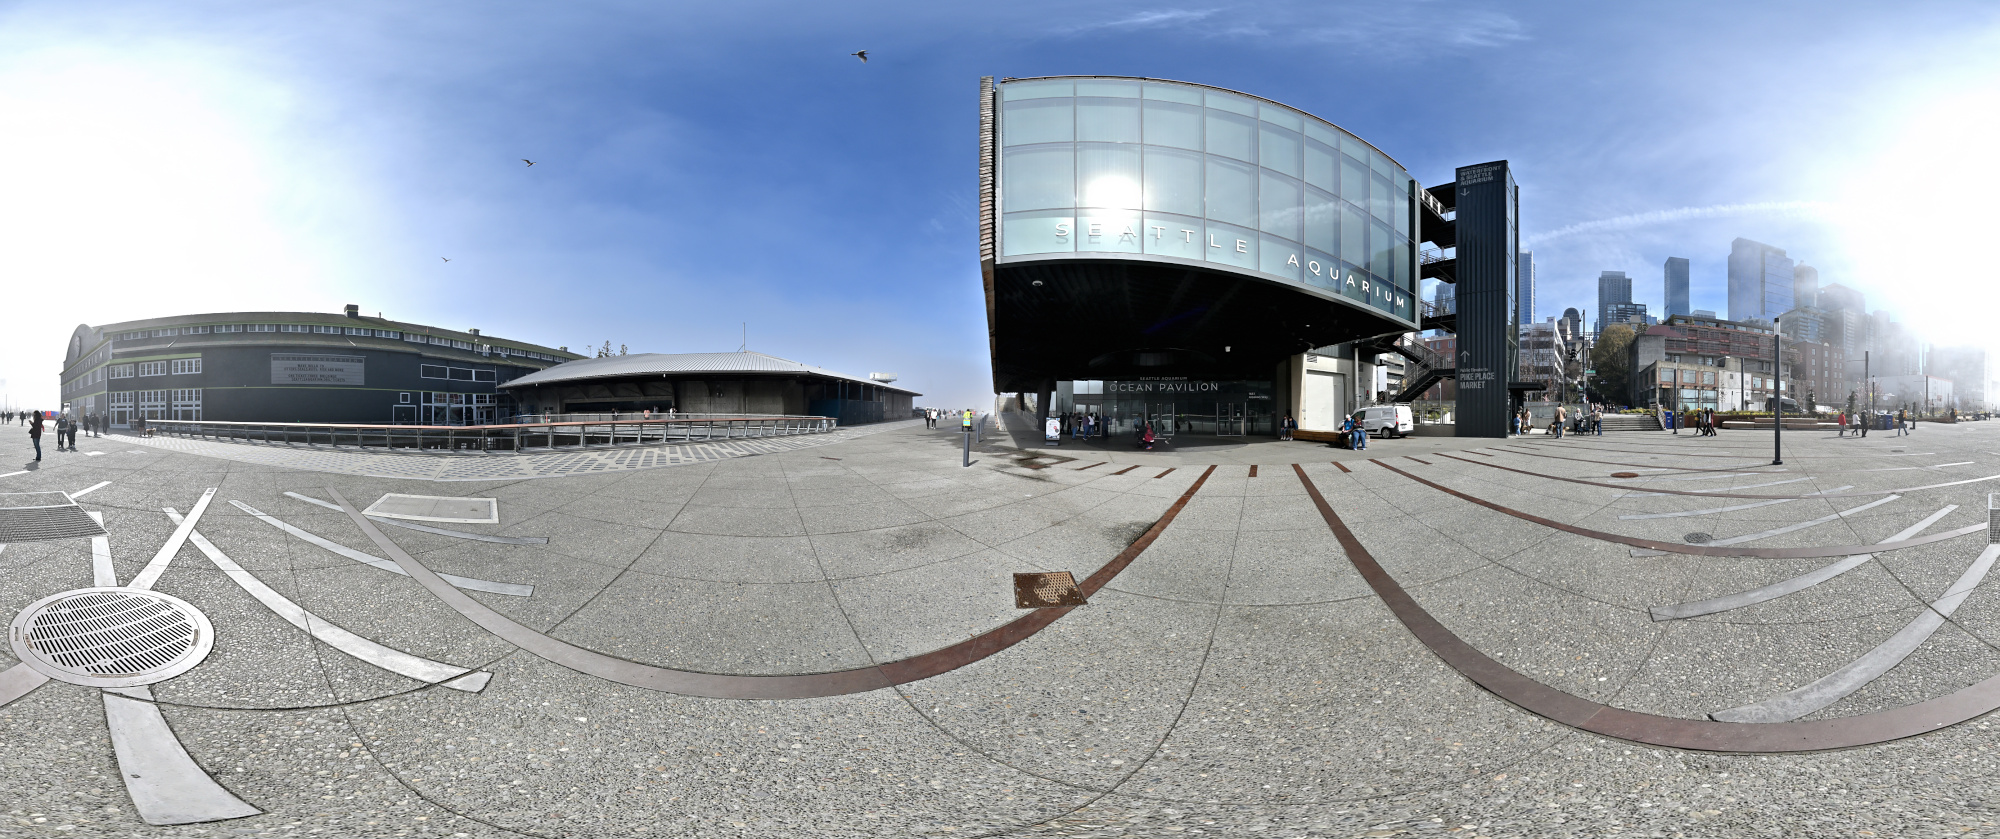
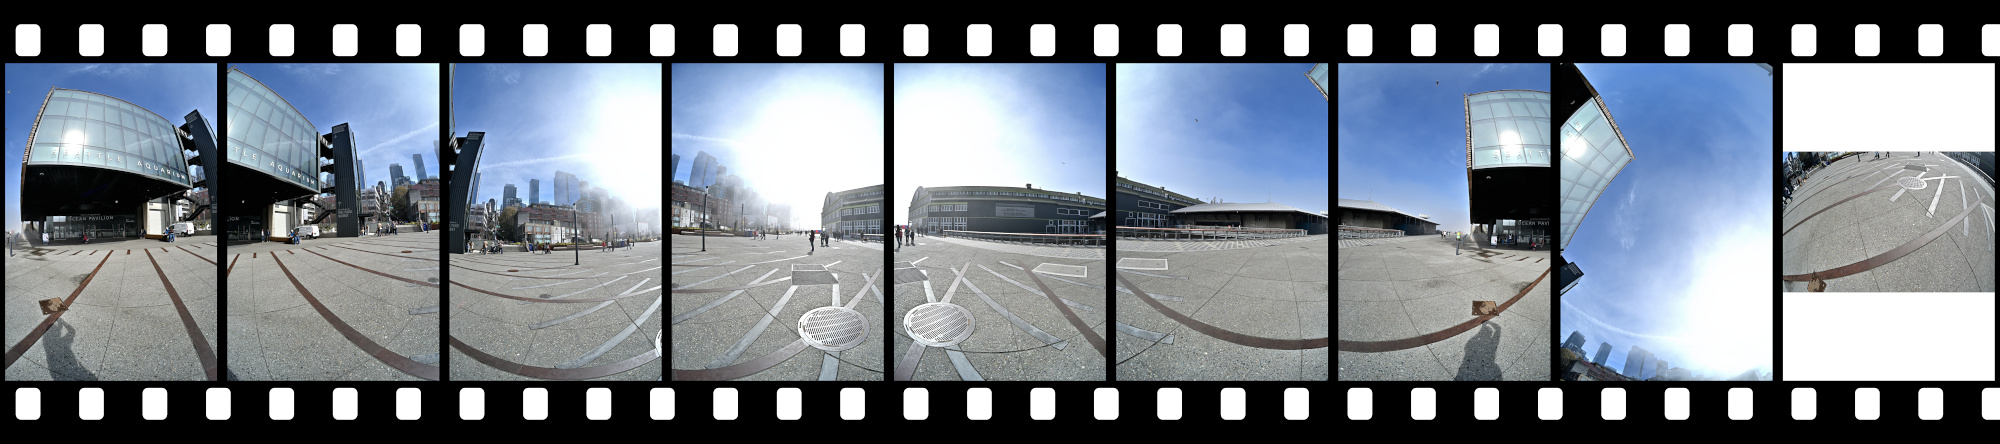
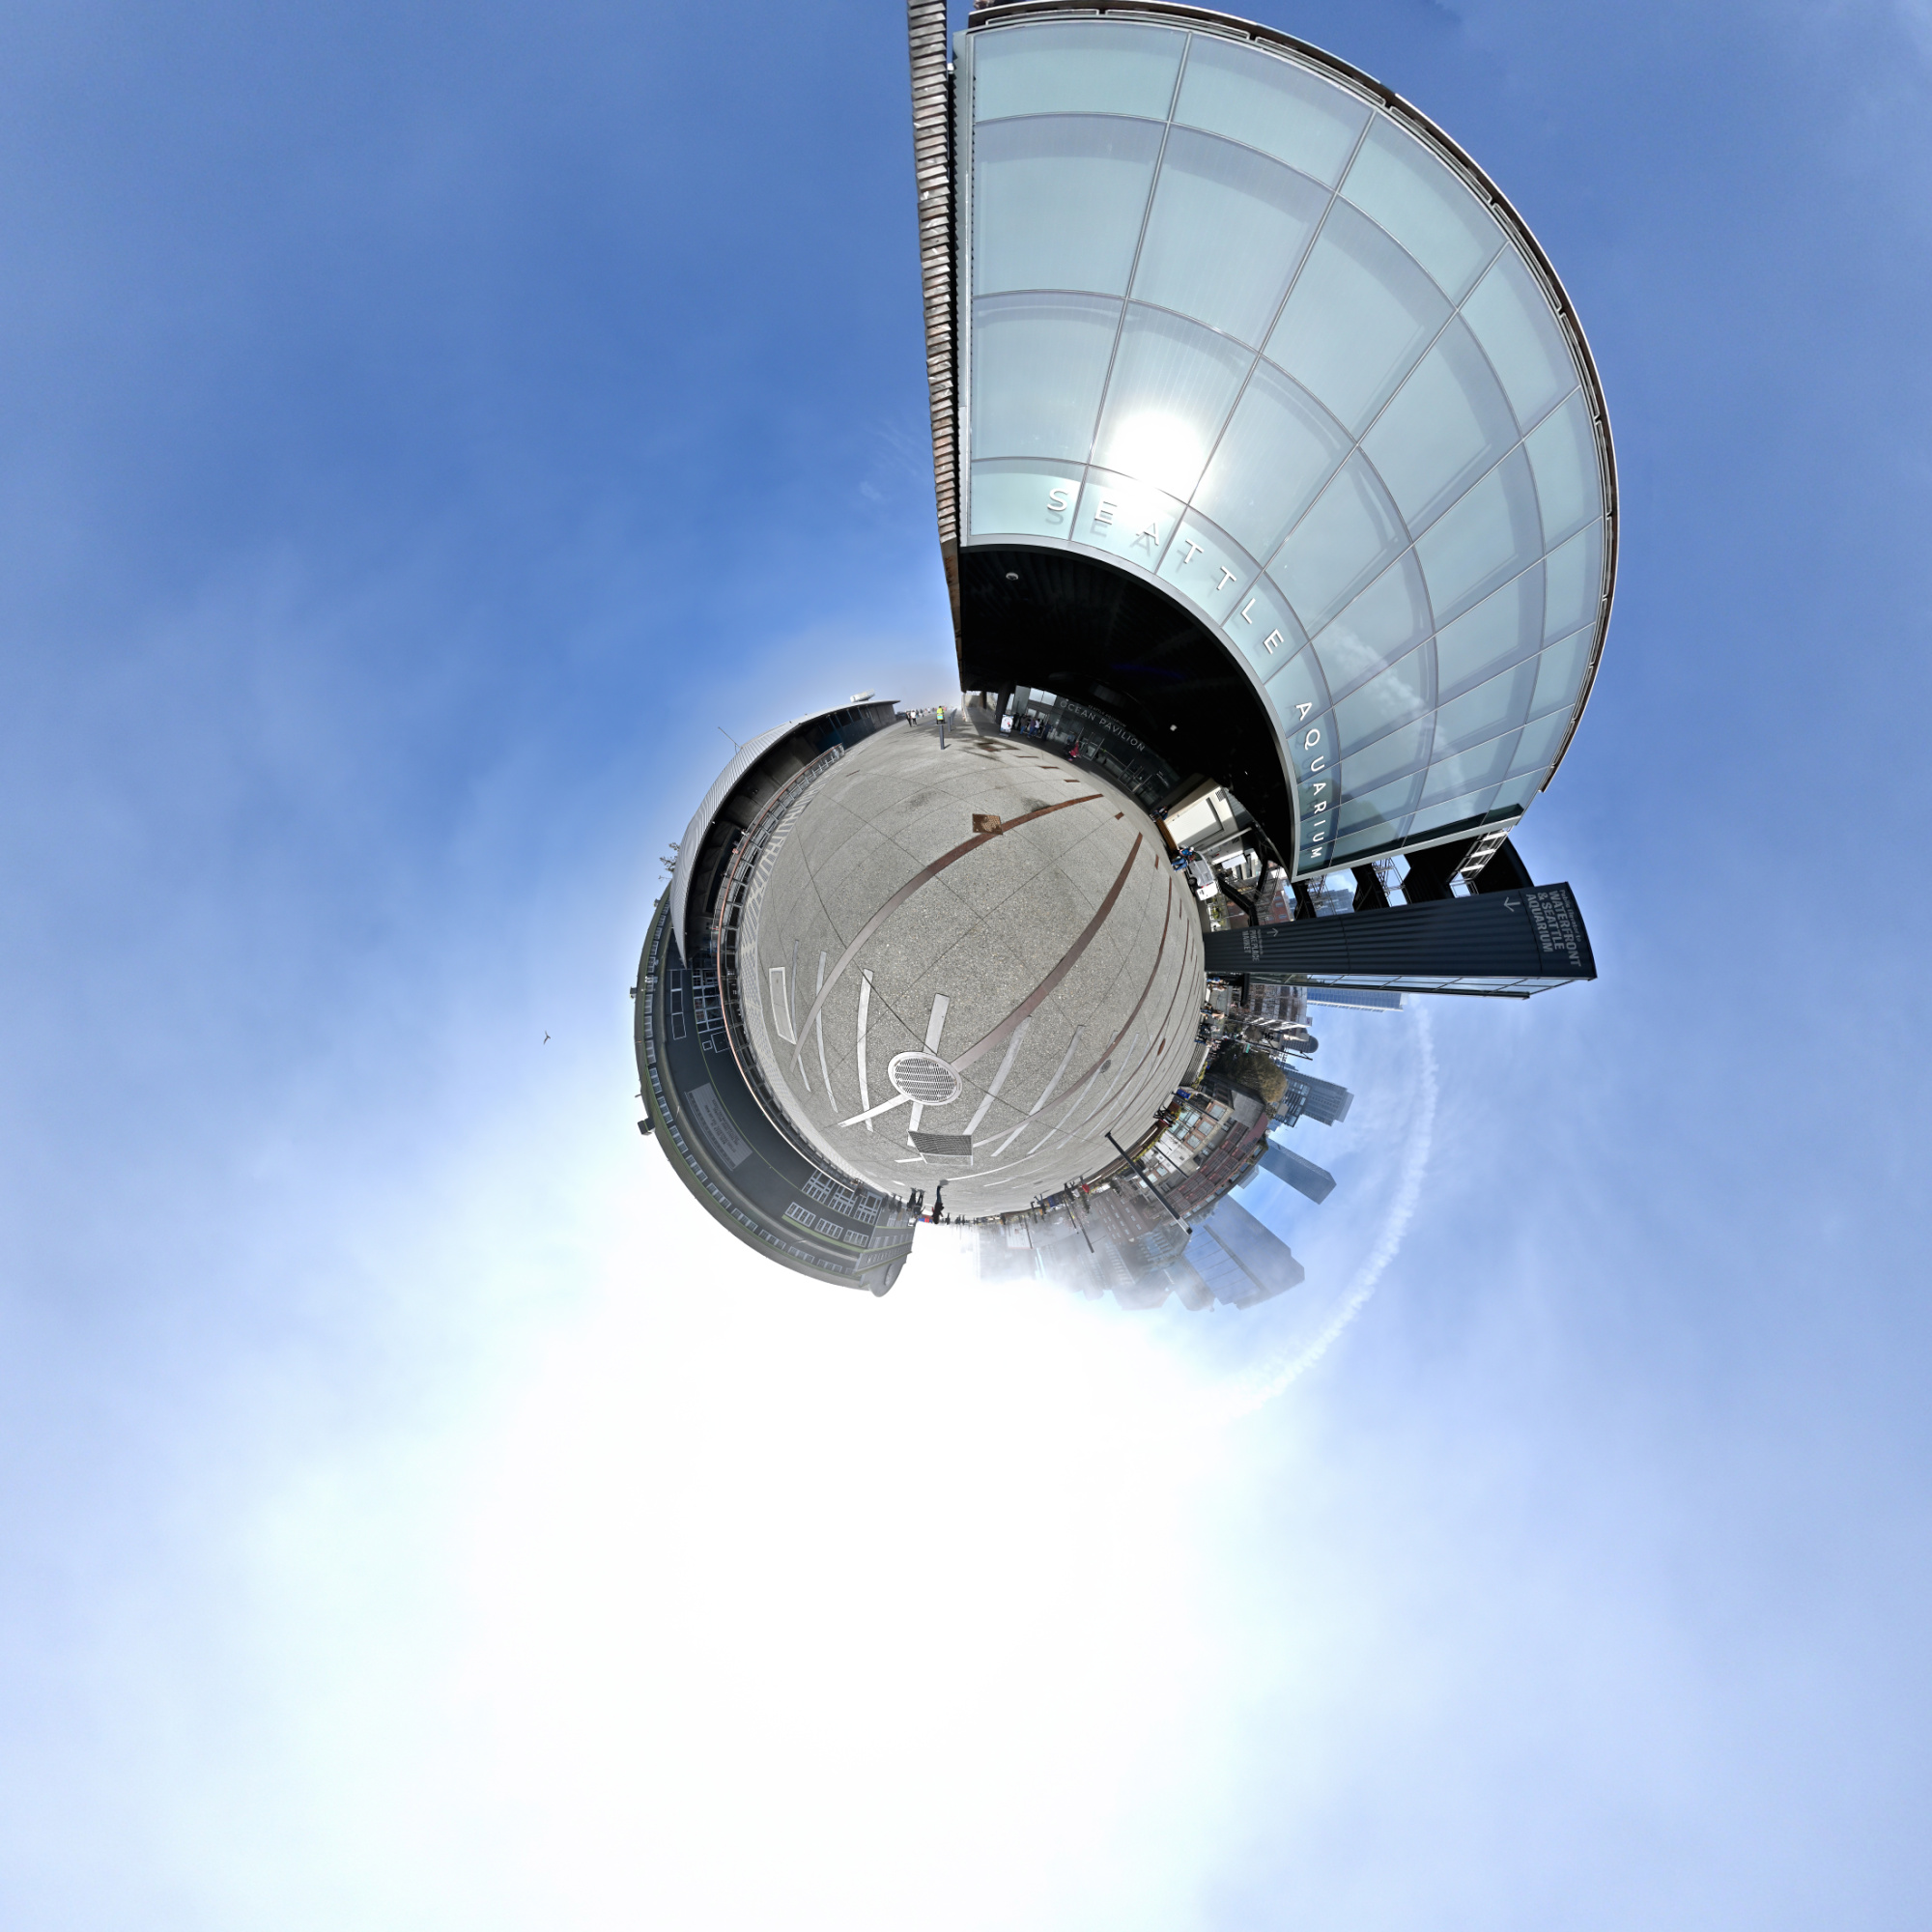
Early mist at the backside of the Ocean Pavilion.
It looks stunning at night with the illuminated steps (check out the gallery at waterfrontseattle.org). In this panorama, however, it feels more like a foggy London crime scene from an Edgar Wallace movie.
Interactive Panorama Seattle Overlook Walk 2
1/1250s f/5,6 ISO 100/21° f=7,5mm
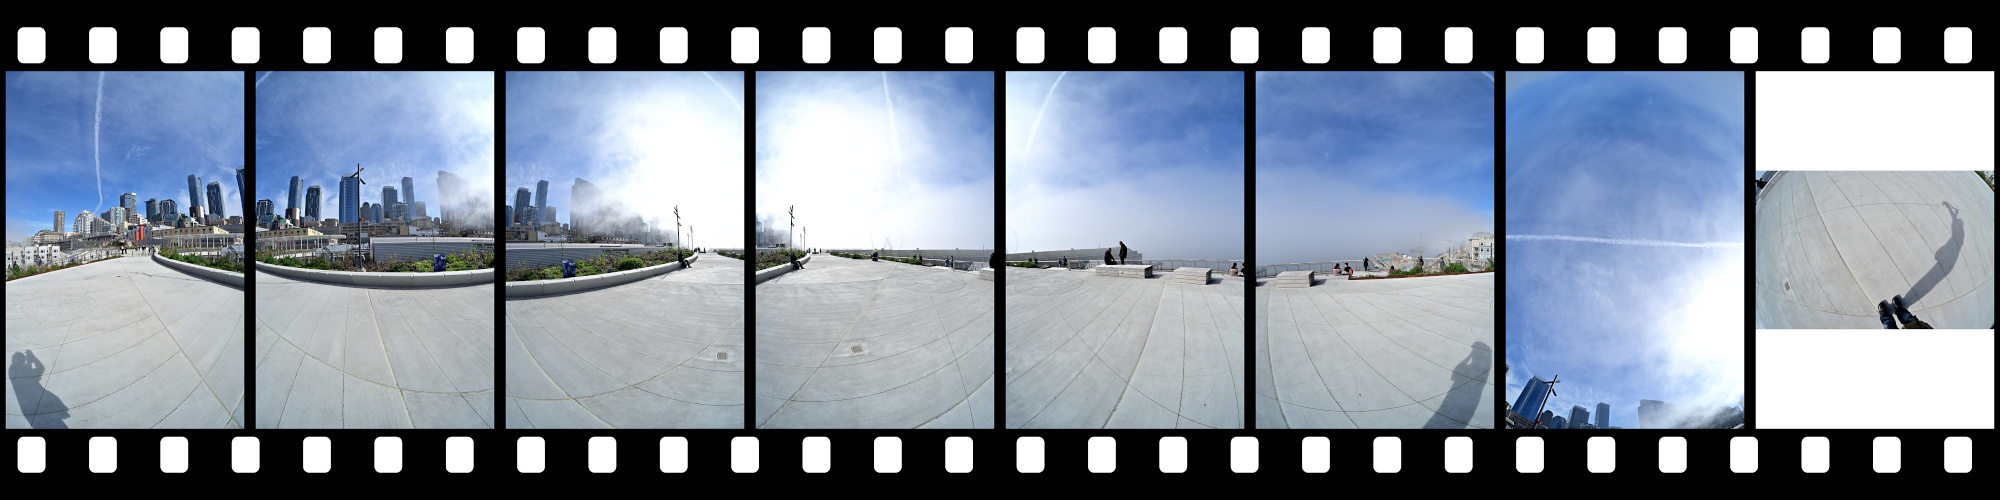
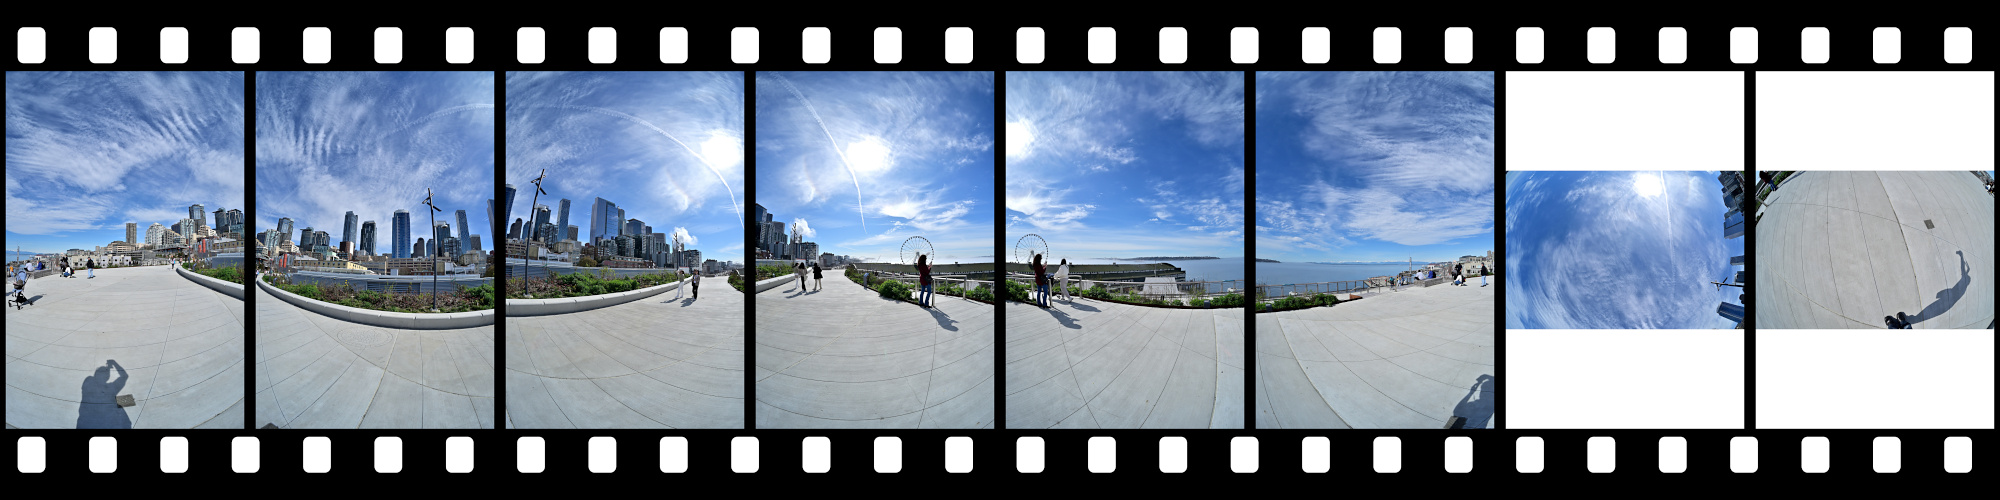
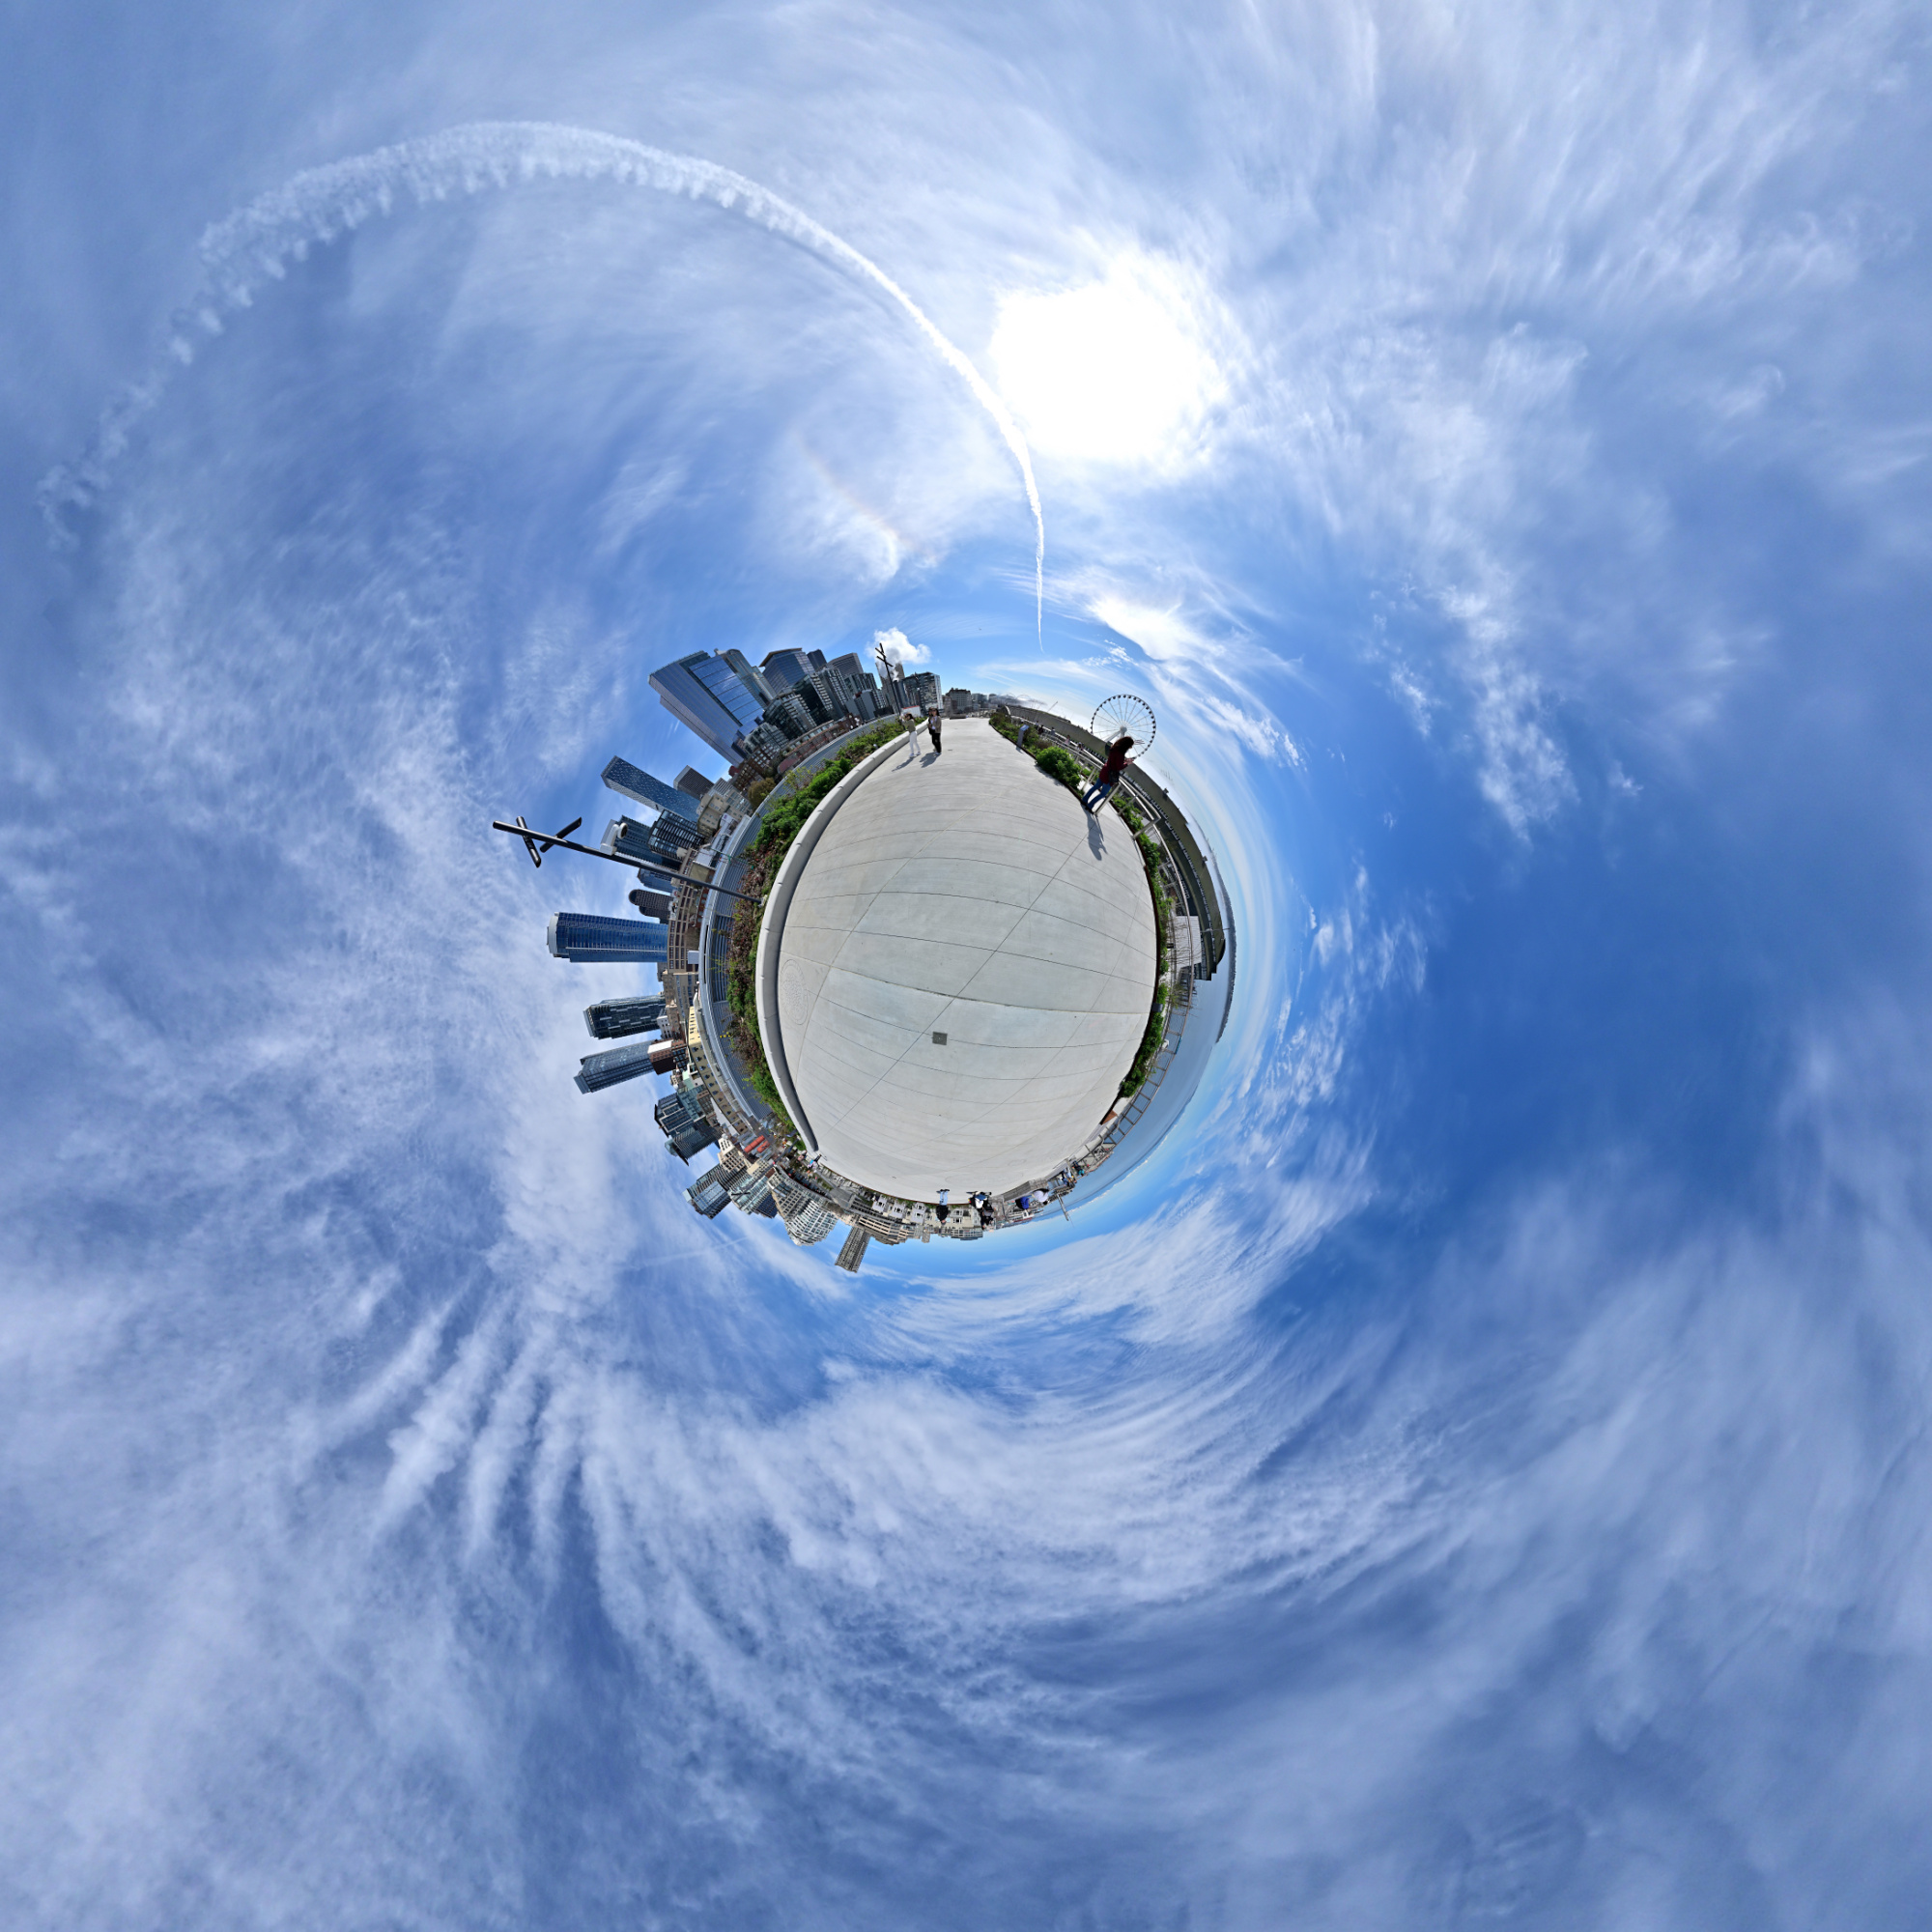
Seattle Overlook Walk 3
The sun reflects in the Ocean Pavilion.
Interactive Panorama Seattle Overlook Walk 3
1/1000s f/5,6 ISO 100/21° f=7,5mm
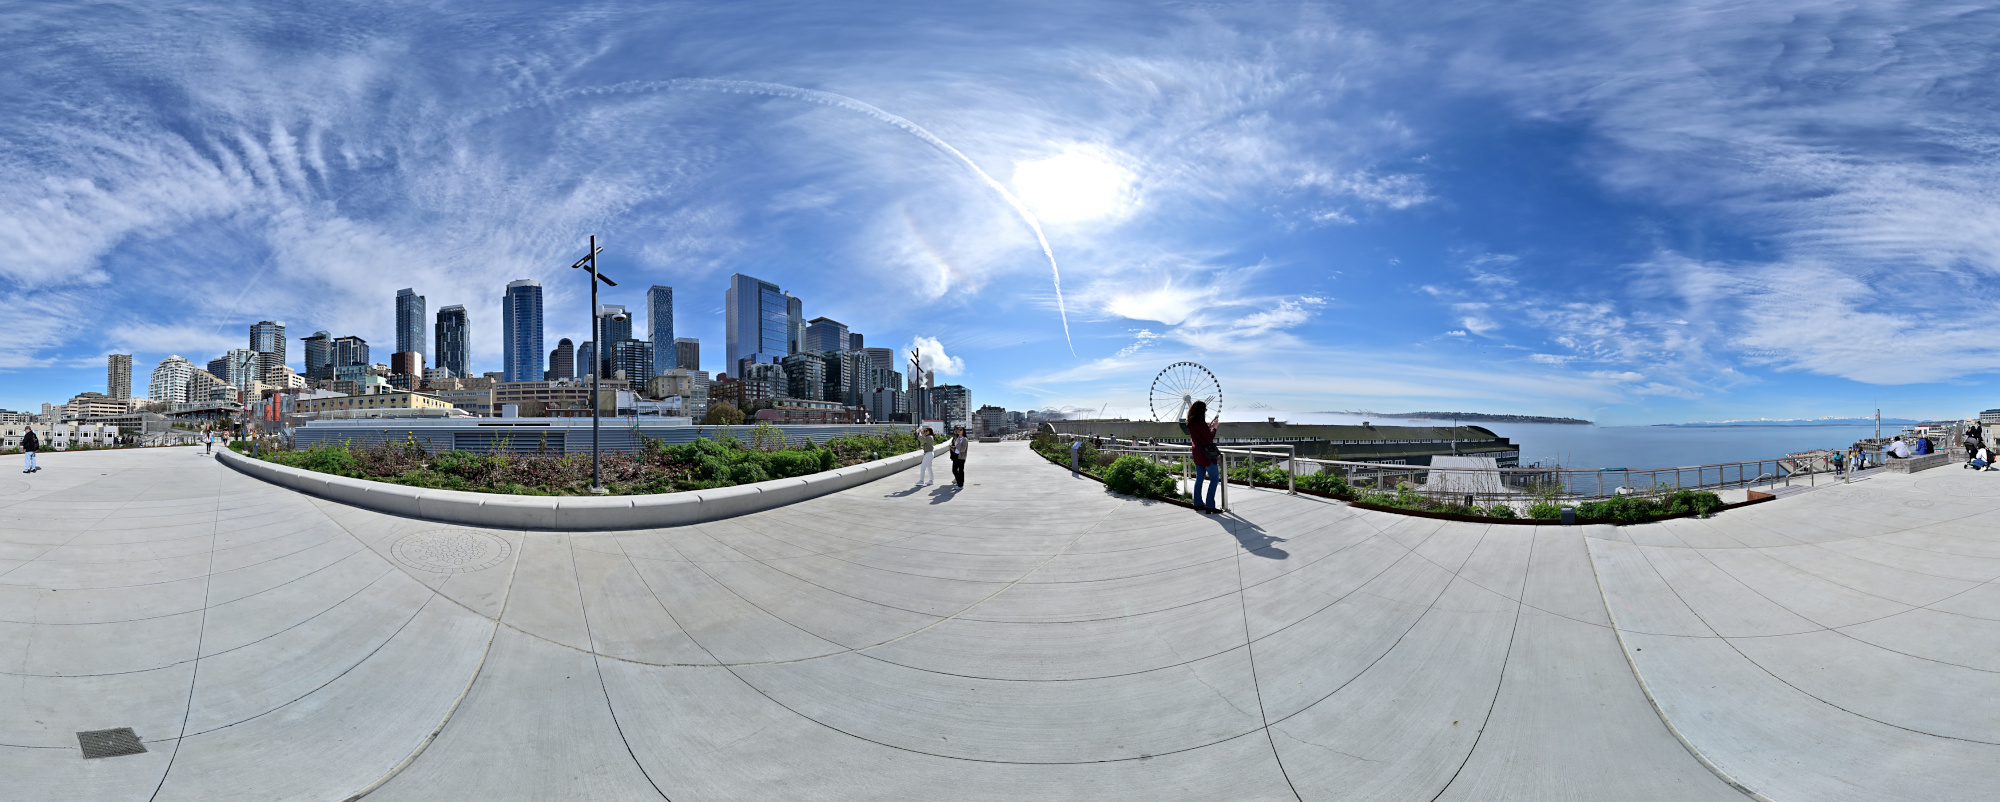
Seattle Overlook Walk 4
As the morning progresses, the fog lifts, revealing the Puget Sound in warm sunlight.
Interactive Panorama Seattle Overlook Walk 4
1/1250s f/5,6 ISO 100/21° f=7,5mm
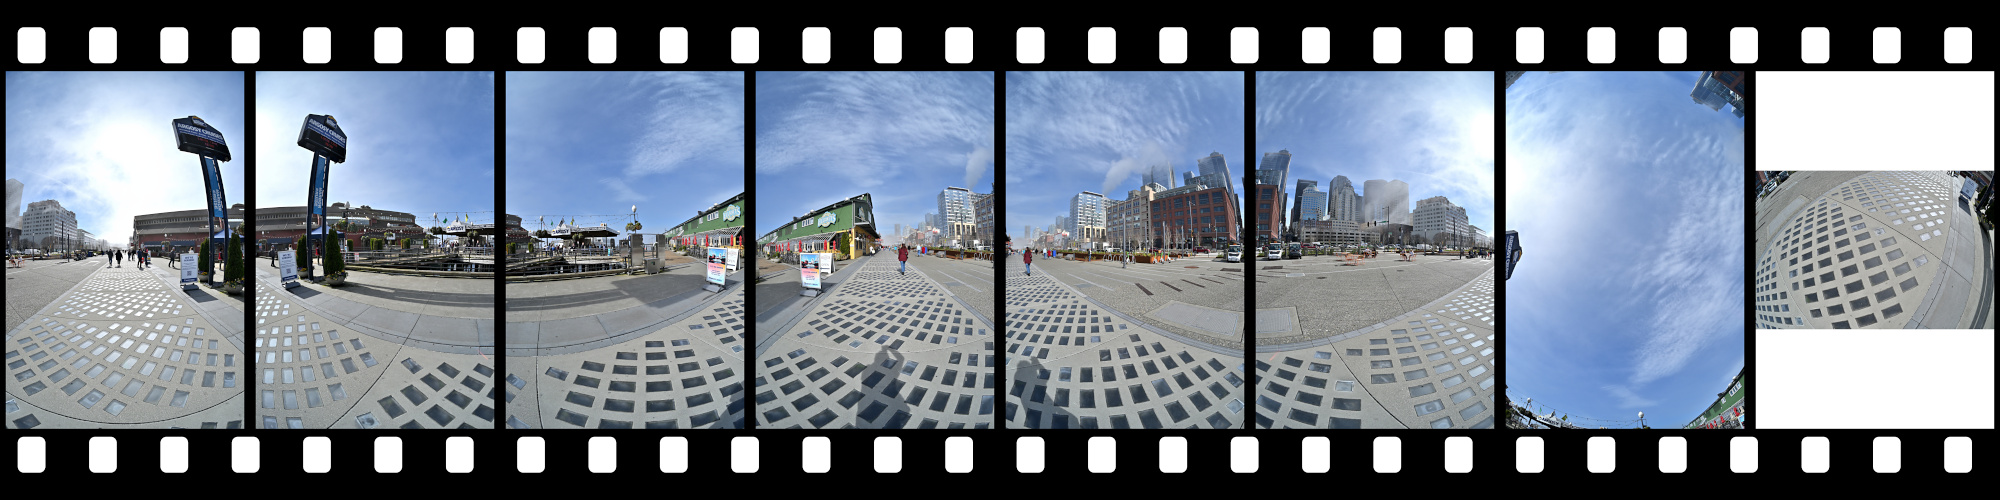
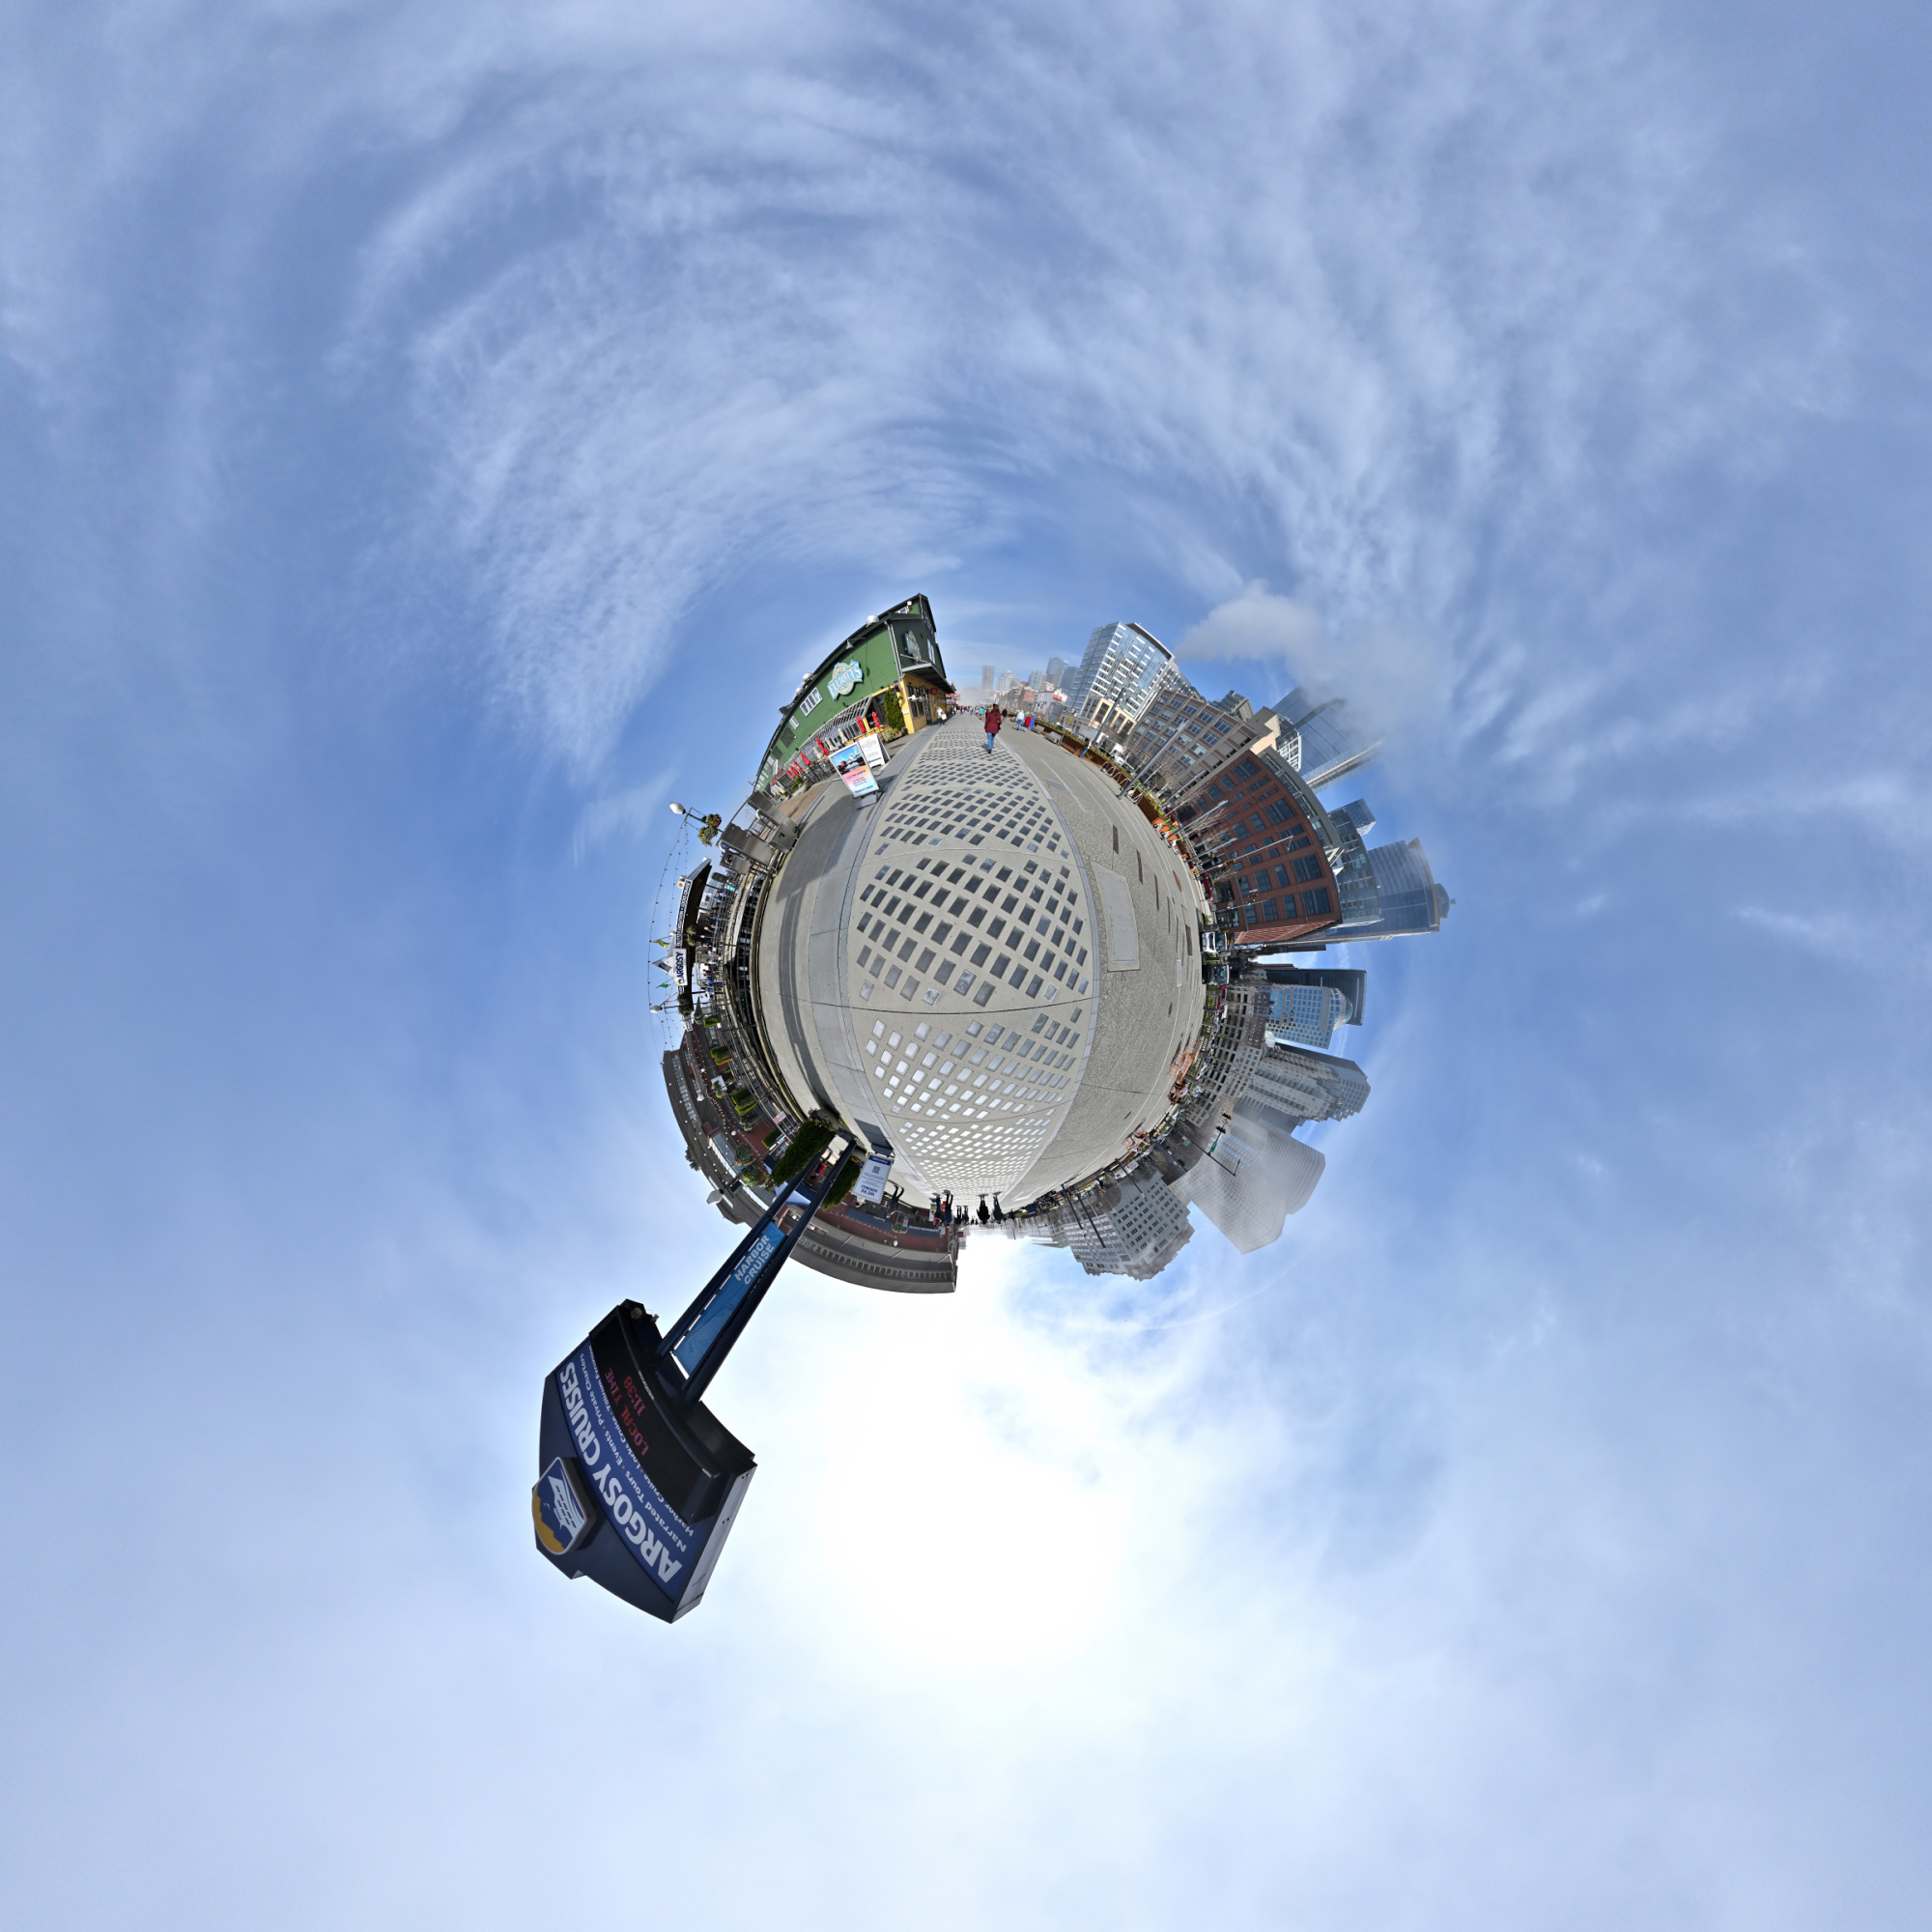
Seattle Pier 1
The Argosy Cruises at Pier 55.
Interactive Panorama Seattle Pier 1
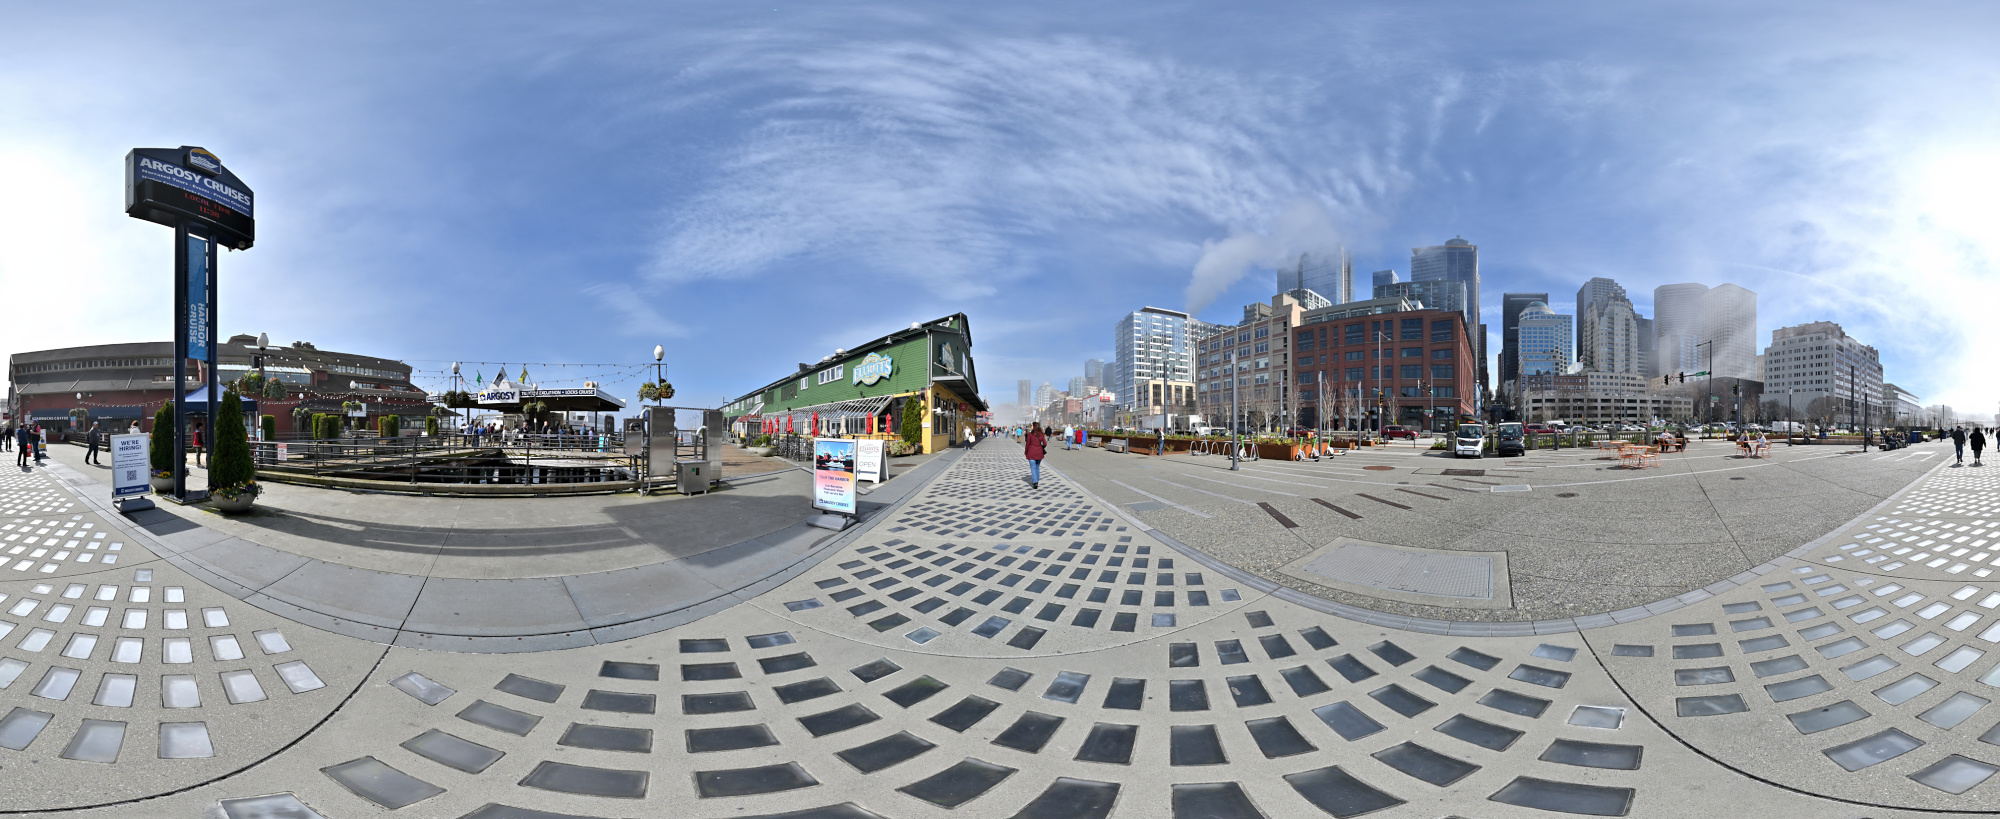
1/1250s f/5,6 ISO 100/21° f=7,5mm
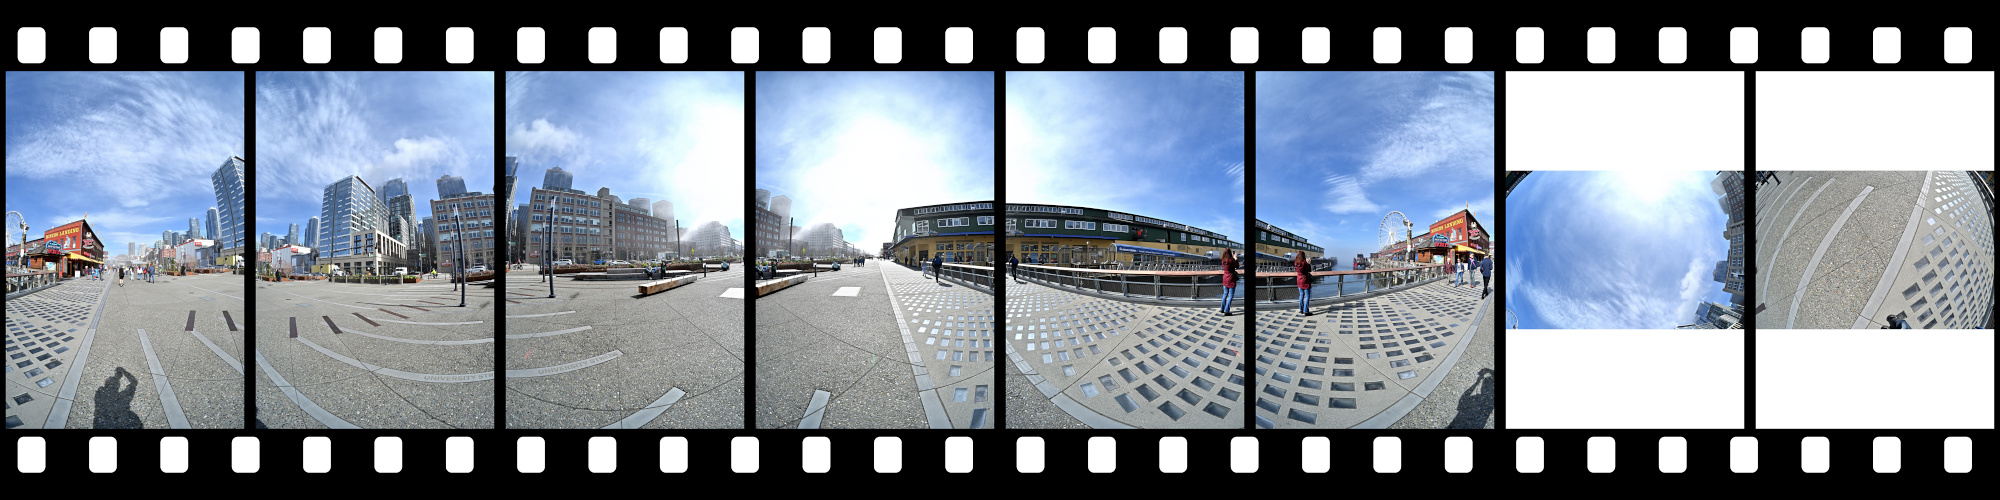
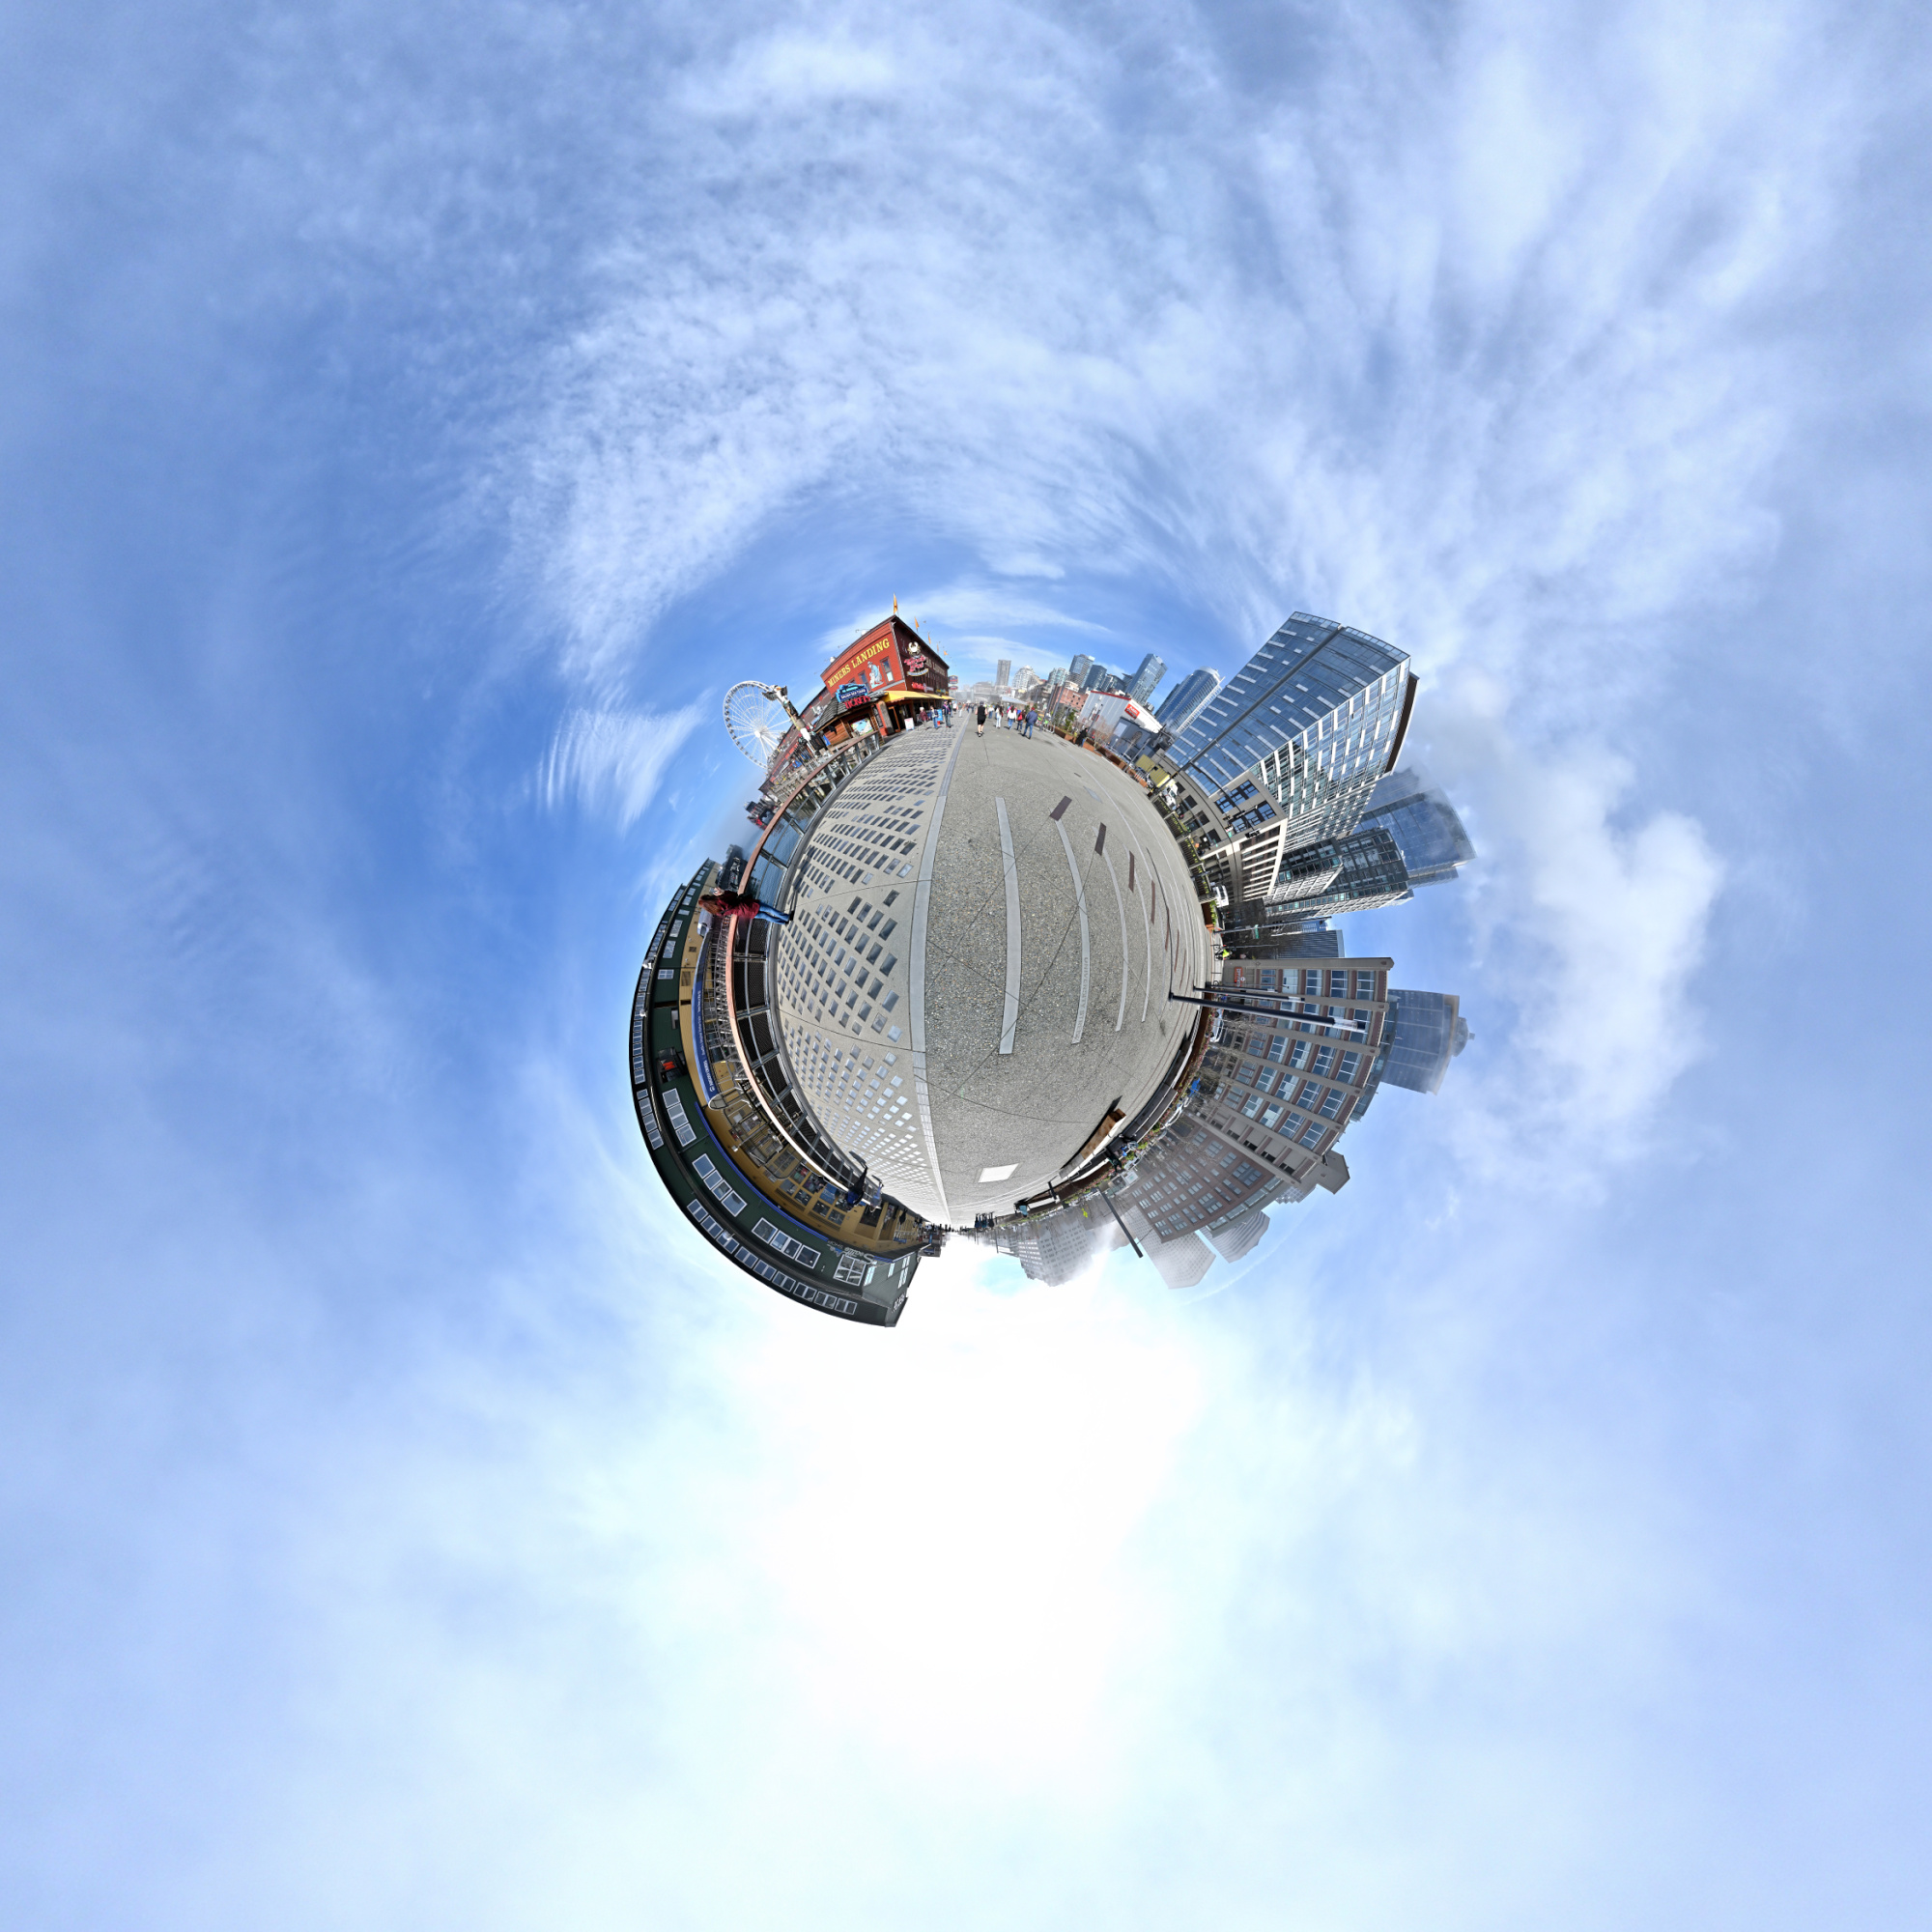
Seattle Pier 2
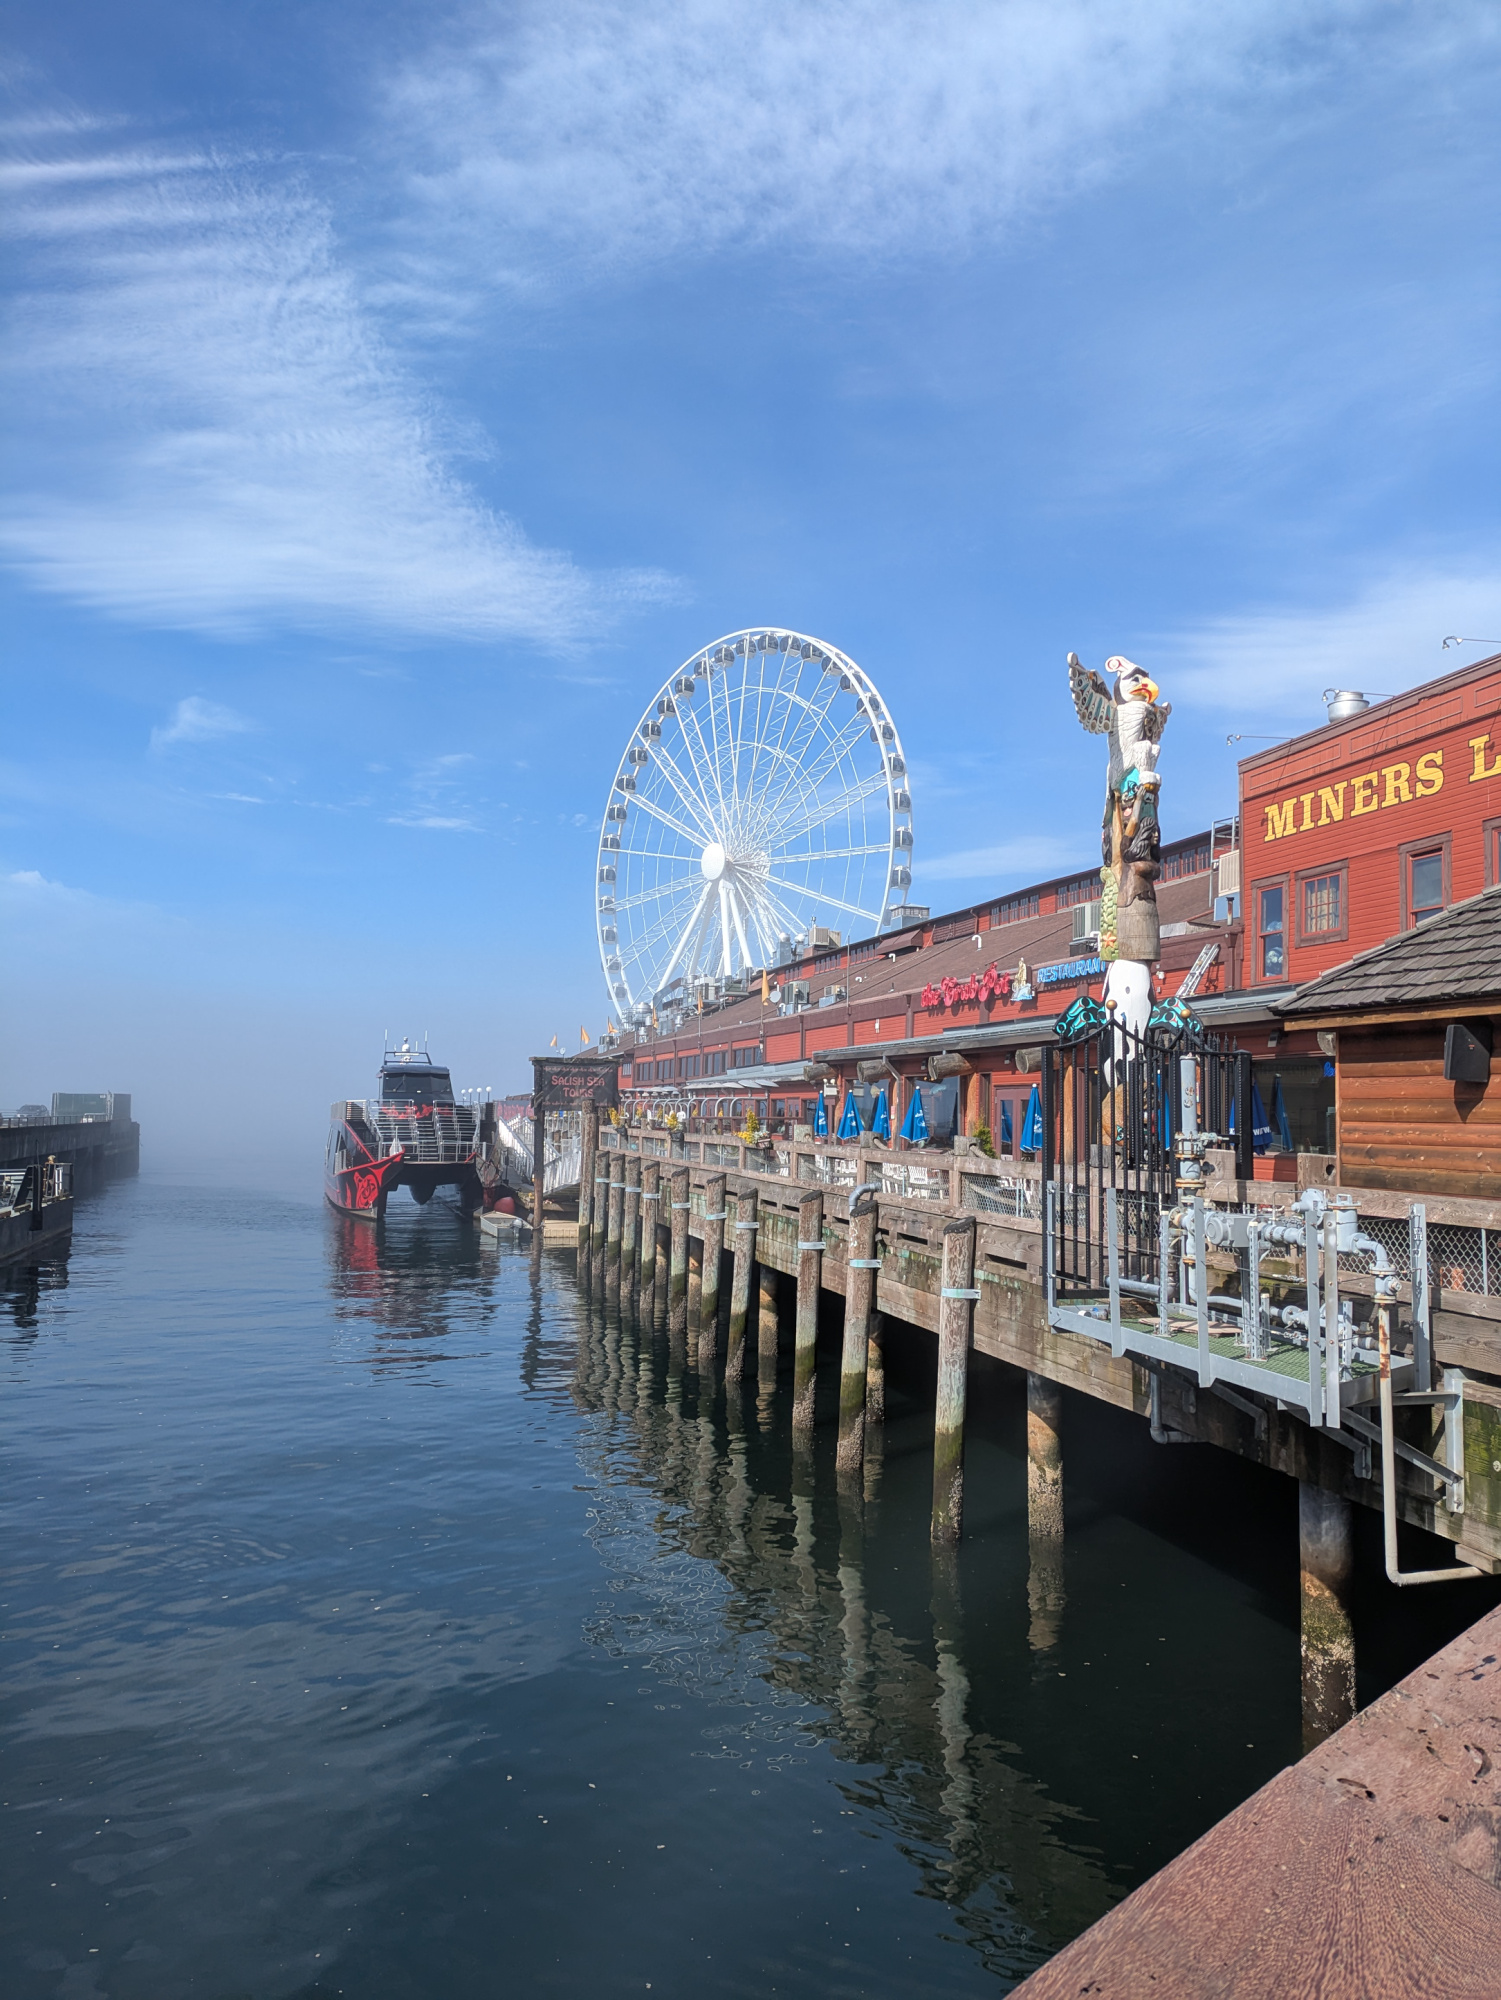
Miner's Landing at Pier 57 with 'The Seattle Great Wheel' in the back.
Interactive Panorama Seattle Pier 2
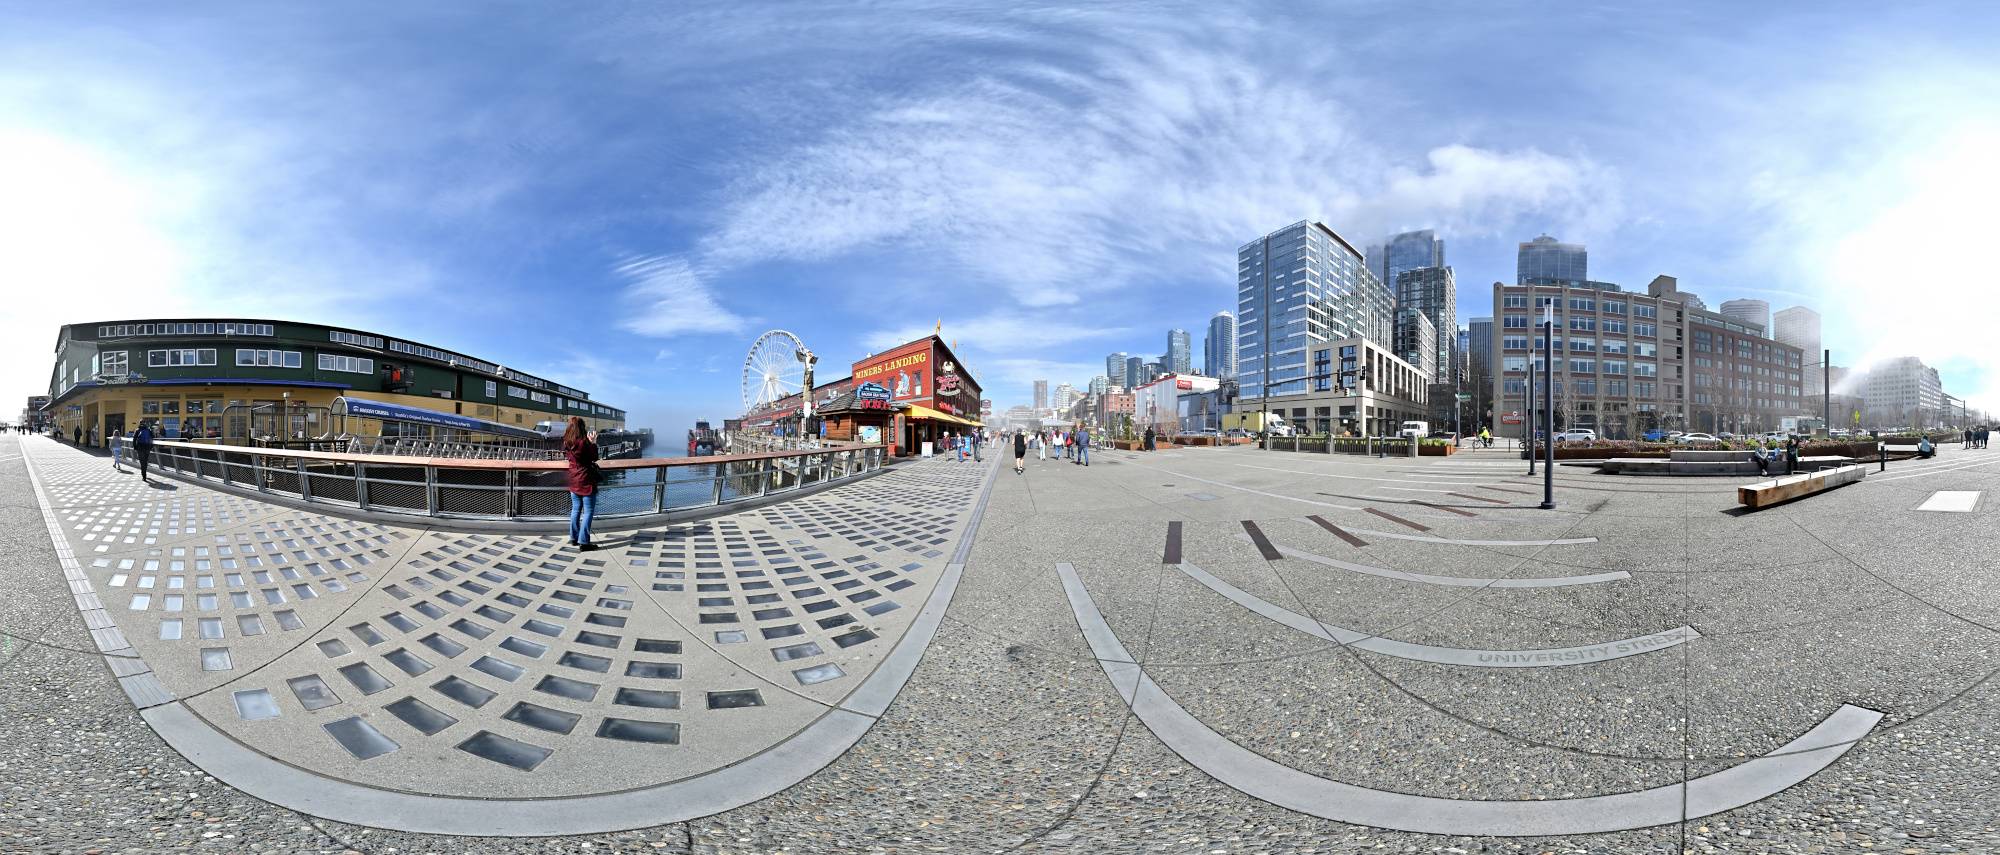
1/1250s f/5,6 ISO 100/21° f=7,5mm
1/2092s f/1,9 ISO 47 f=5mm/25mm
Taken a few minutes later from main Overlook Walk, with the fog still lingering.
1/1250s f/5,6 ISO 100/21° f=7,5mm
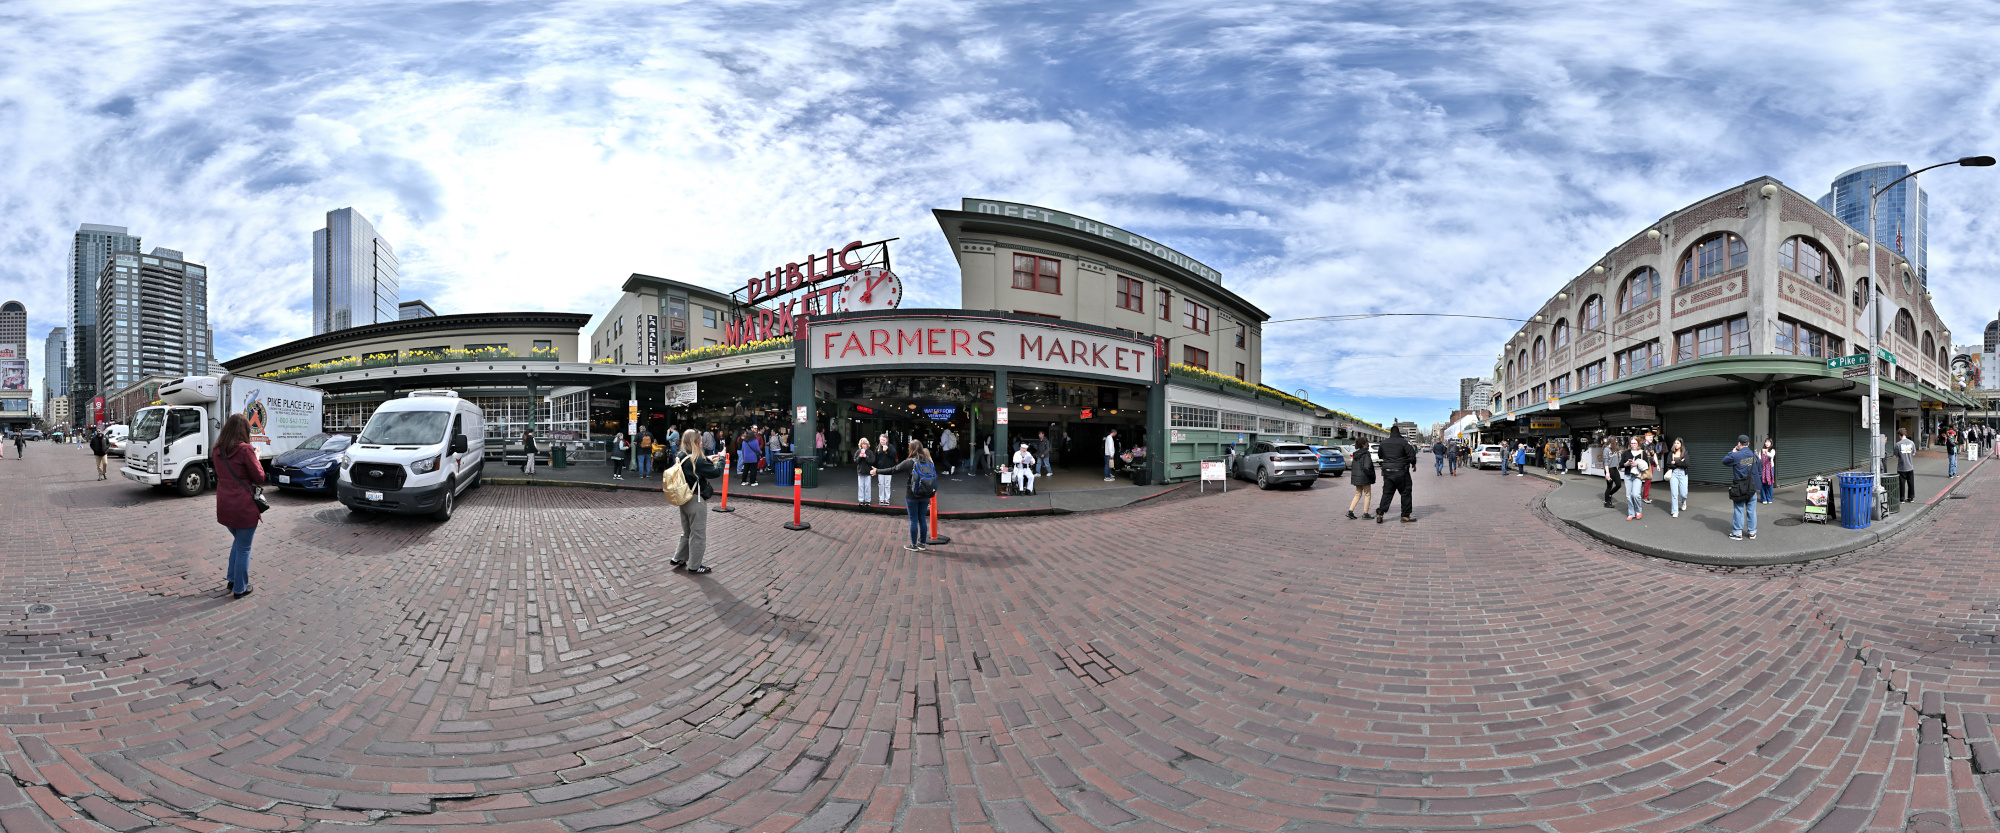
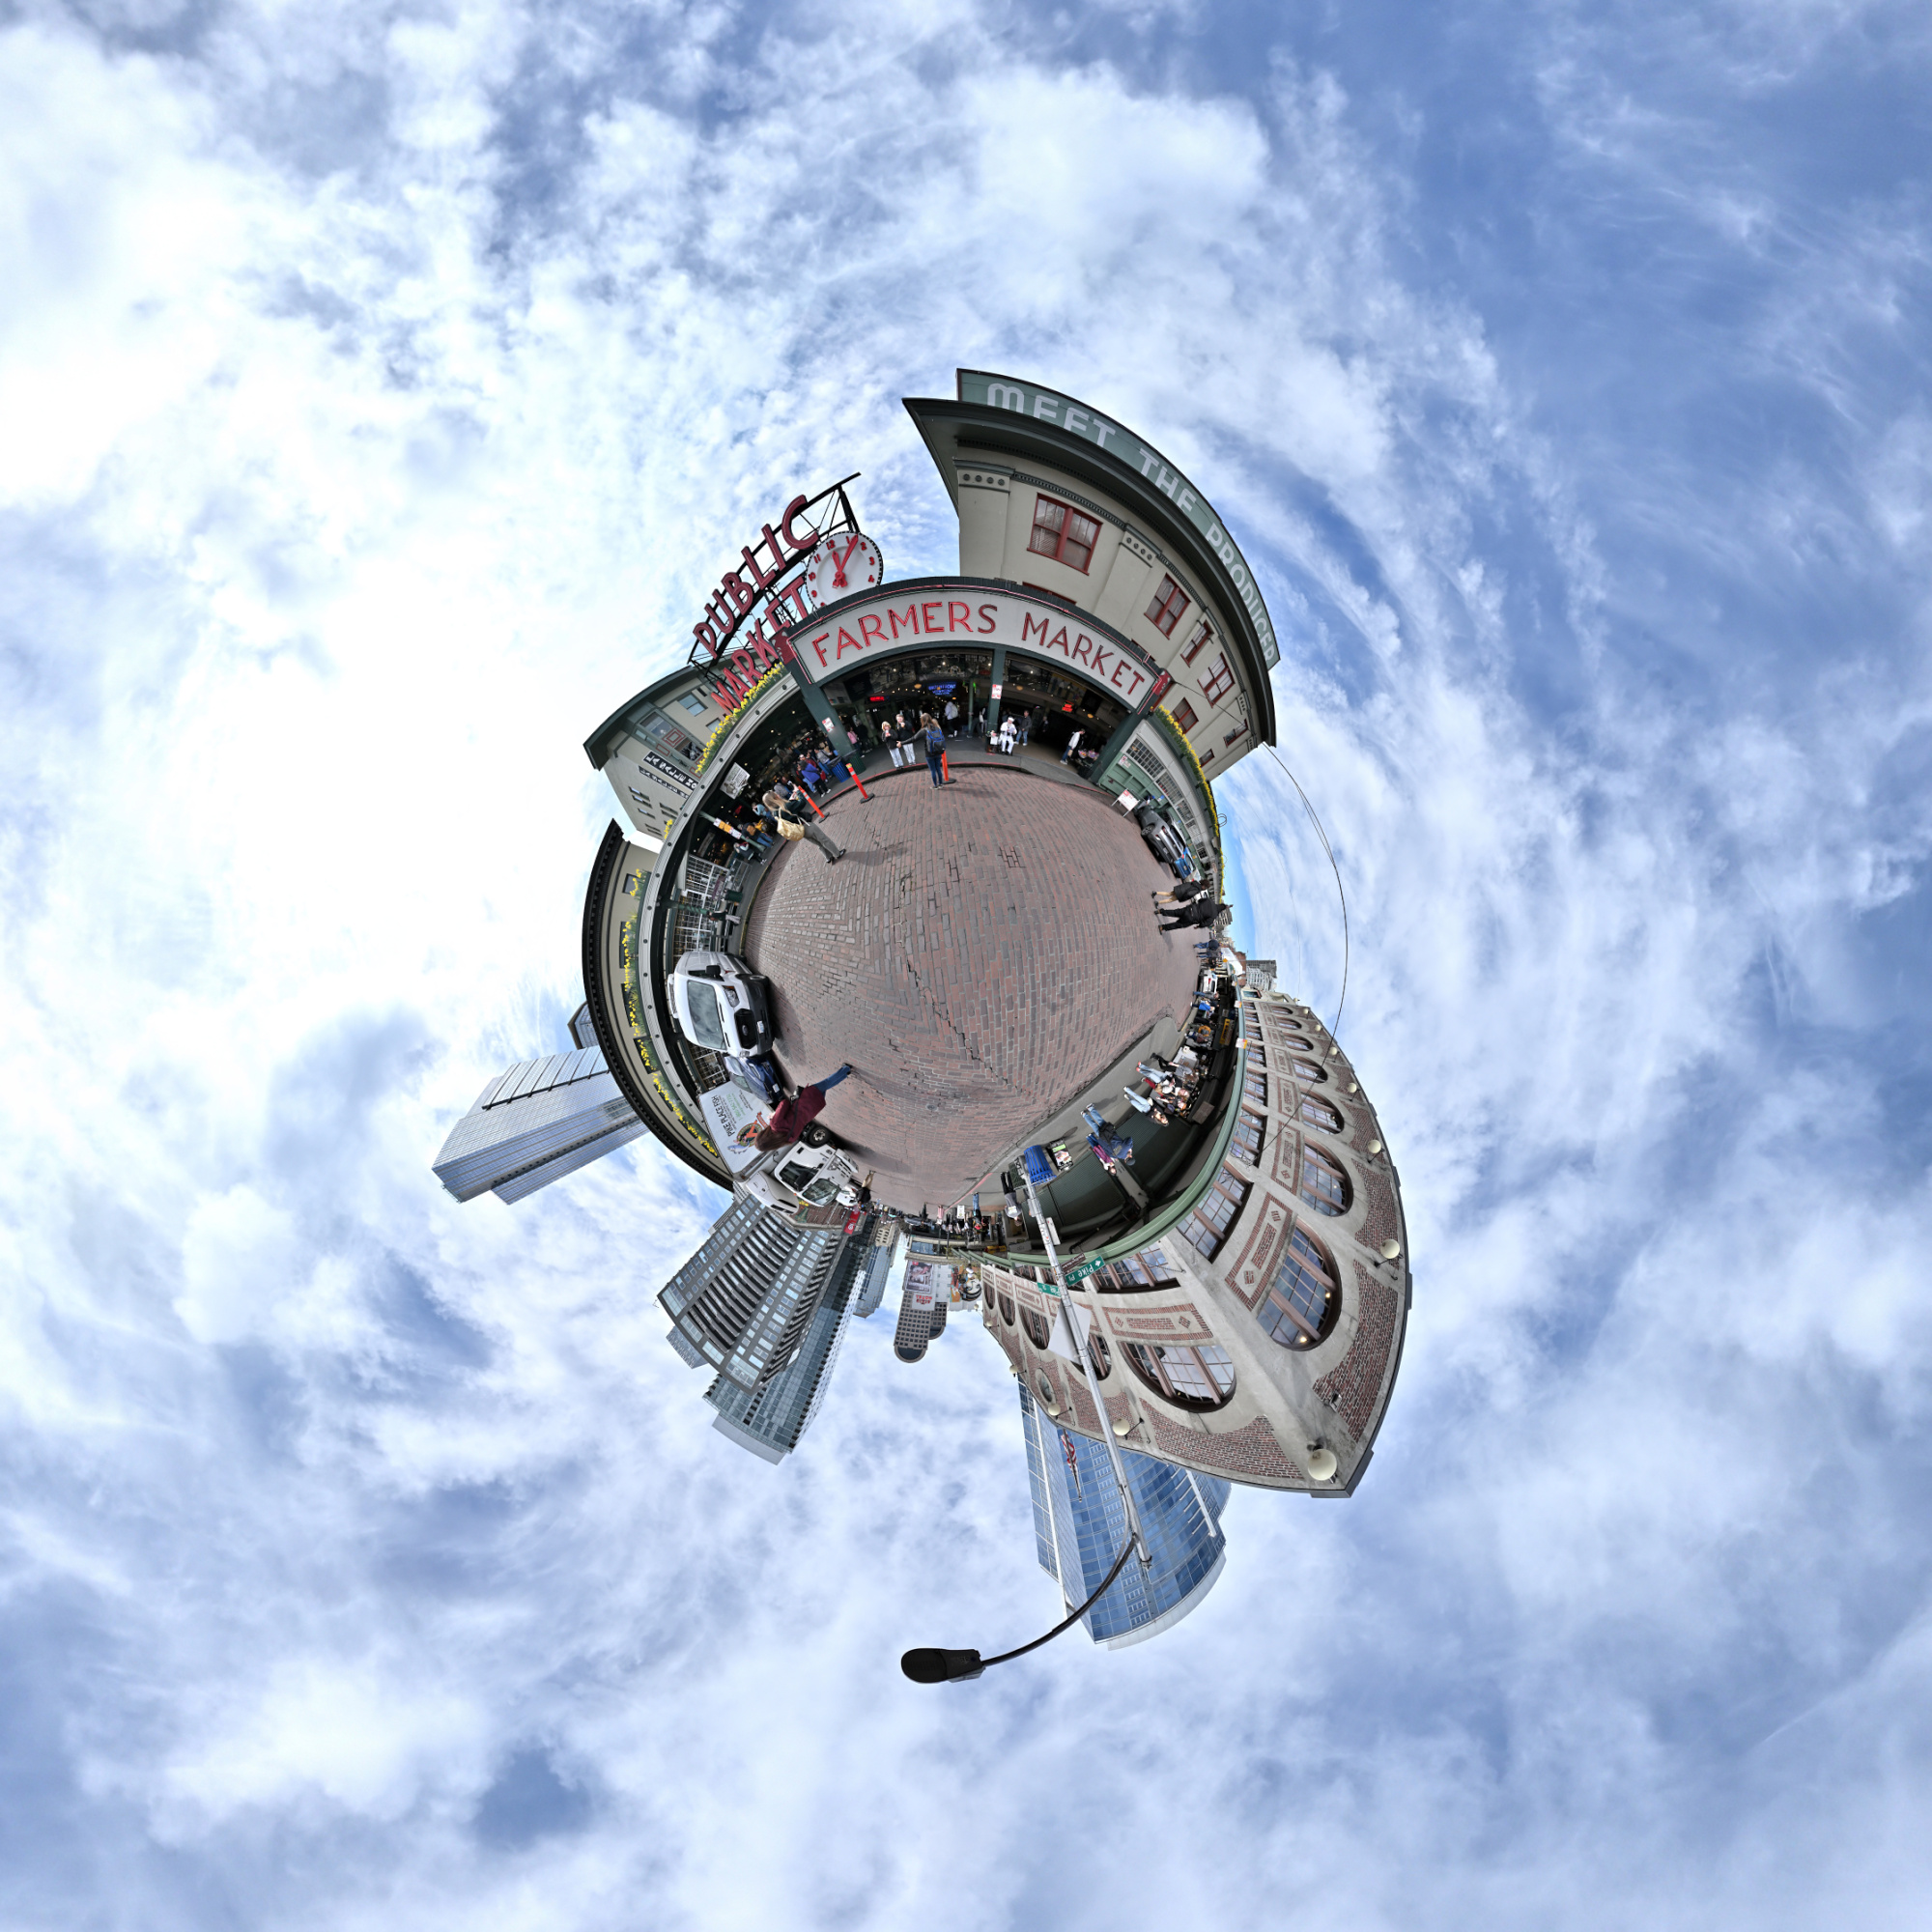
Seattle Public Market
The Pike Place Market has been alive for over a century (since 1907) and has remained unchanged. Its resilience is evident in its ability to withstand the test of time, adapting to various economic and social changes while preserving its unique character and charm. Despite challenges such as modernization, economic fluctuations, and urban development, the market has continued to thrive, serving as a vibrant hub for local vendors and visitors alike.
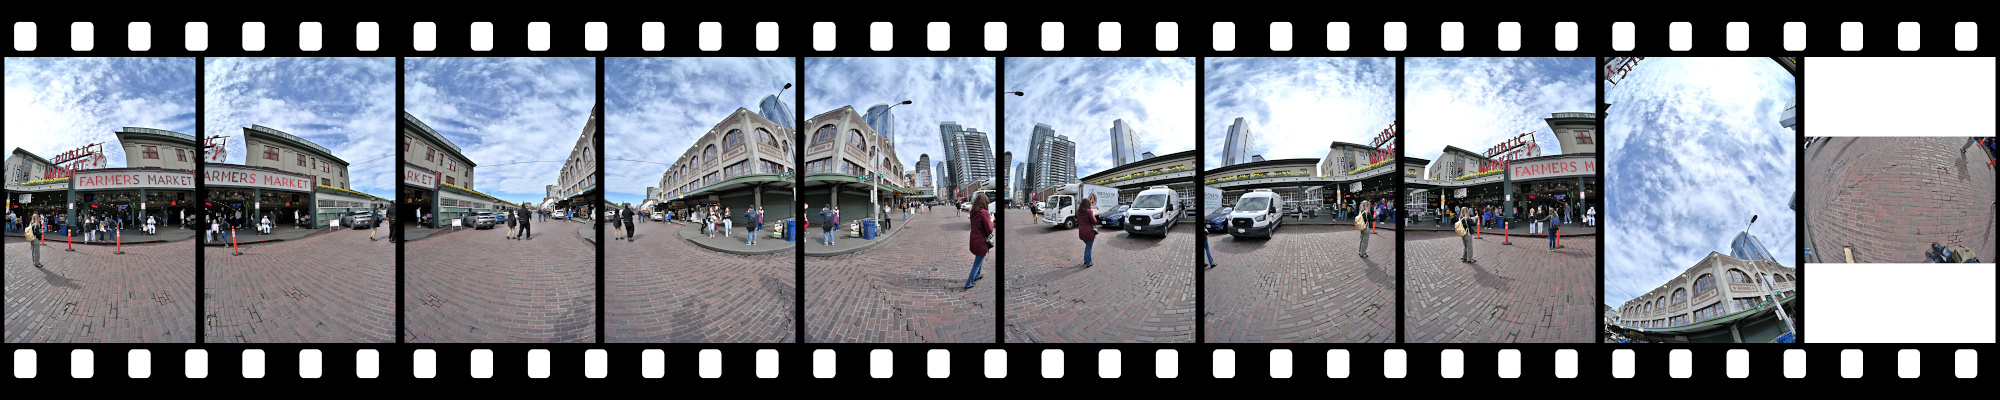
Interactive Panorama Seattle Public Market
1/800s f/5,6 ISO 100/21° f=7,5mm
Founded 4.4.1975
In 1998, I had the incredible opportunity to meet Bill Gates, the co-founder of Microsoft.
Years later, I attended Bill Gates' 50th birthday party. The event was a celebration of his achievements and contributions to technology and philanthropy.
I've seen Steve Ballmer, former CEO of Microsoft, multiple times in Seattle. His energetic approach to leadership was always evident.
More recently, I've had the chance to see Satya Nadella, the current CEO of Microsoft, during Hackathon presentations. His commitment to fostering innovation within the company is truly inspiring.
Today in Redmond, I attended the Microsoft's 50th anniversary celebration. The event was quite spectacular!
The rest of the time is writing code, that is still evident while you are on your PC tasks and navigating to this page 👾🛸