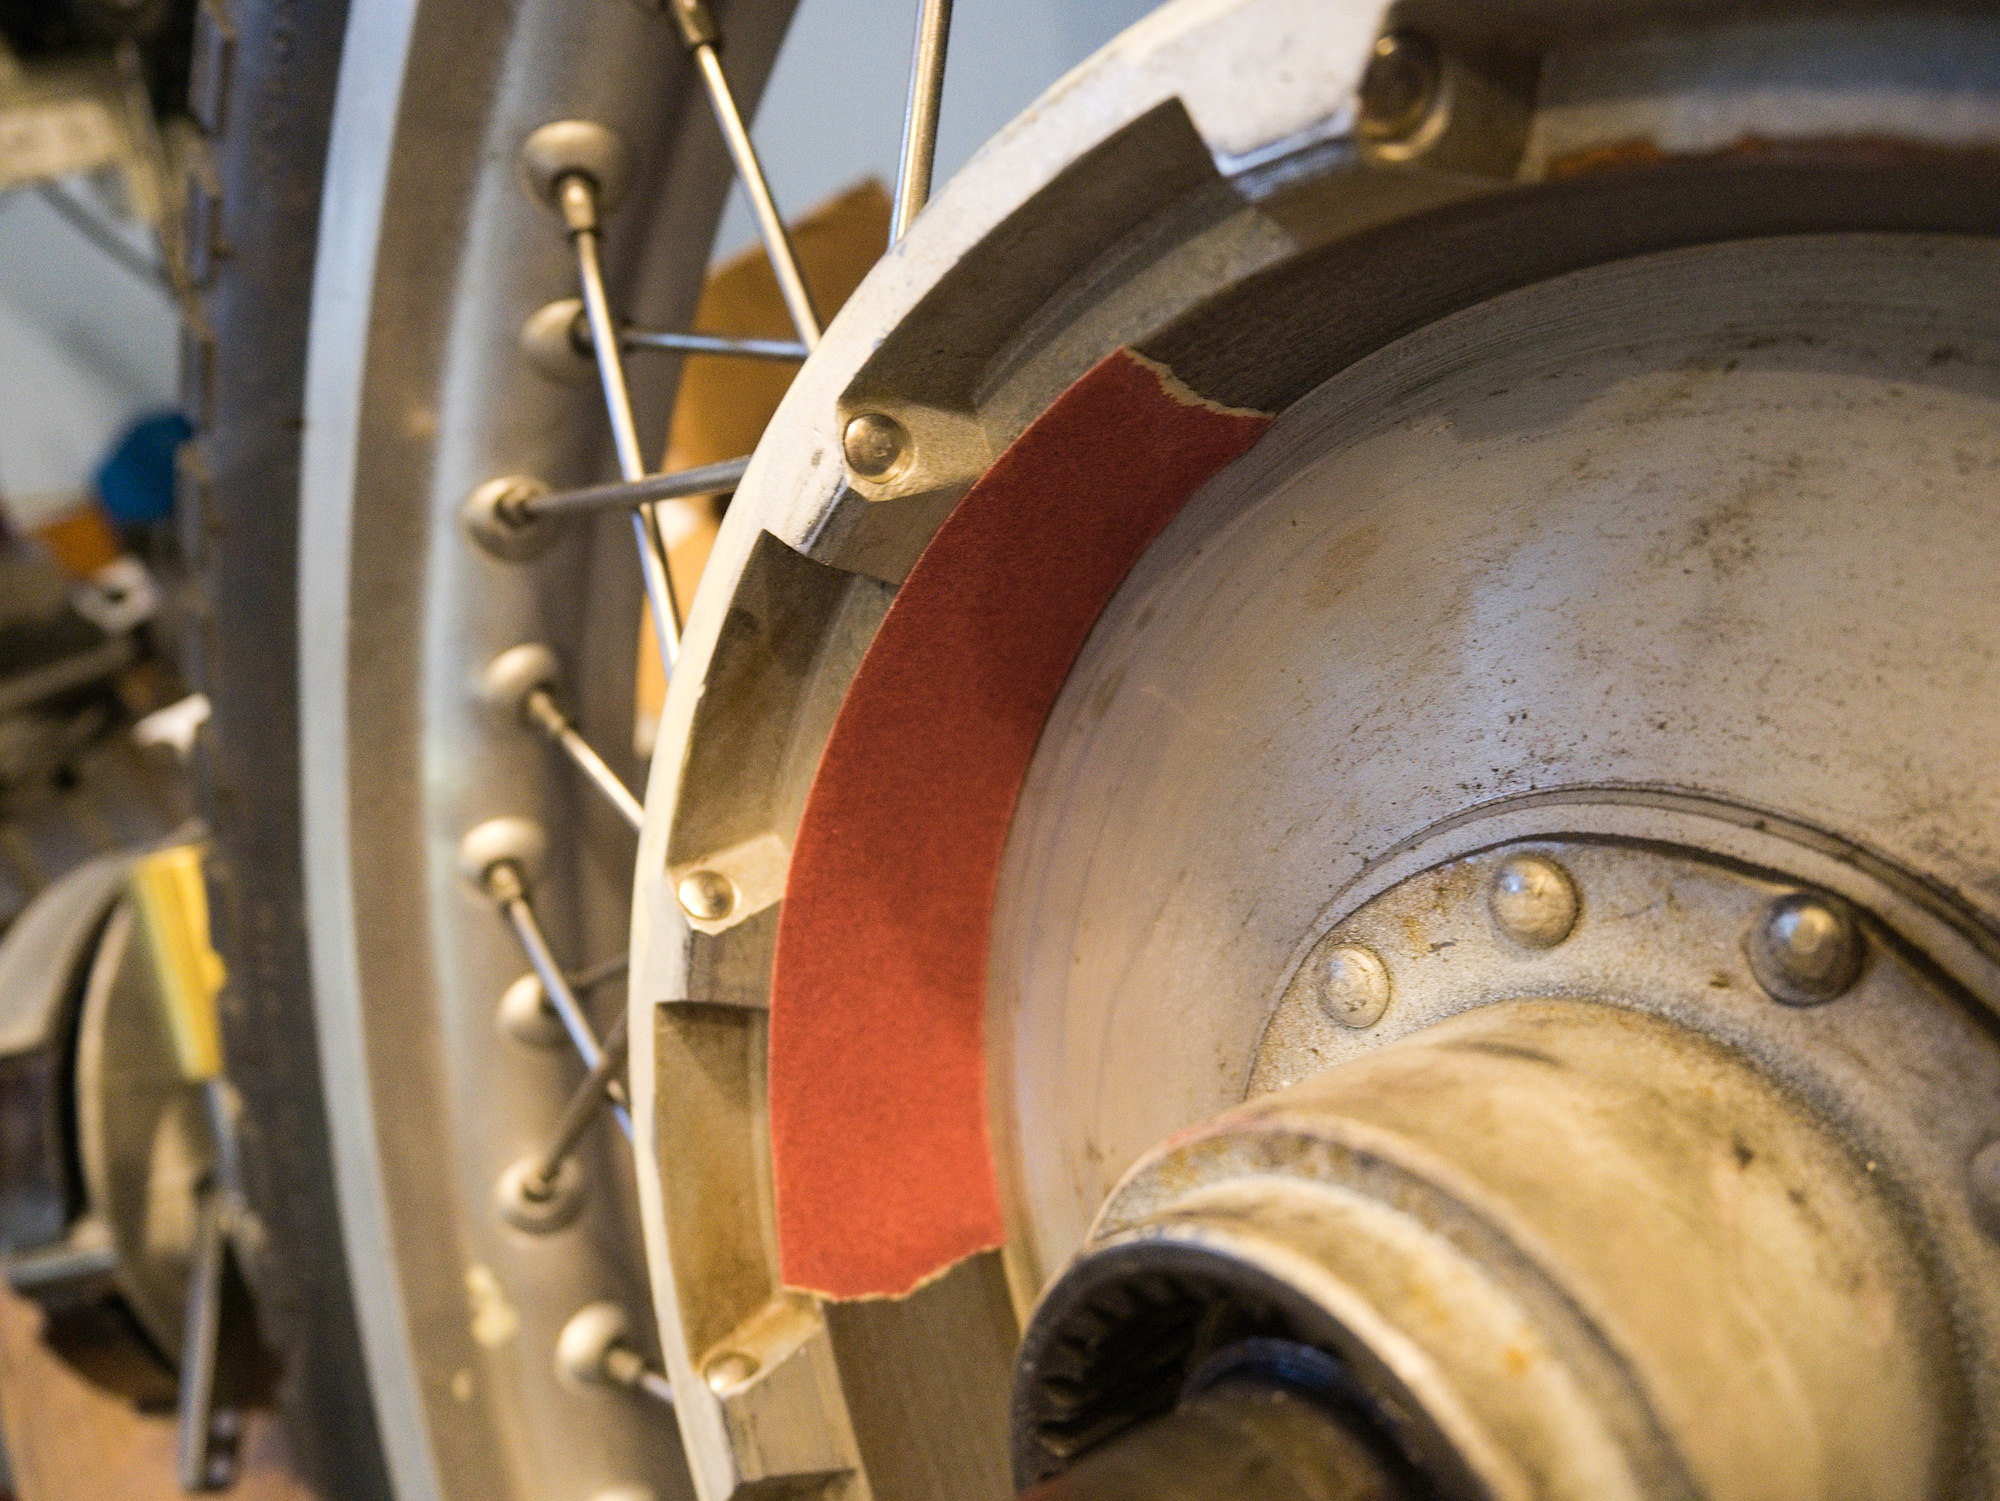
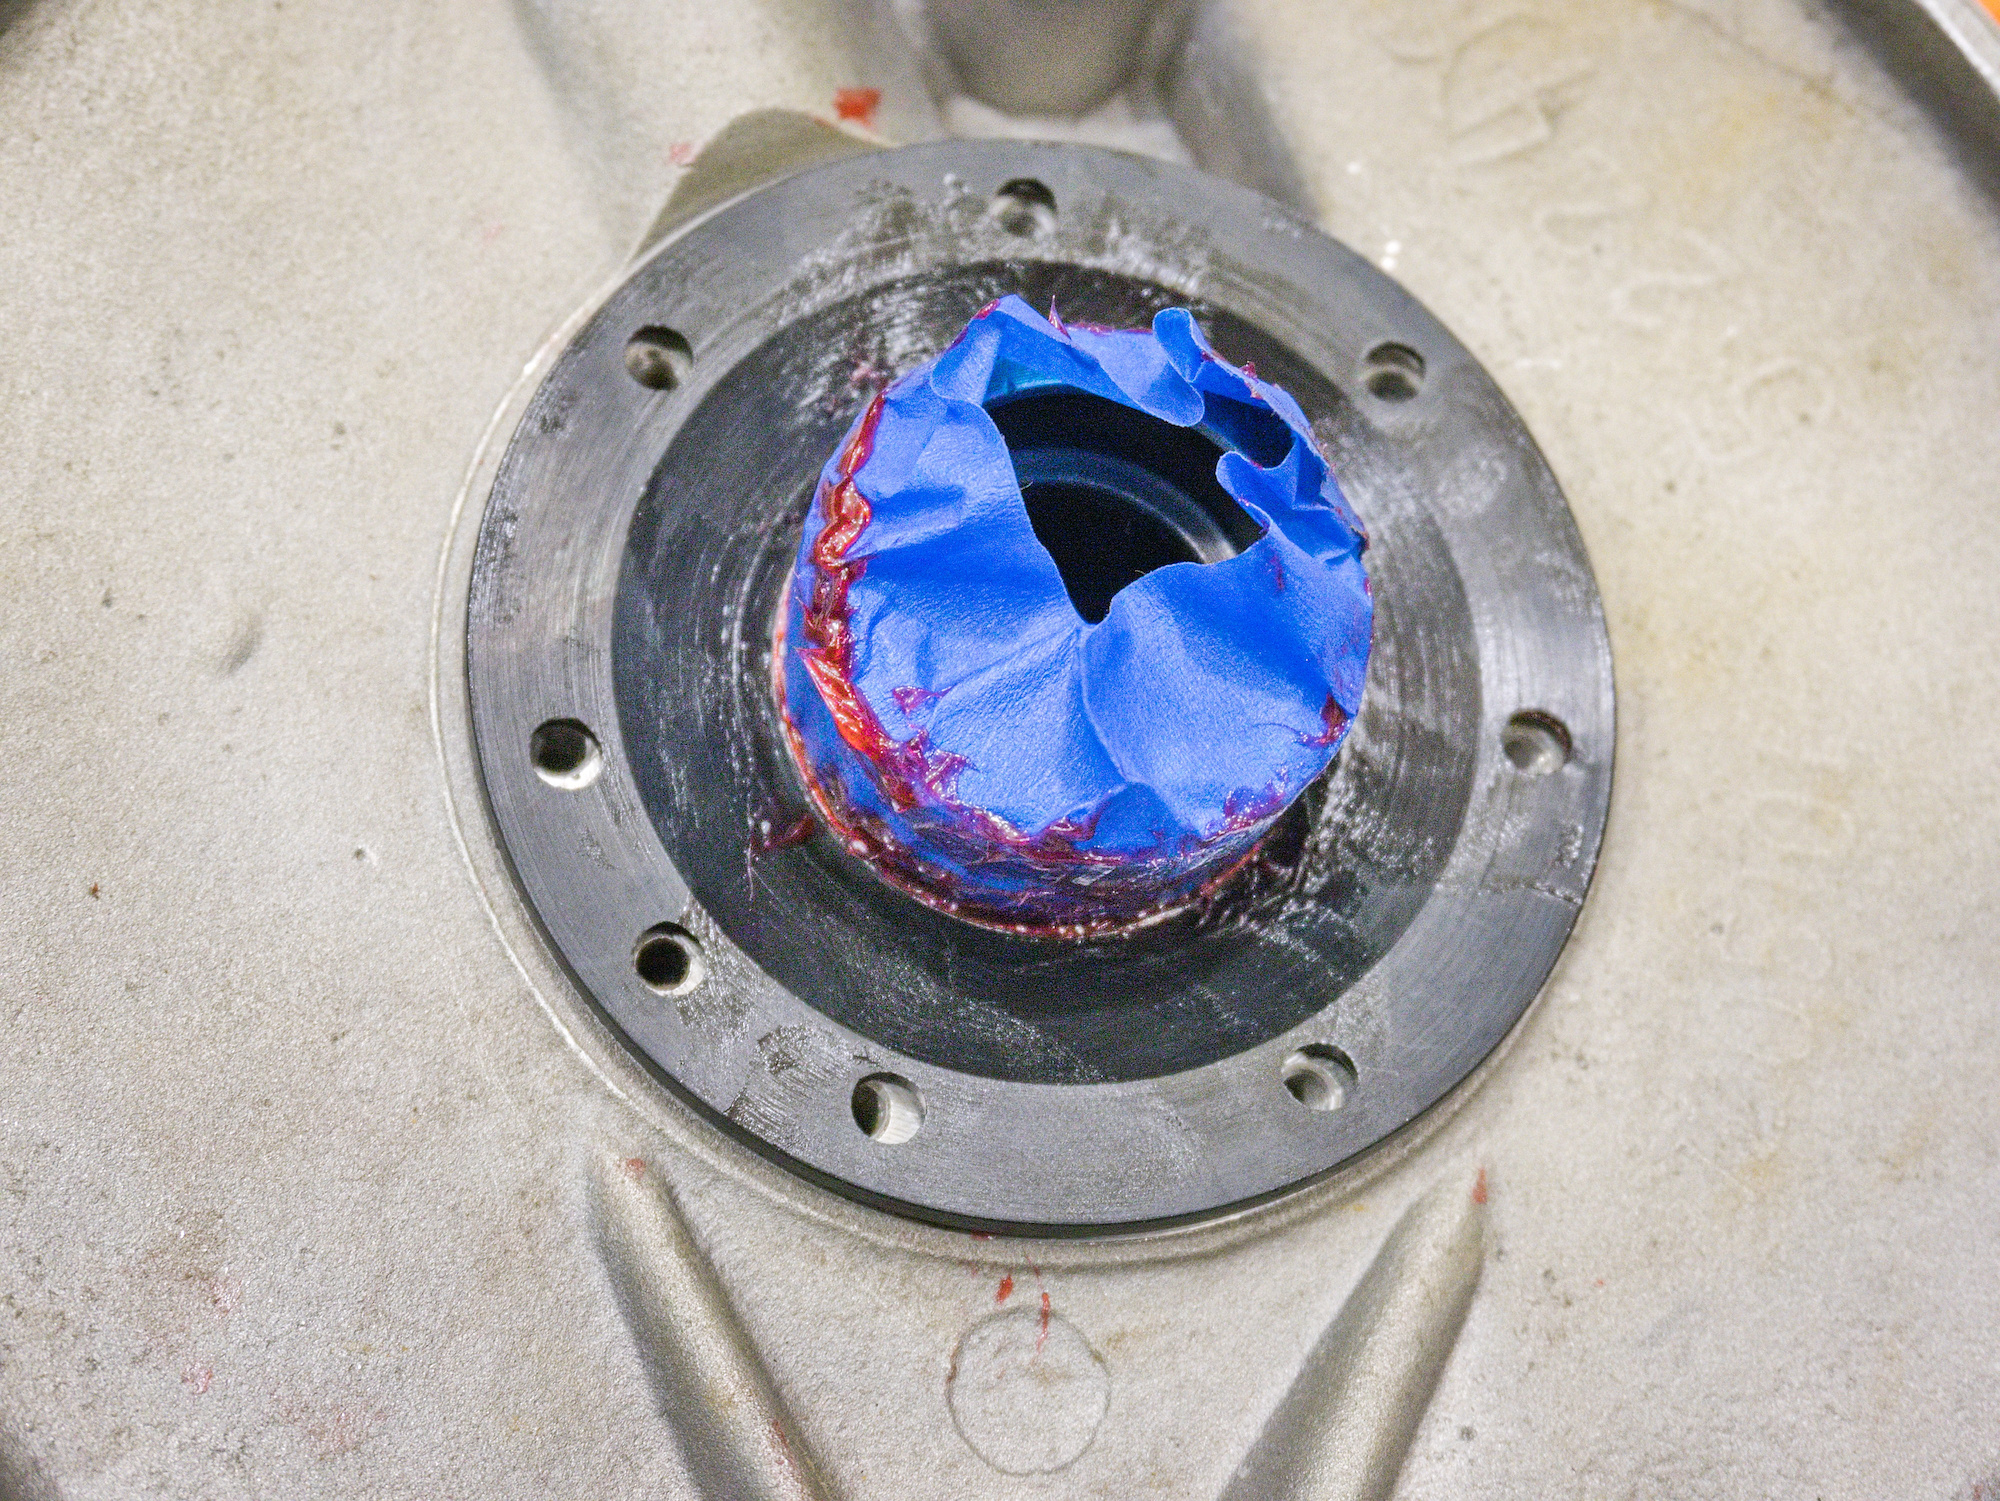
As a common misconception the sealing surface is often polished for minimal wear, but for oil seals this has the opposite effect. The sealing surface needs to have a certain roughness to support an oil film. If the surface is too smooth, the oil film cannot be established and the seal runs dry, causing the parts to heat up and finally destroy the seal.
If on the other side the roughness is too large, the seal gets worn out quickly, resulting in the same fate.
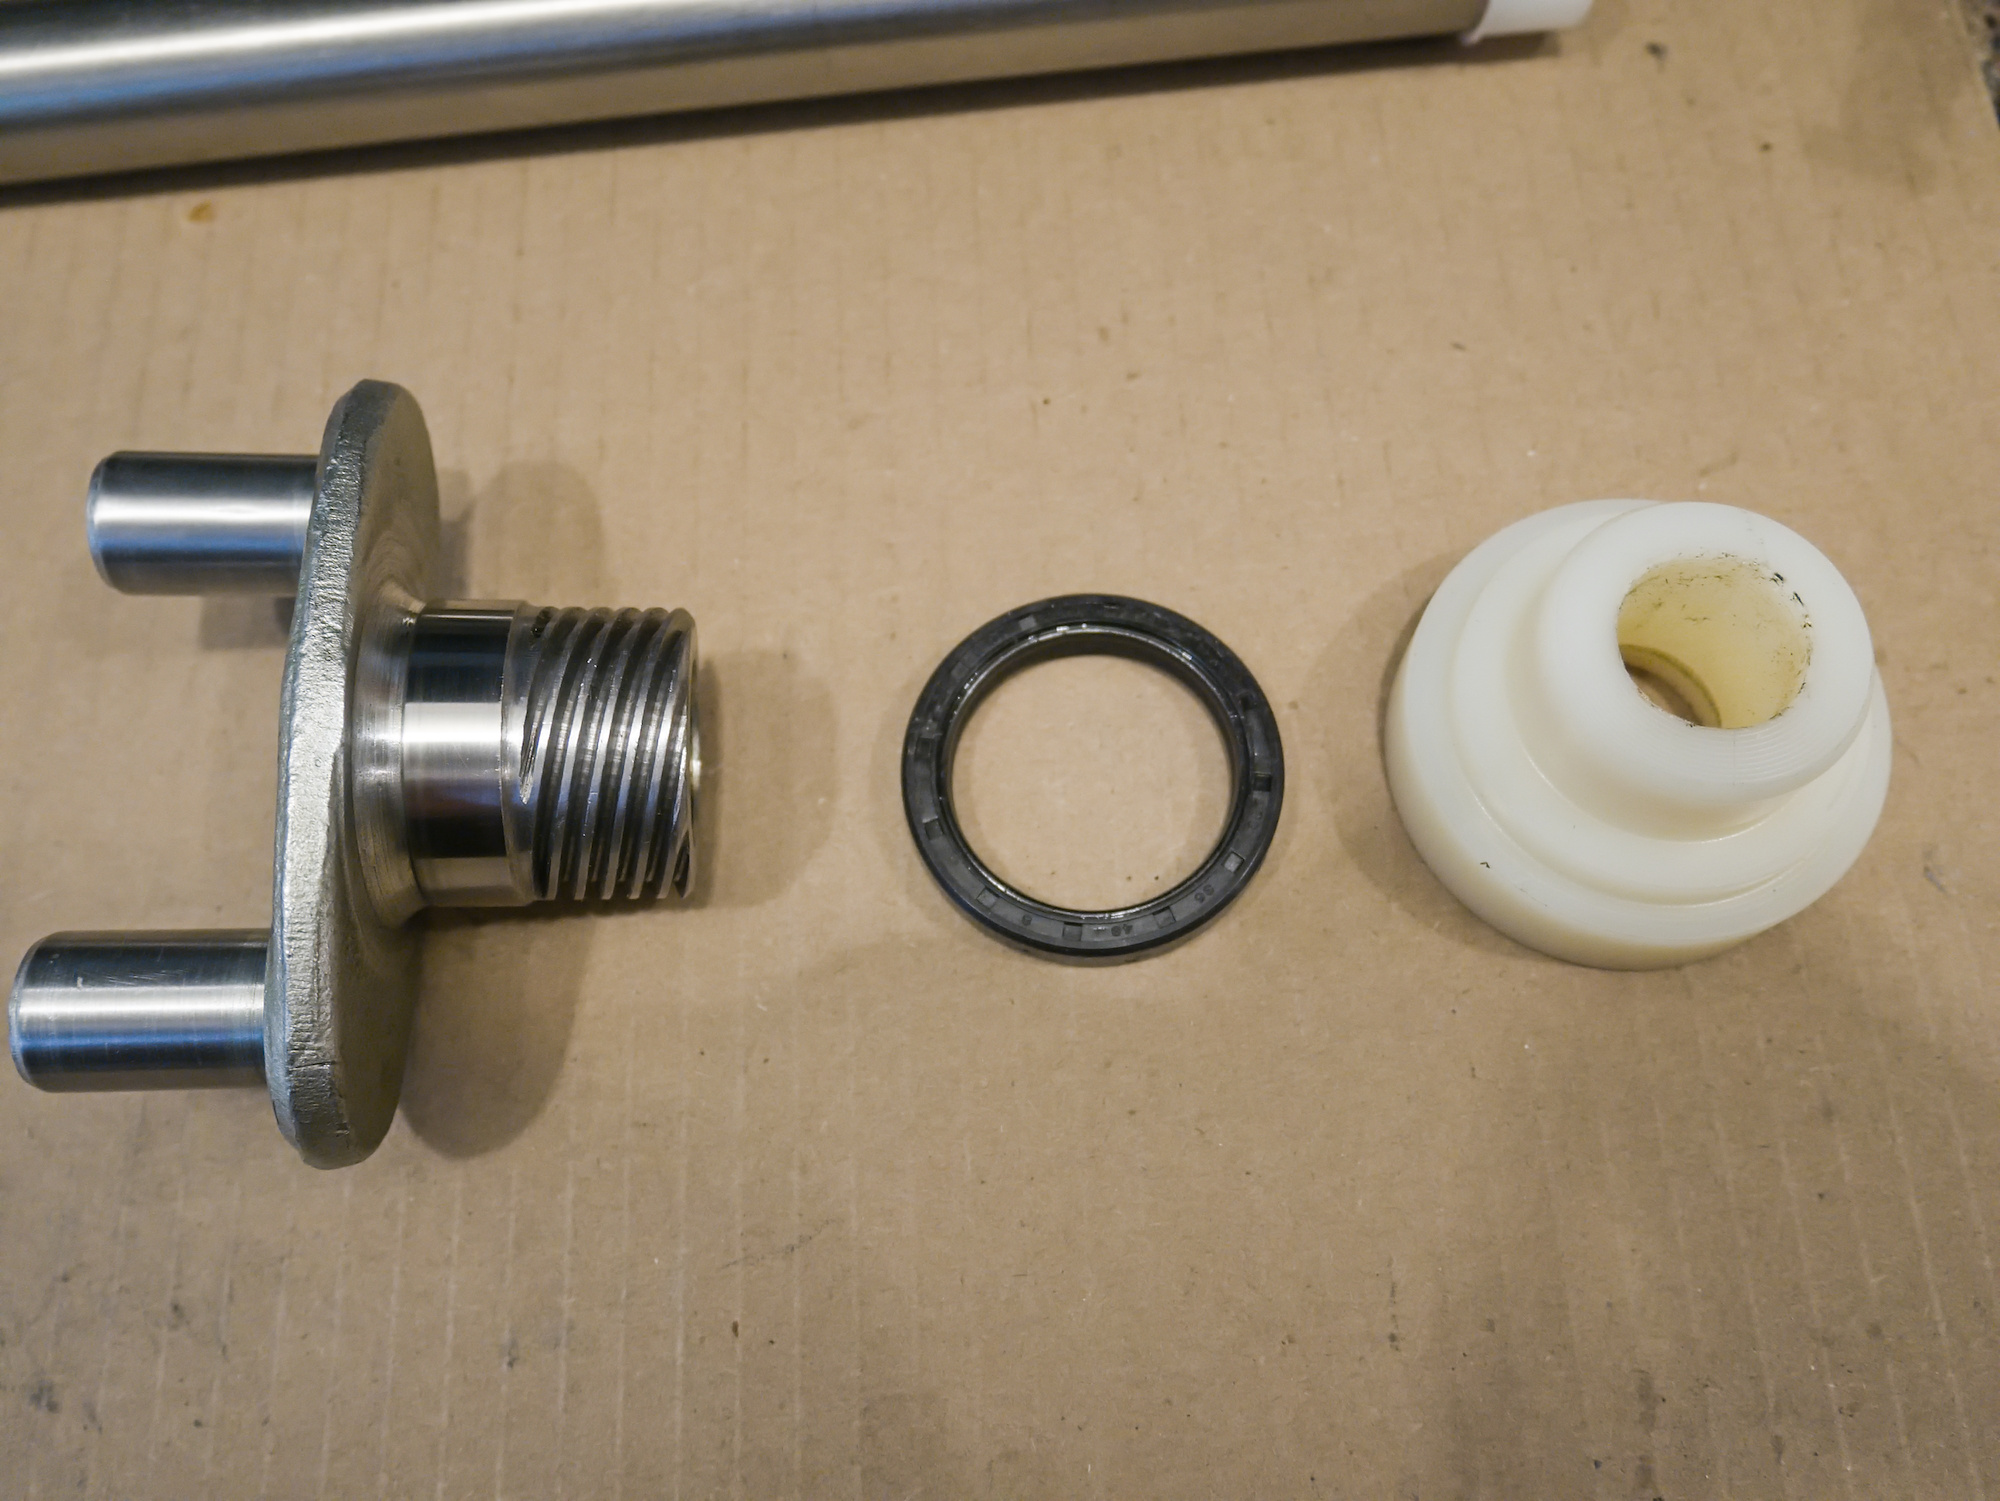
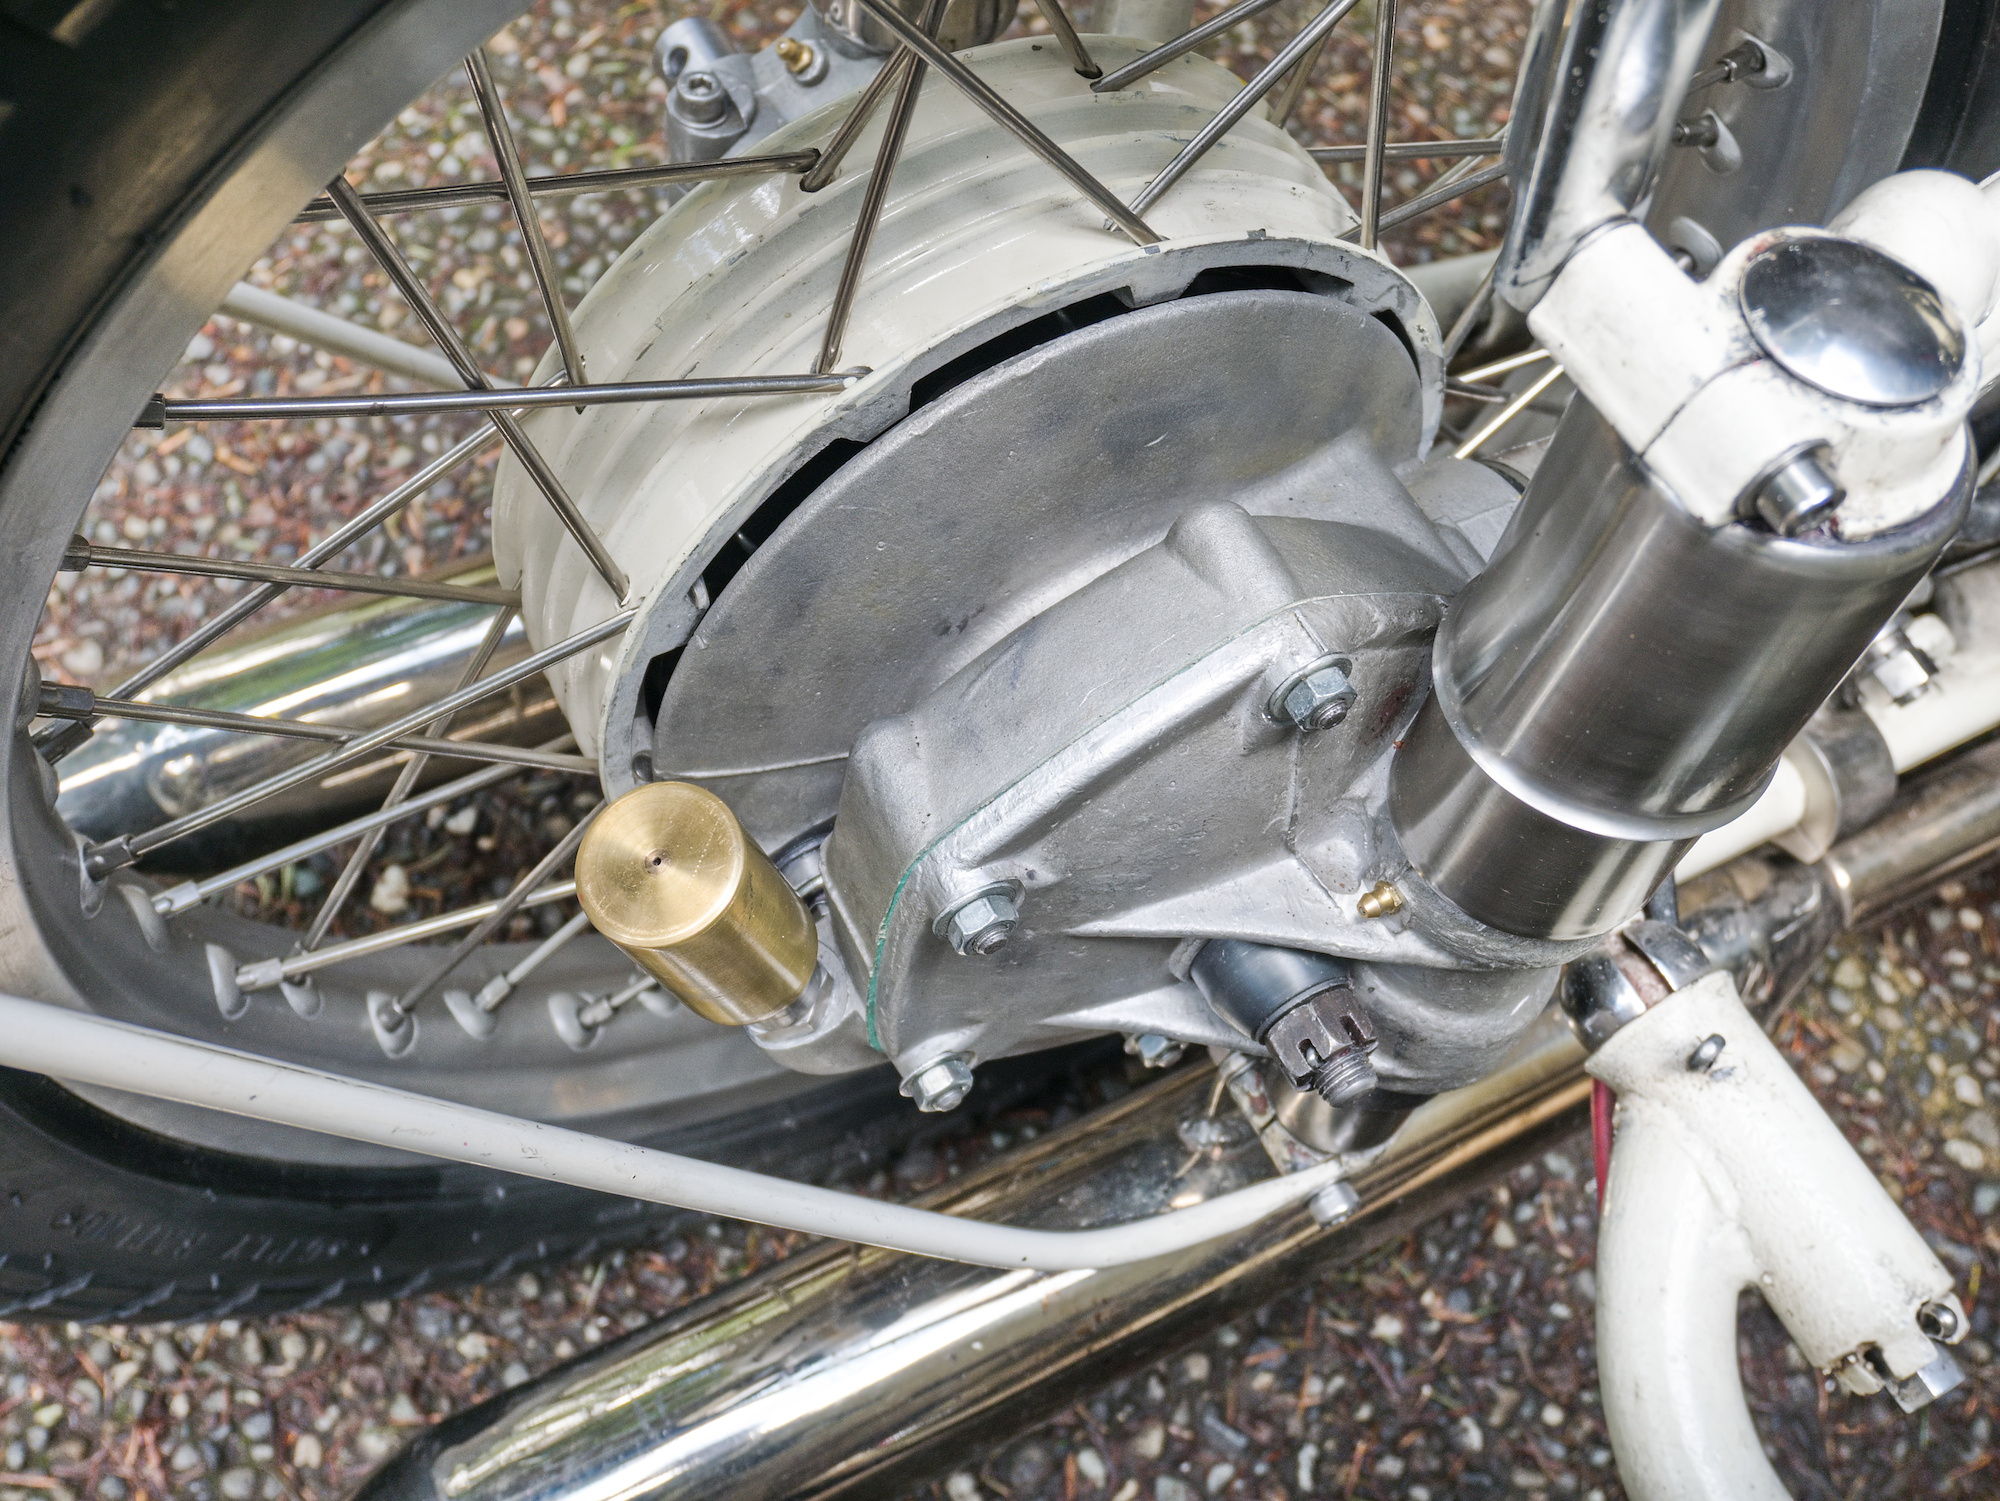
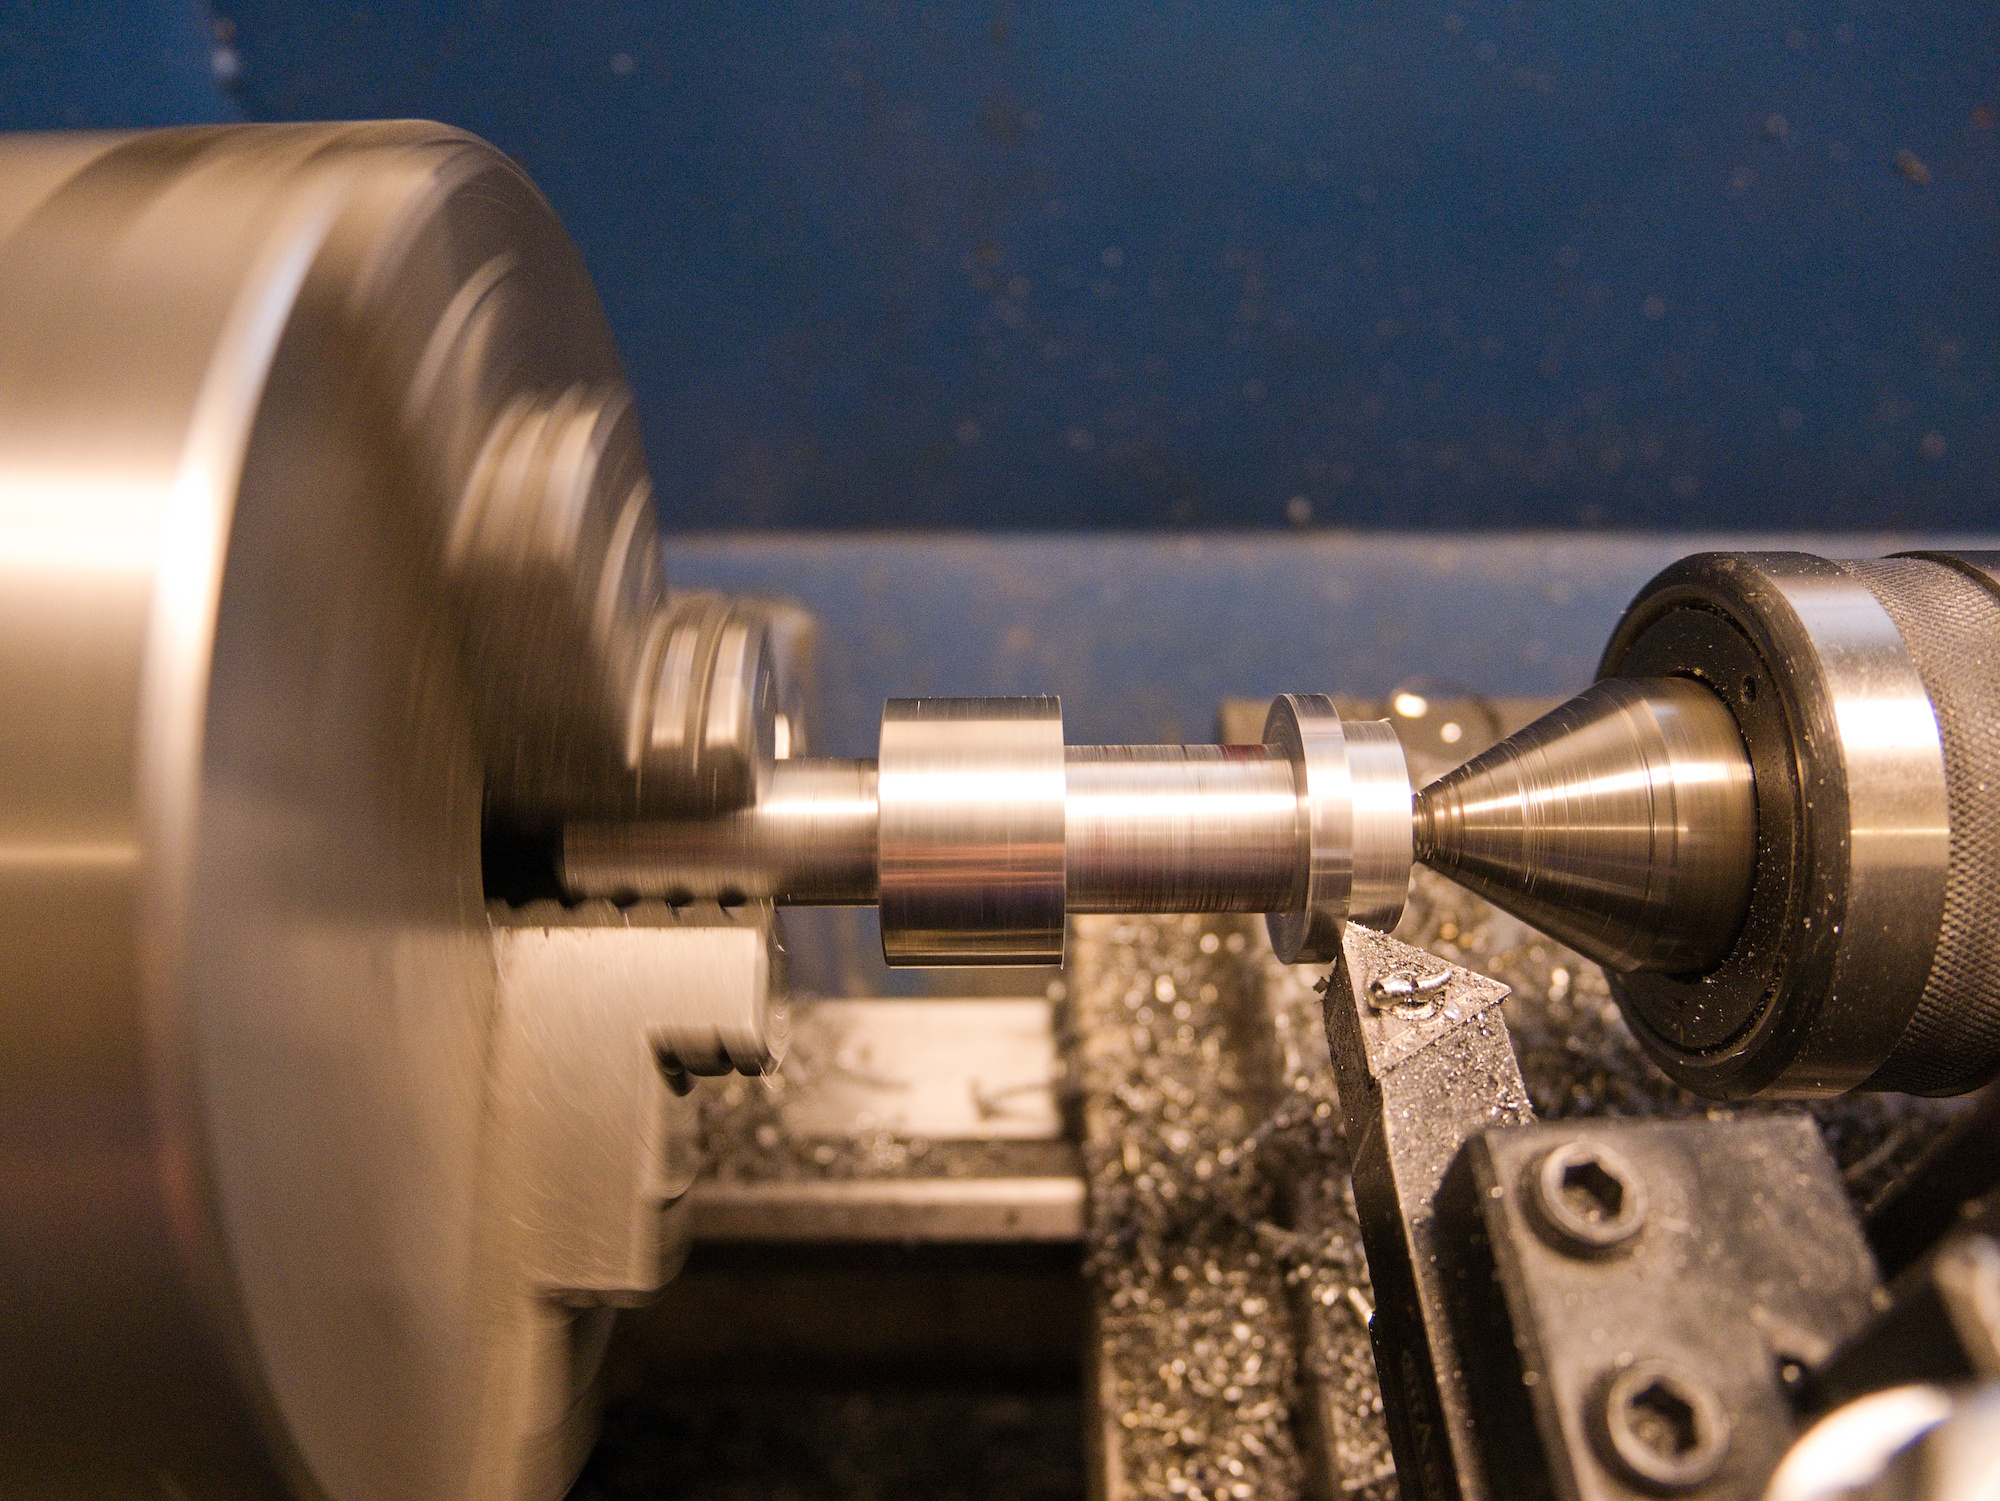
And this is what happend to my gearbox seal. For quite some time the coupler on the gearbox side was hot even after a short drive. The diameter of the sealing surface of the coupler is 36.5mm and the oil seal is TC36x48x8. This tight fit also contributed, but the sealing surface apparently was indeed too smooth for the seal when the sealing surface was done with 400 grit sandpaper.
The perfect roughness is Ra 0,2-0,8.
But how to get to this?
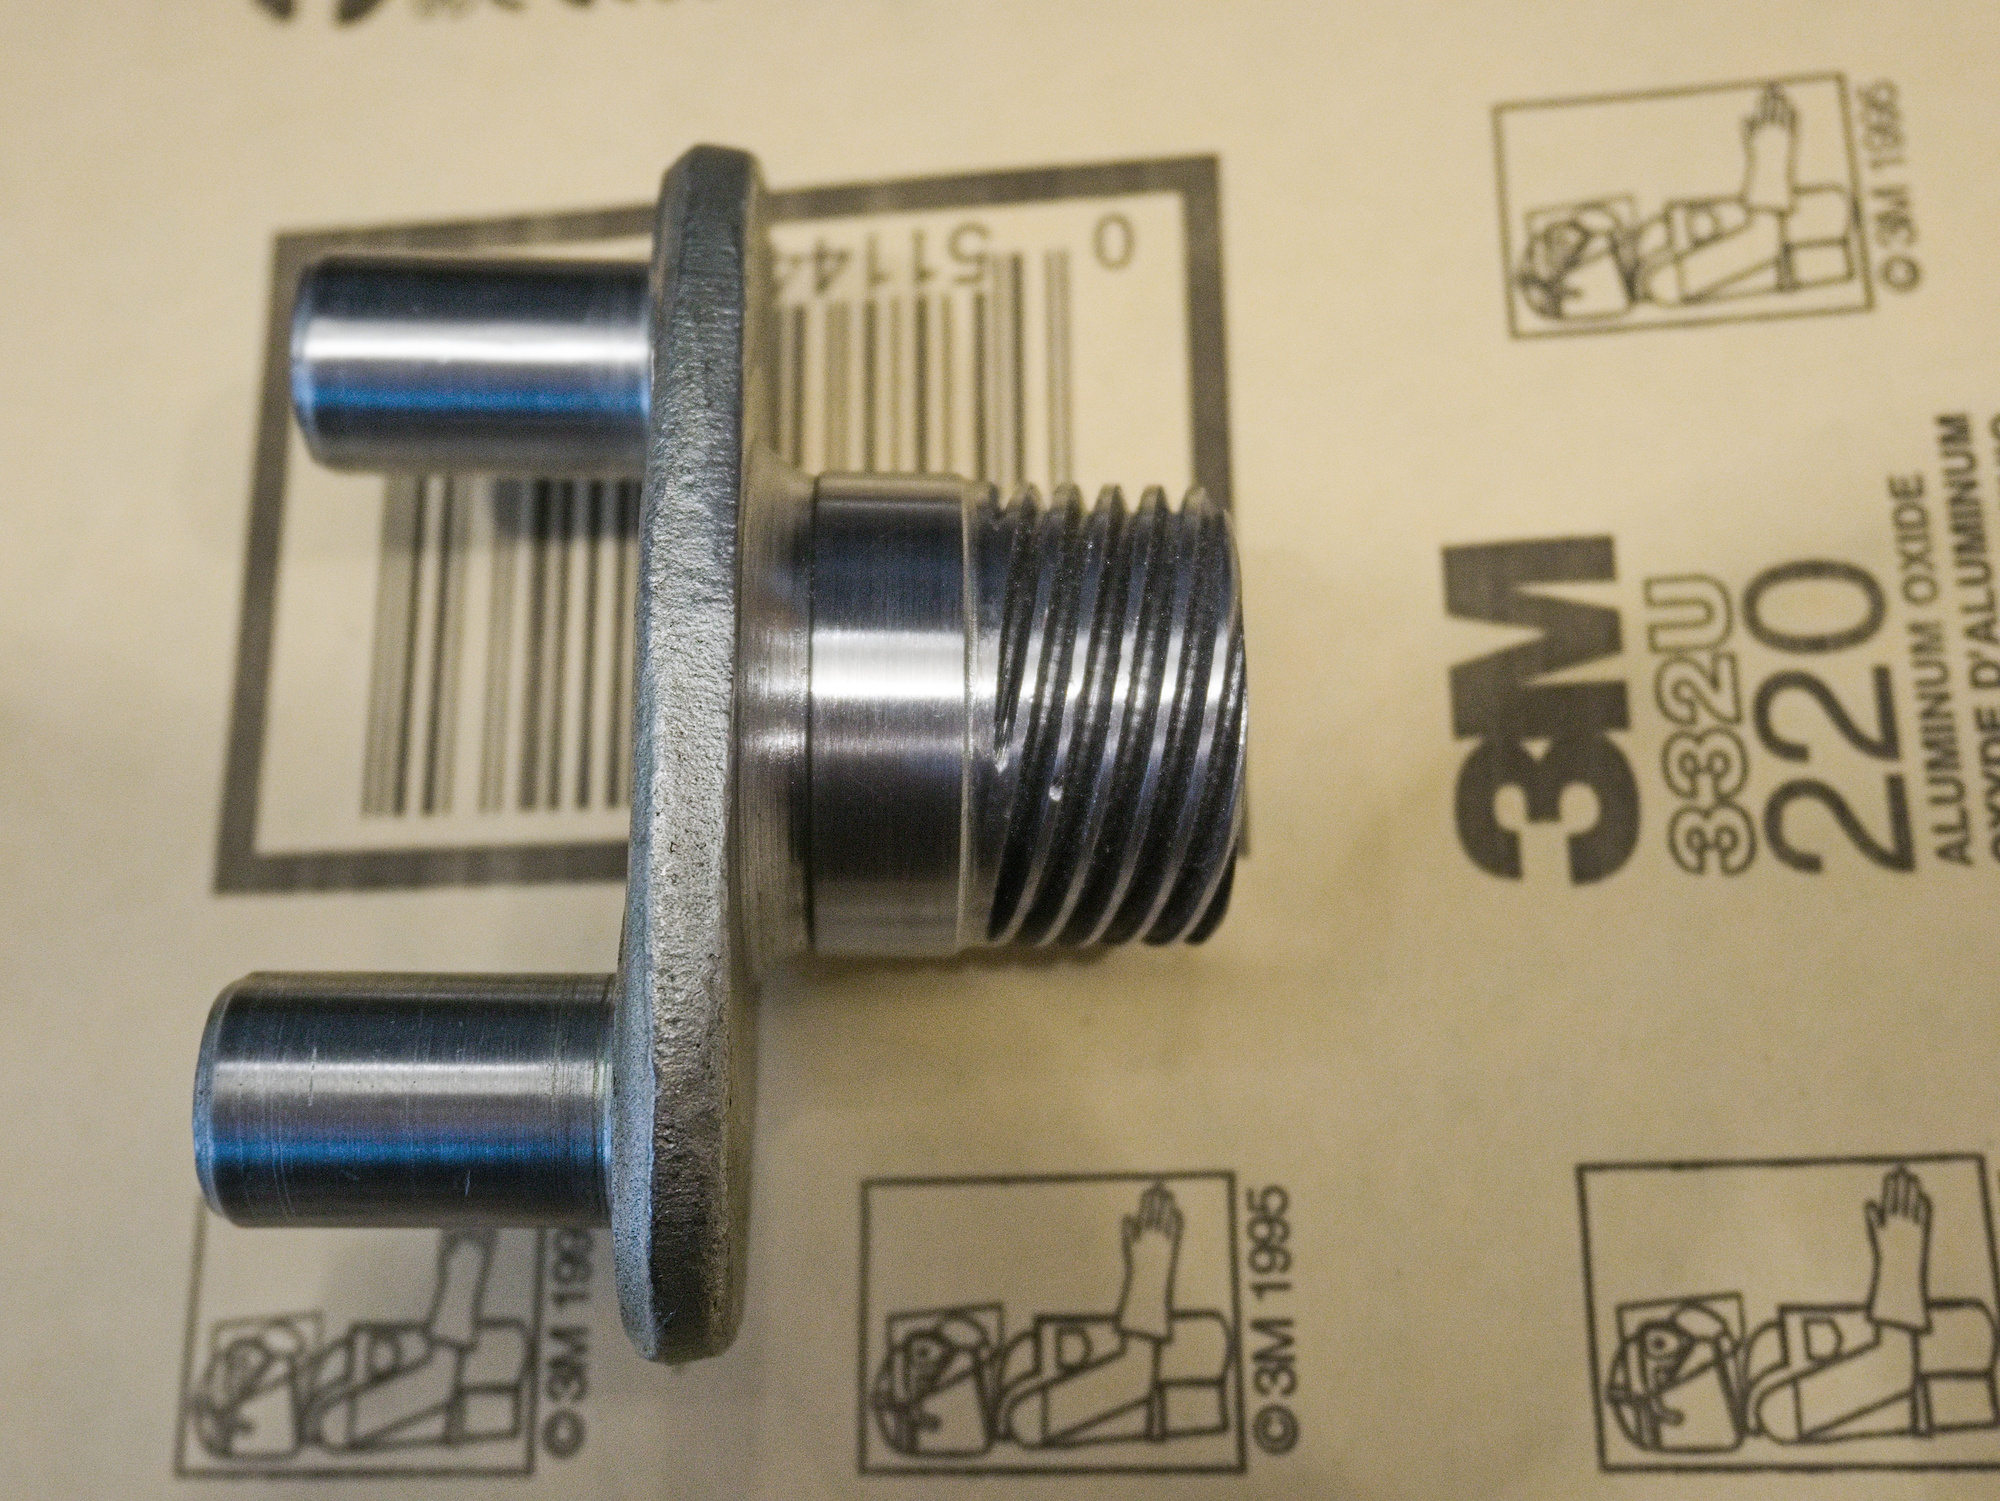
A 220 grit sandpaper gets to about a roughness of Ra 0,5 on metal. A few passes with 220 grit sandpaper around the sealing surface resulted in this, which still felt very smooth.
And with a new TC37x48x7, the seal is not too tight anymore (37mm instead of 36mm).
Back to service!
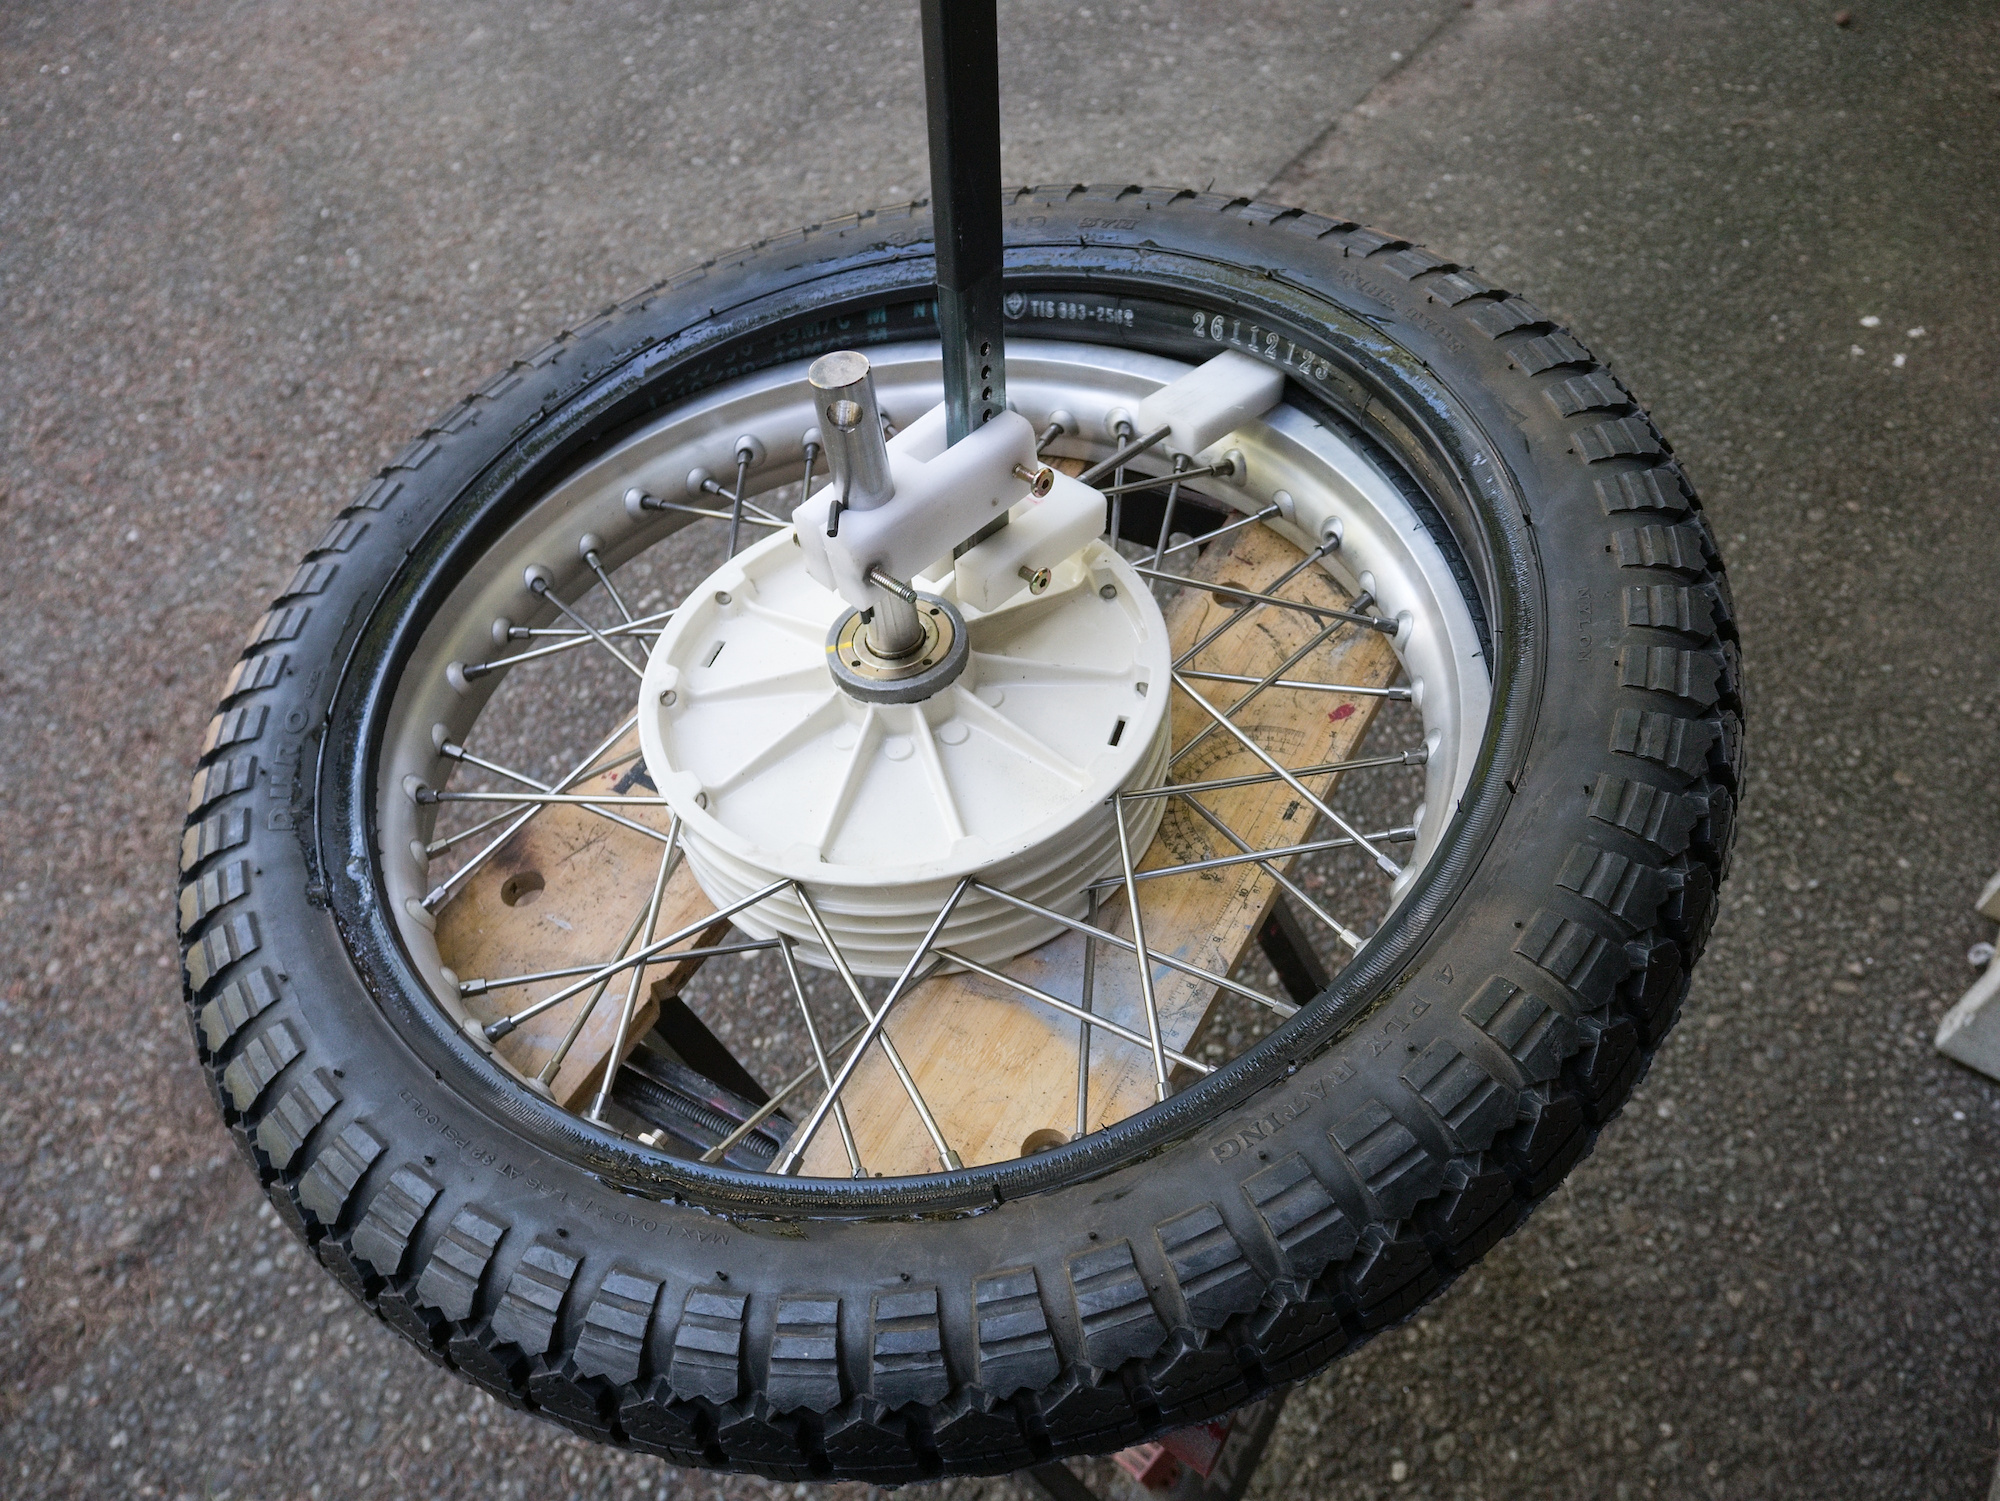
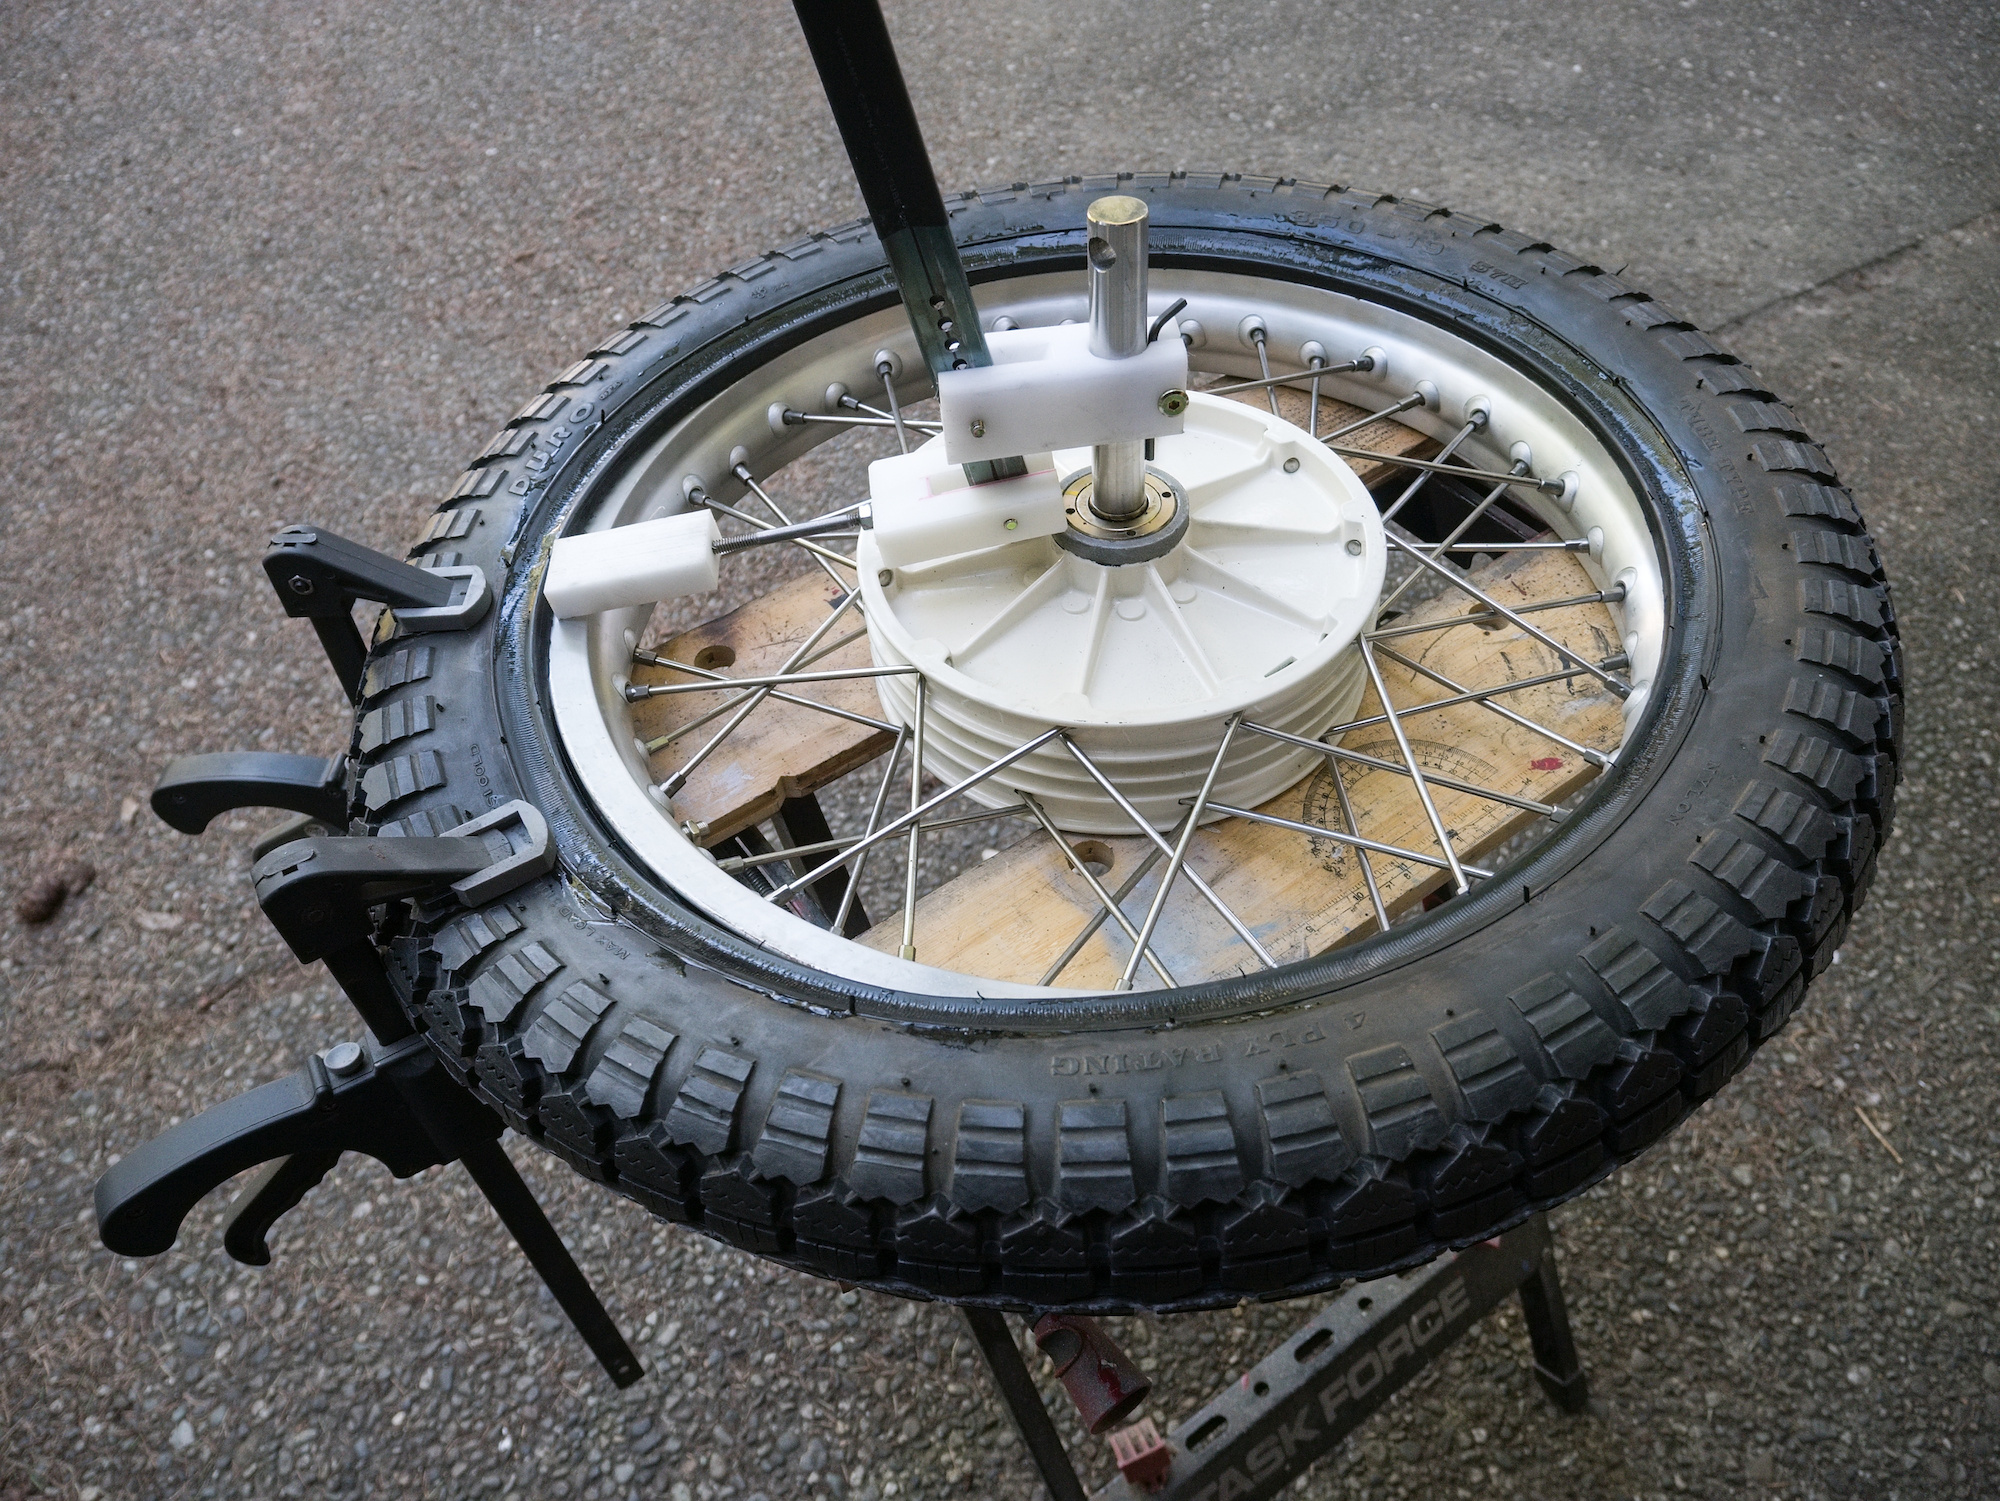
To remove a tire, use a lot of soap, tire spoons and rim protectors.
The trick is to squeeze the tire on one side with clamps to have more room on the other side. This is for removing and installing.
To install a tire, inflate the tube slightly and put it into the tire. Adding the tube later is difficult and can result in a twisted tube.
Add soap.

Use a tire pusher tool to push the tire over the rim of the wheel.
Using a tire pusher tool makes the process very easy. Using tire spoons require some space between tire and rim and can make installation more difficult. Especially with the stiff side car tires.
A tire pusher tool does not require this space.
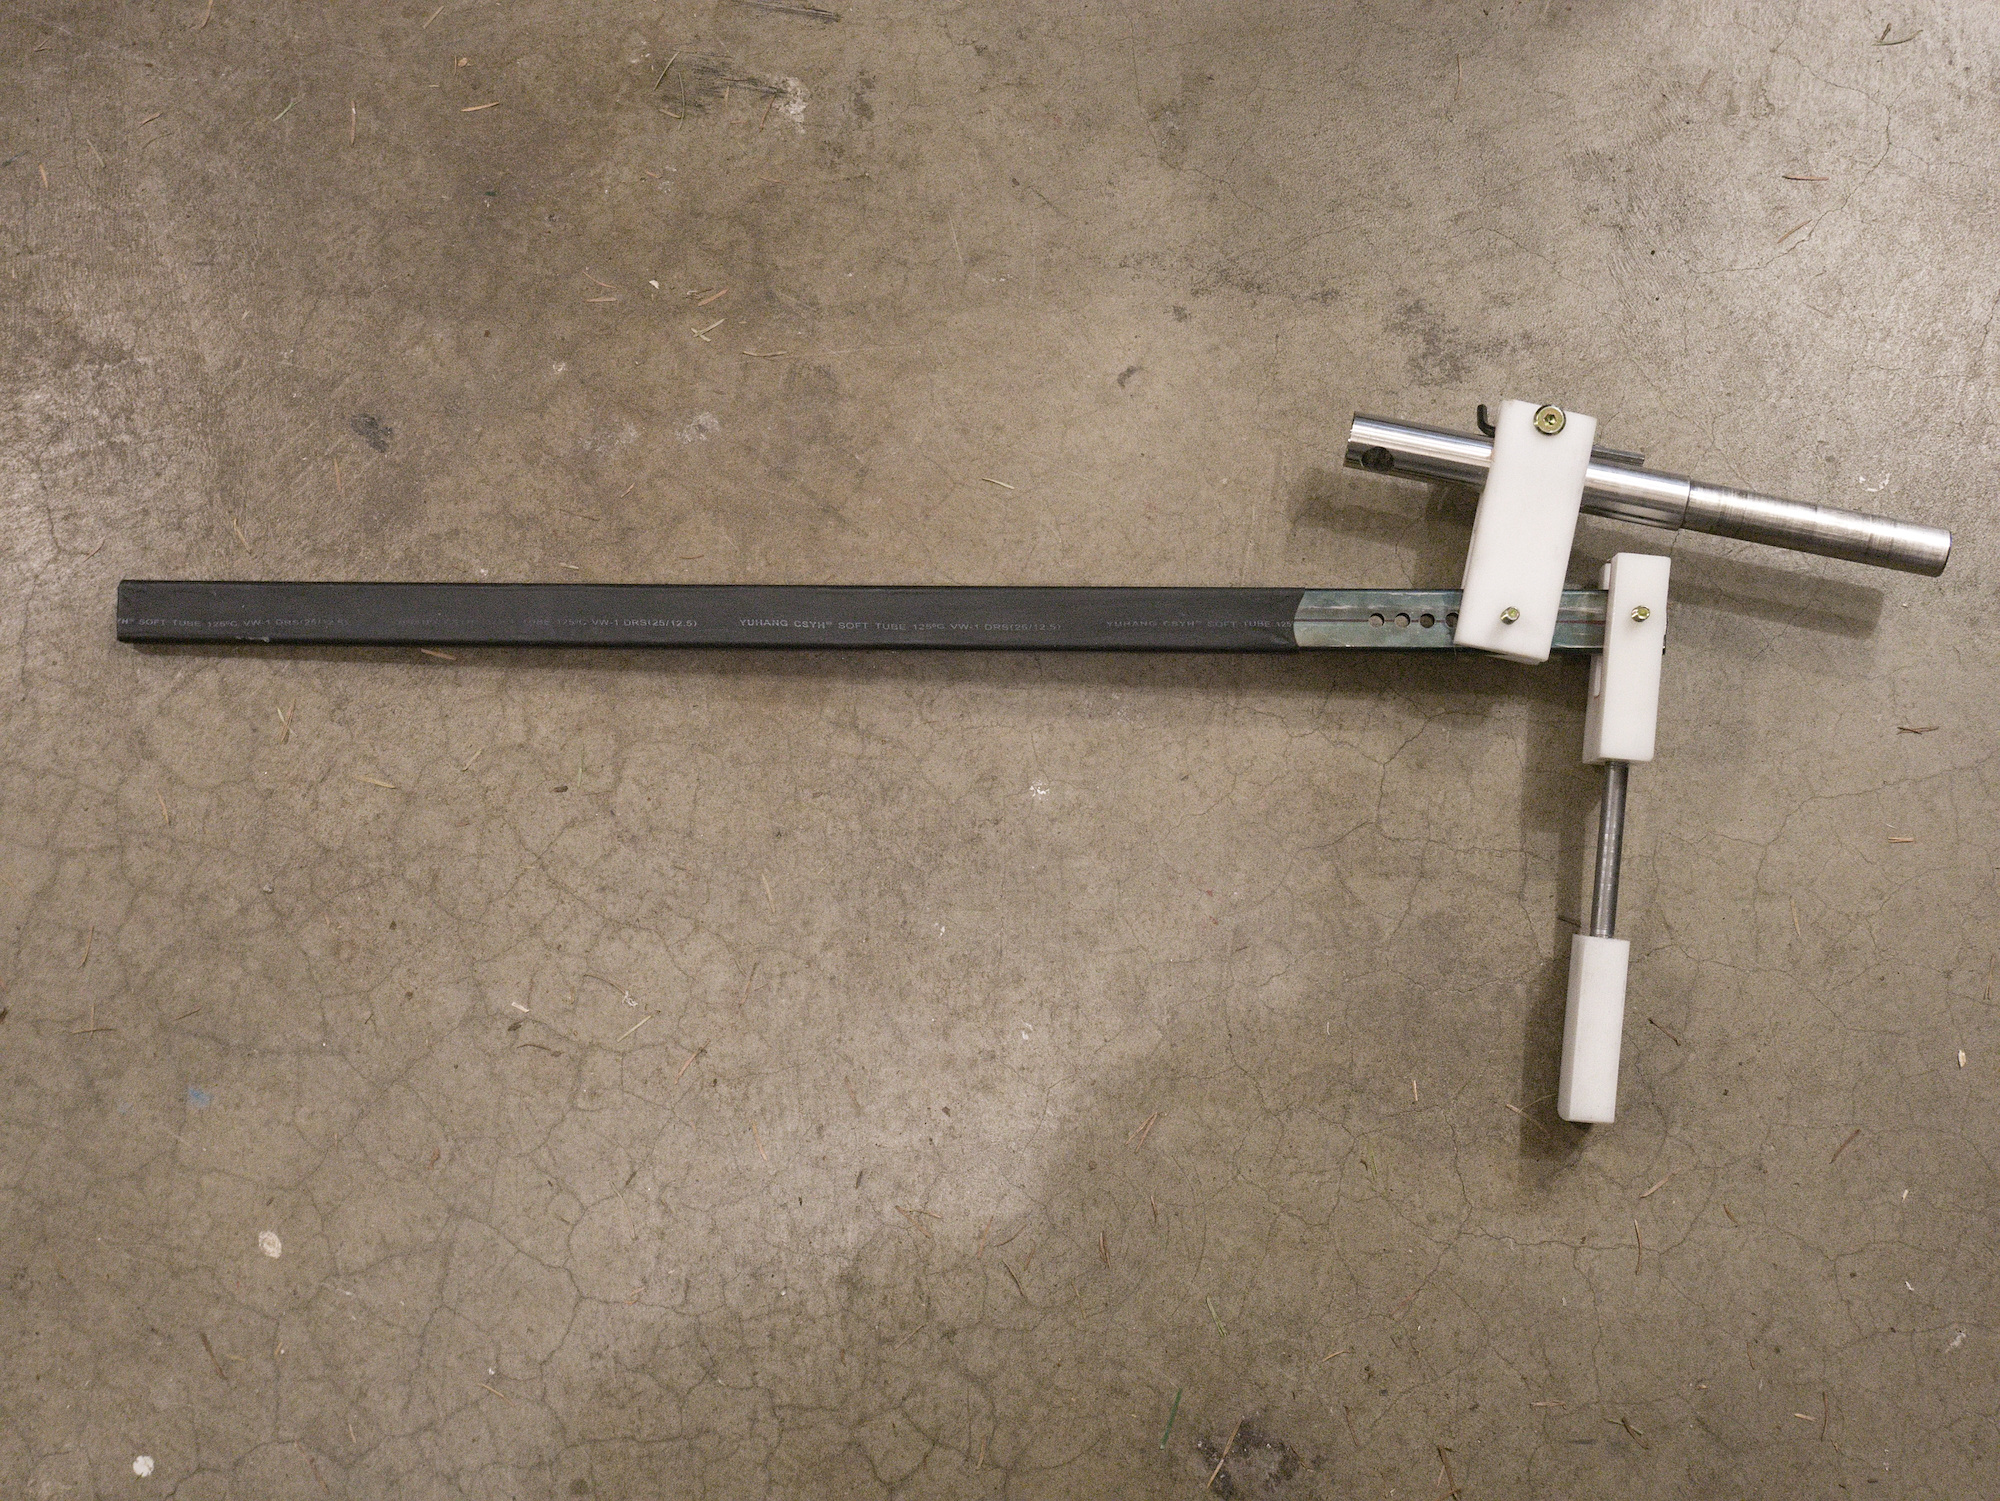
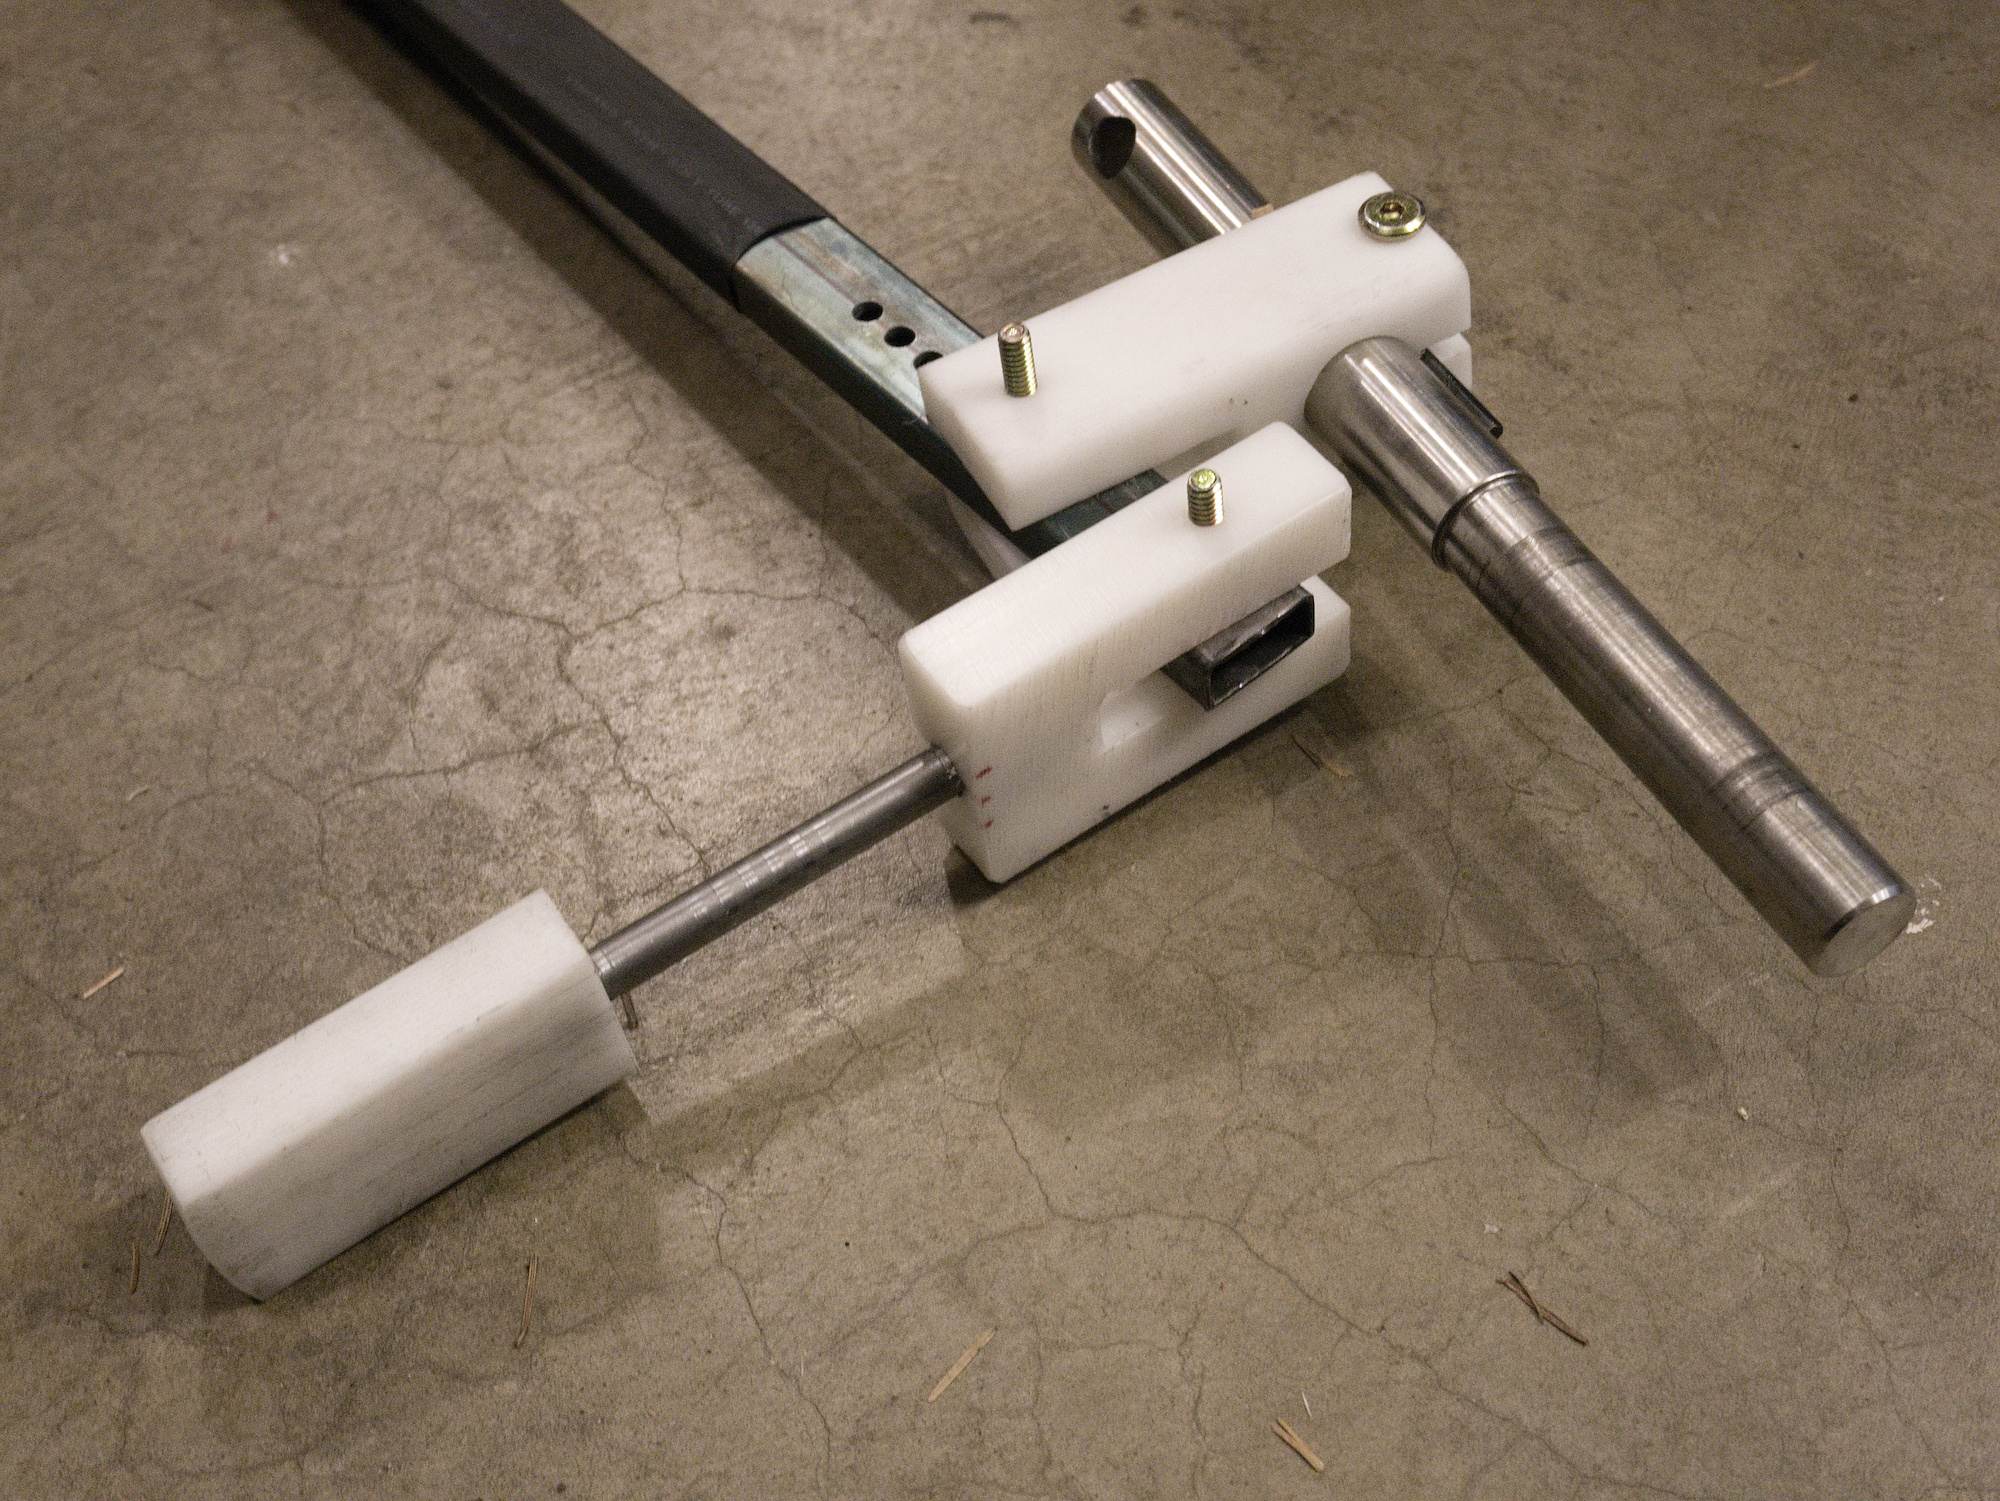
I built a tire pusher tool using an old axle, several pieces of plastic and a rectangular tube steel for the handle.
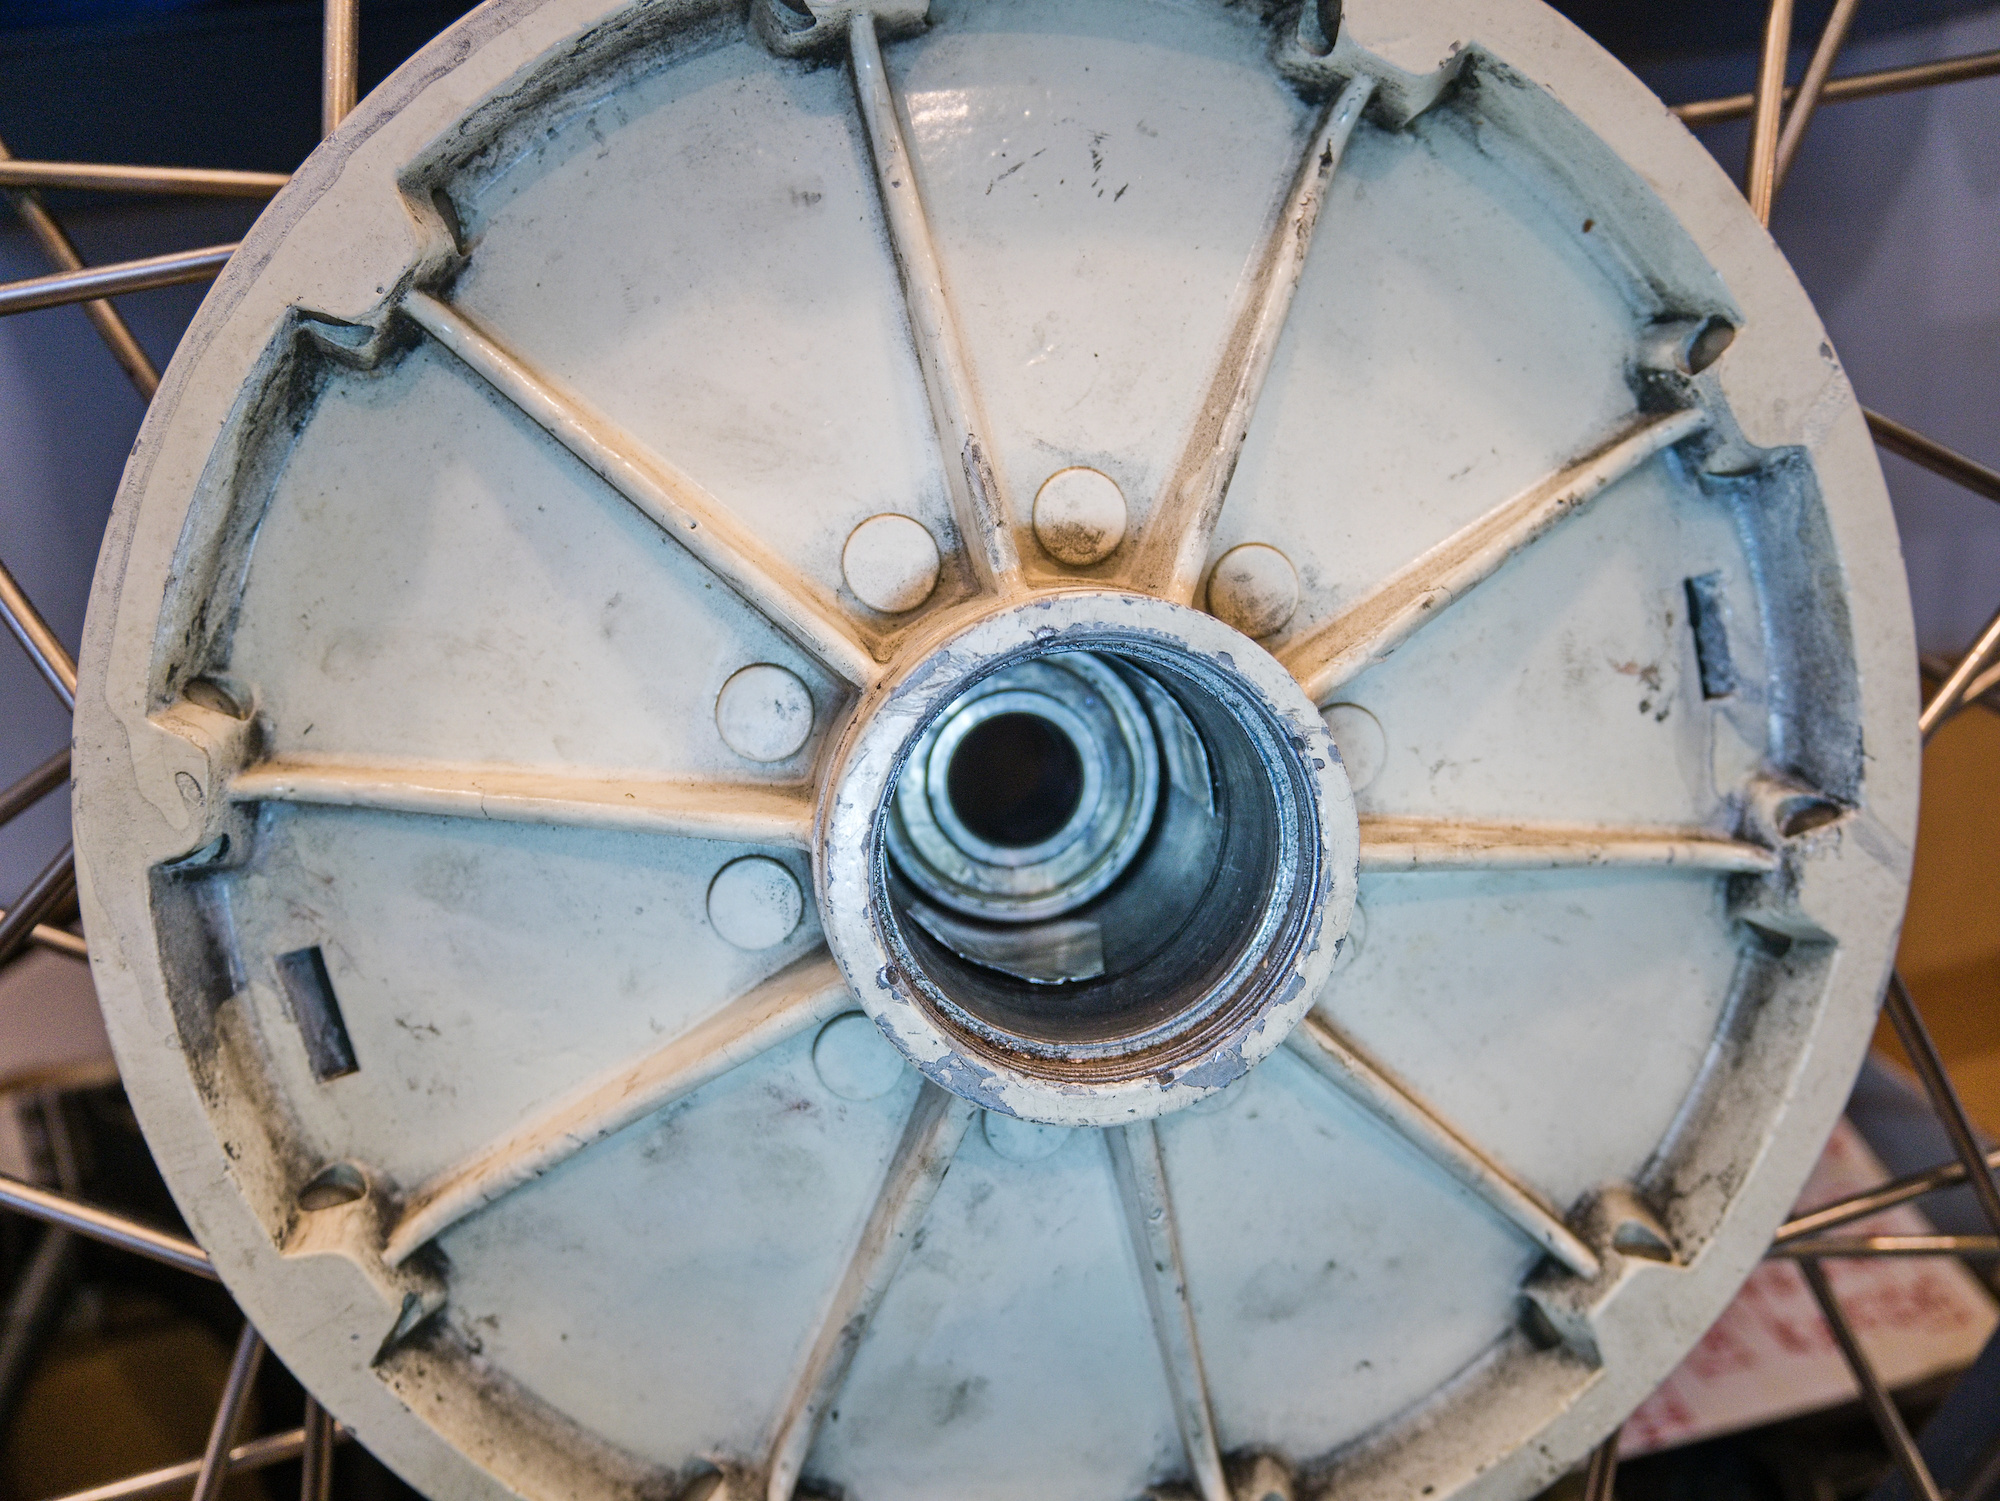
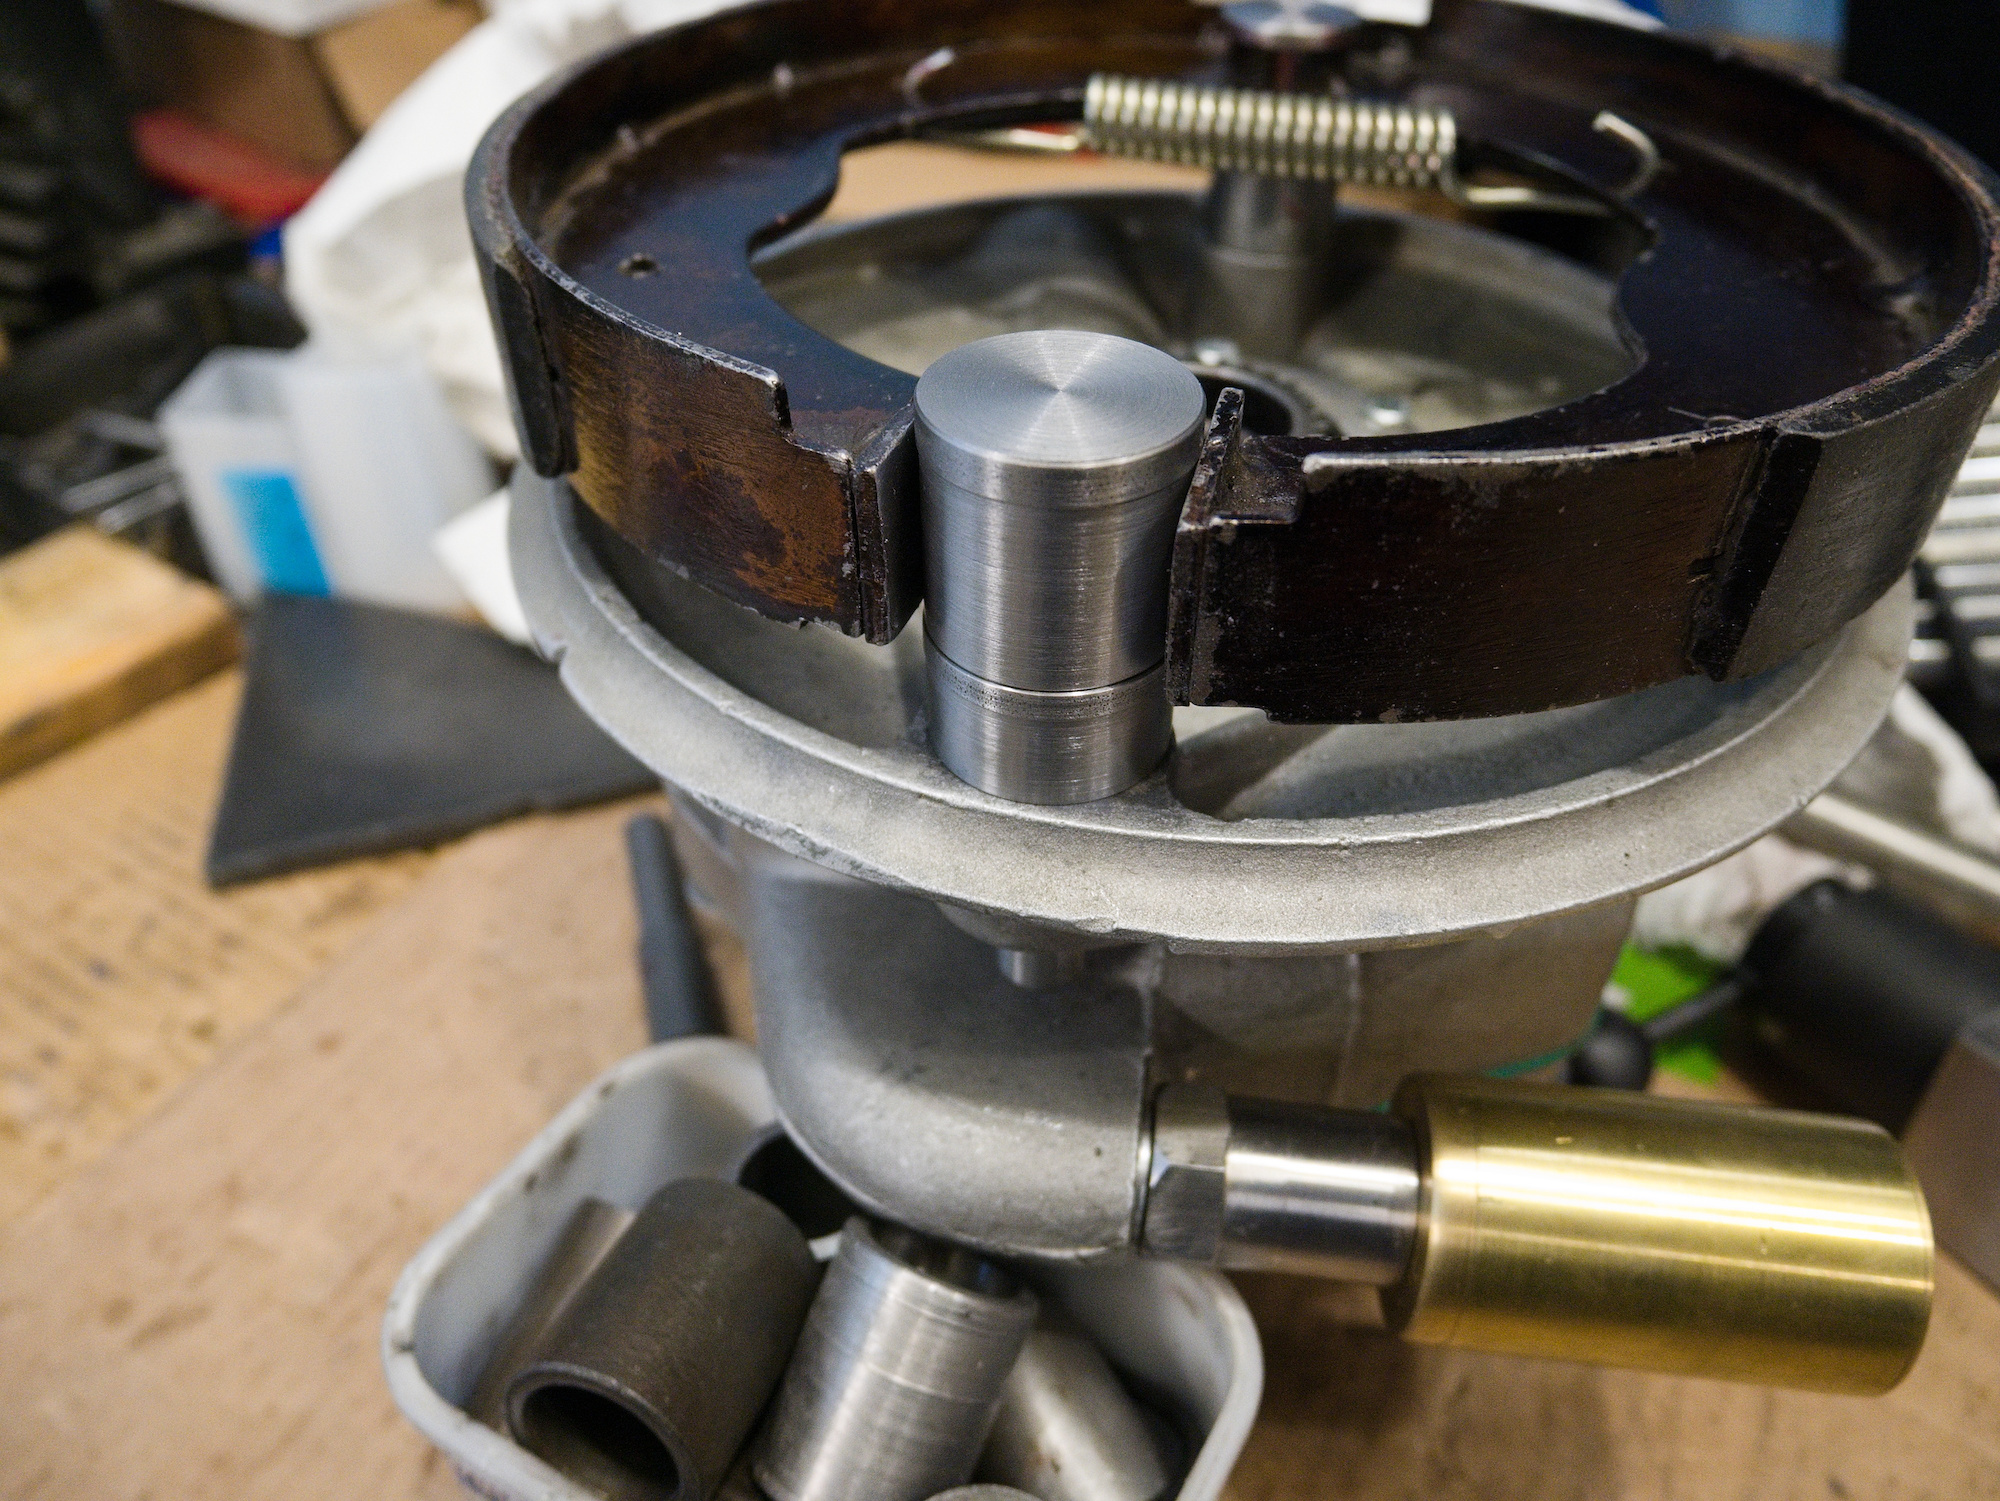
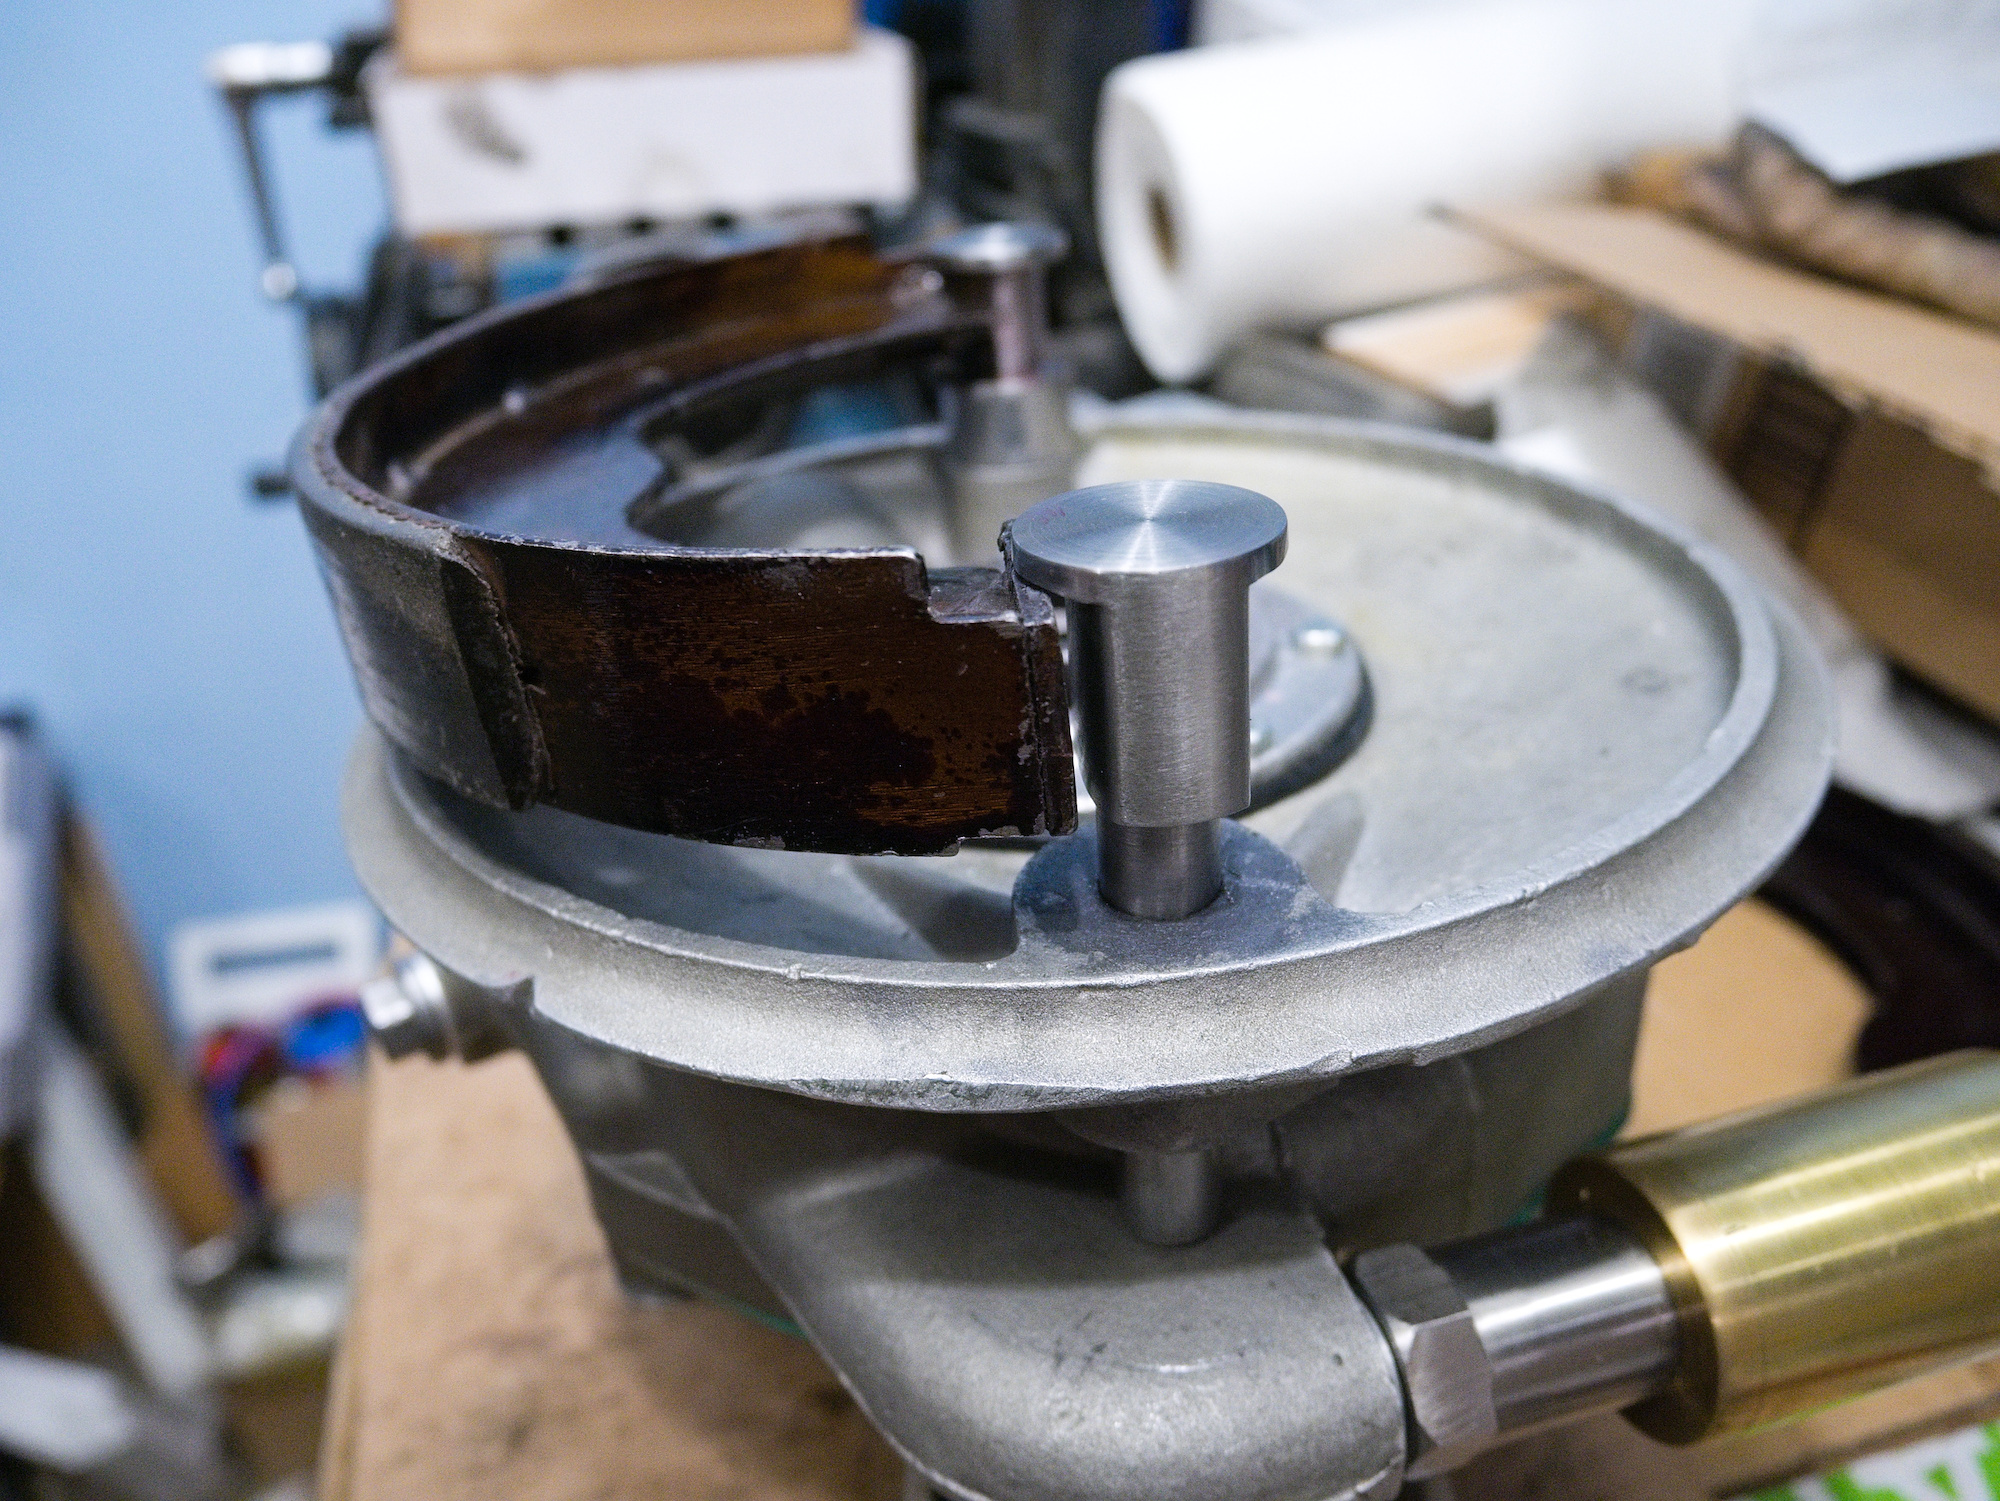
The most critical part in the wheel is the spacer. It is build from stamped out sheet metal and machined to be glued on to the pipe (made out of 1"x0.12"x0.76" DOM Mild Steel Tube A513 the same as for the distance bushing).
If the spacer is not machined exactly 90° at the end, the bearings and the hub will wear out quickly and can make squeaking noises.

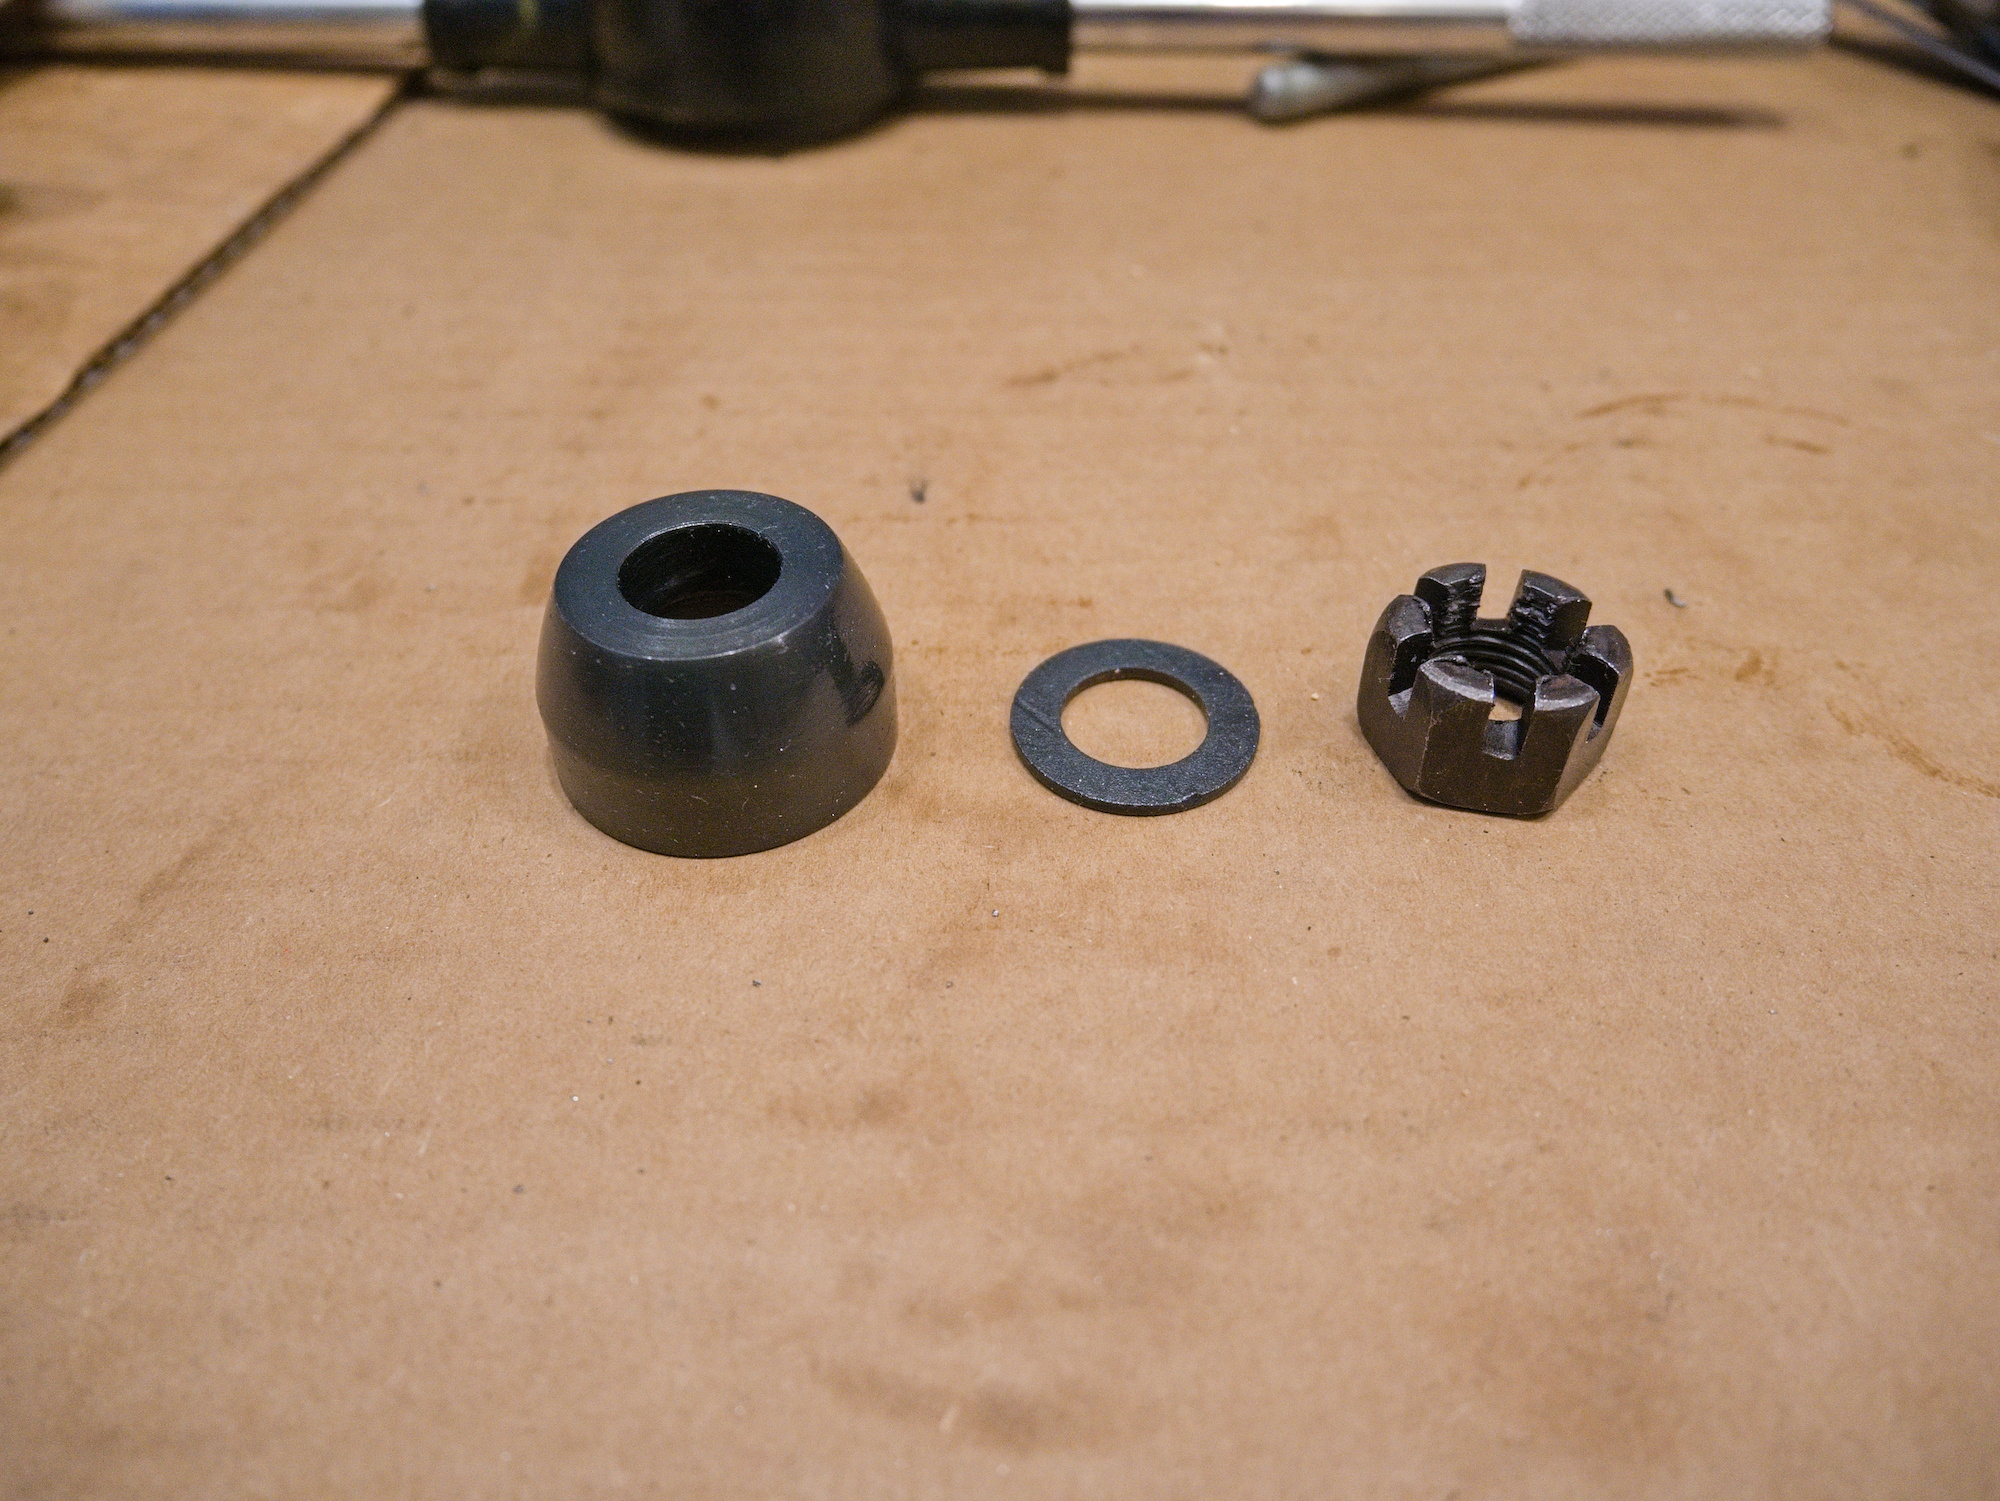
The parts.
Bushing - Bearing - Spacer - Bearing - Bushing - Cap Nut
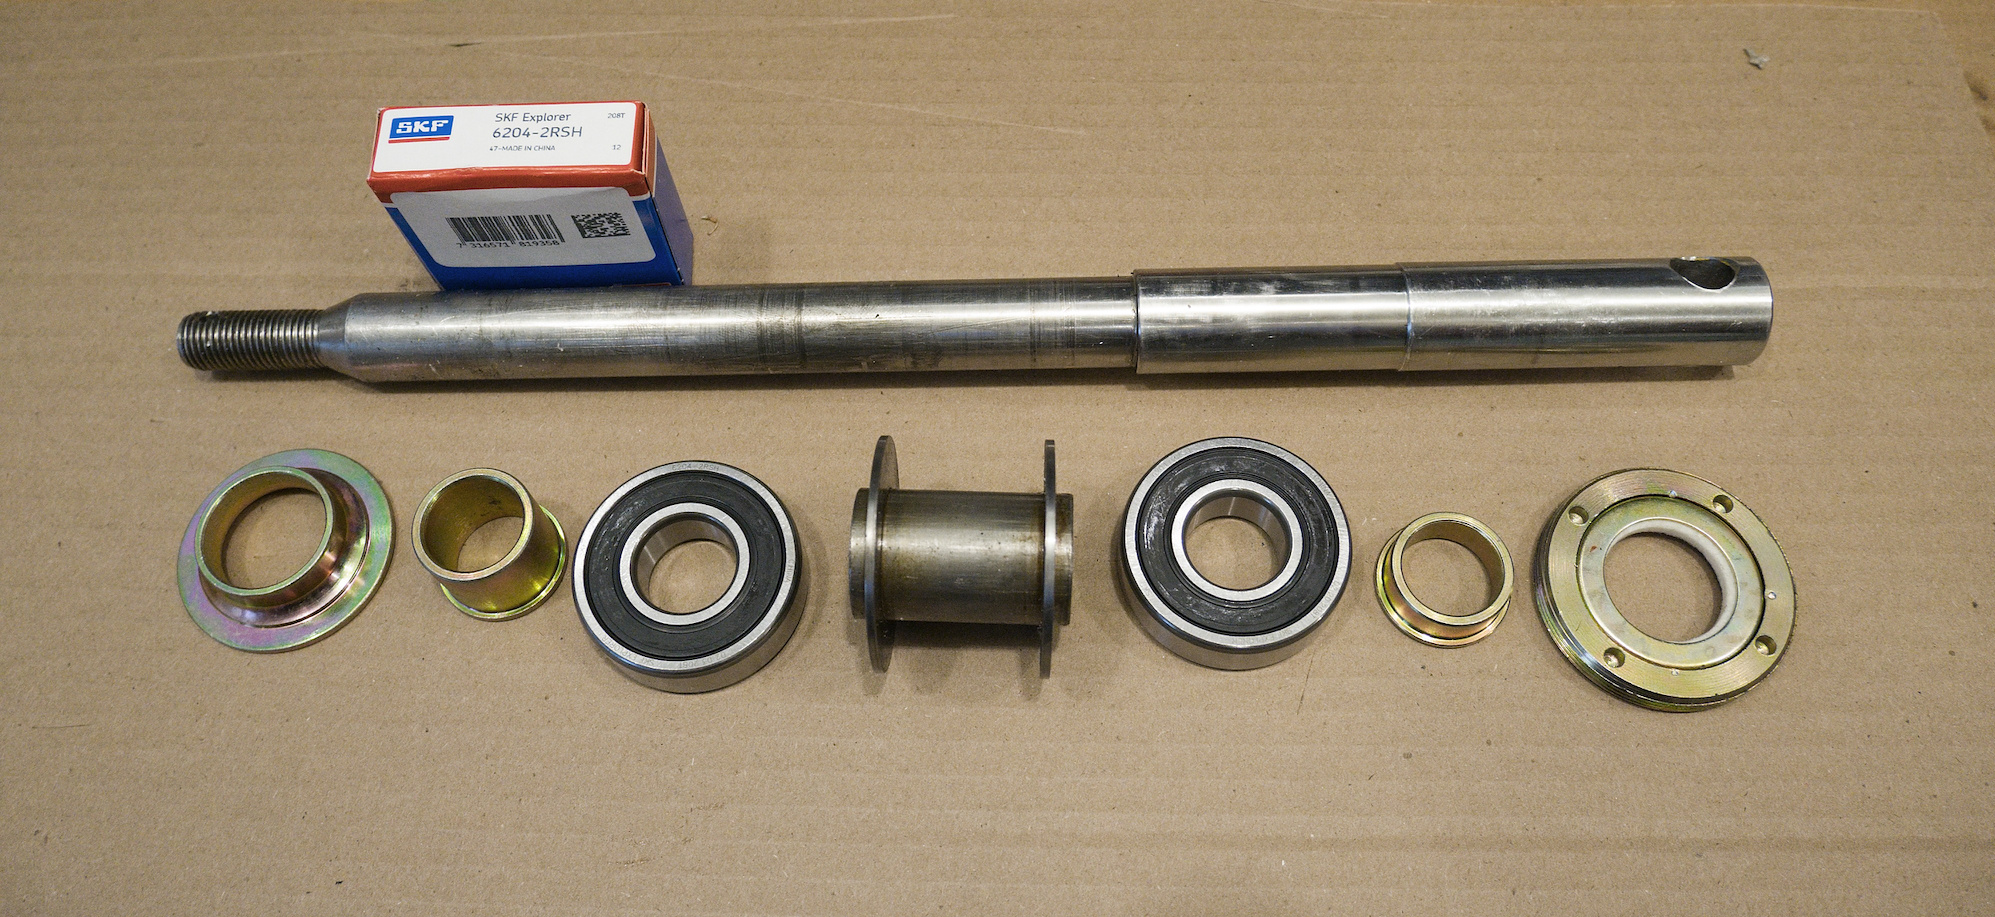
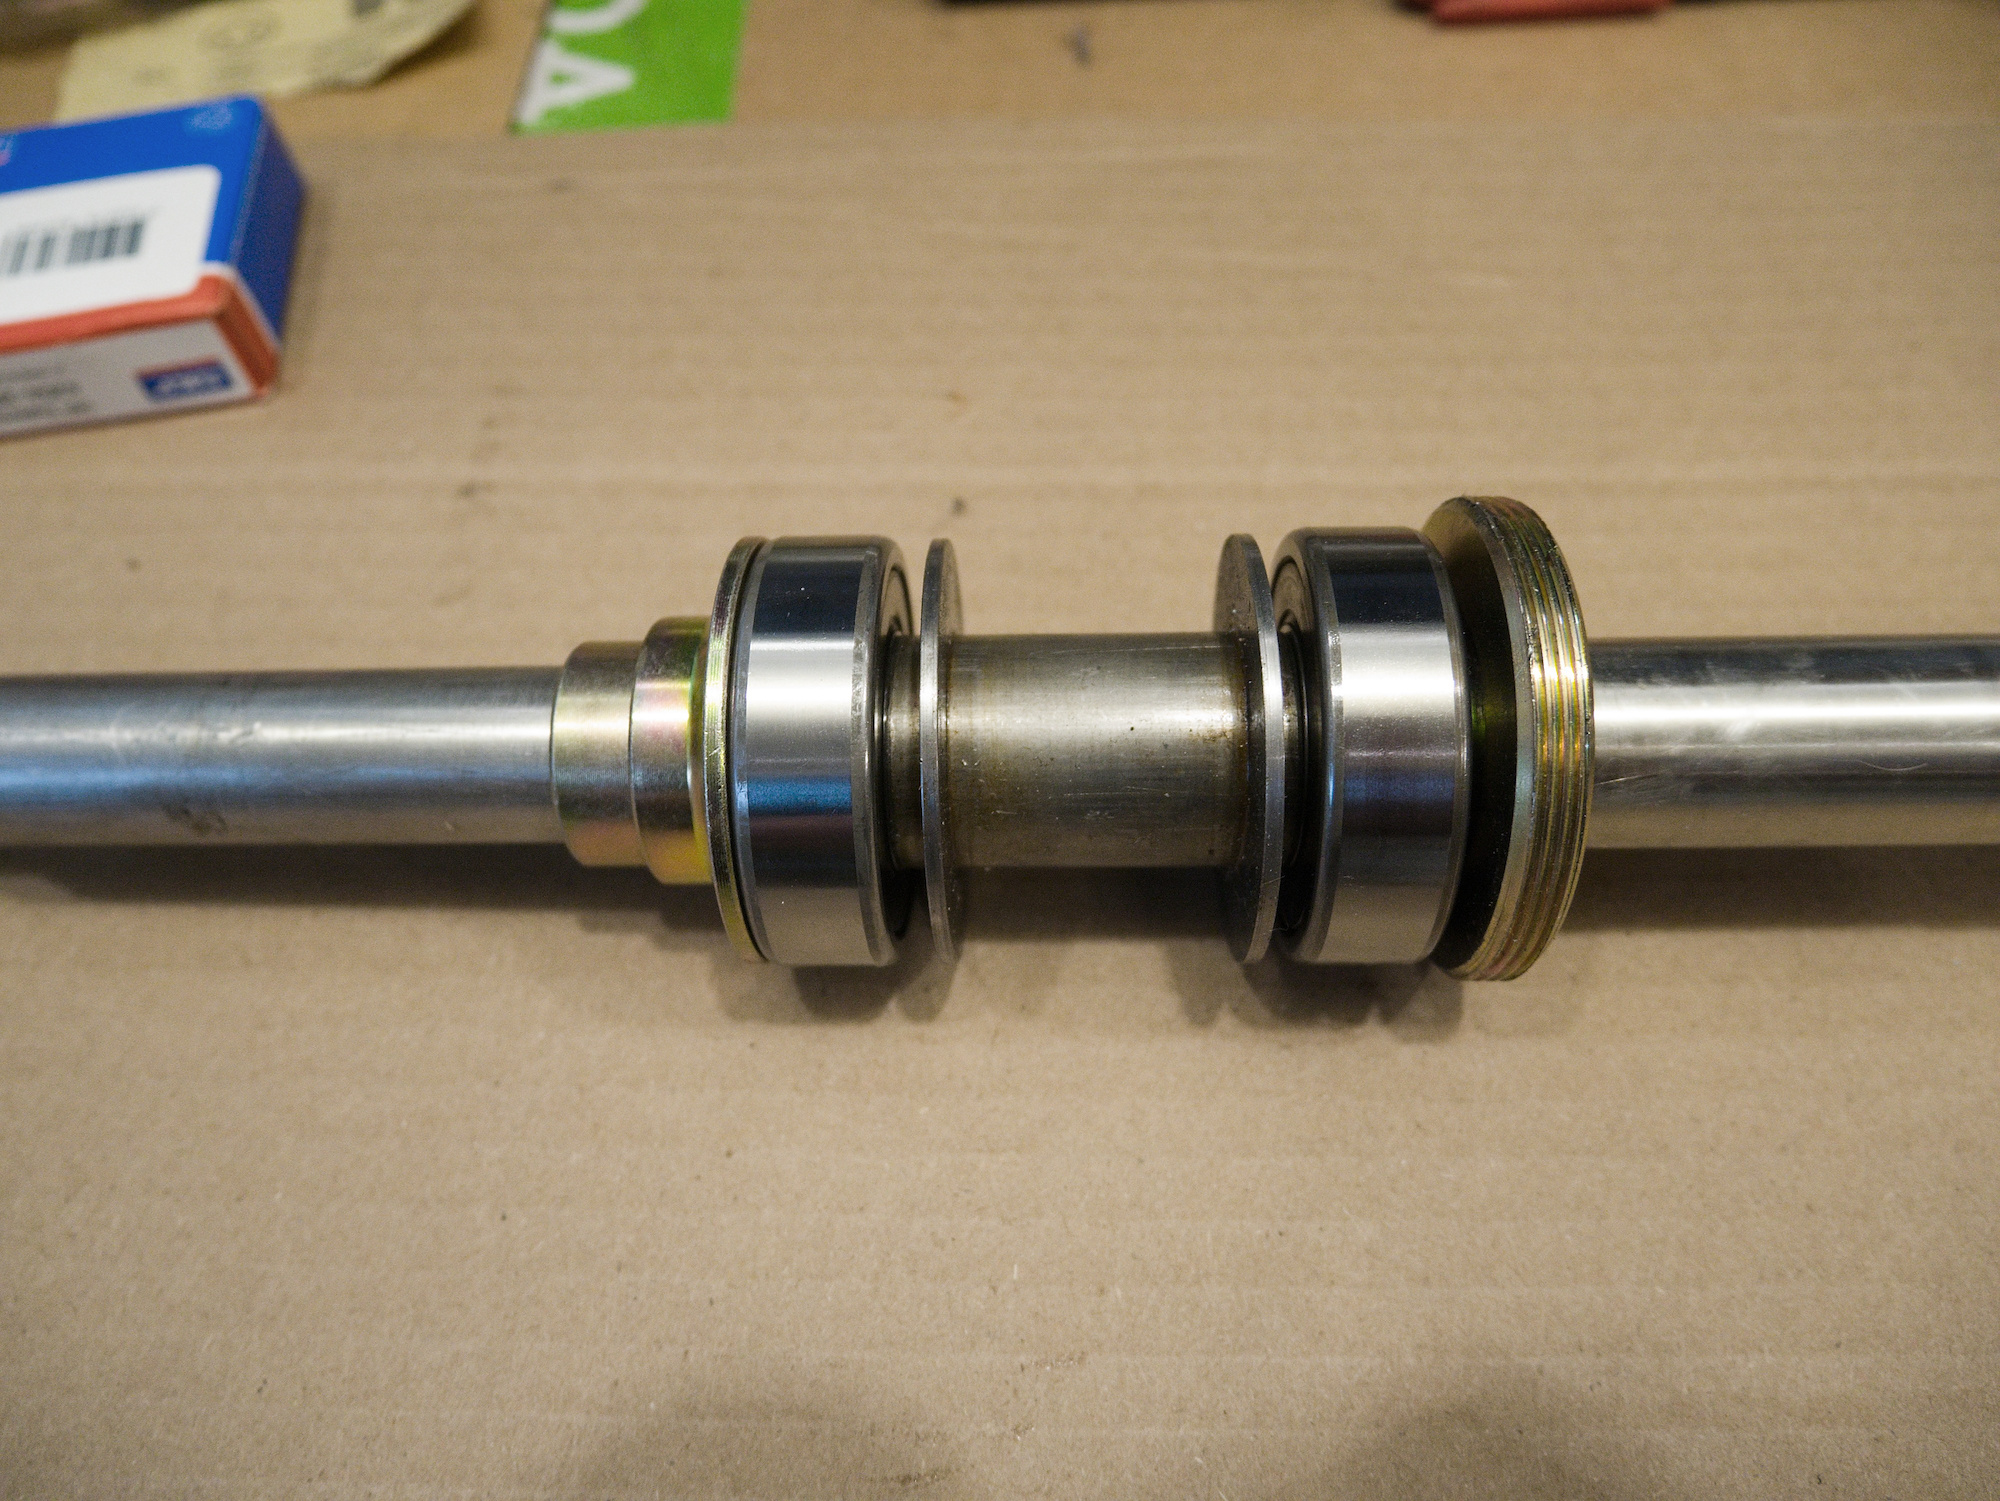
It is important that the spacer has the correct size. If it is too small, the bearings are not fixed to each side and can slide, which can cause wear. If it is too large, the cap nut might have only one thread to hold which could break.
To check for a good fit, use a round plastic with the same dimension as the bearing. The plastic replacement for the bearing can easily slide out. It is not pressed in as the metal bearing is, which allows the spacer to be removed for adjustments.
Use anti seize paste on the nut.
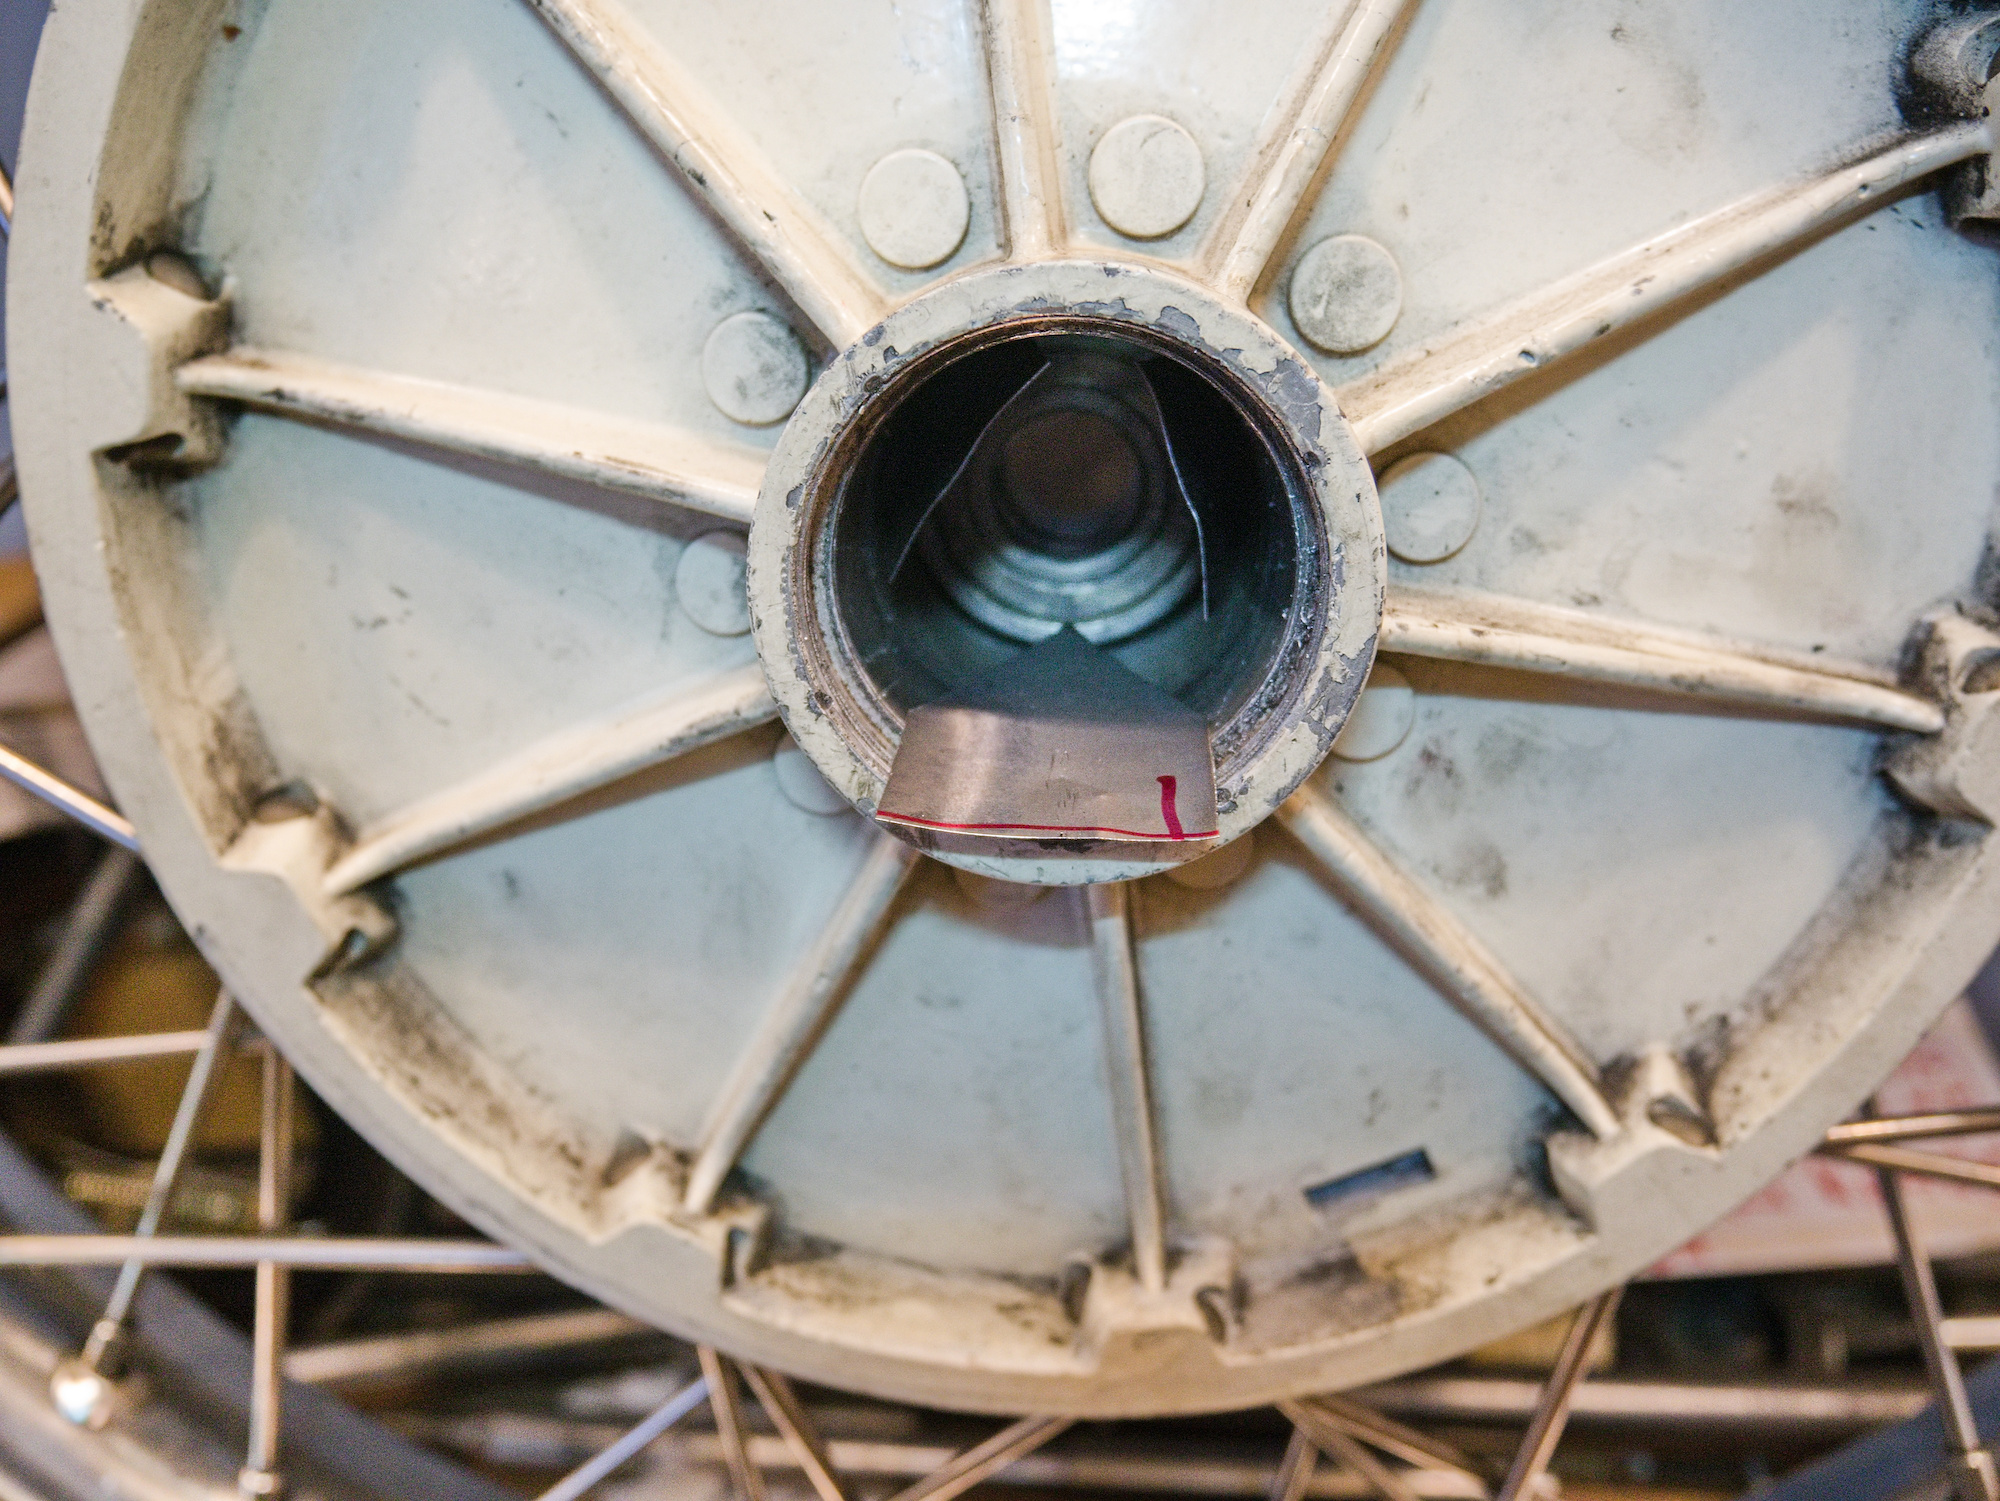
To fix a worn out wheel hub you can add shims to hold the bearing in place.
Do this only for the spare wheel and not for the active wheels.
Do not put one large shim to one side. It will off-center the bearing.
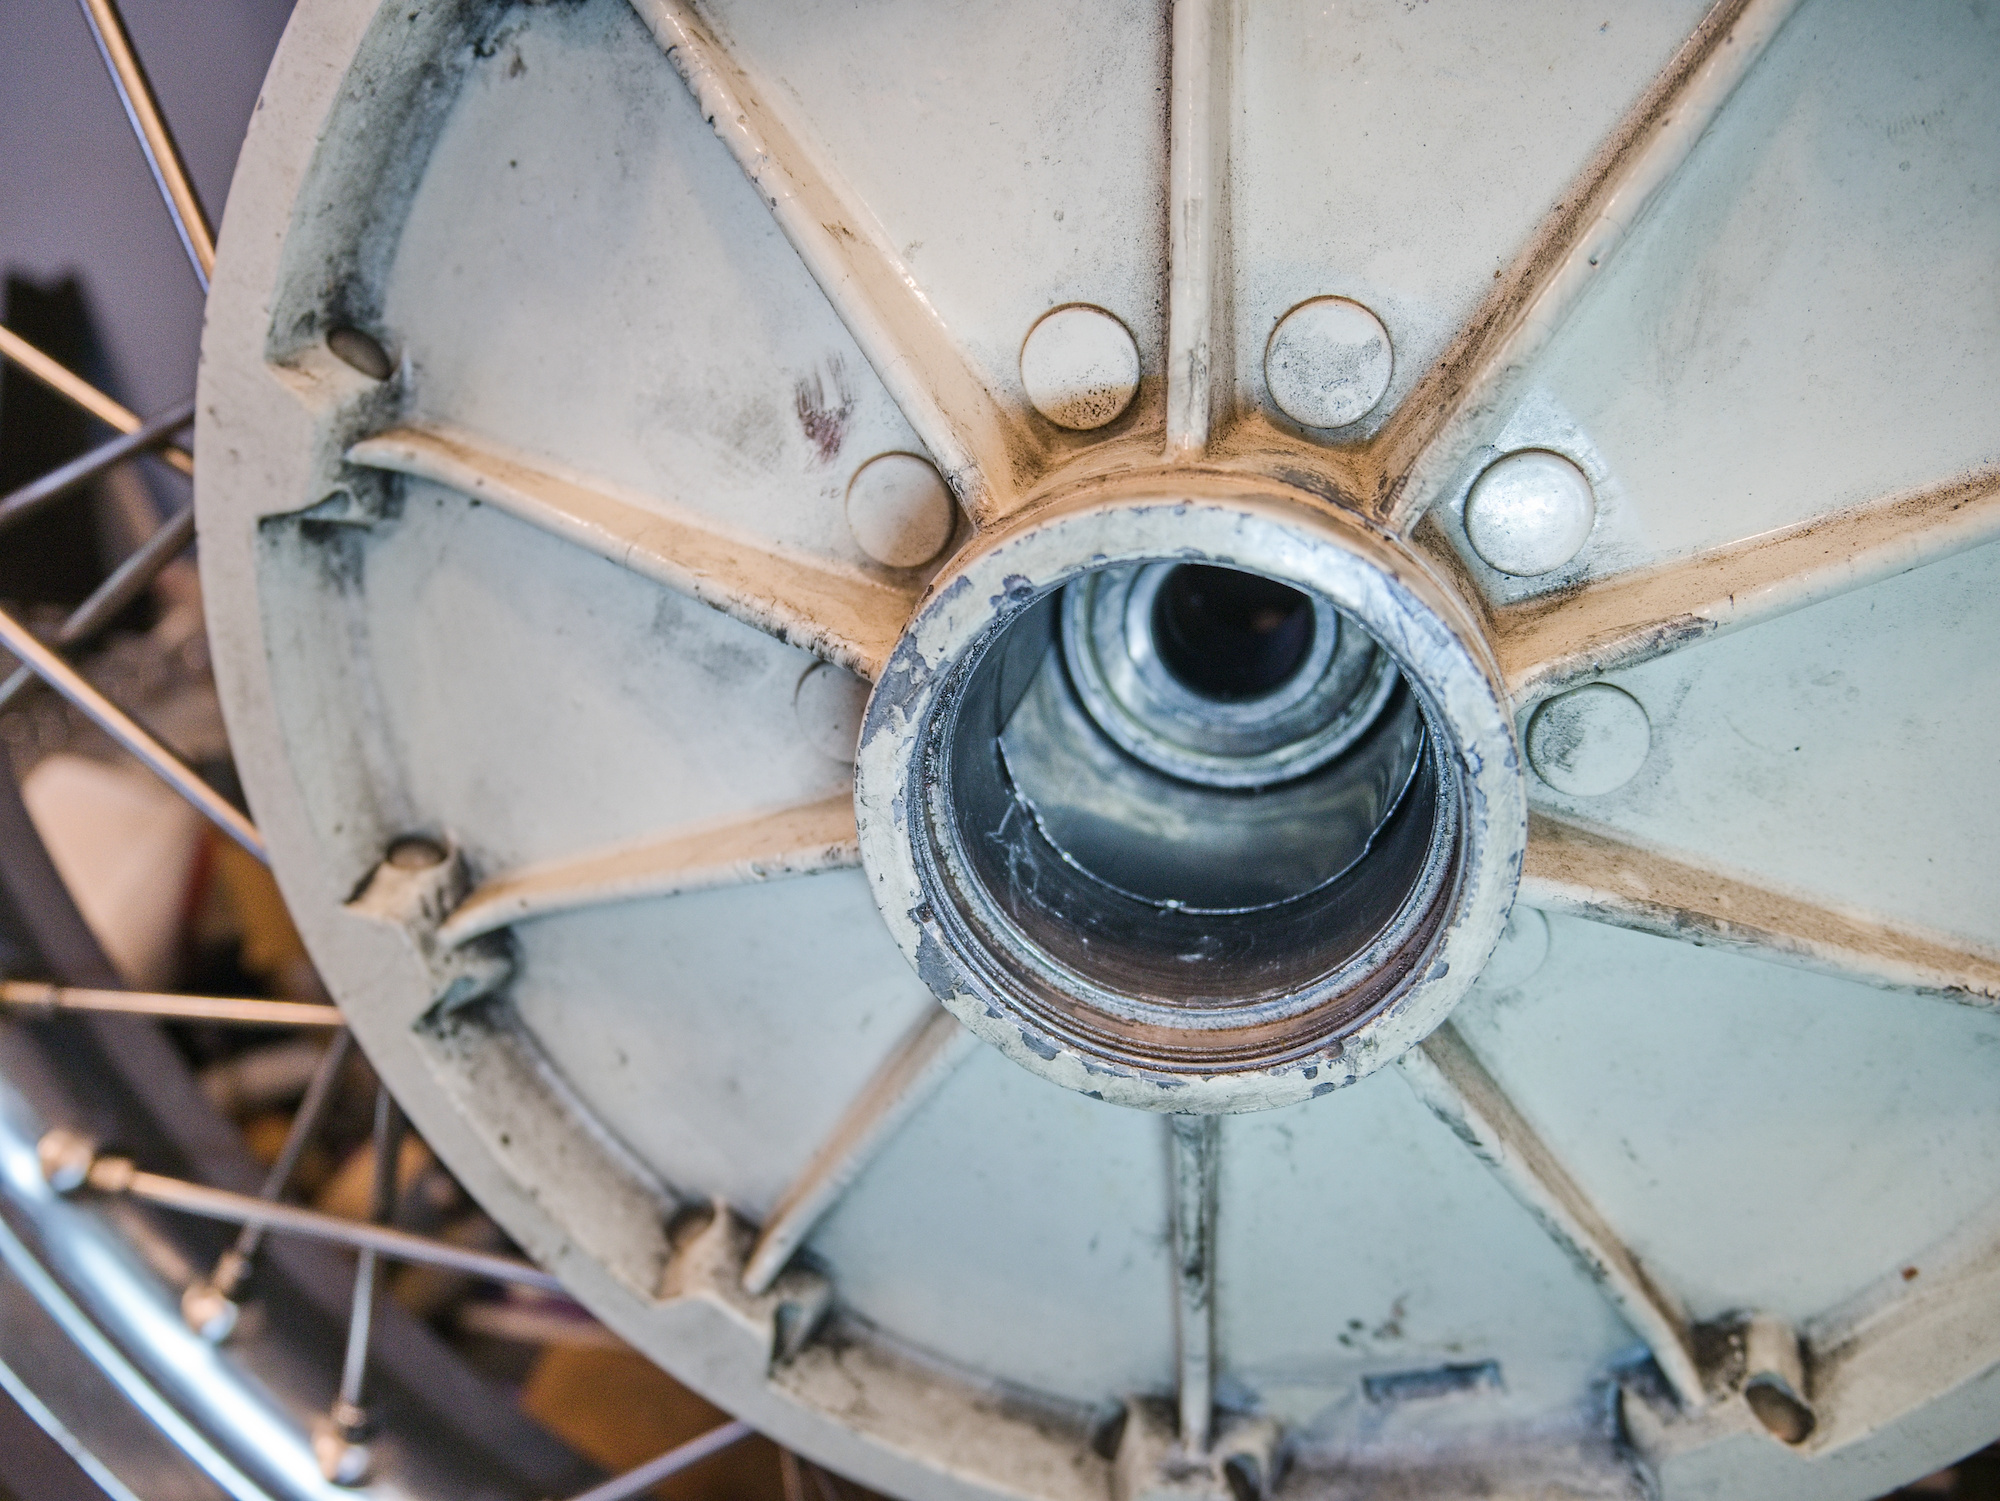
If possible, try to slide three smaller shims at each 120° position.
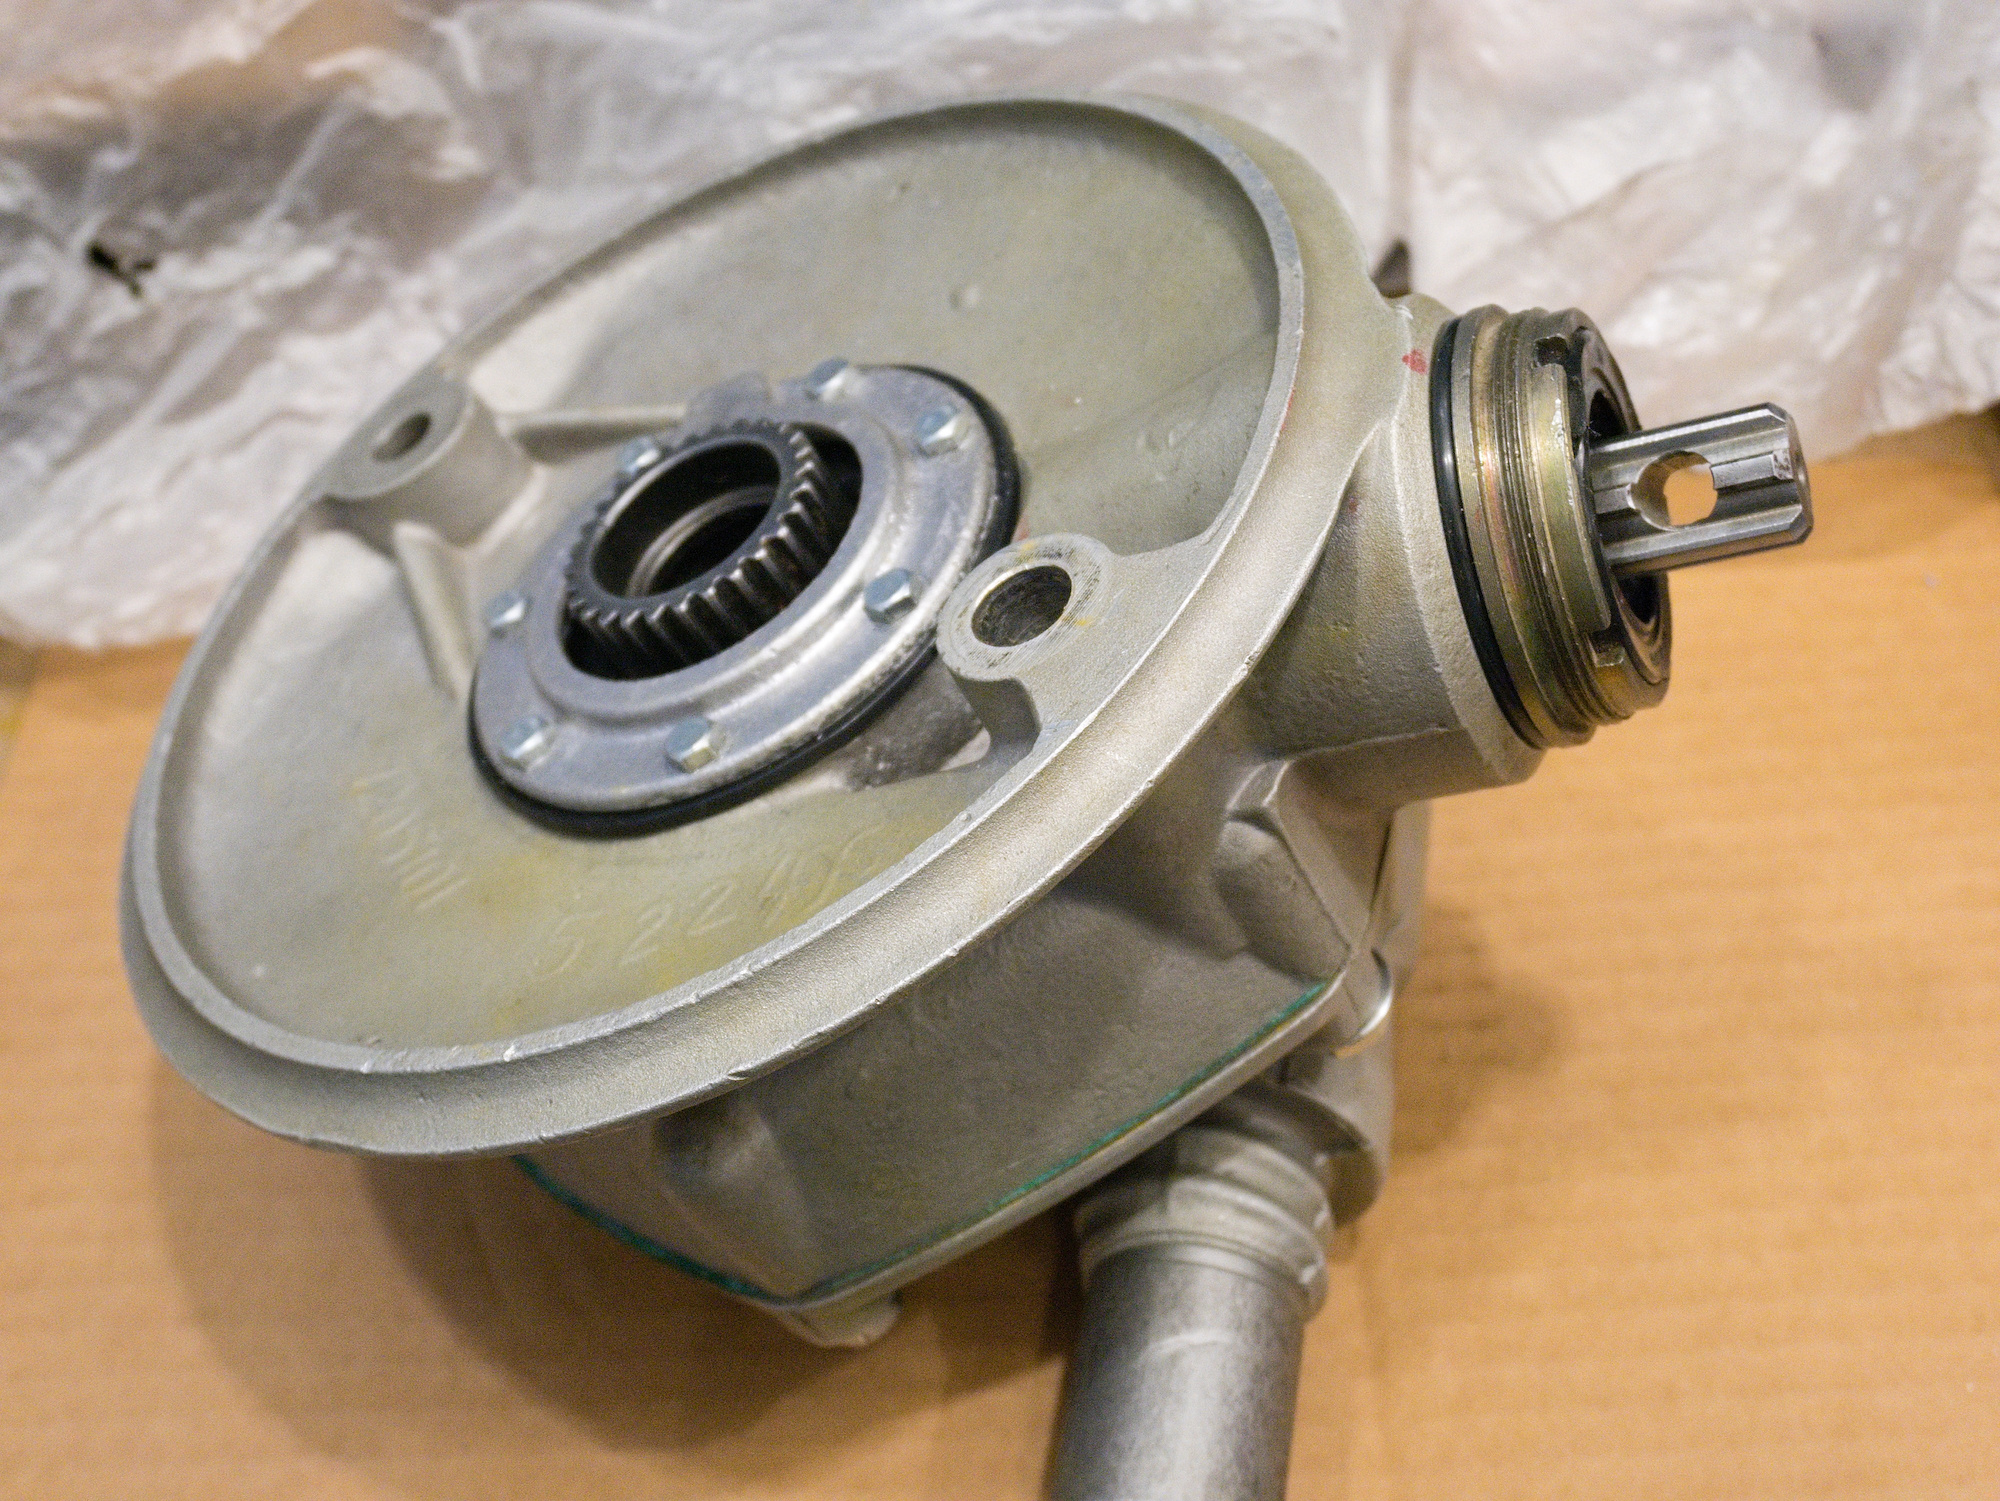
To install the pinion gear, warm up the casing and press in the pinion gear using the old pinion gear as a guide. If you don't have a press, you can carefully tap it in. It doesn't take much force to get the bearing in.
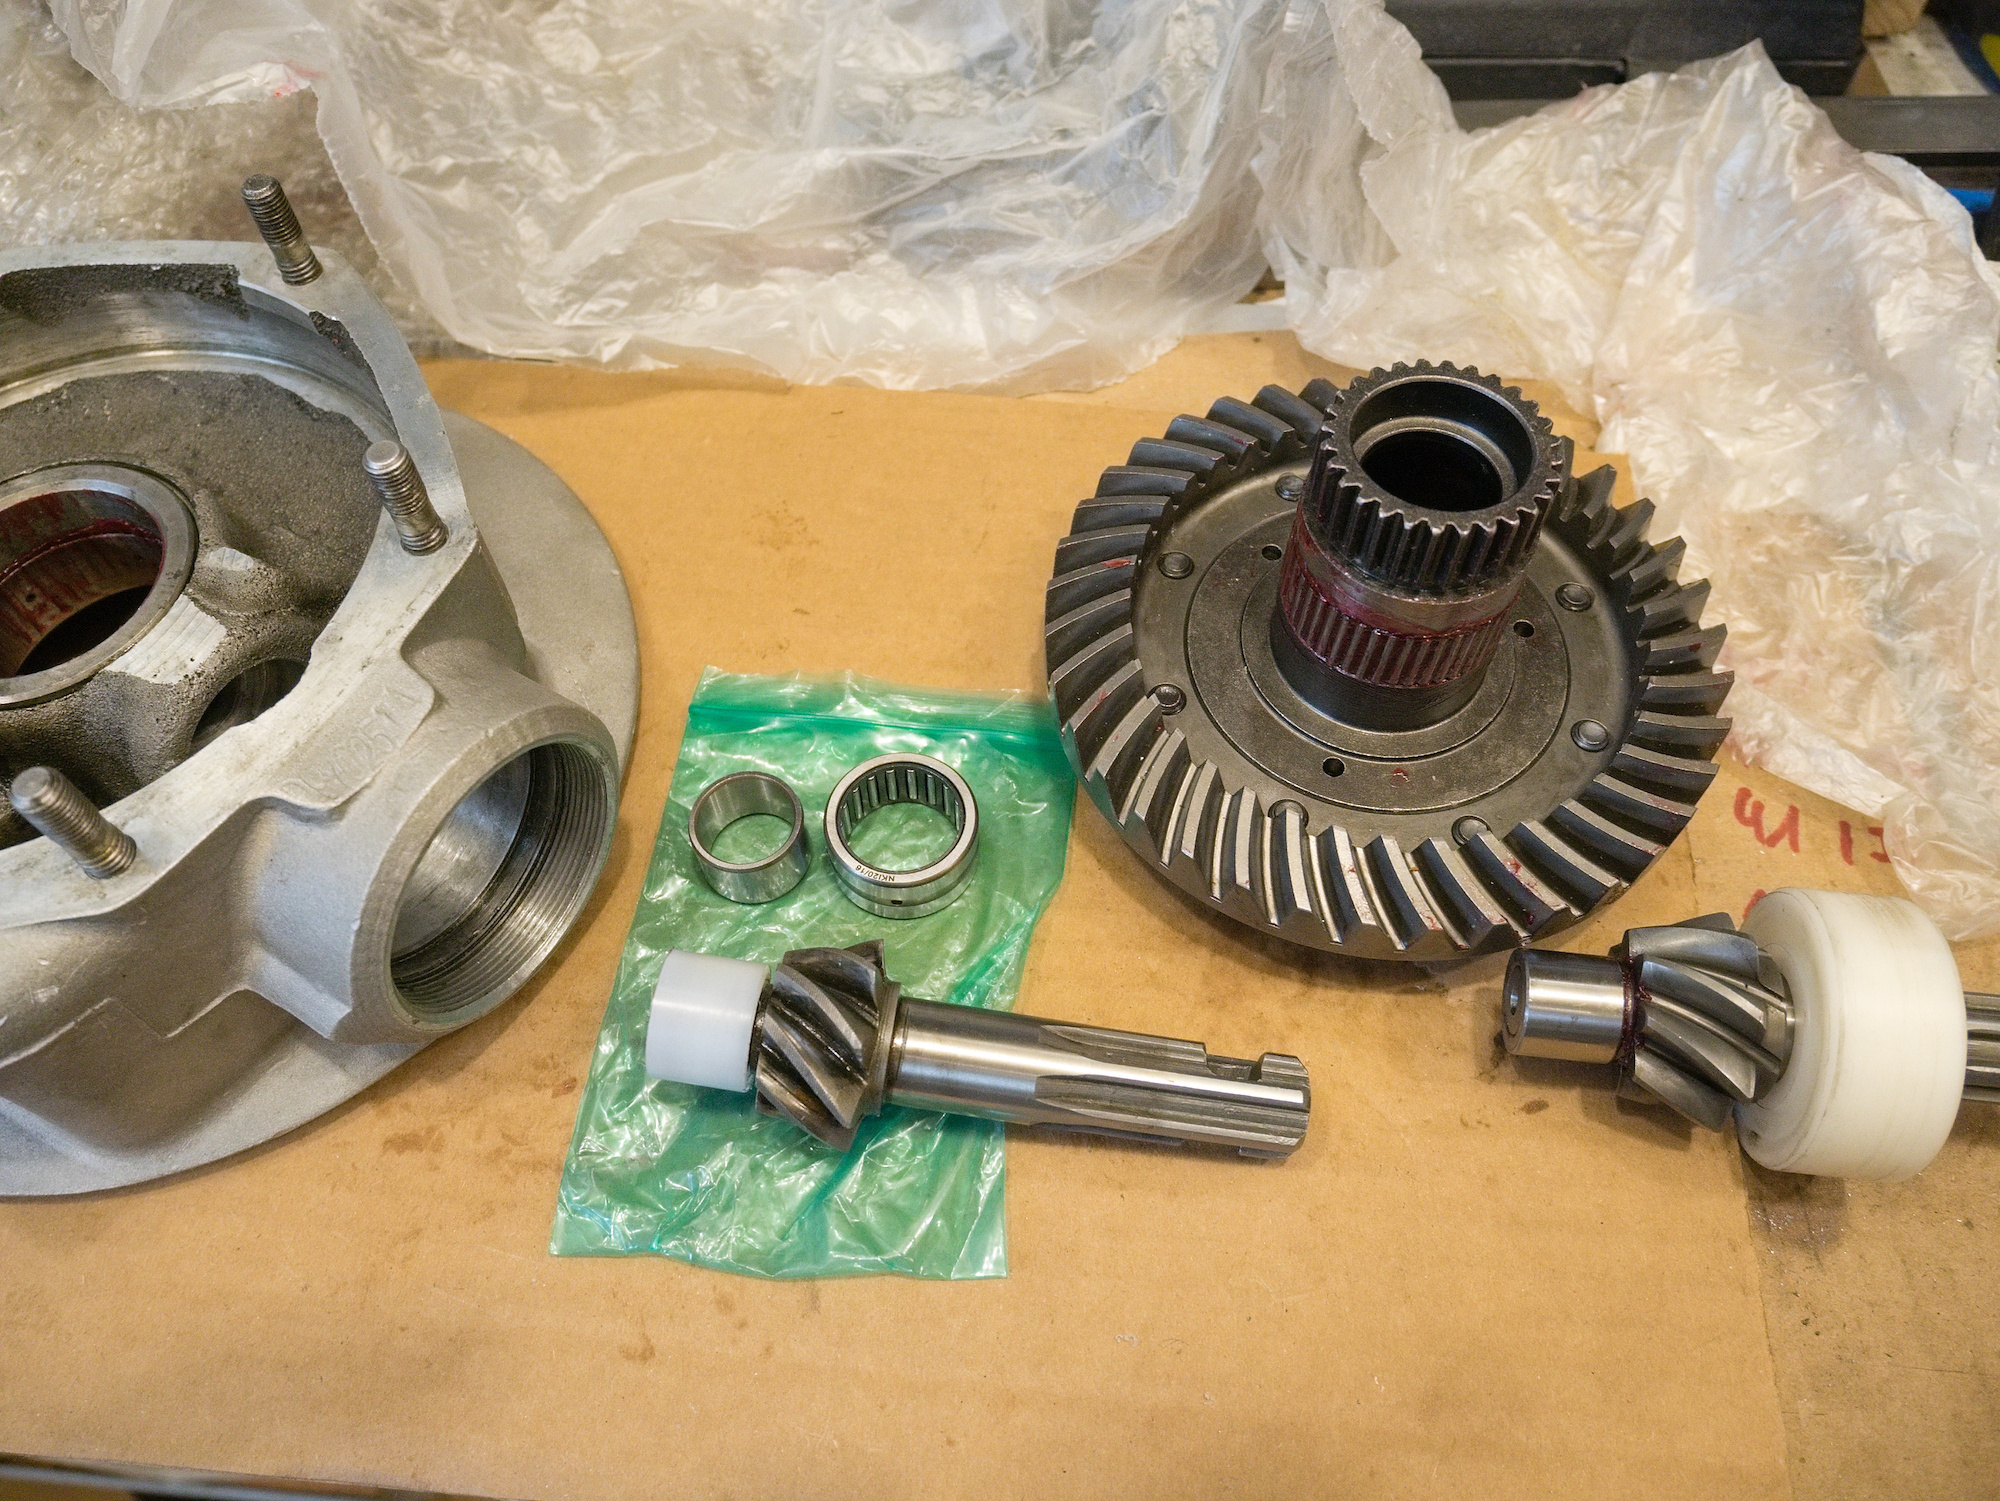
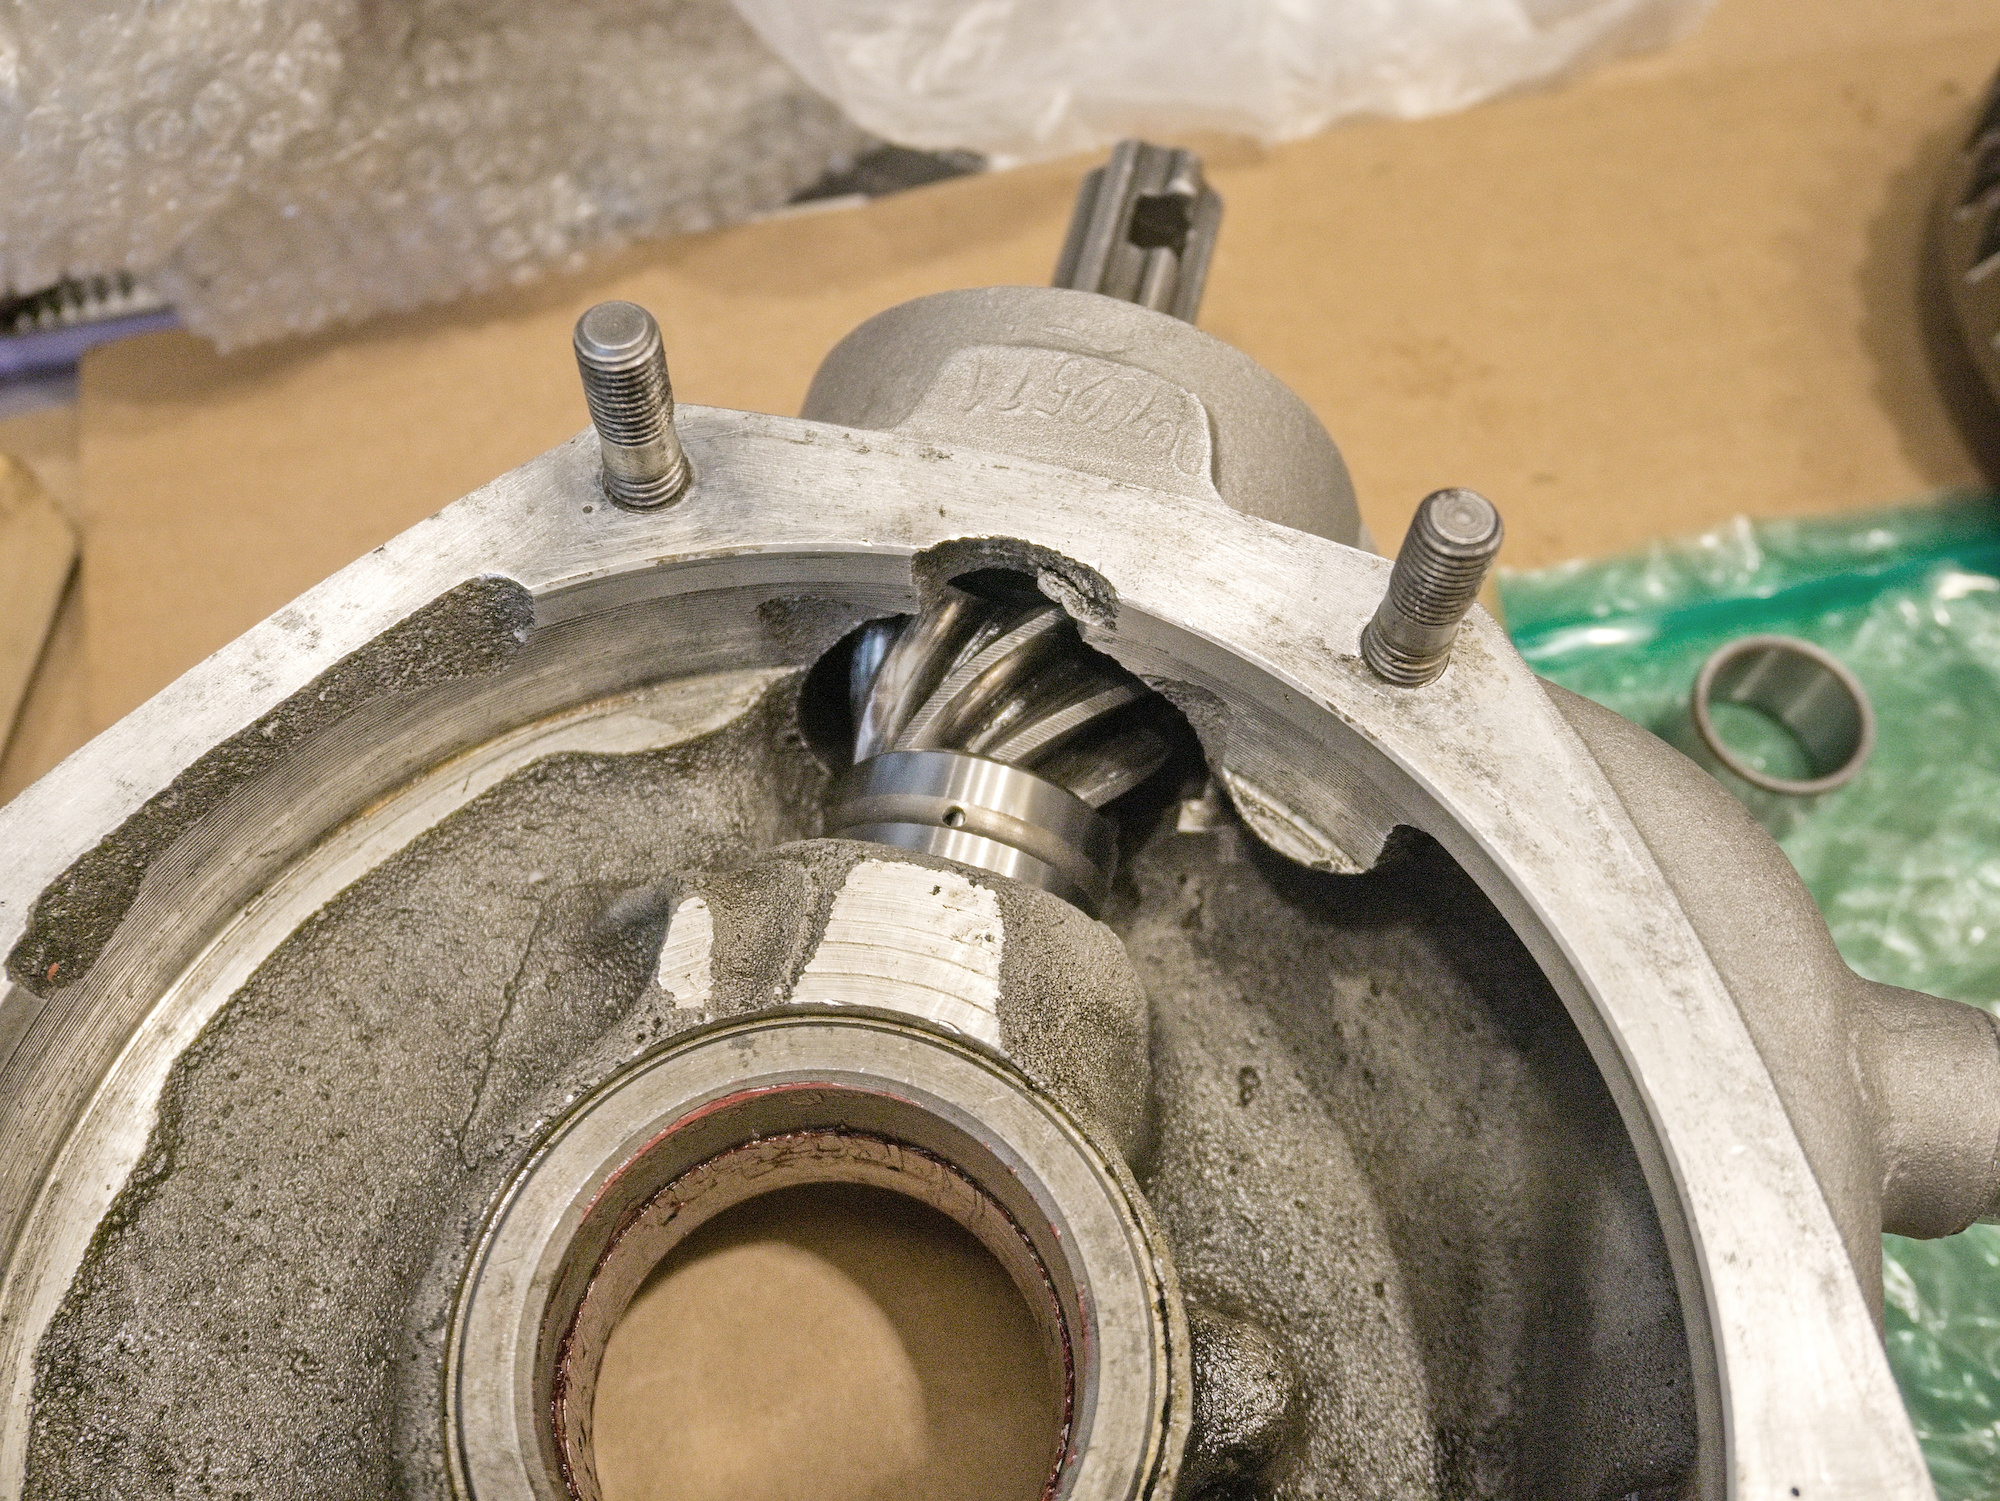
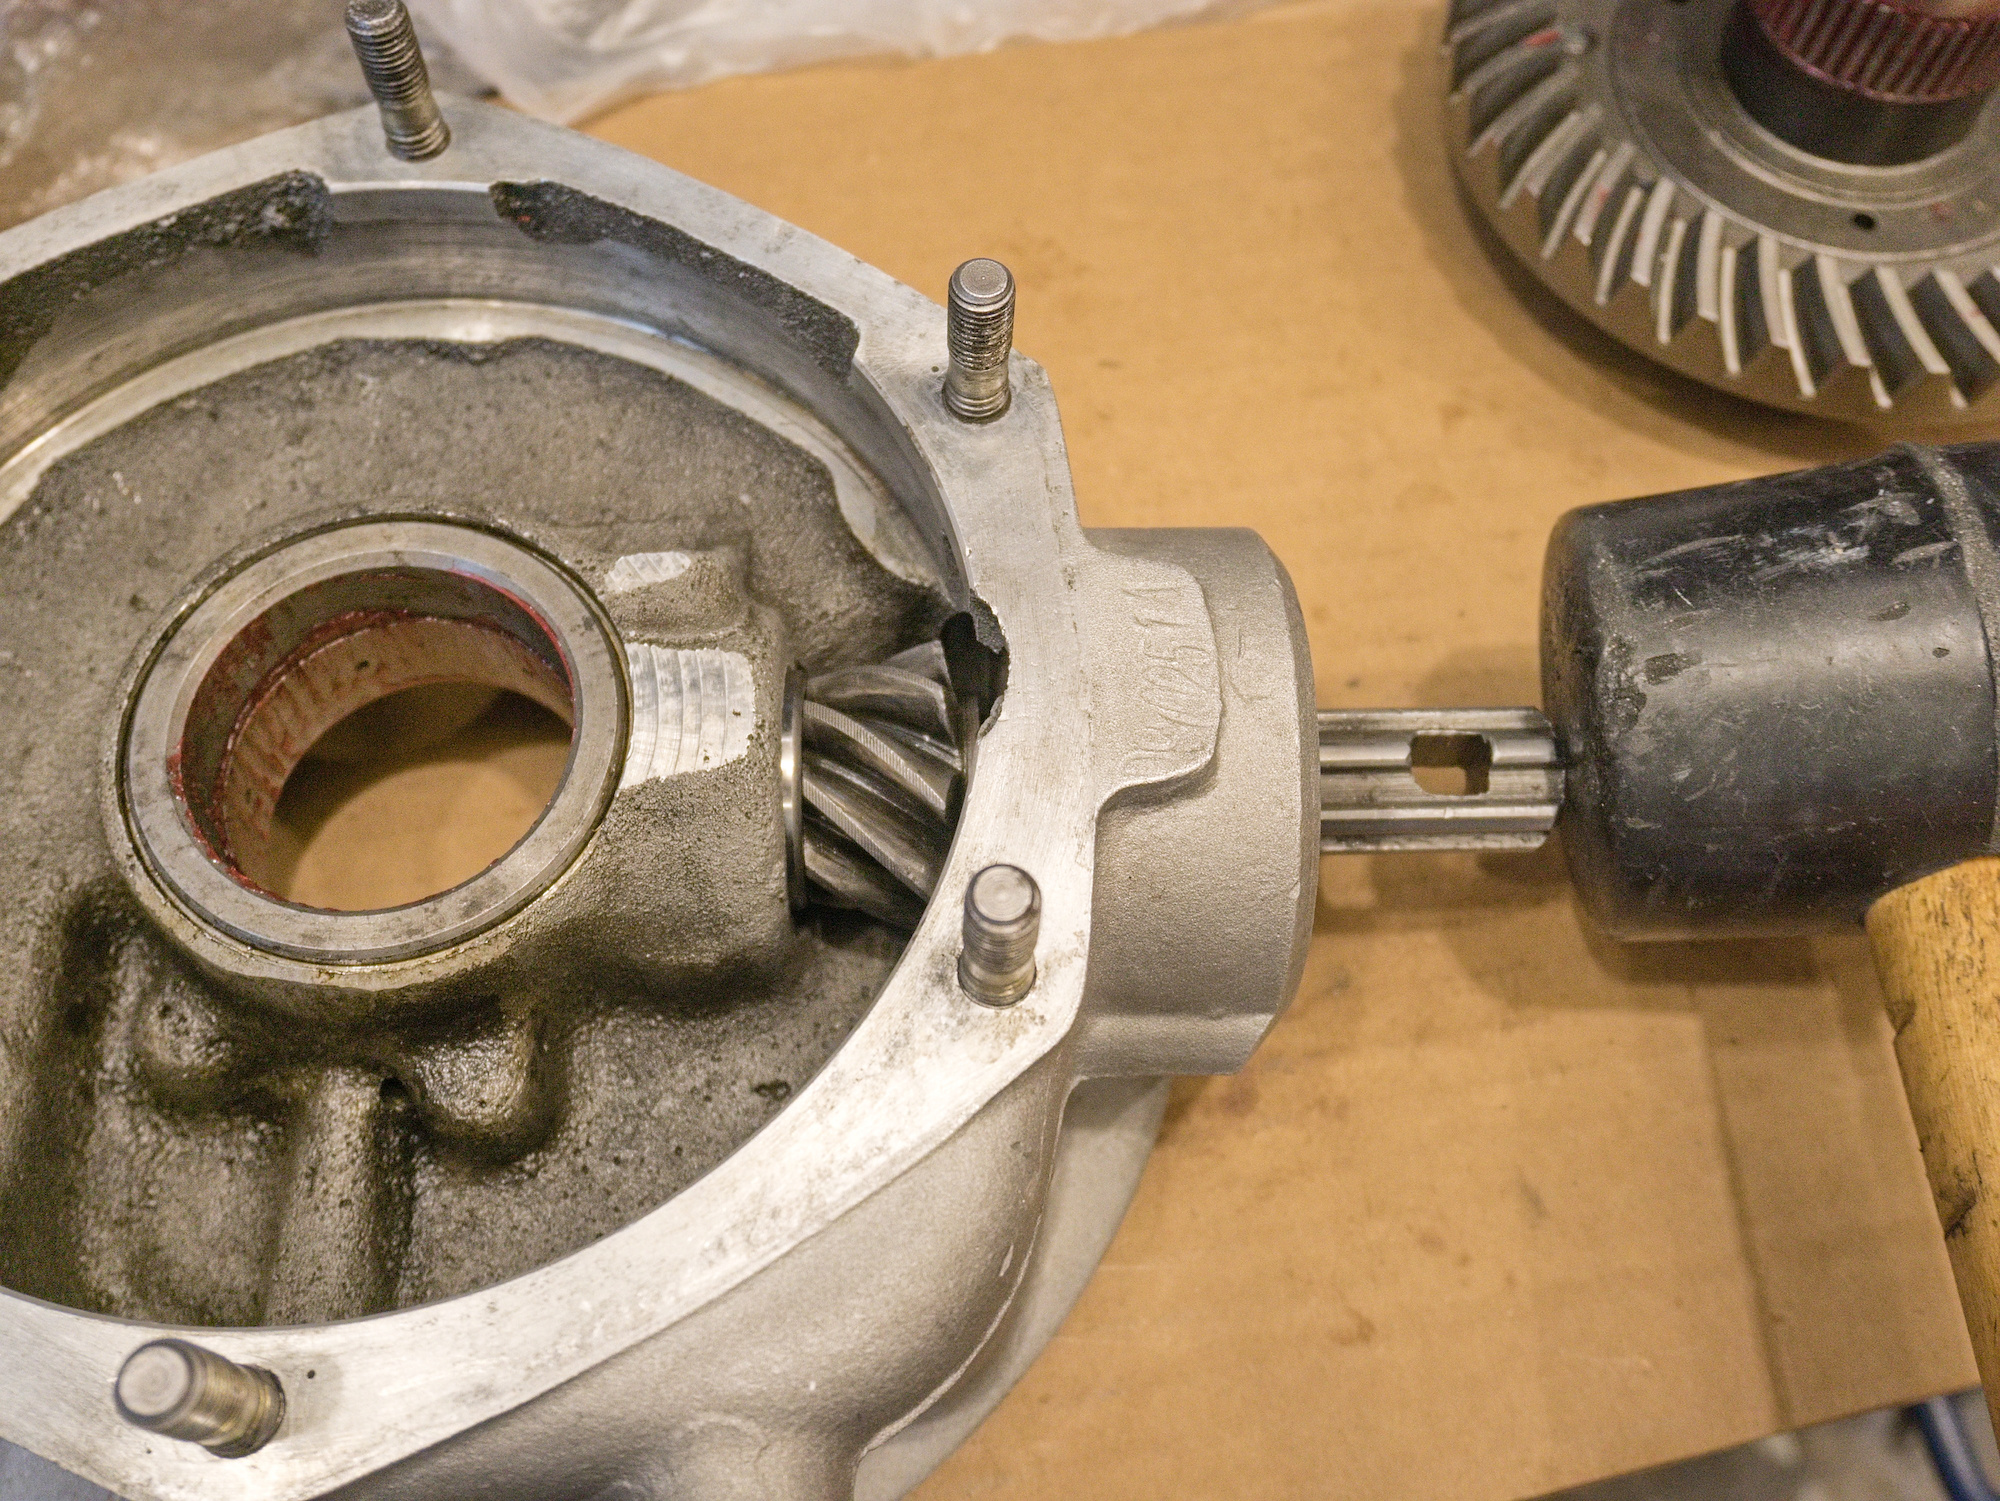
The new pinion gear seems to be a bit longer than the old one. Had to grind off the end of the shaft.
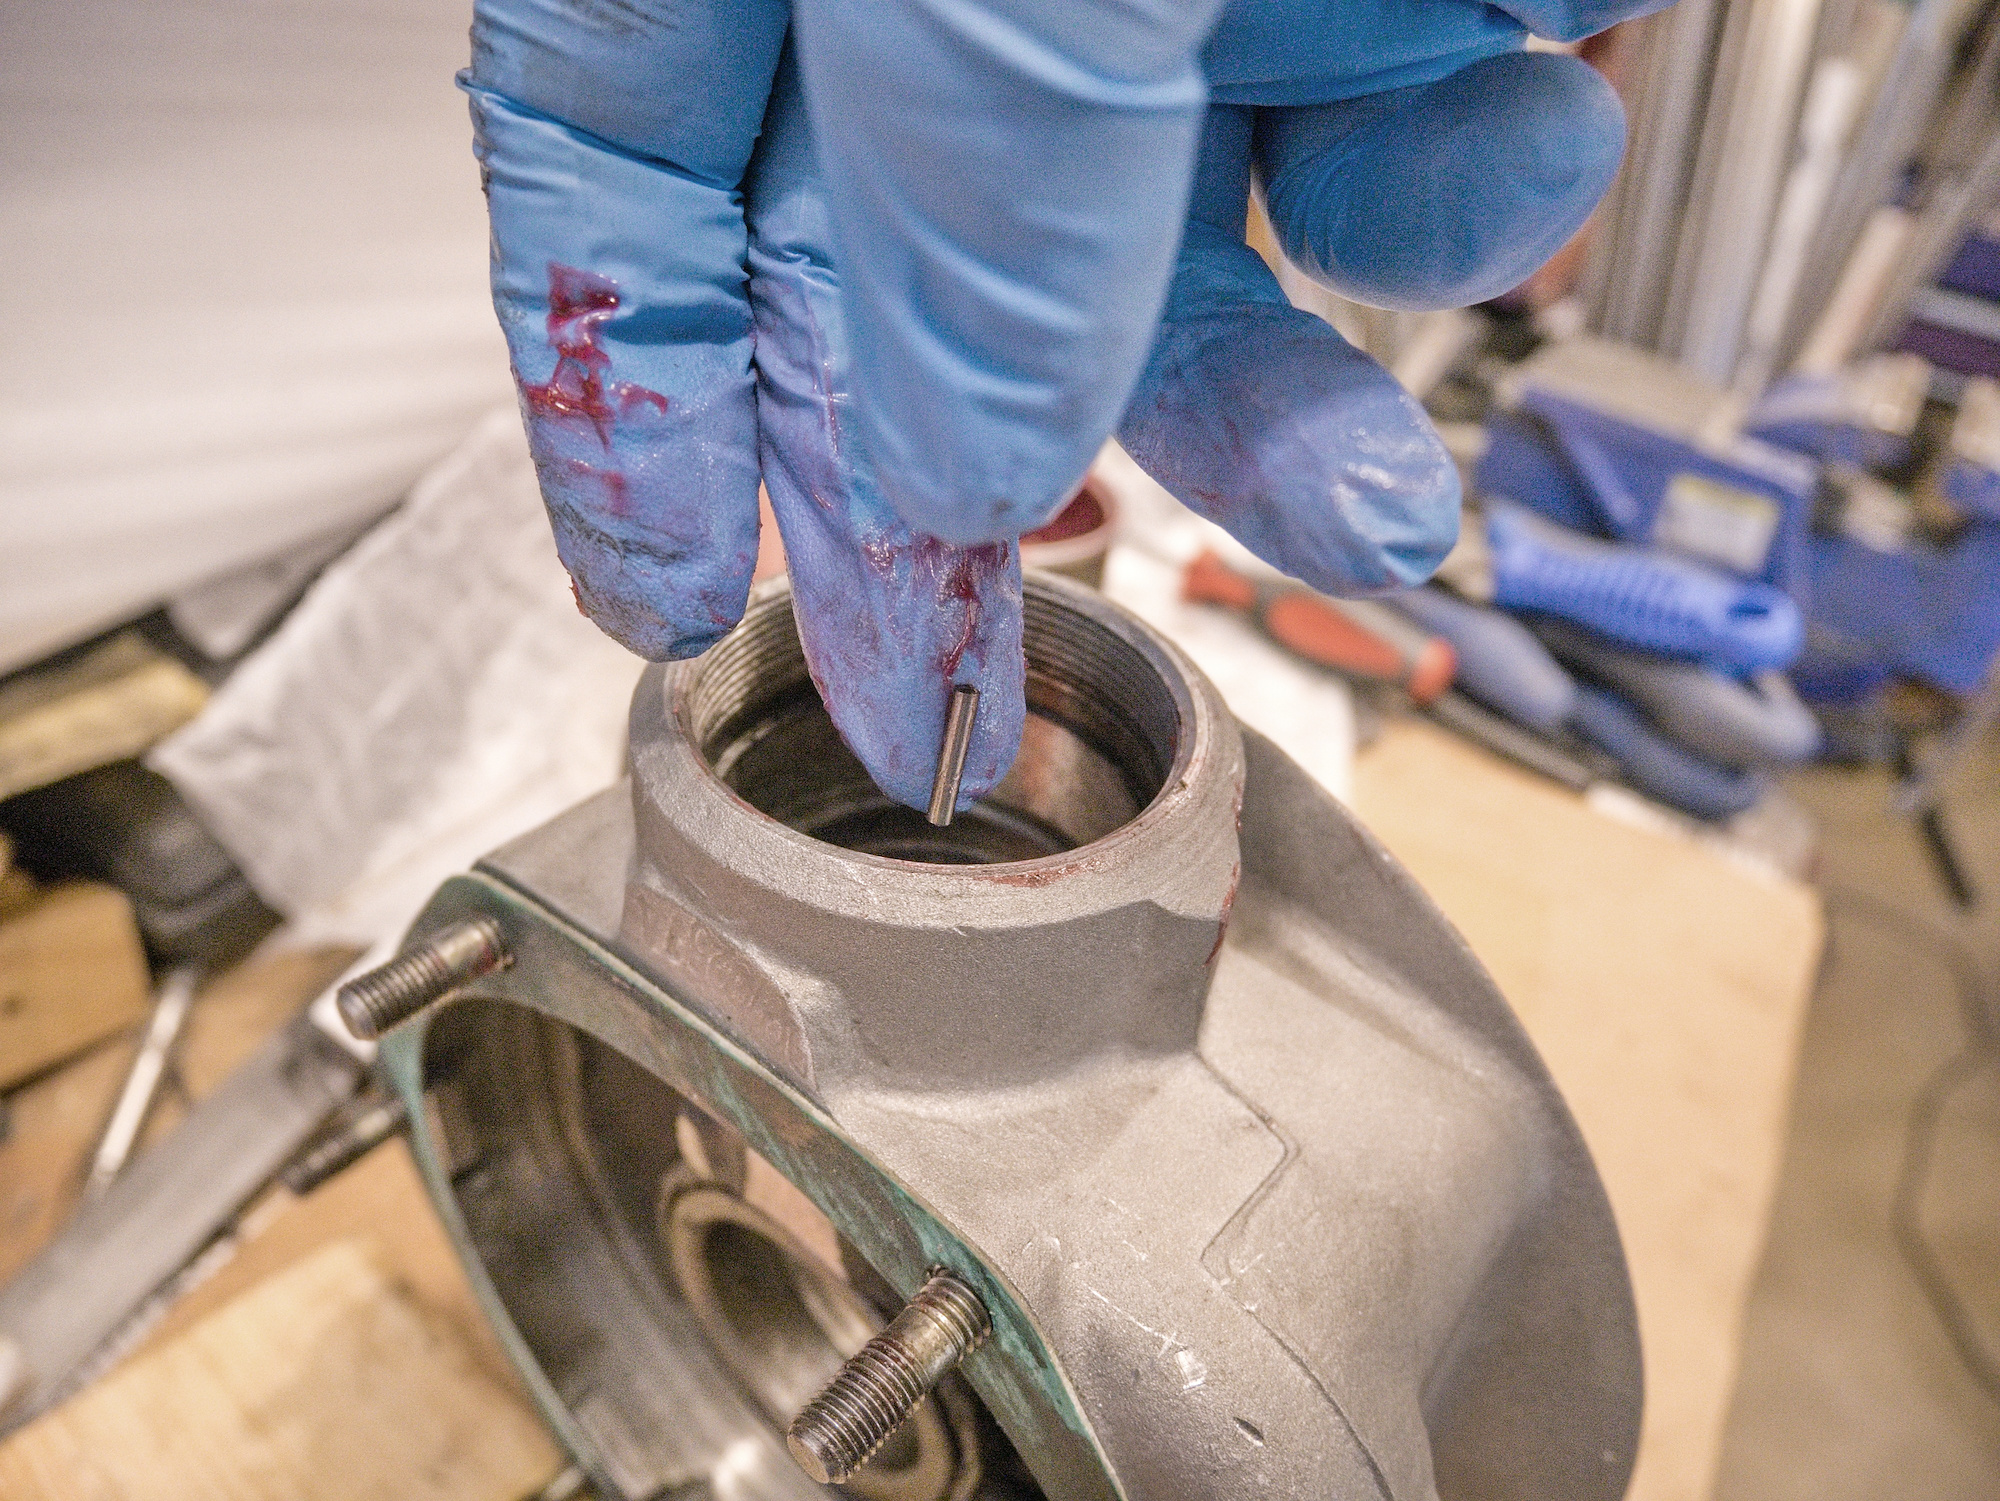
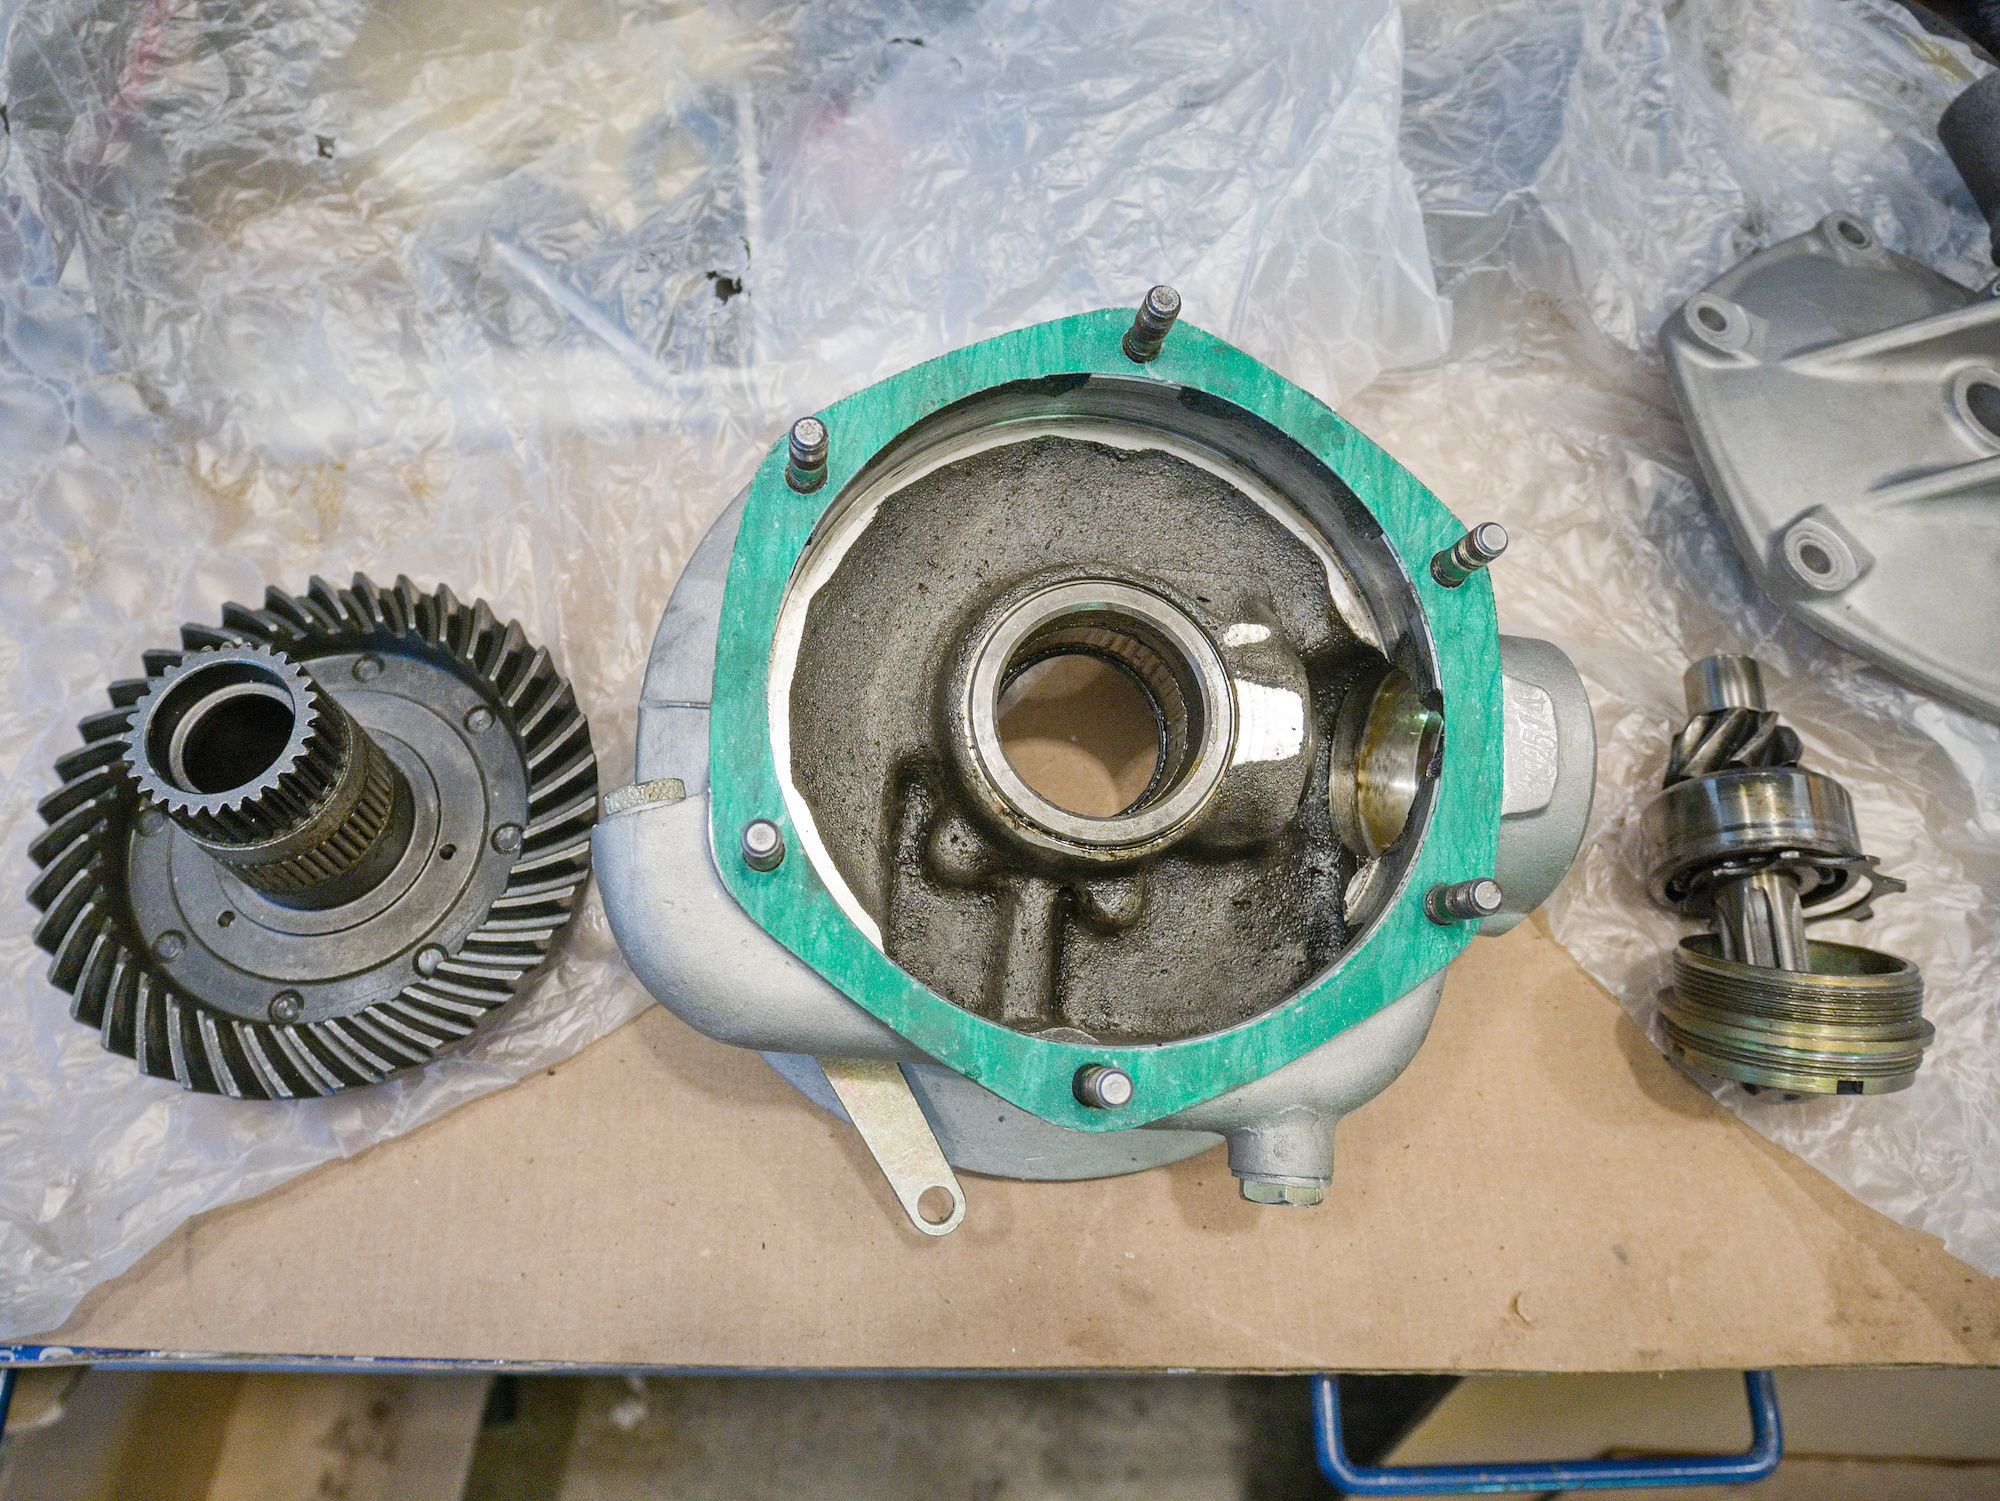
Insert the needles of the needle bearing using sticky grease. Be sure the bearing hole is clean.
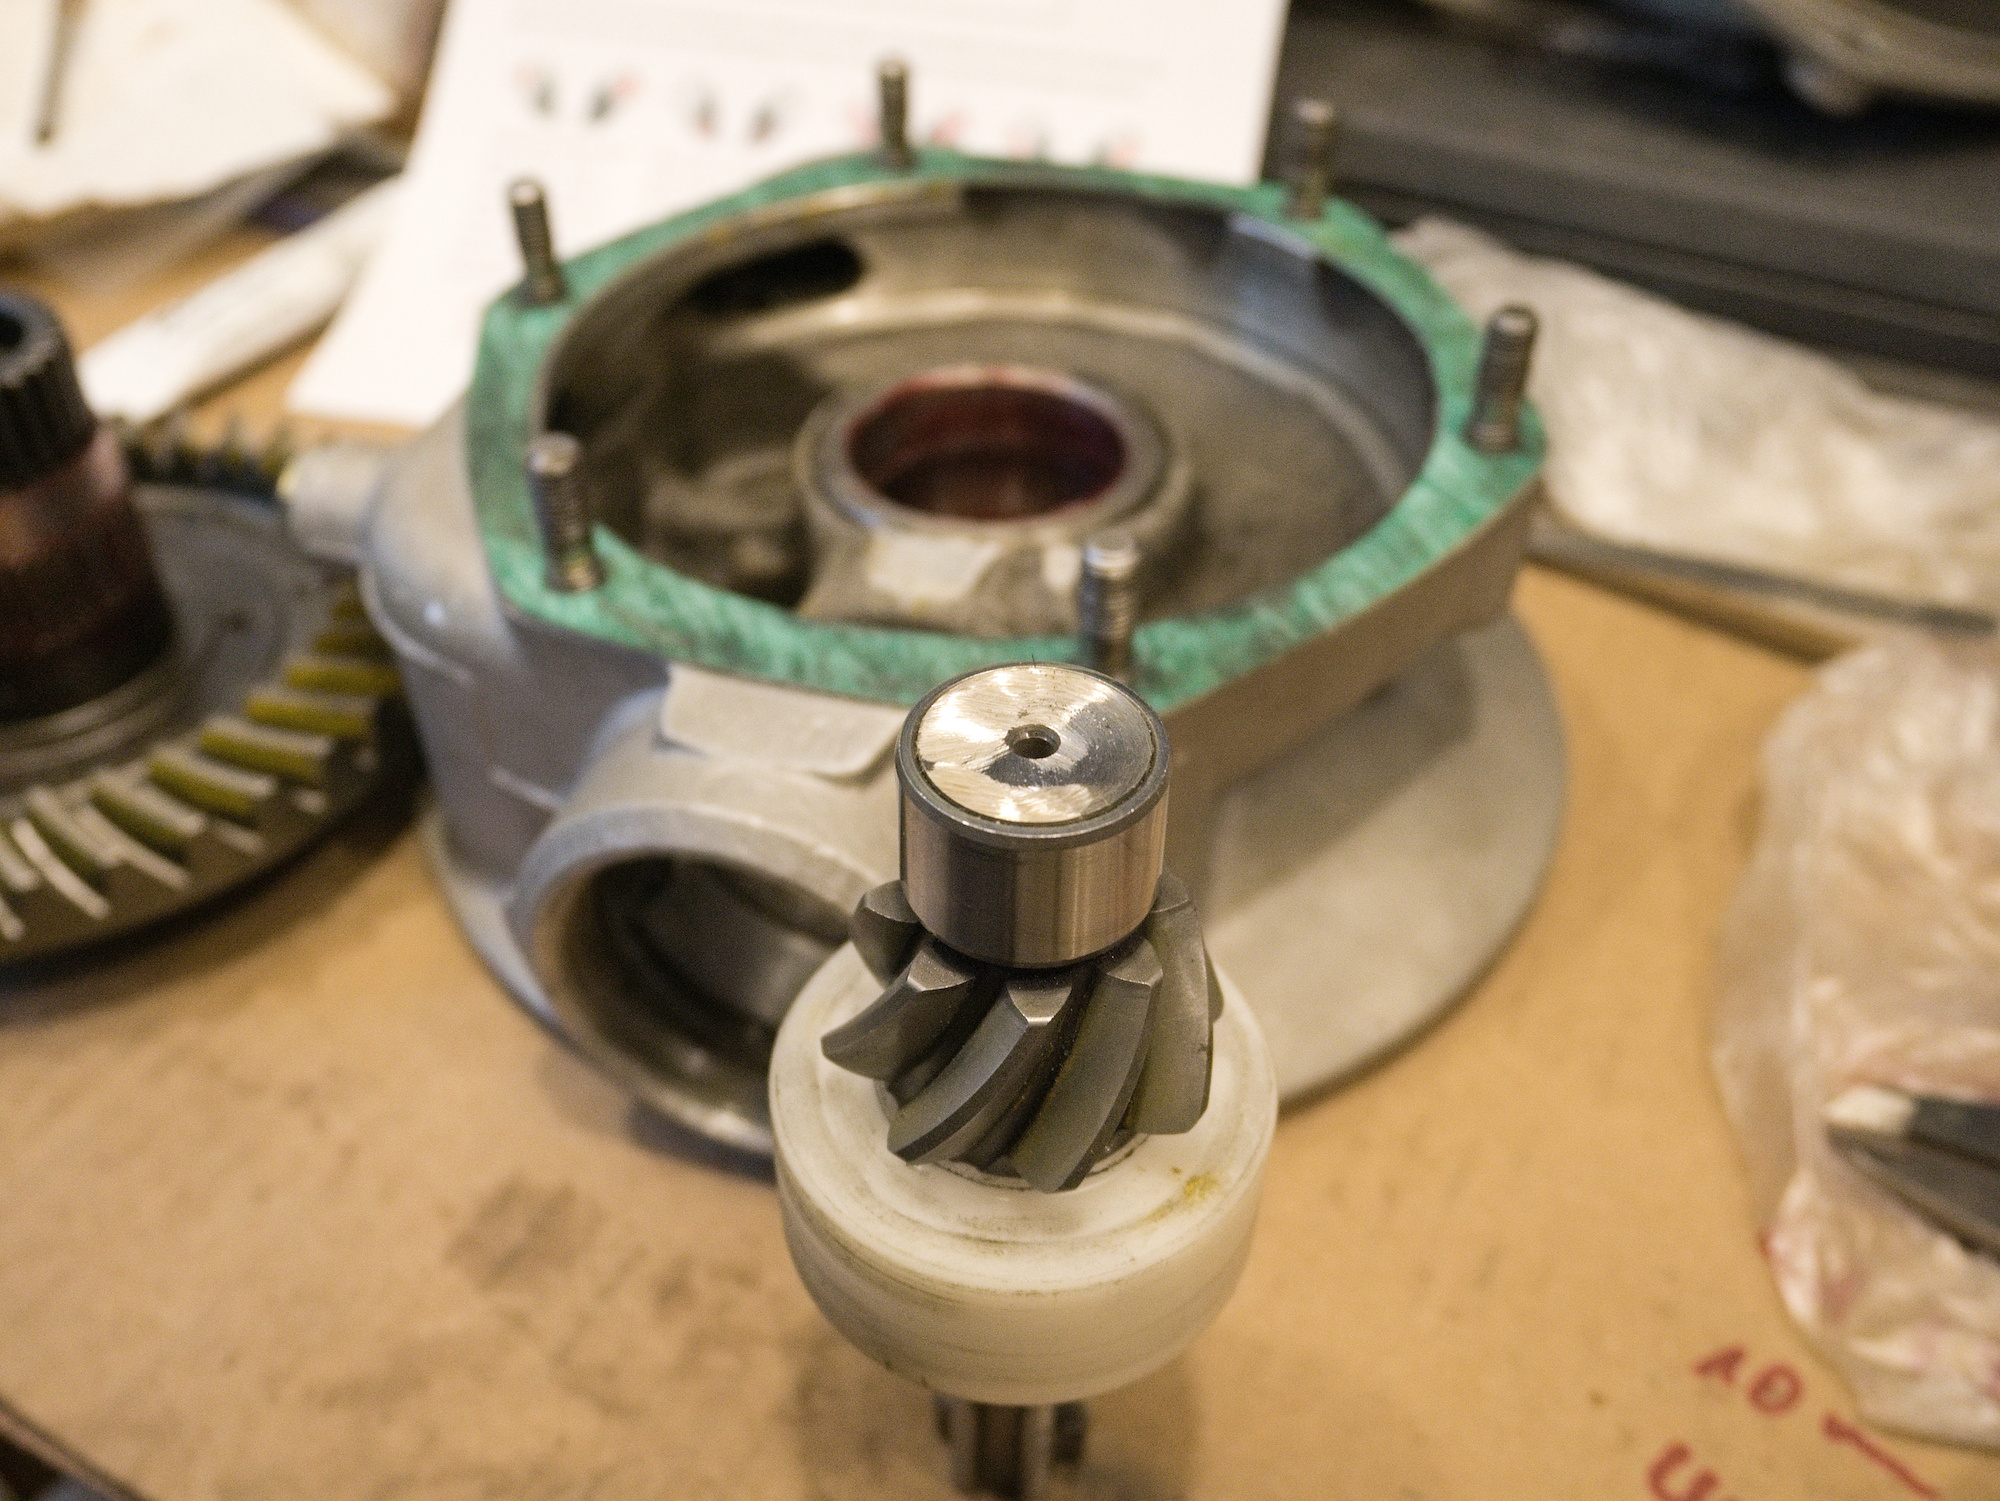
The 3304 bearing need to get pressed on to the pinion gear shaft. I don't have a press, so I used the machine vise. Used a 0.3mm shim between the bearing and the gear.
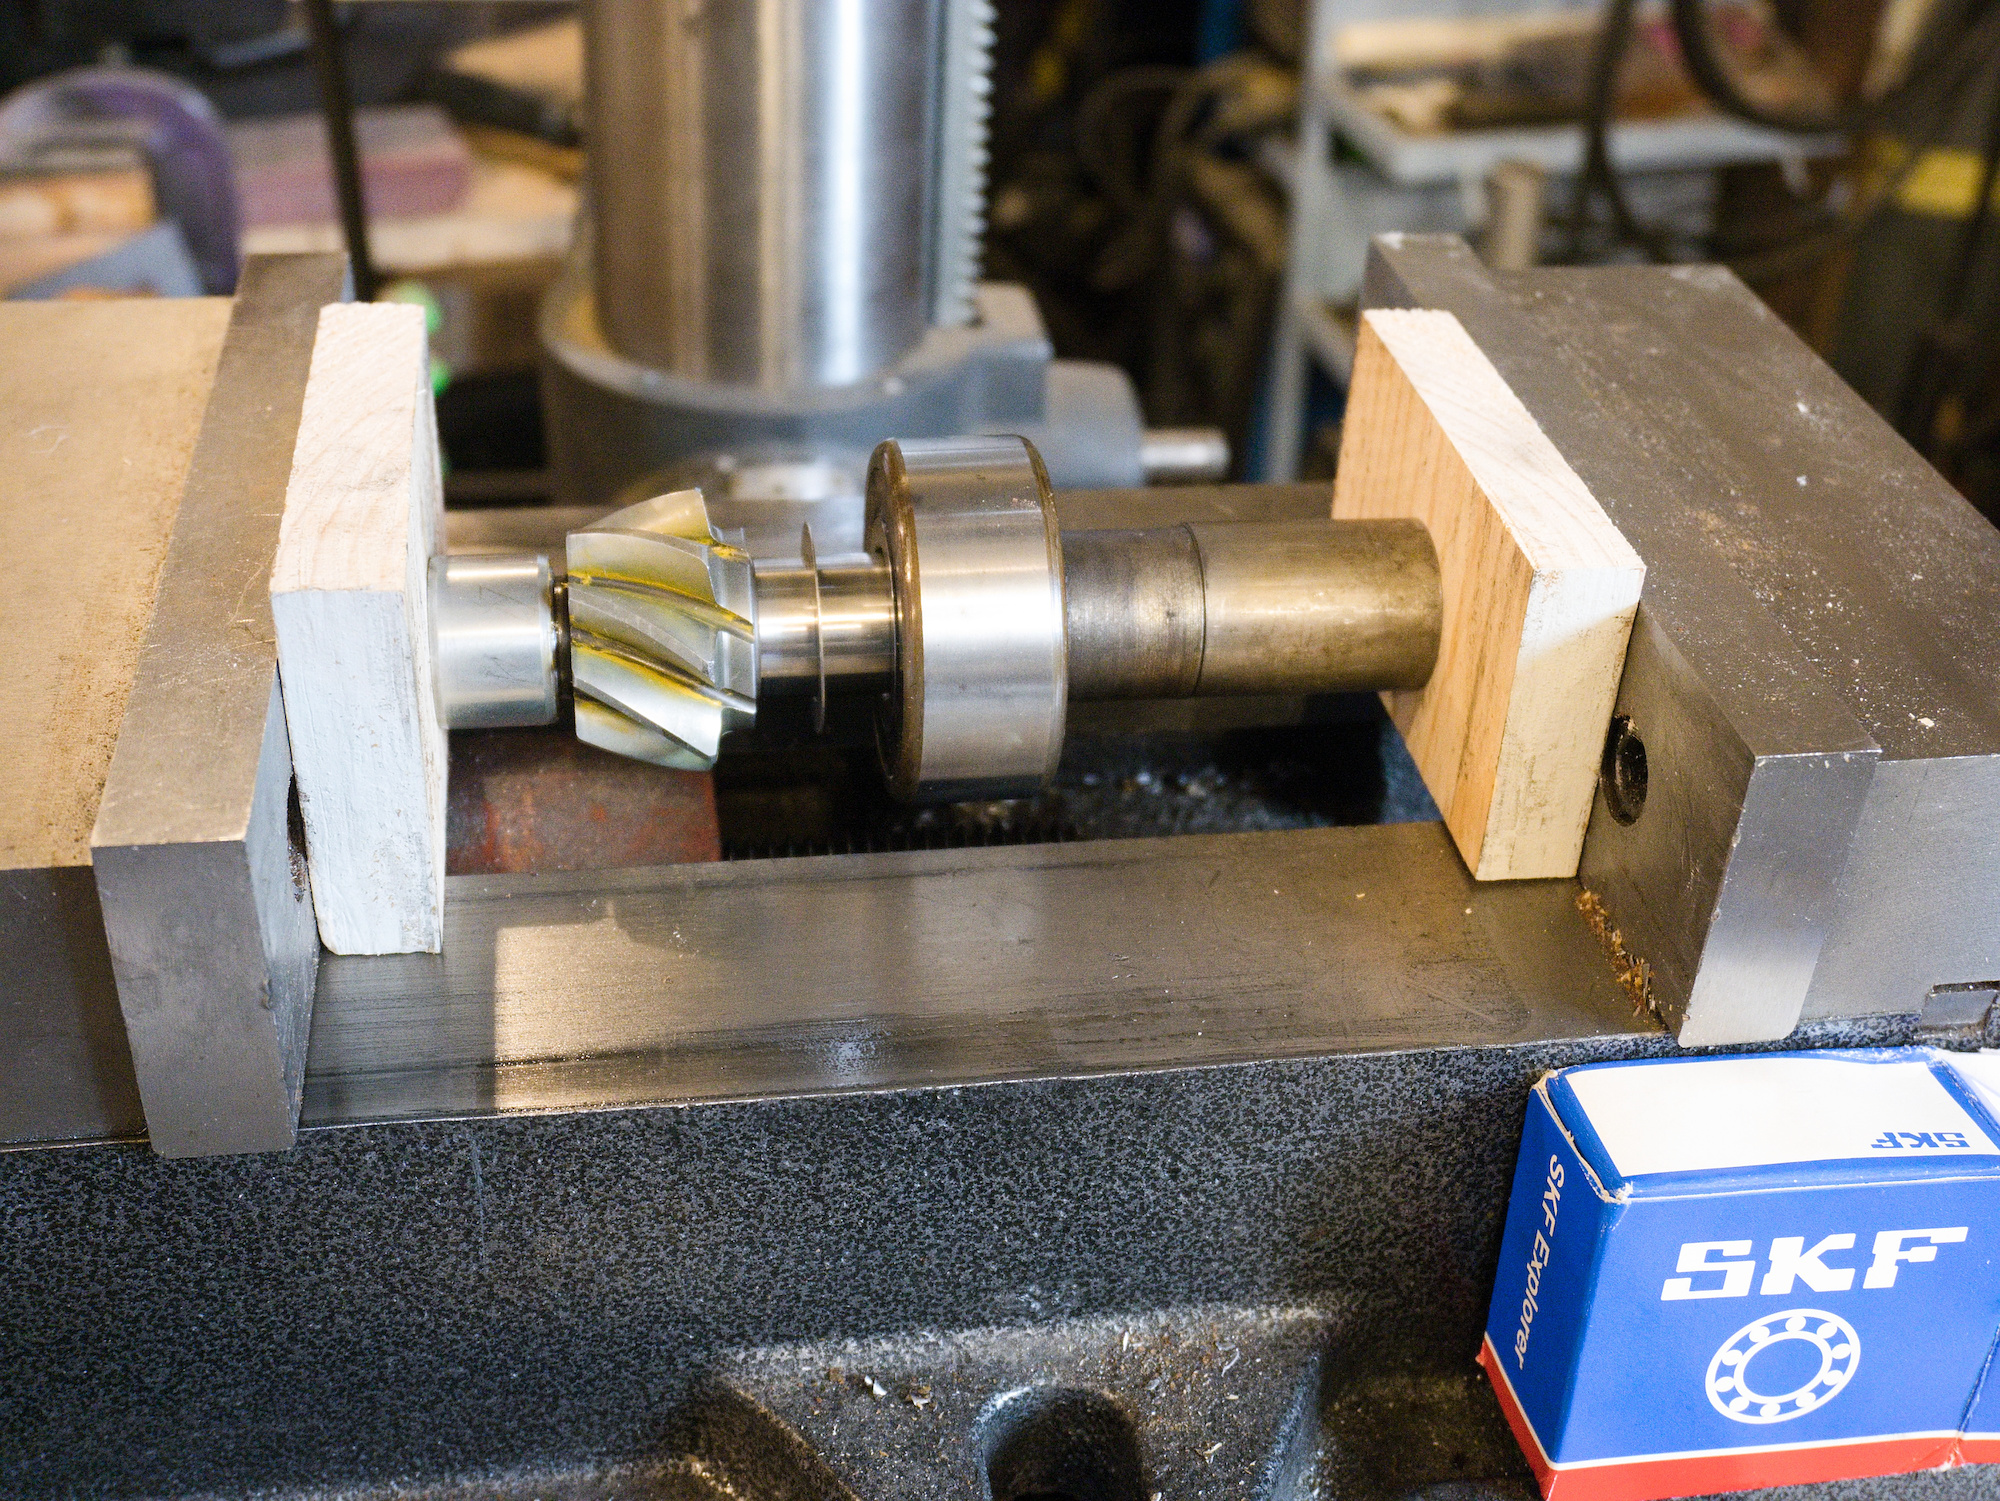
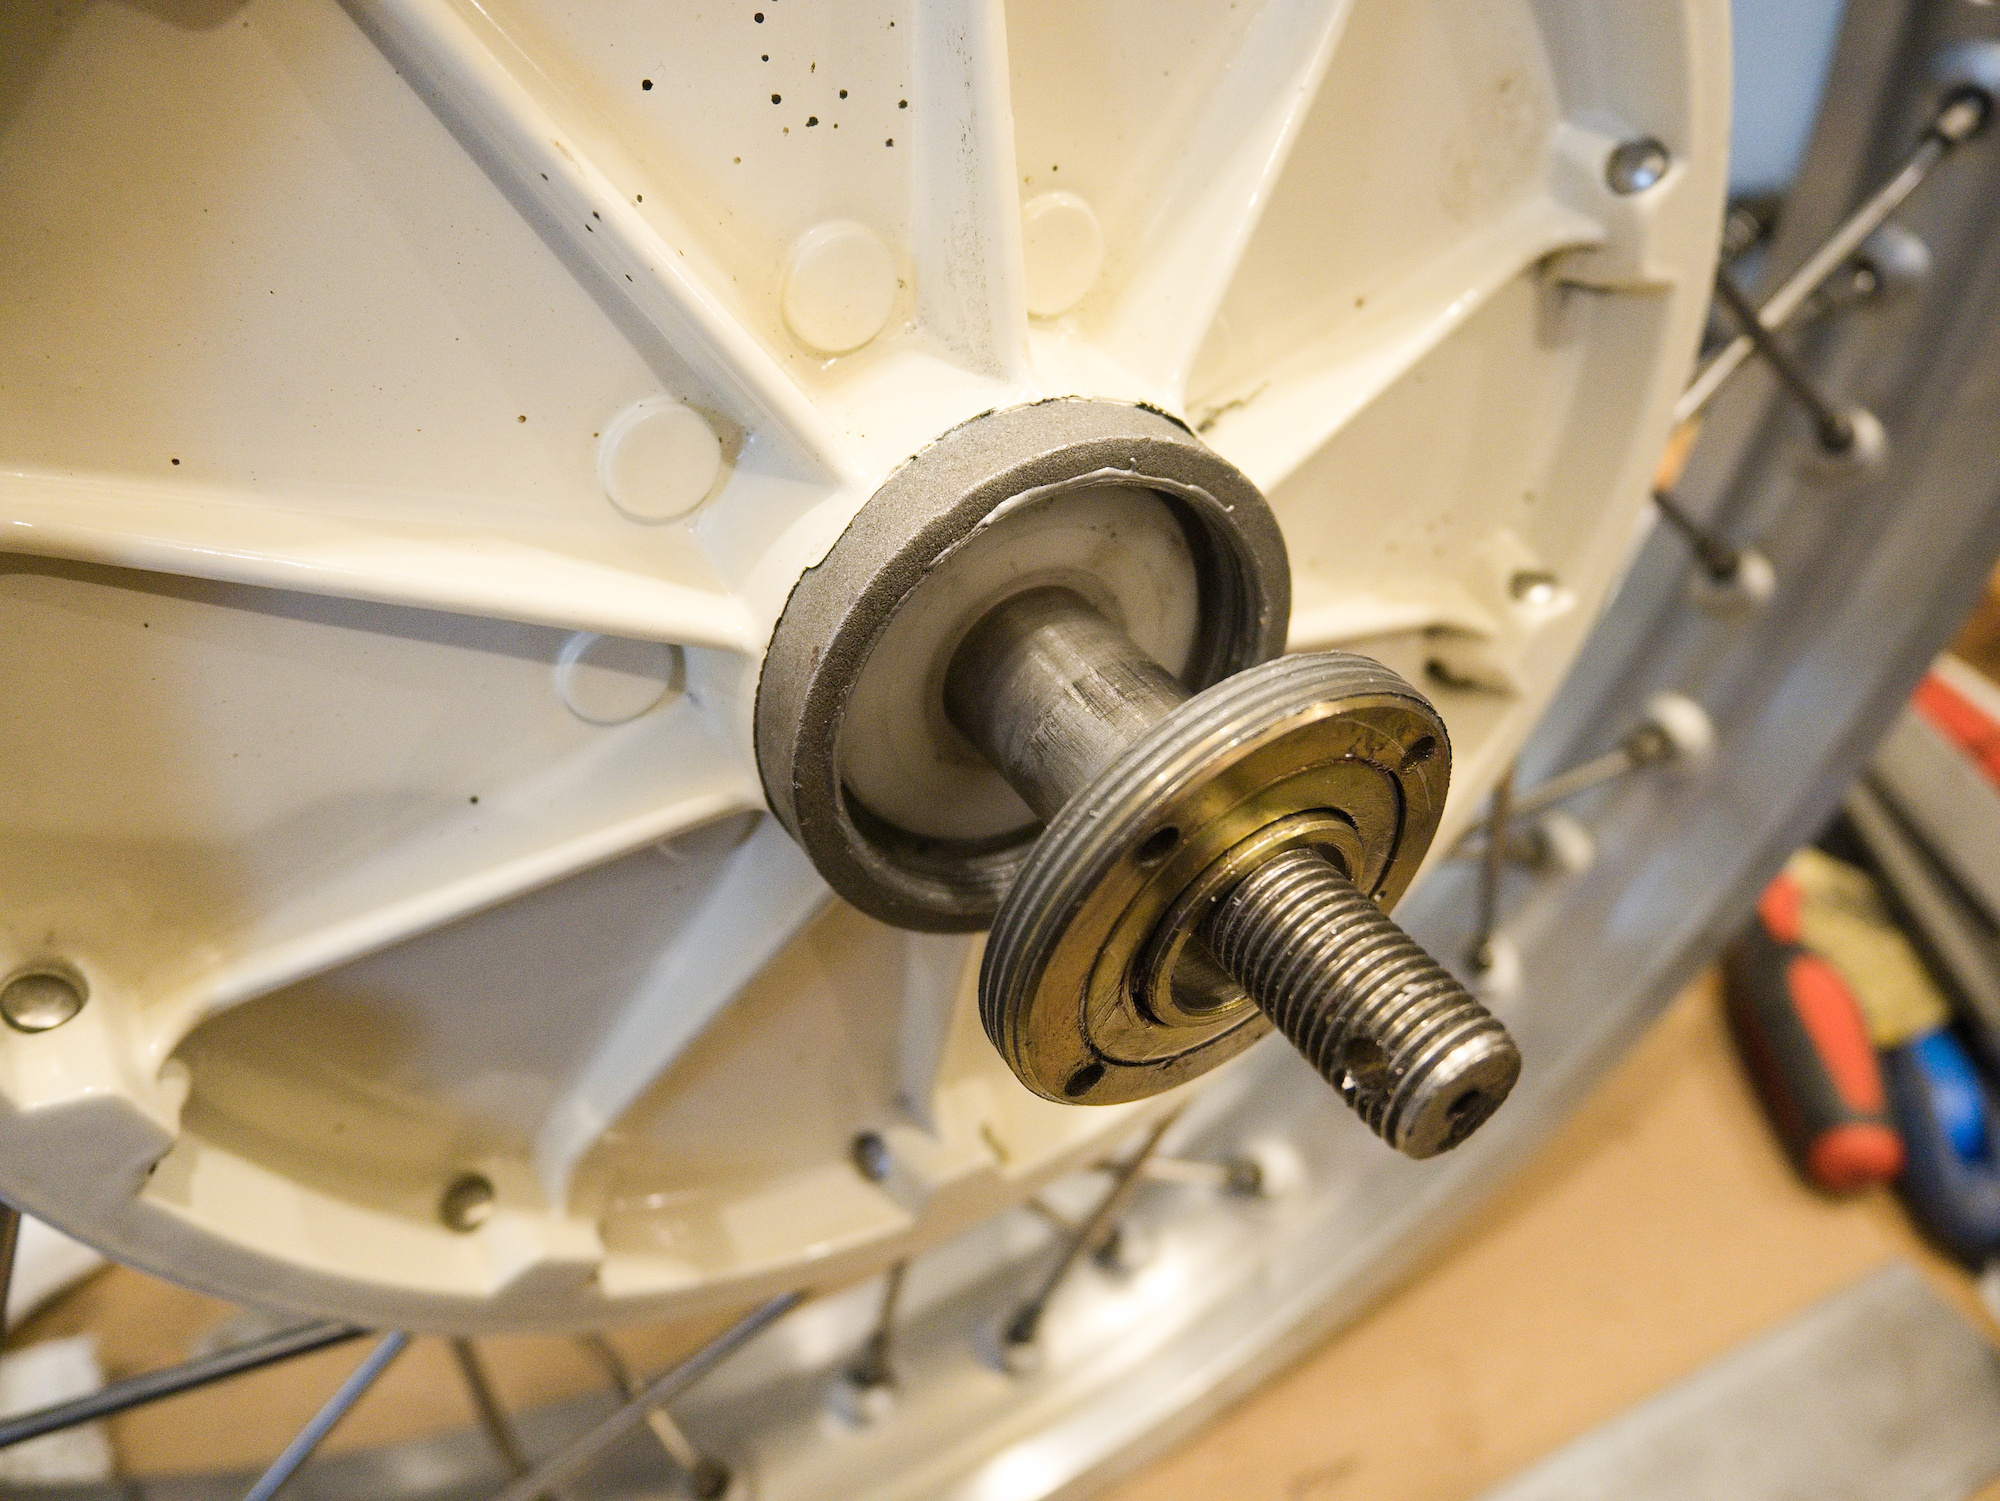
Everything is ready to assemble. The bearing nut (large yellow colored nut on the right) needs to hold the pinion gear without any play. Use those star shaped washers in case.
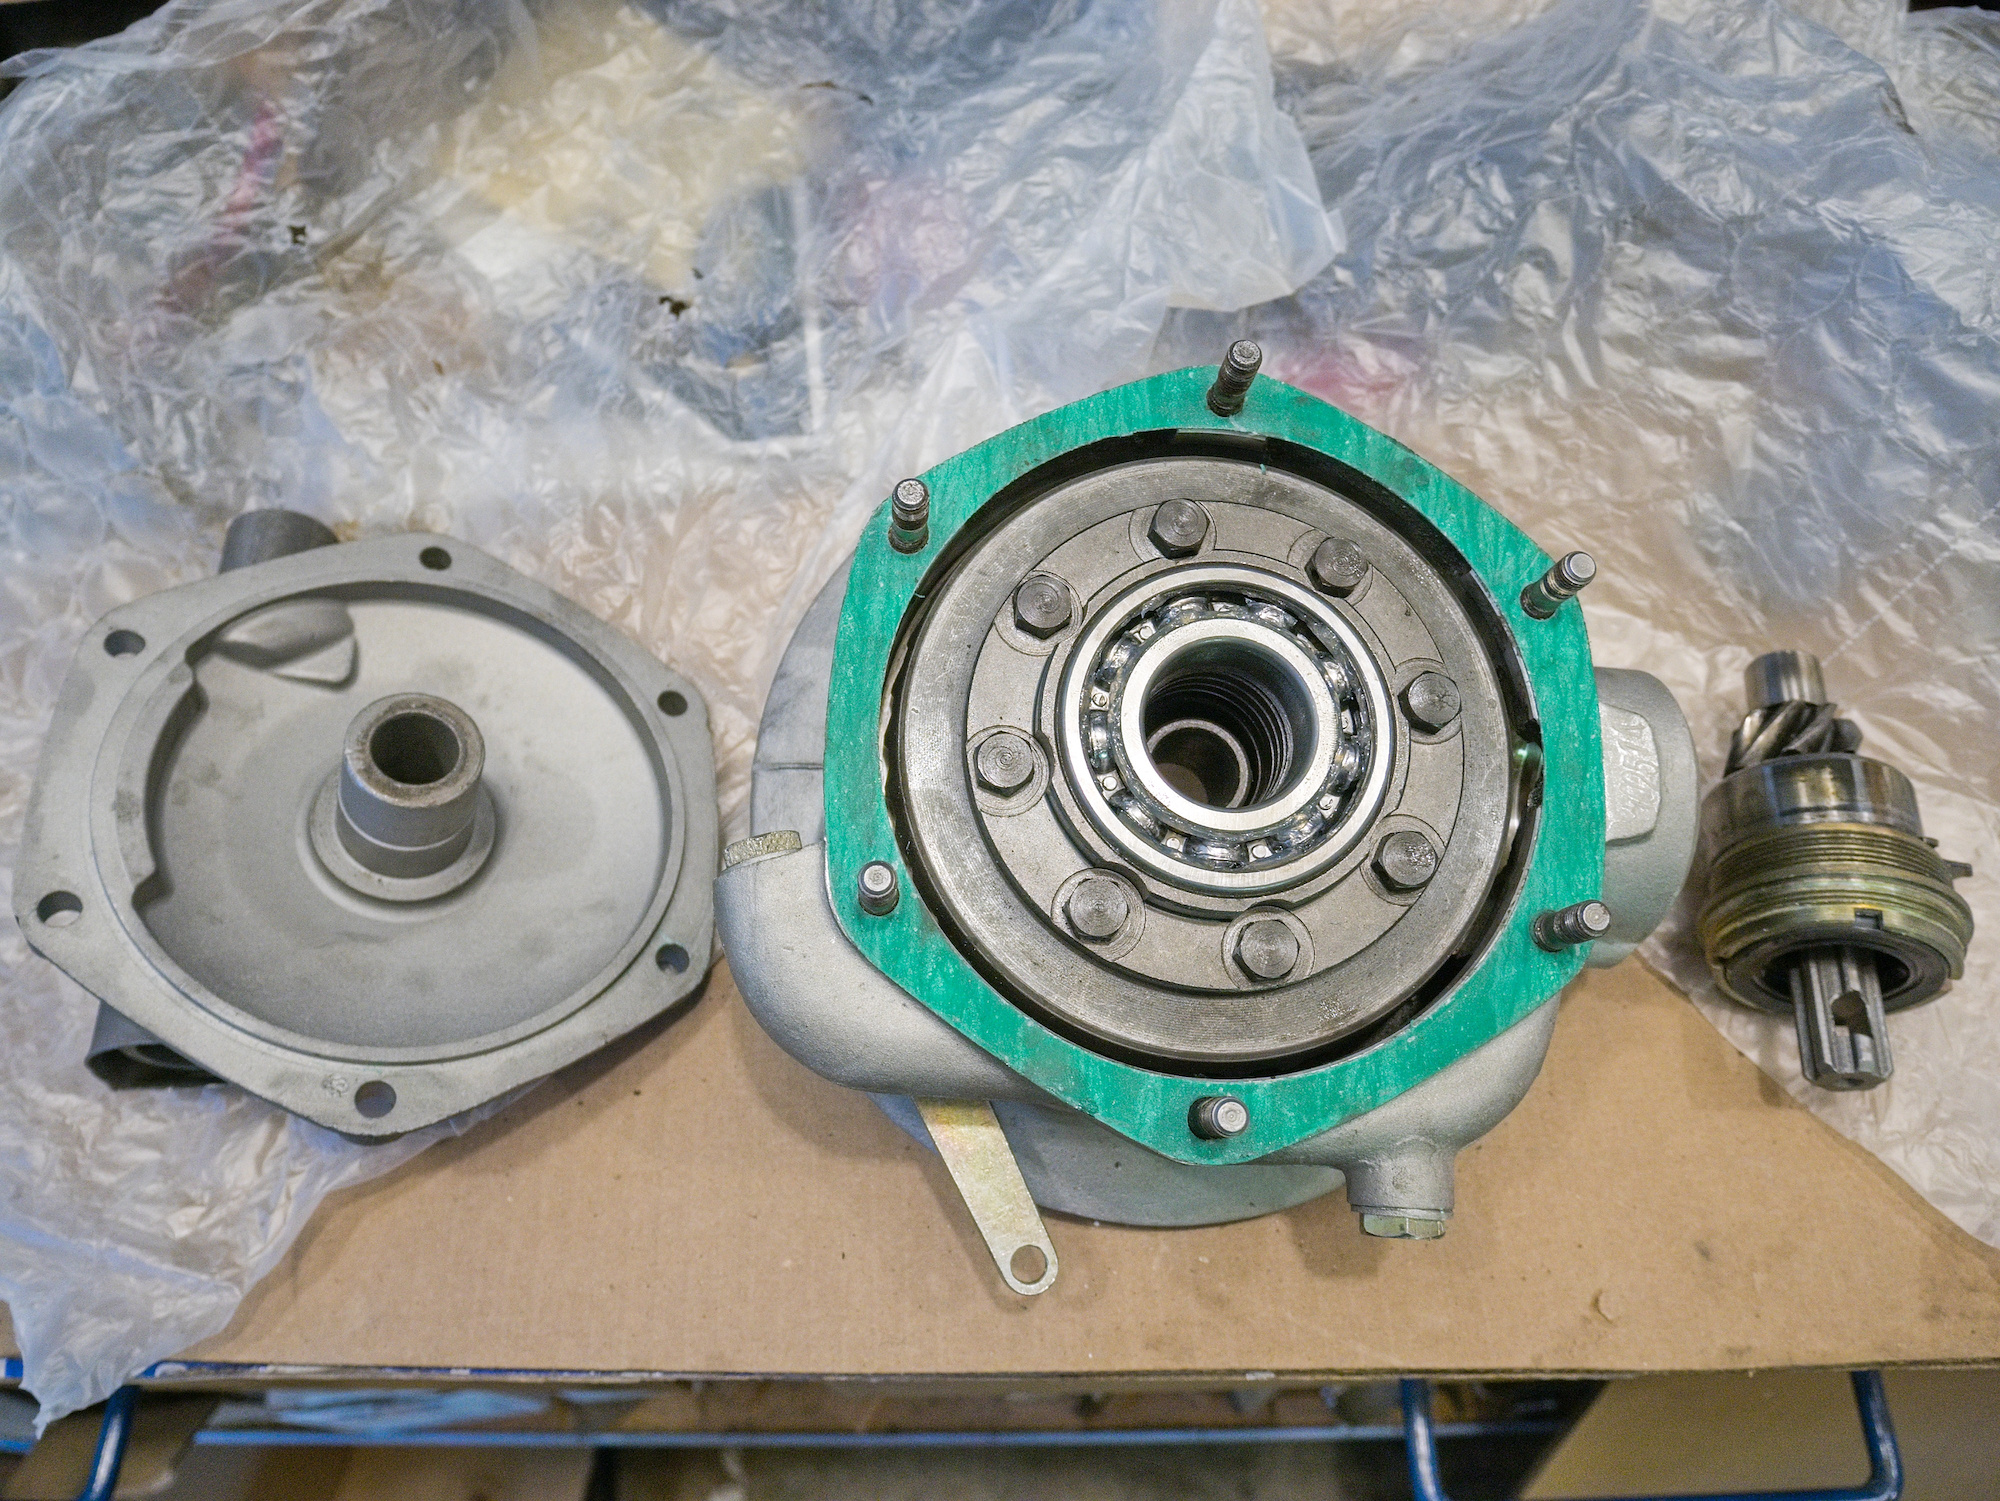
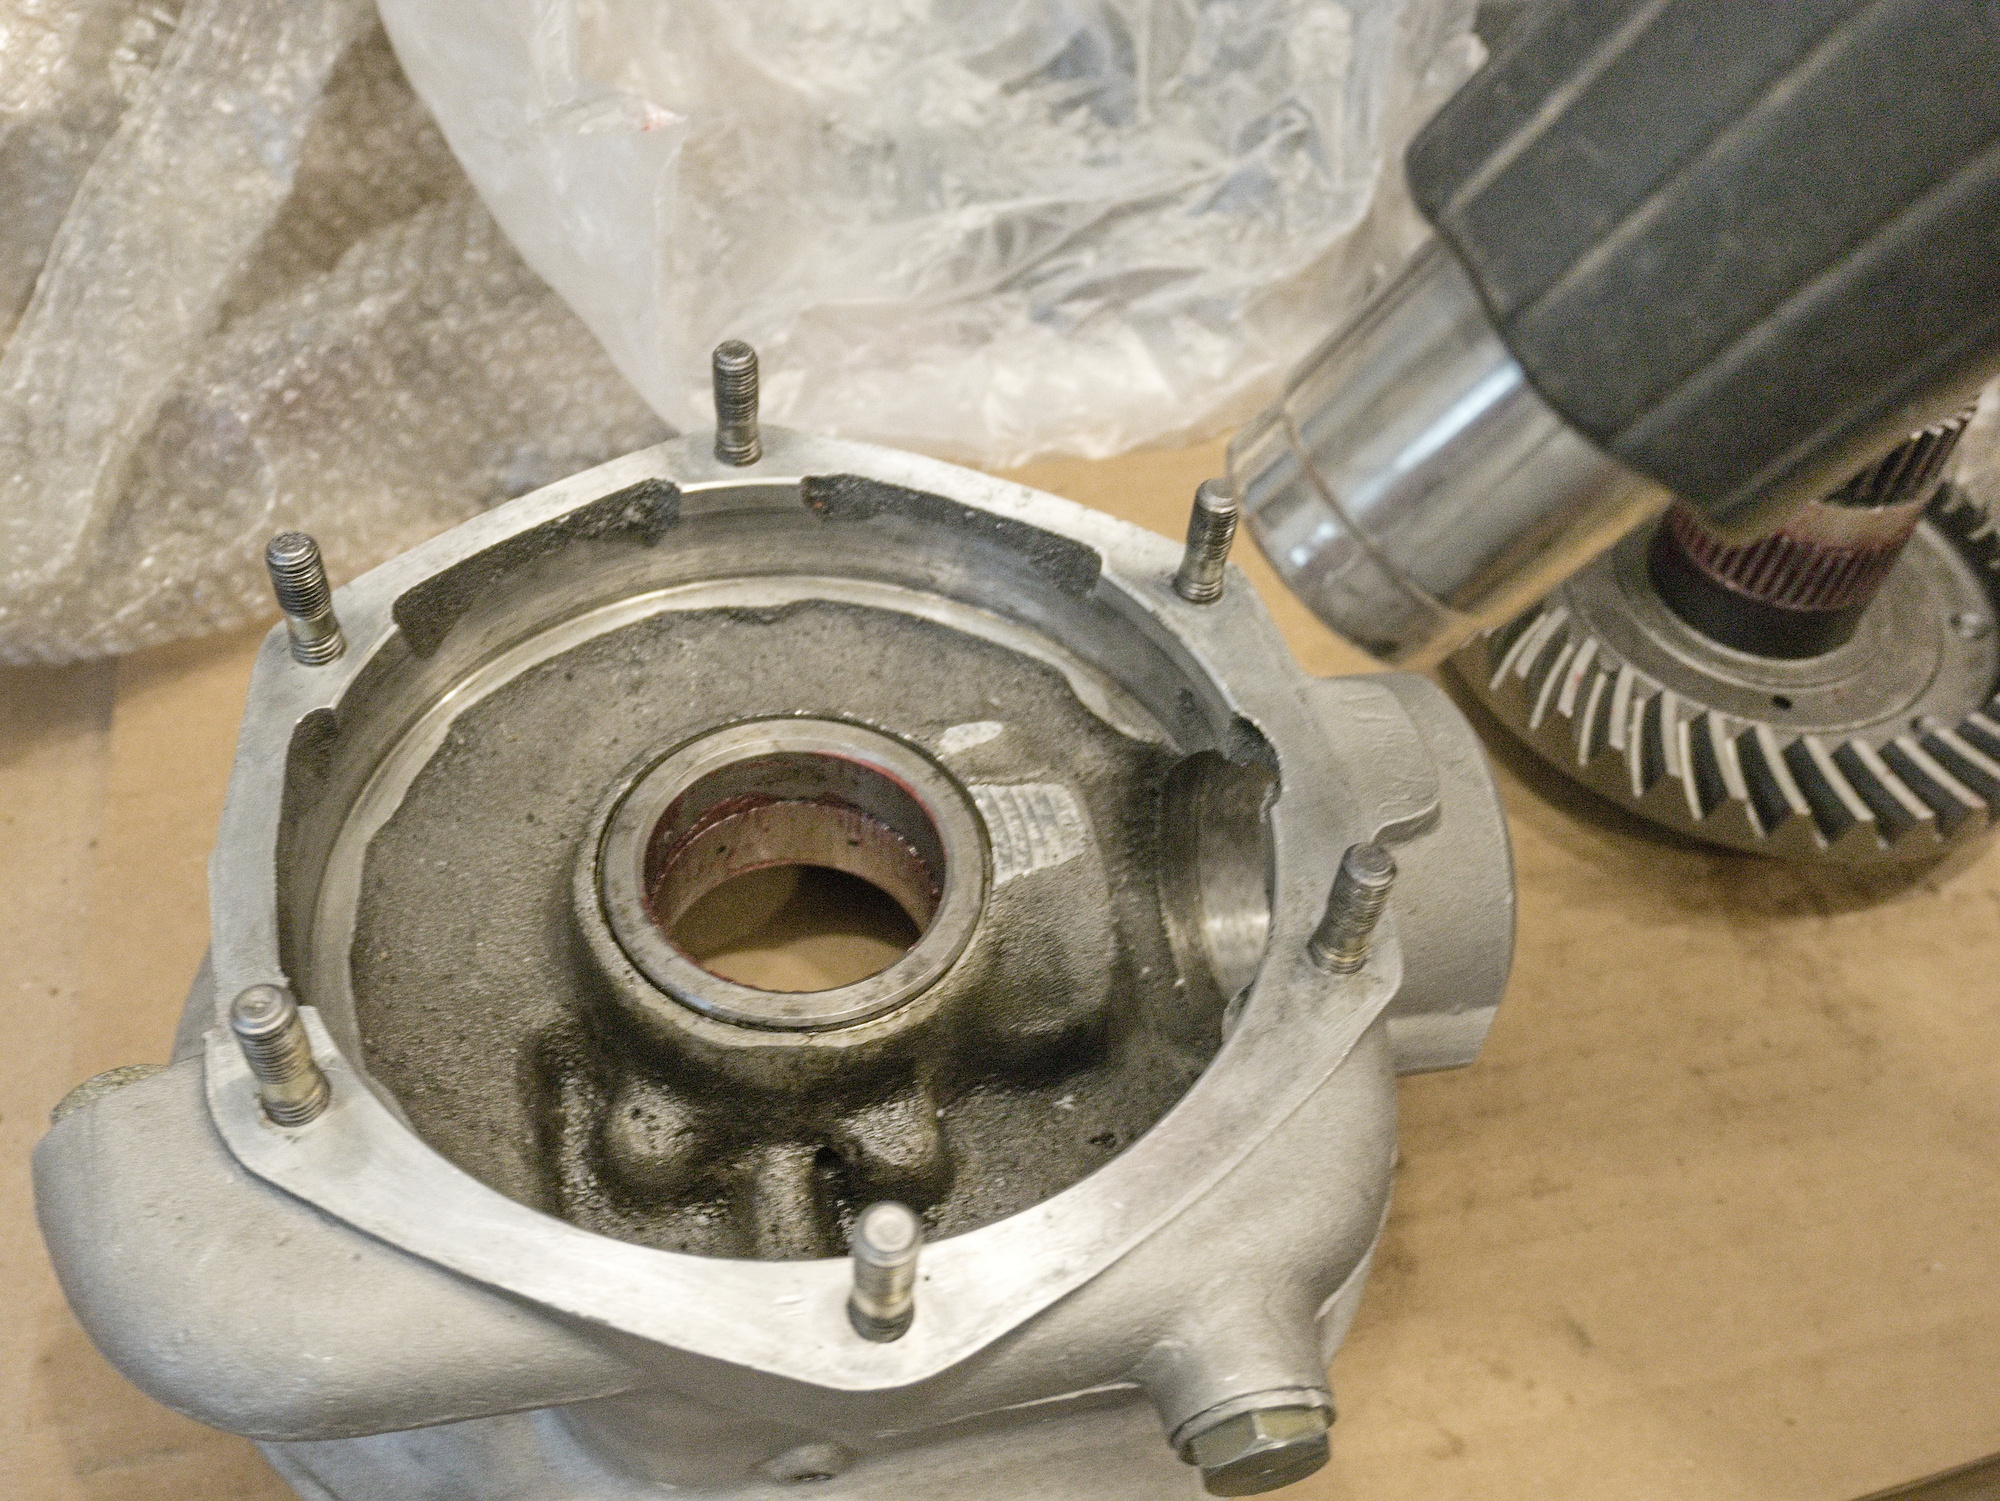
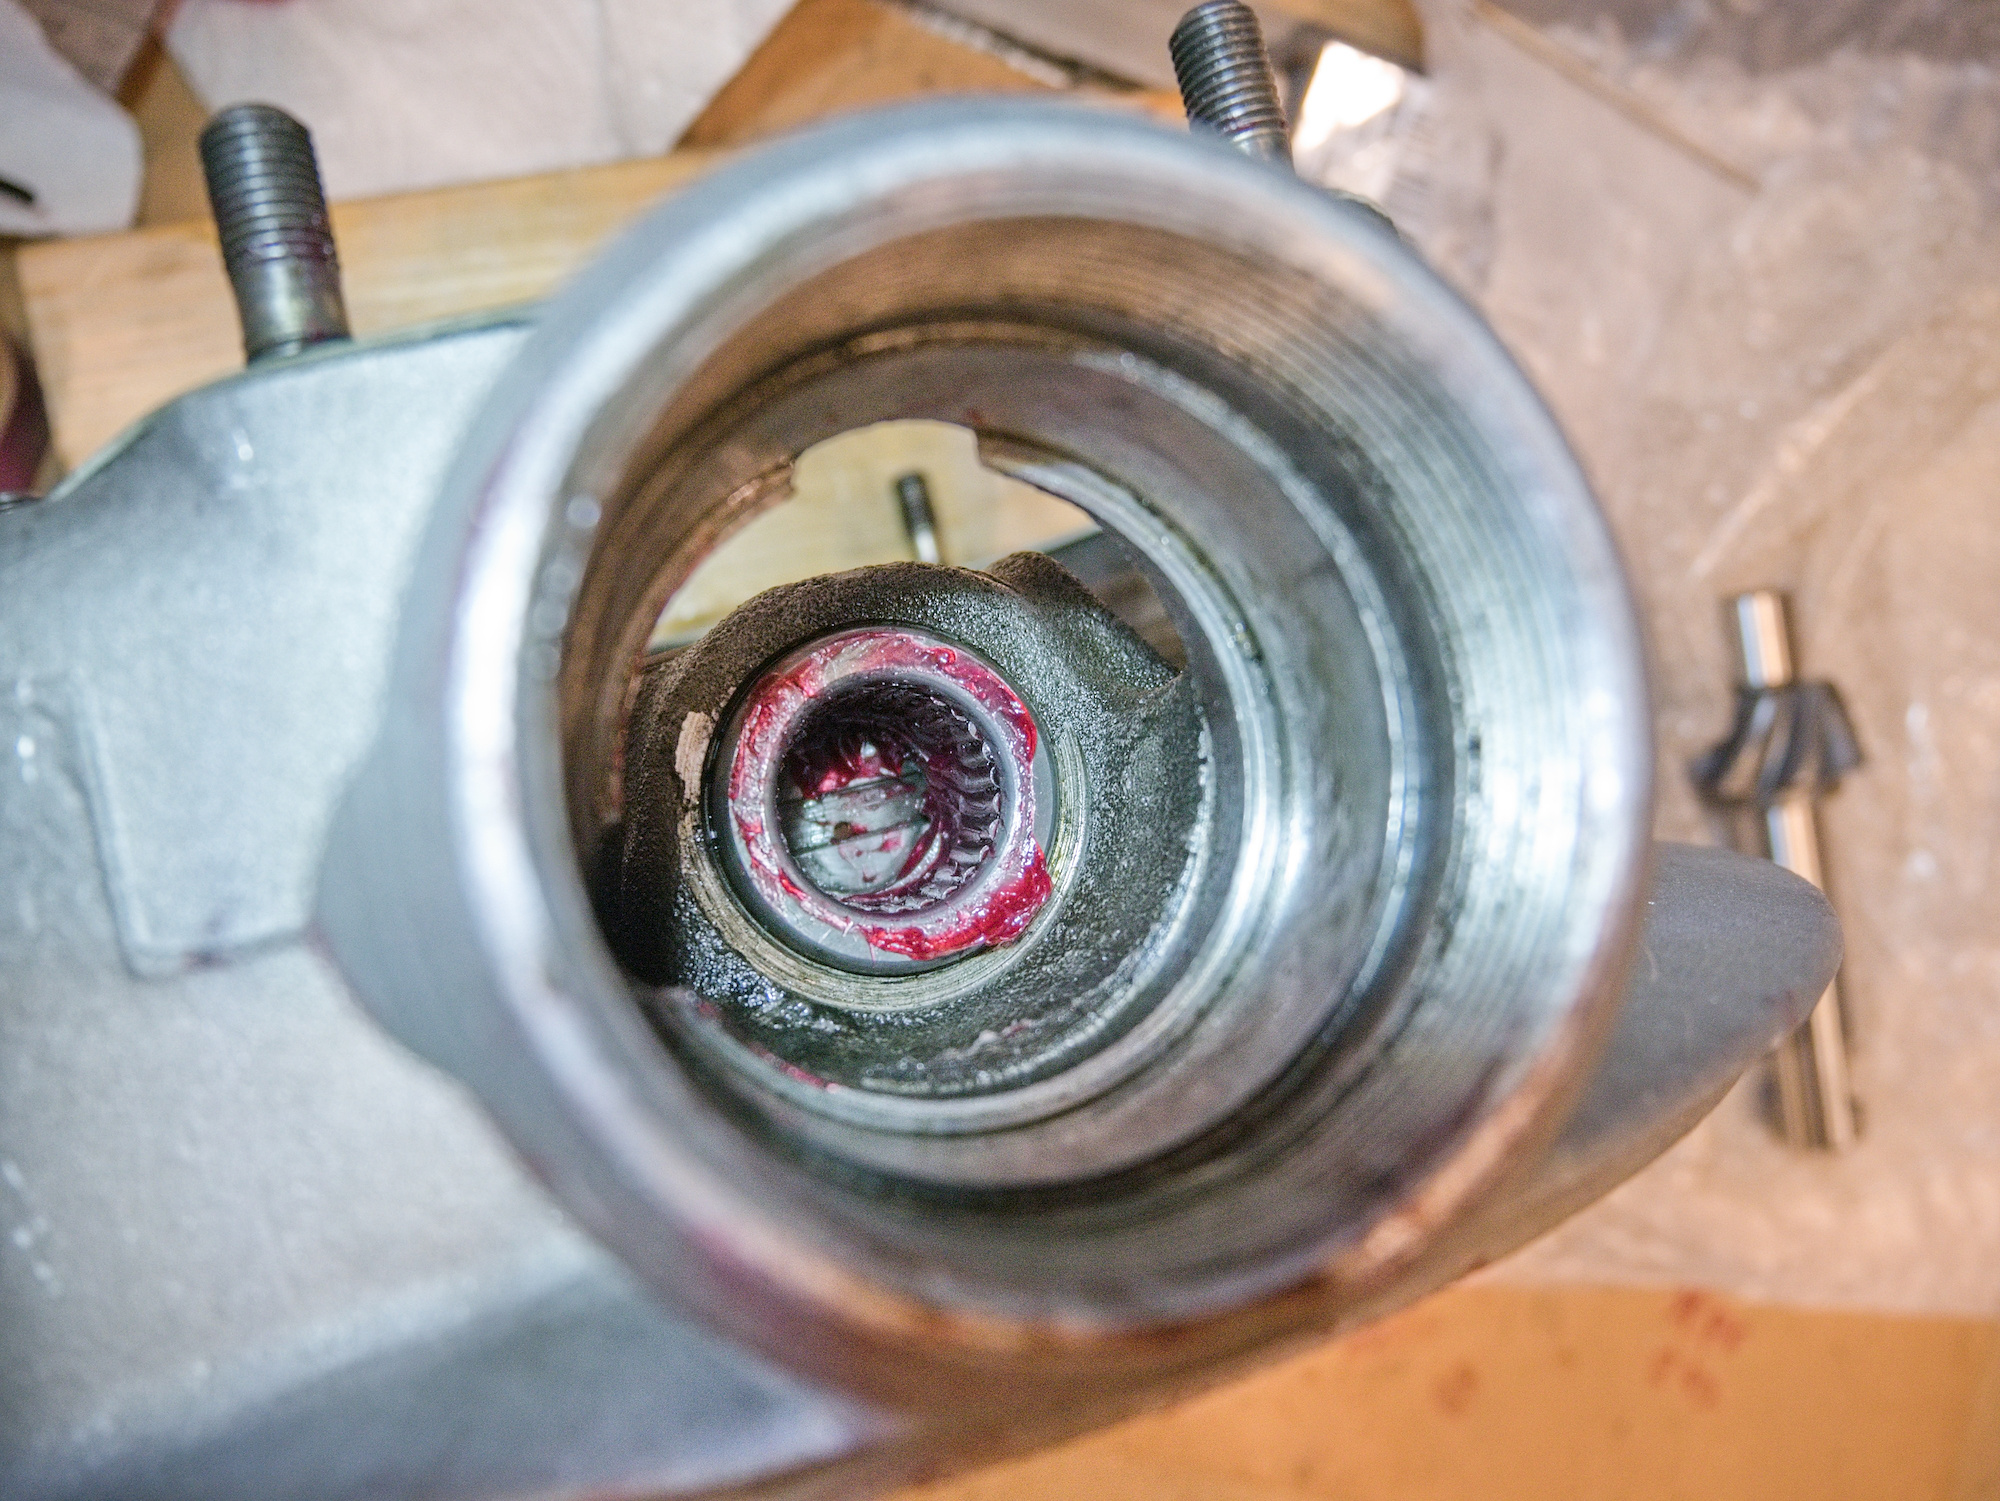
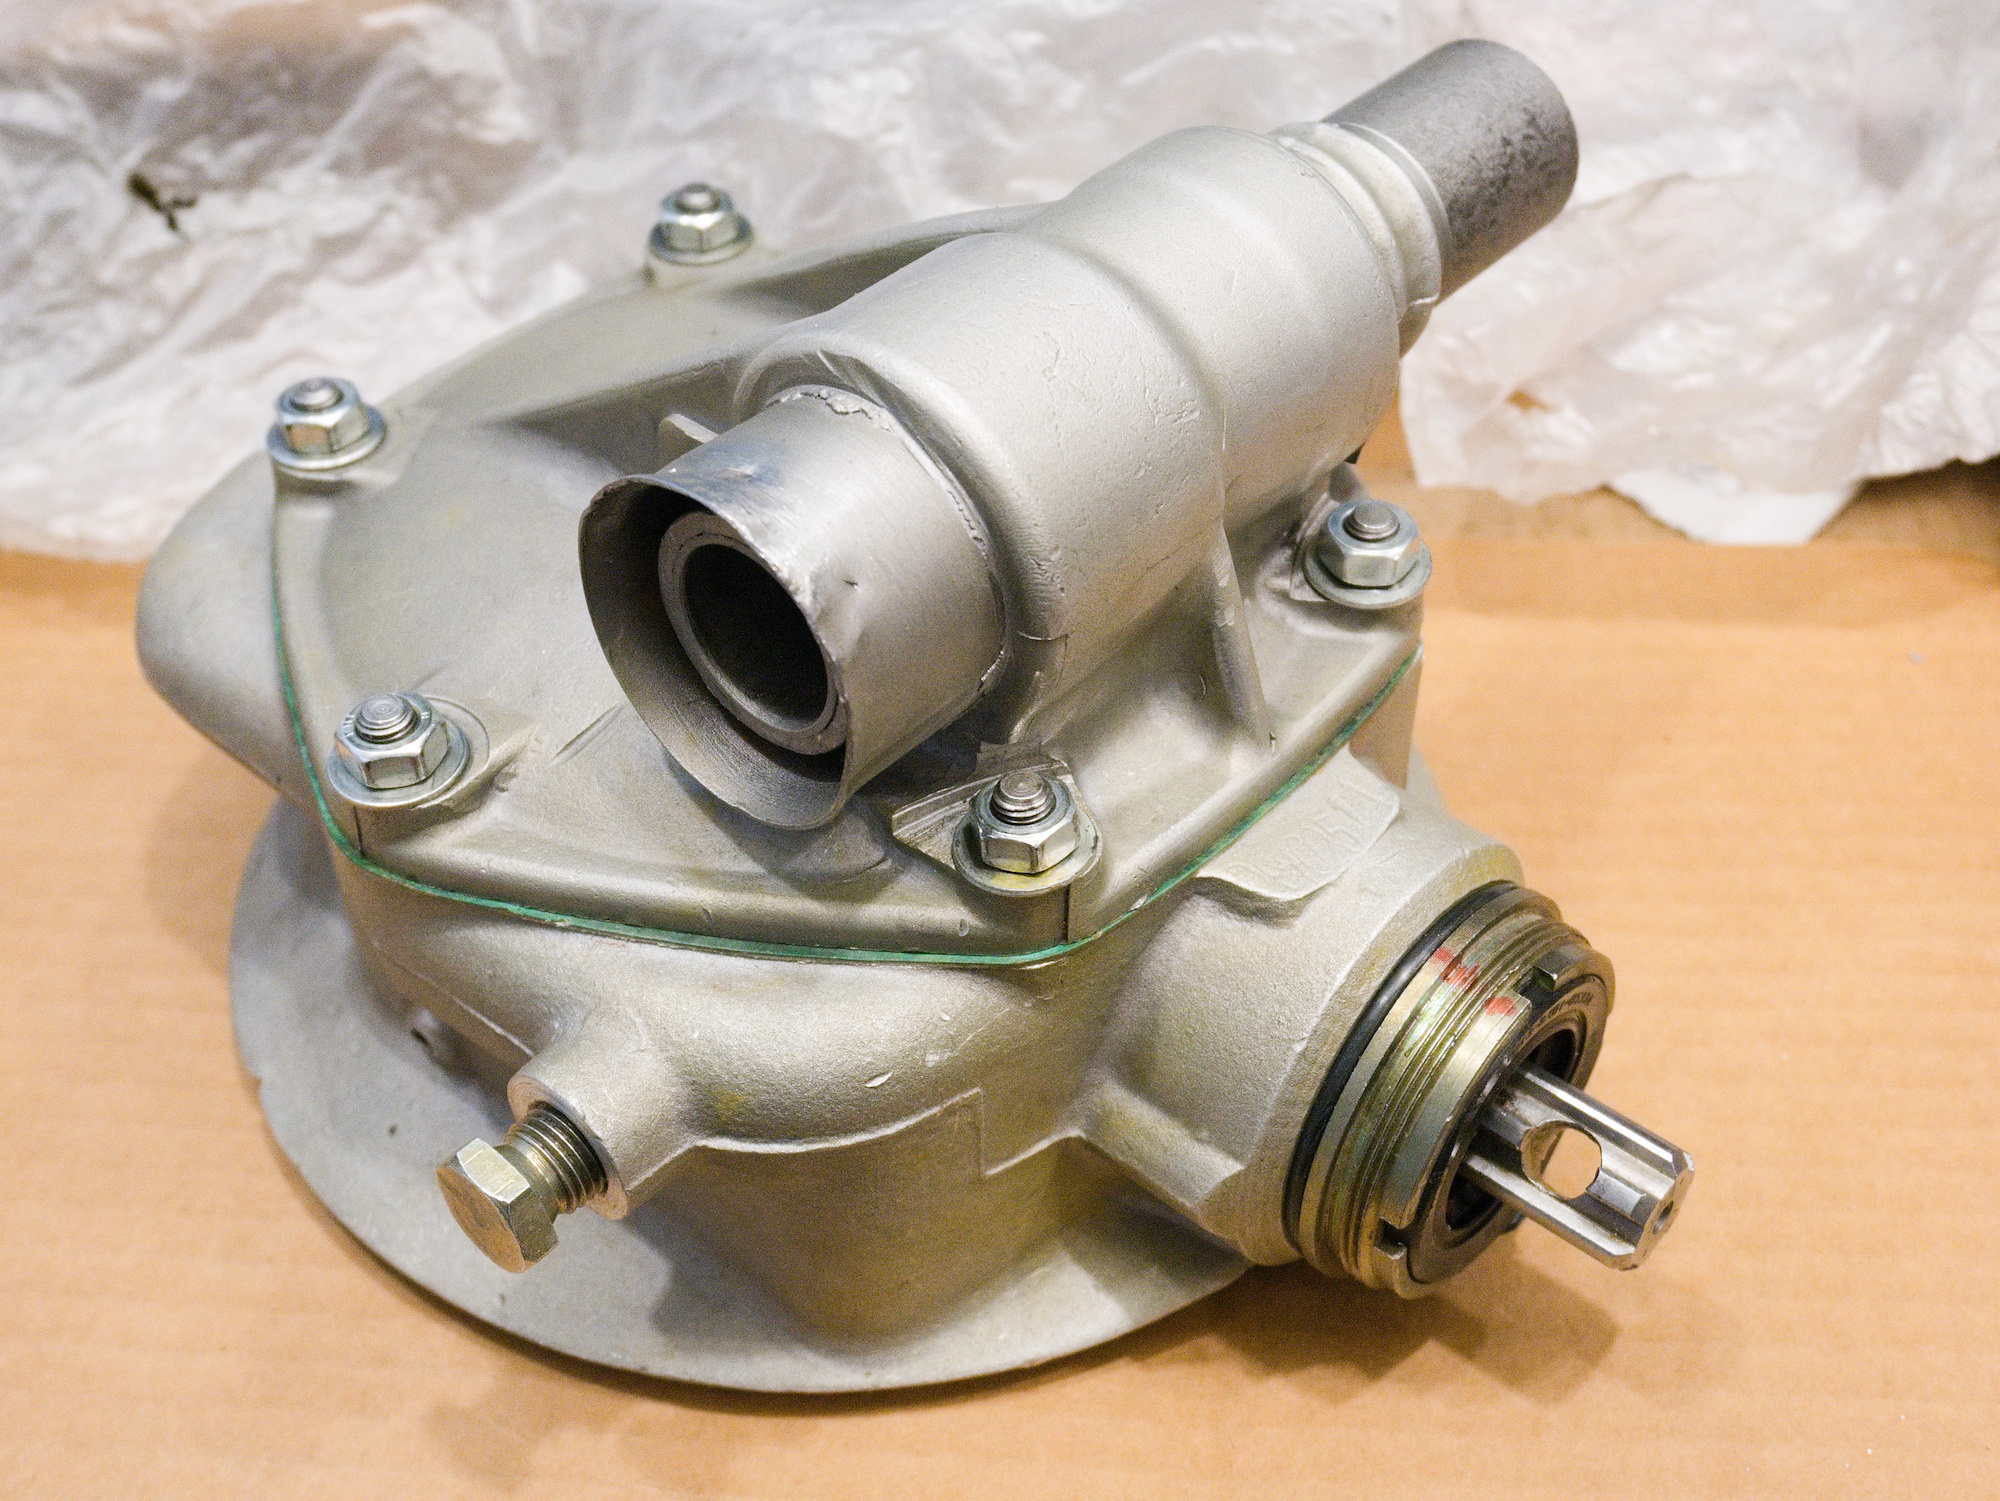
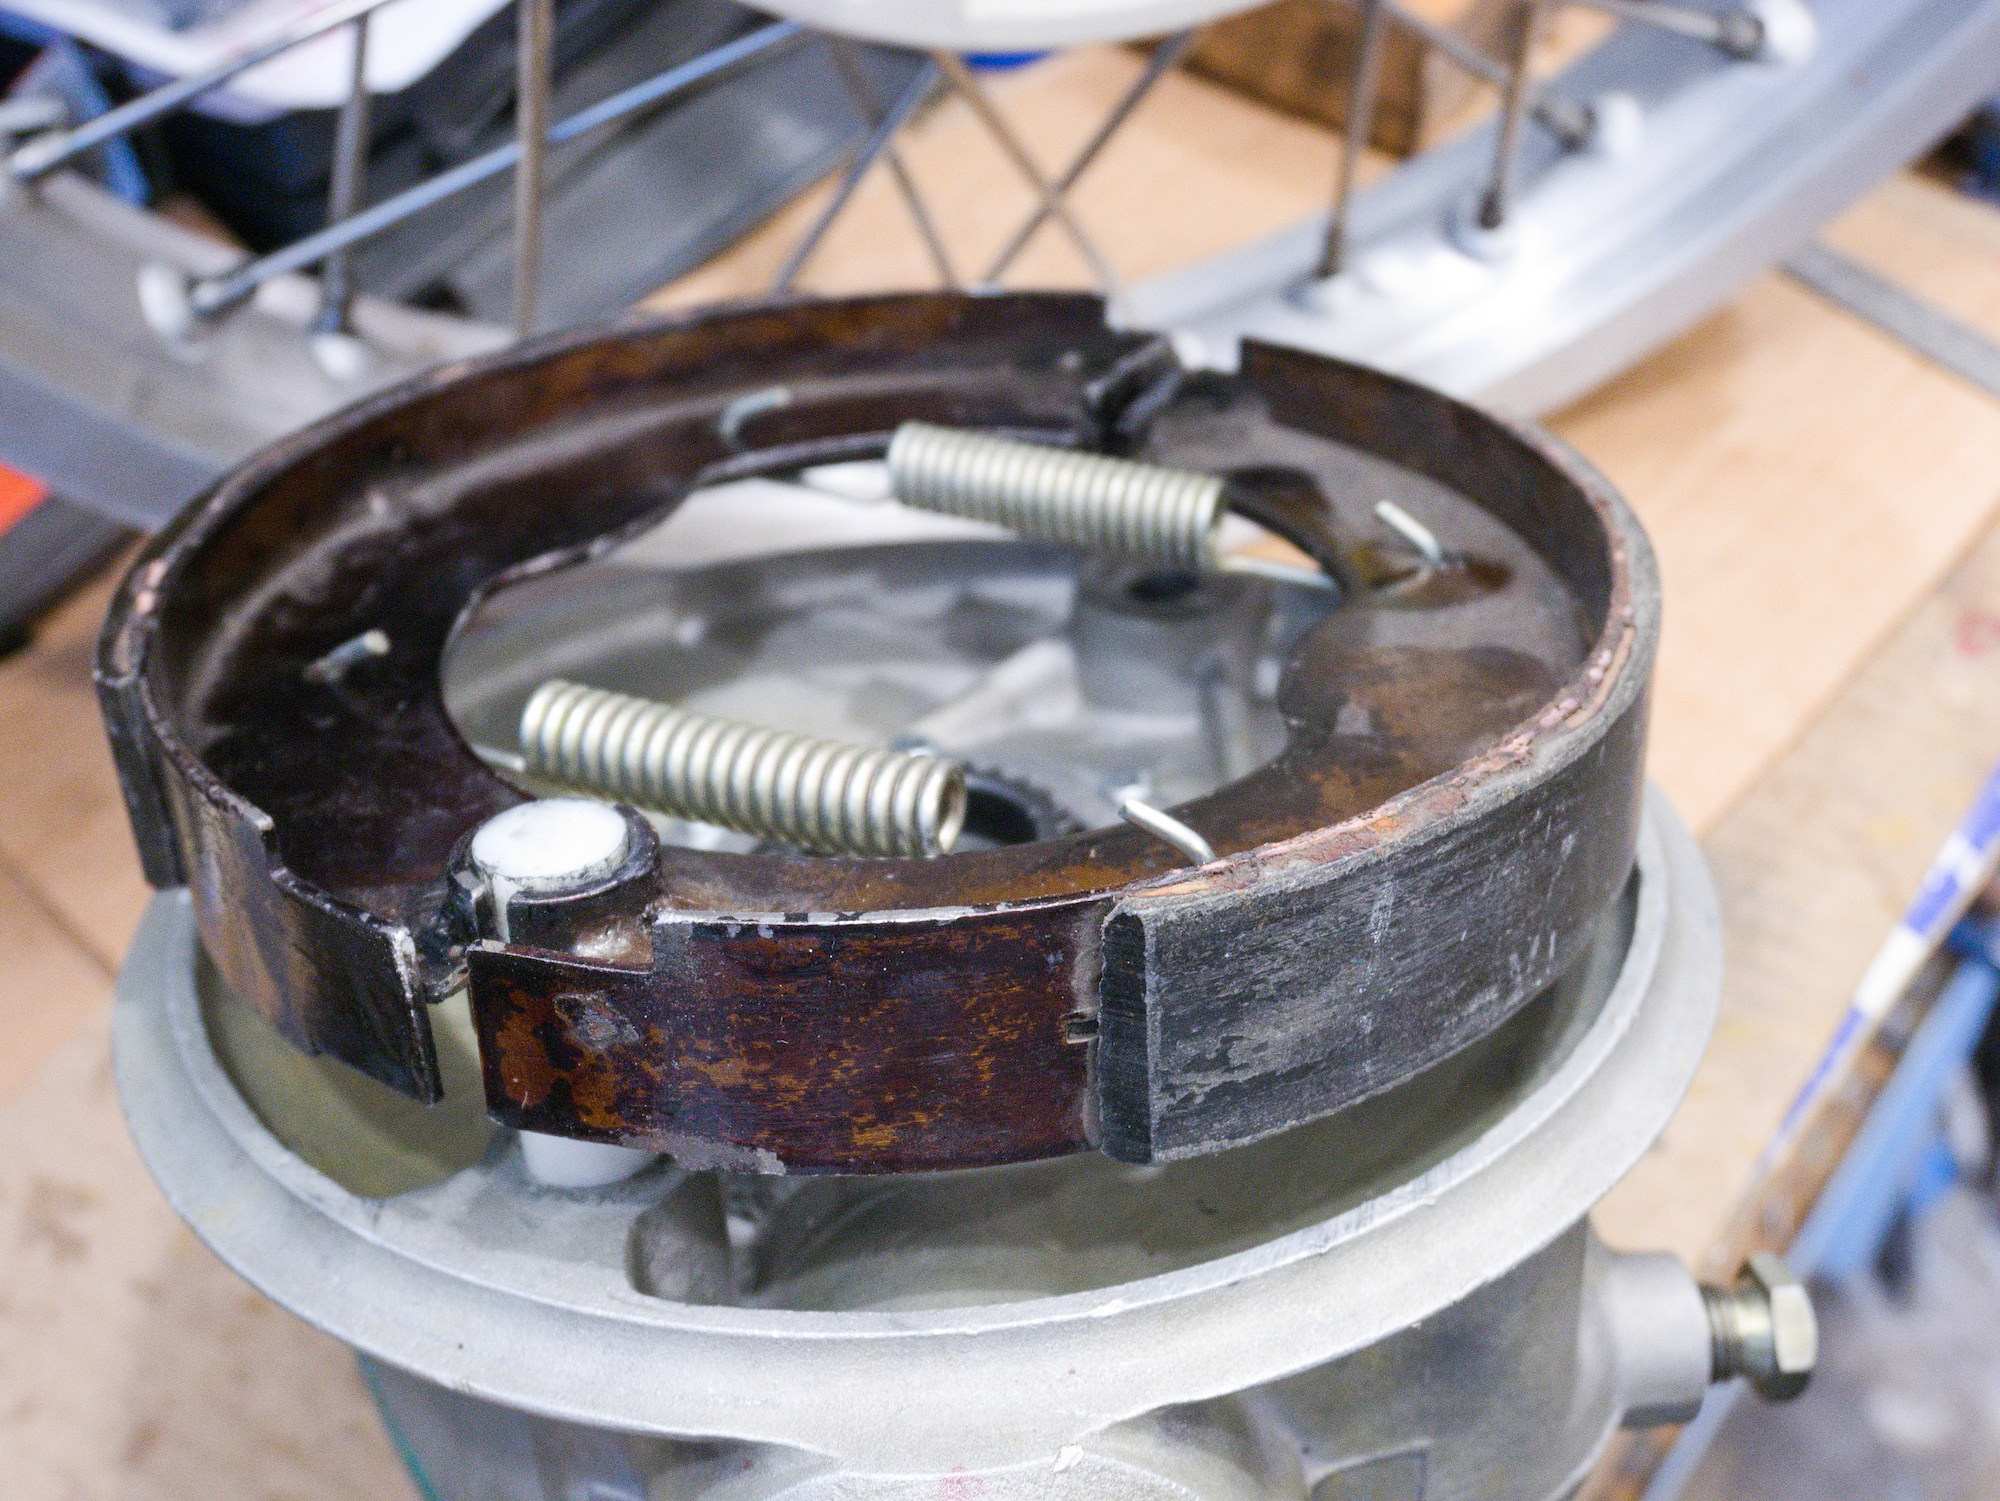
Be careful to secure the hub to not damage the main seal and to not block the drain hole by misaligning the seal.
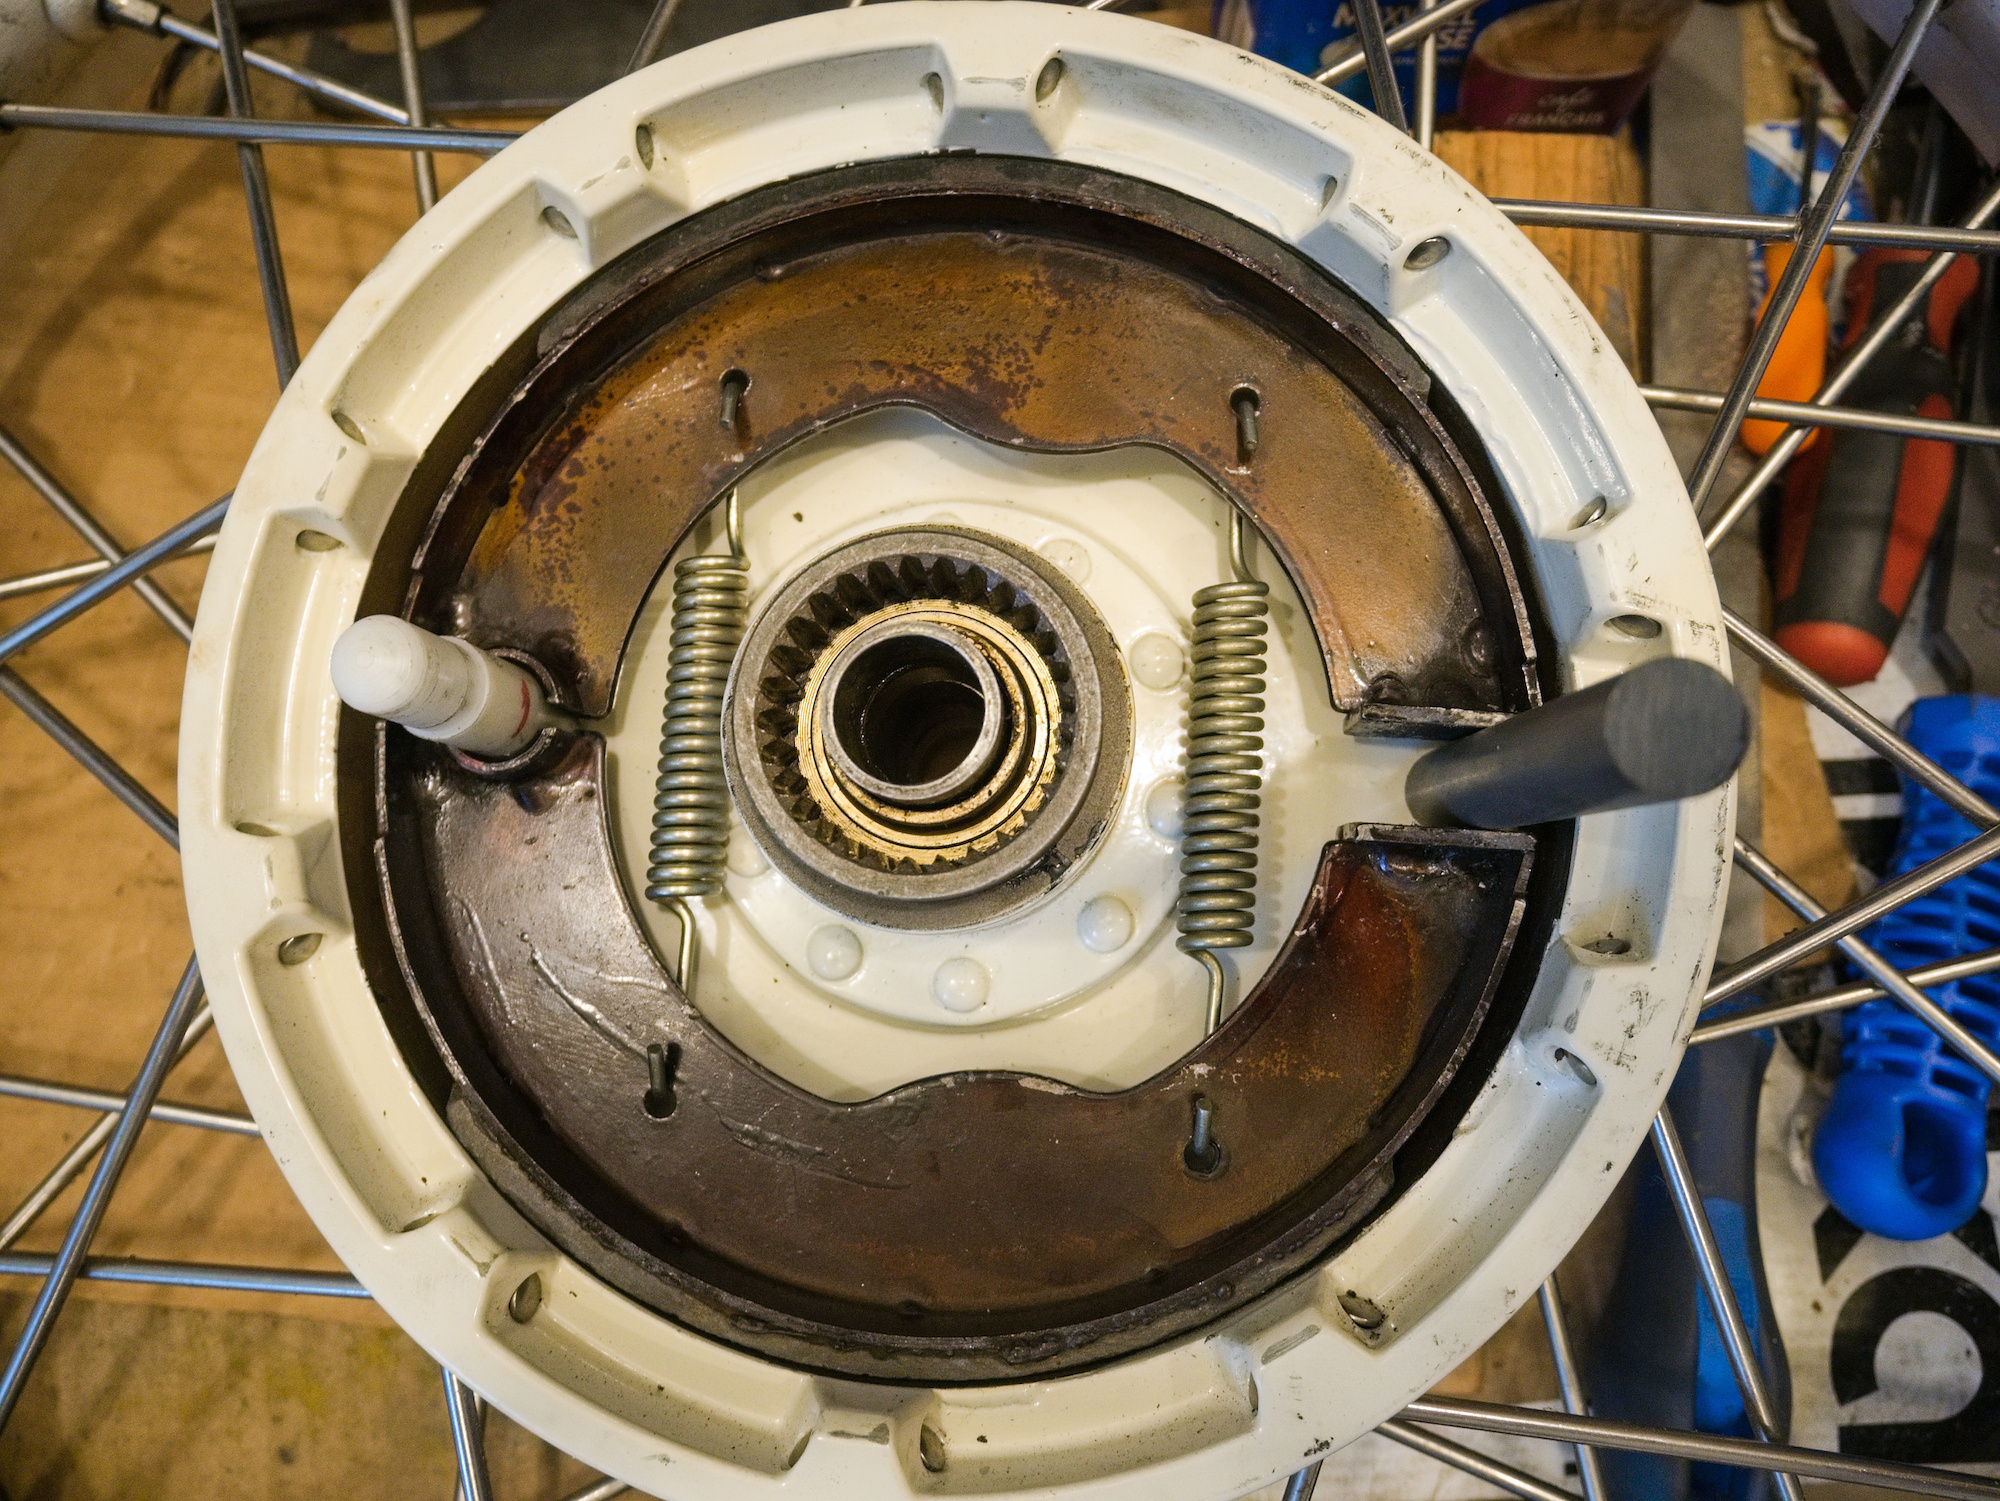
Check if the main rubber seal has the correct seat at the bearing surface of the hub and the spring is in place. This is one of the main reasons for leaking FDs.
The final drive is assembled and can be installed.
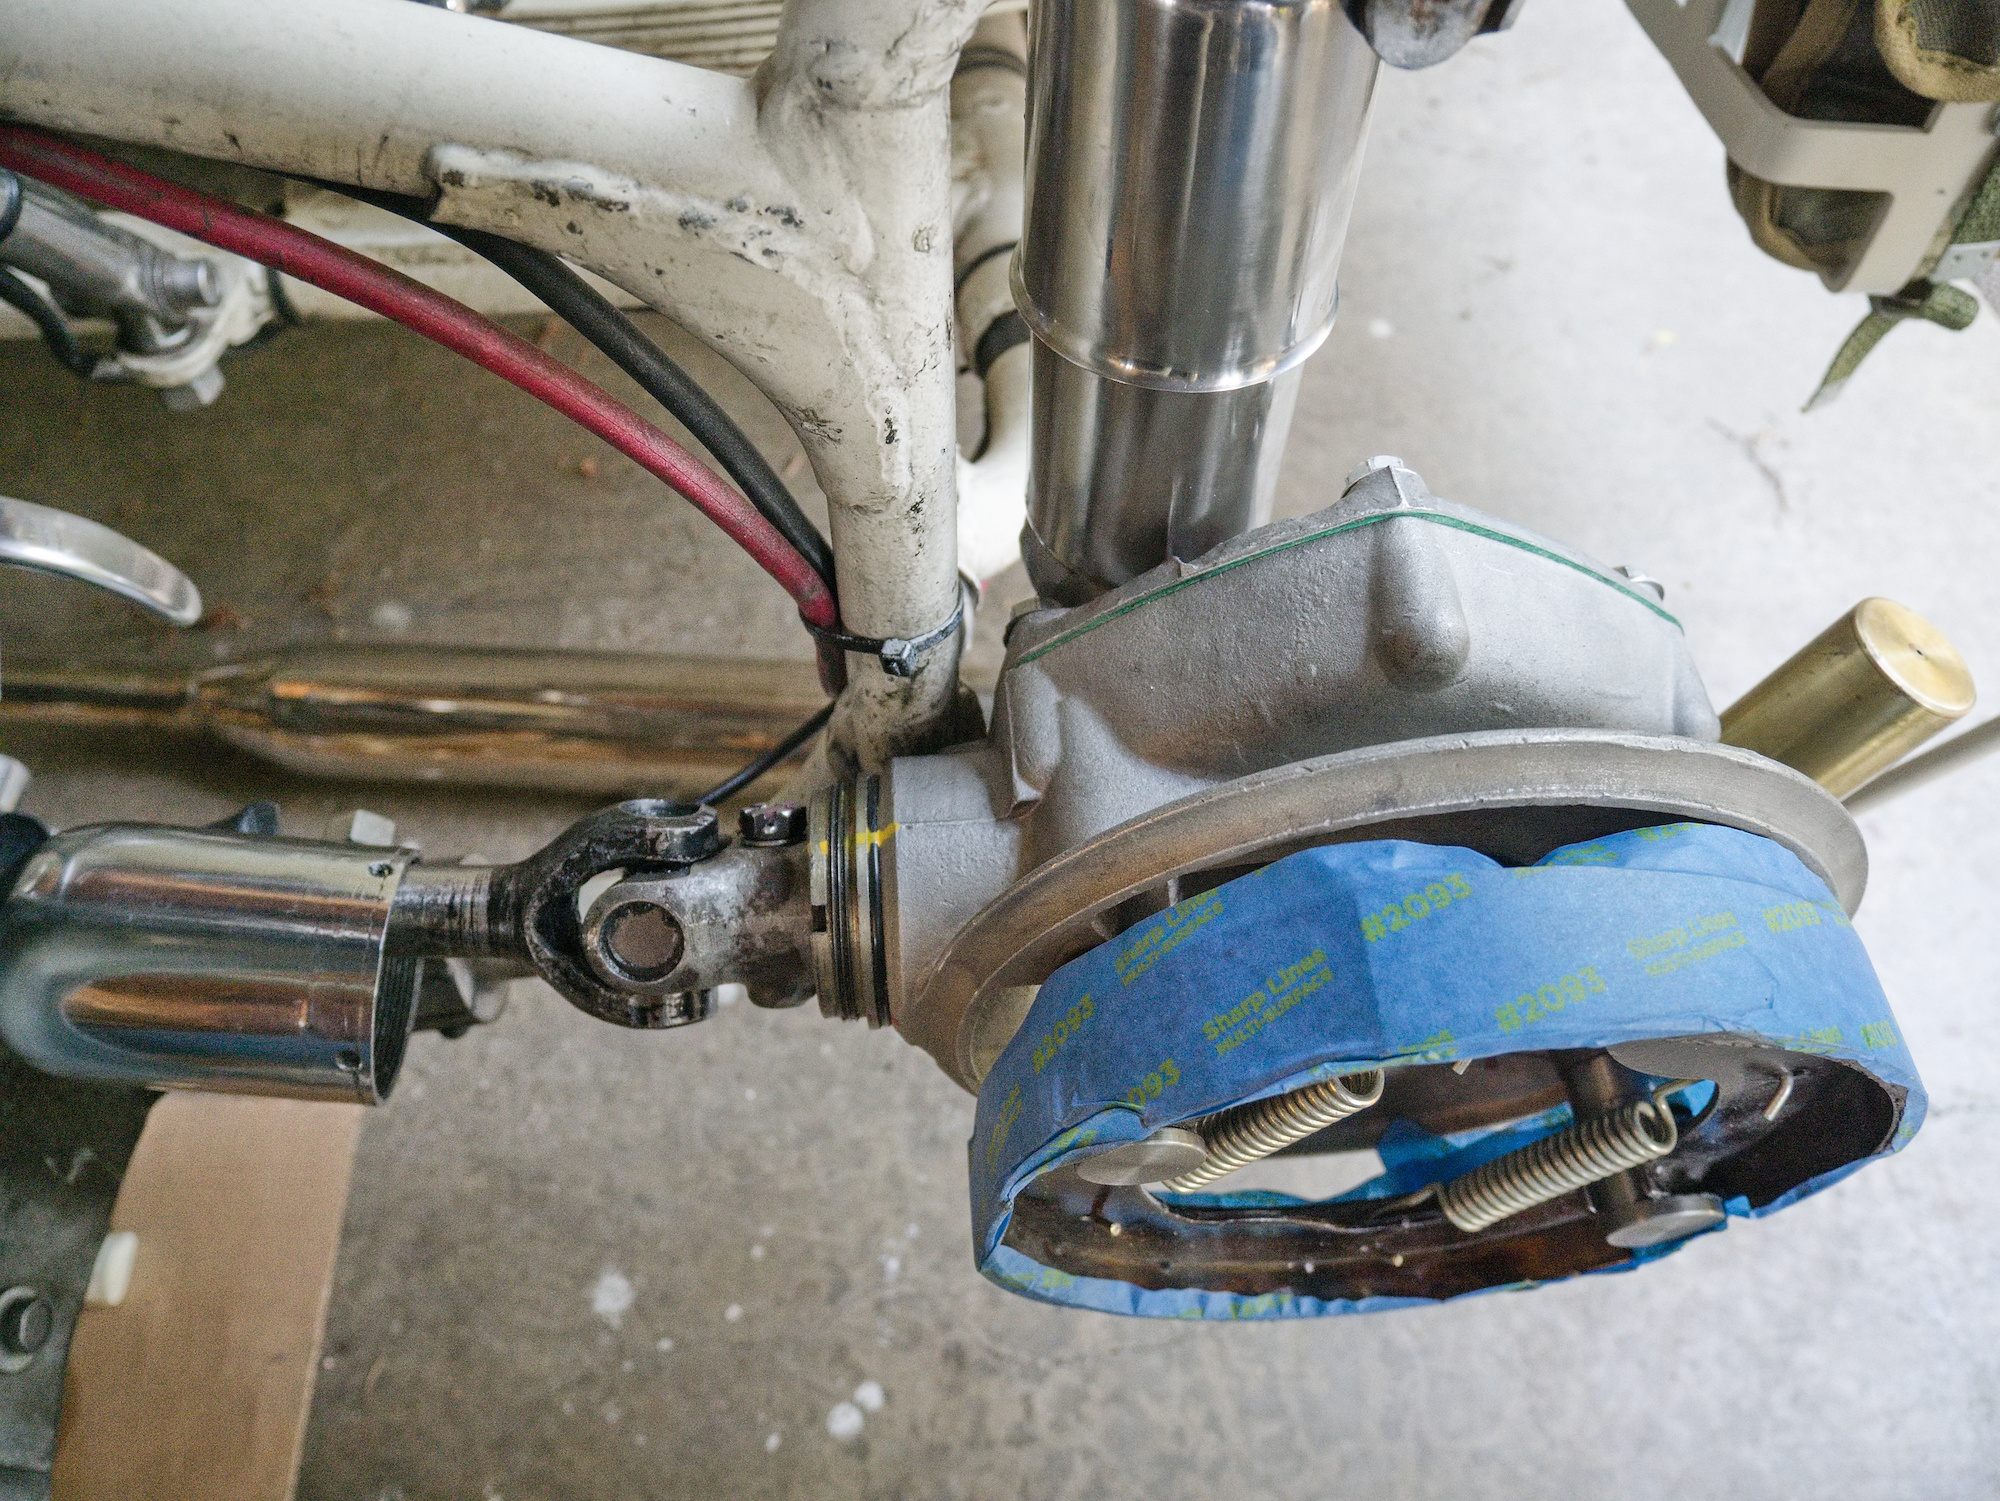
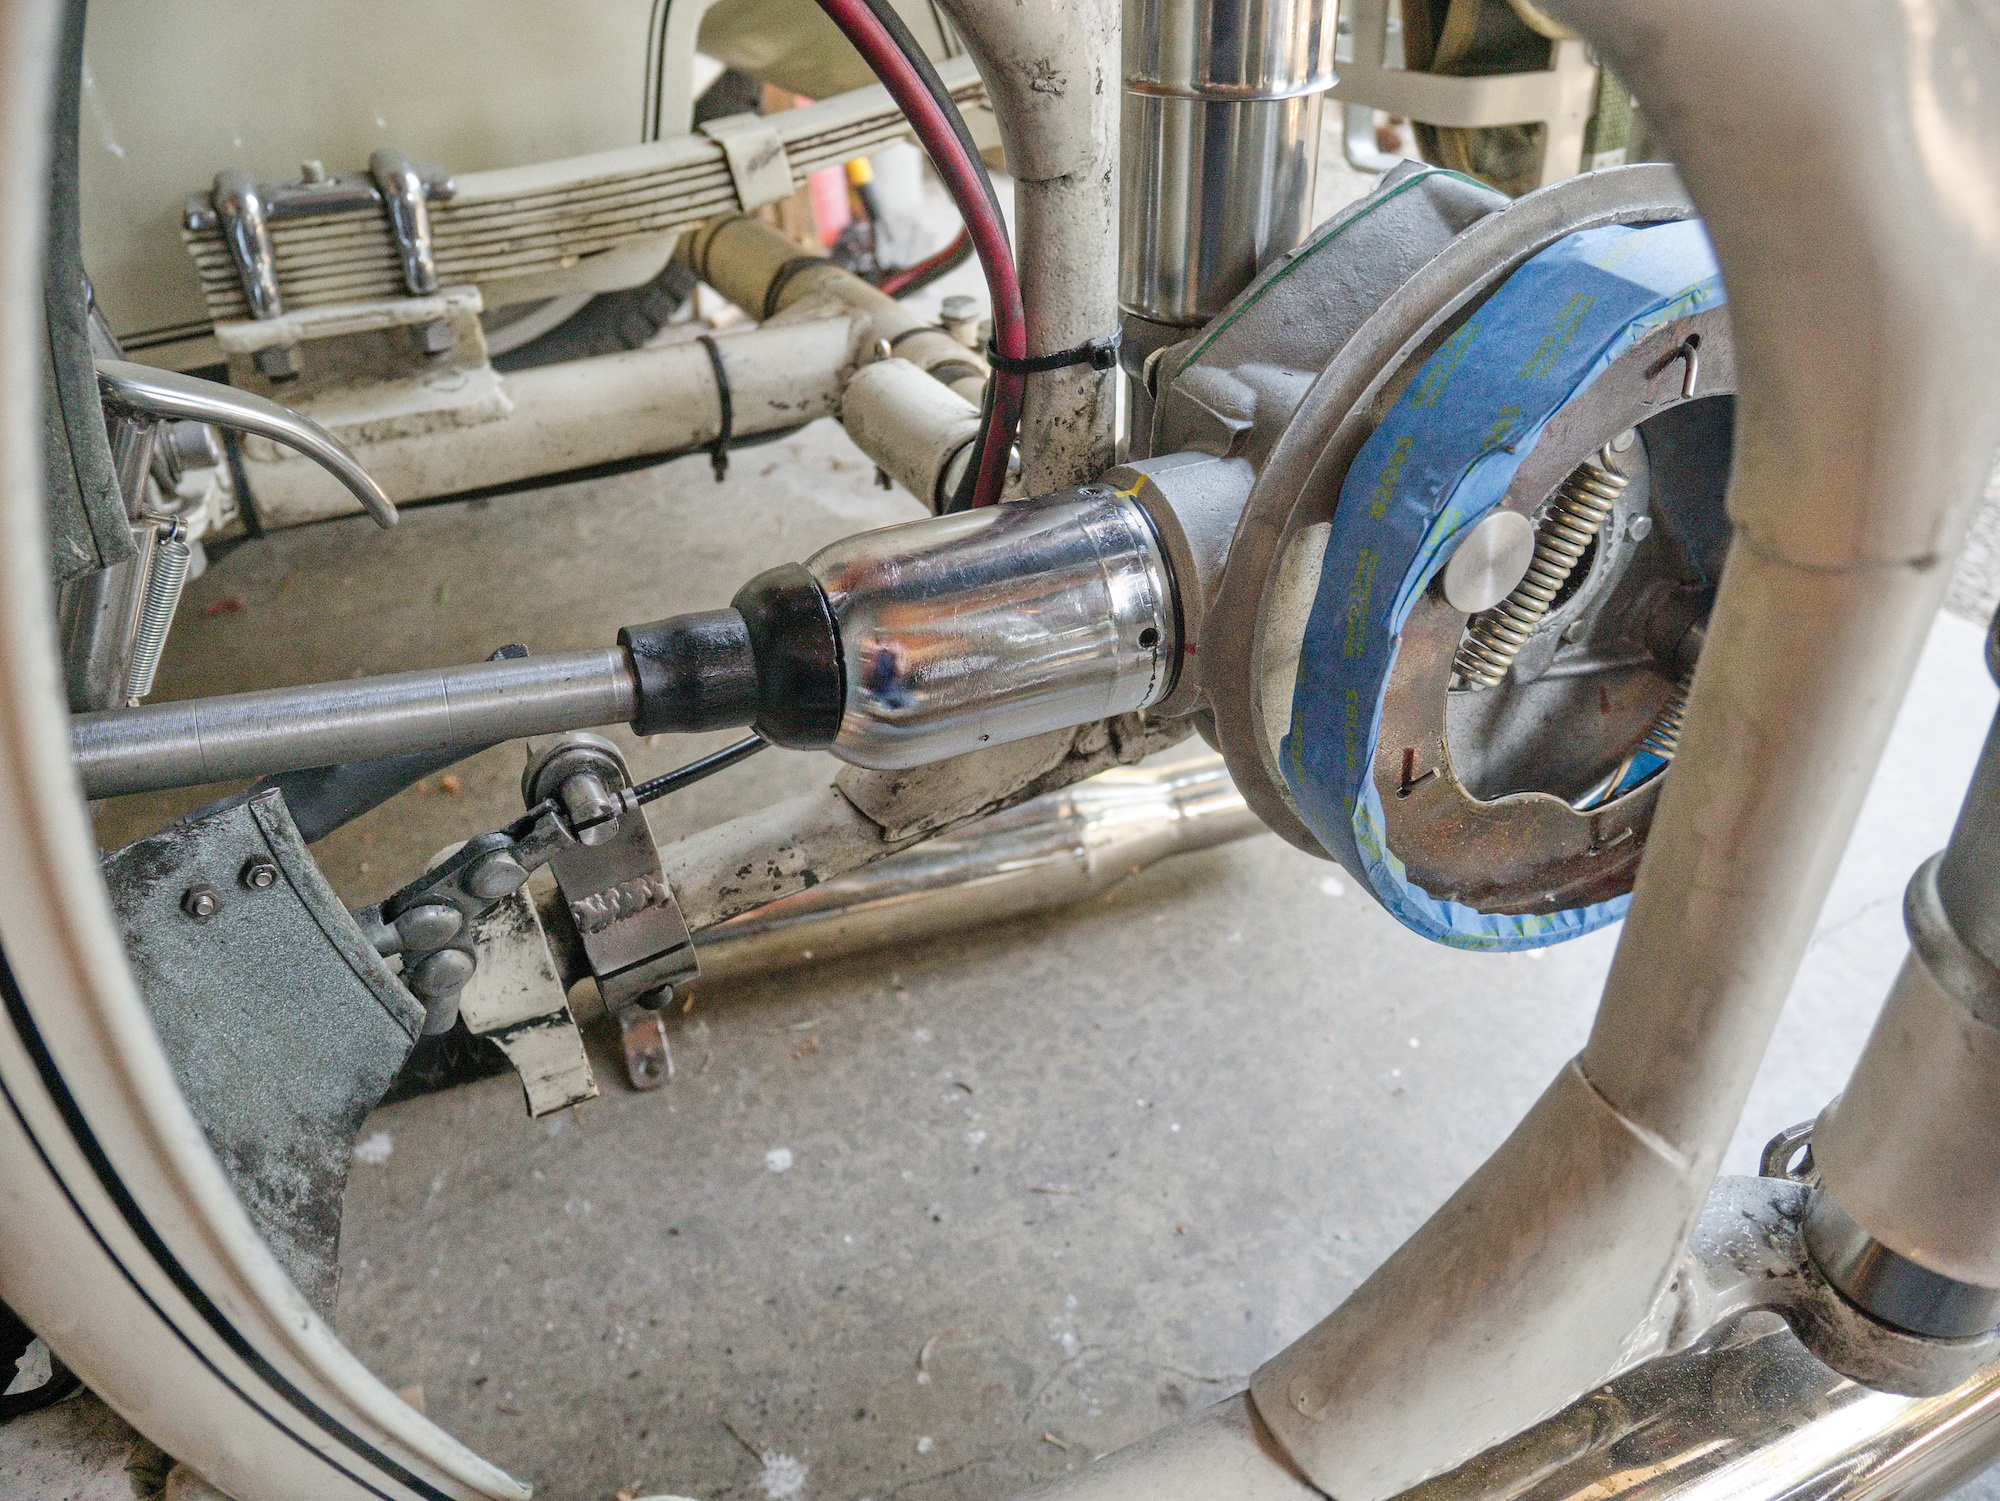
New final drive in service.
Very quiet and does not get hot after a longer ride 😺
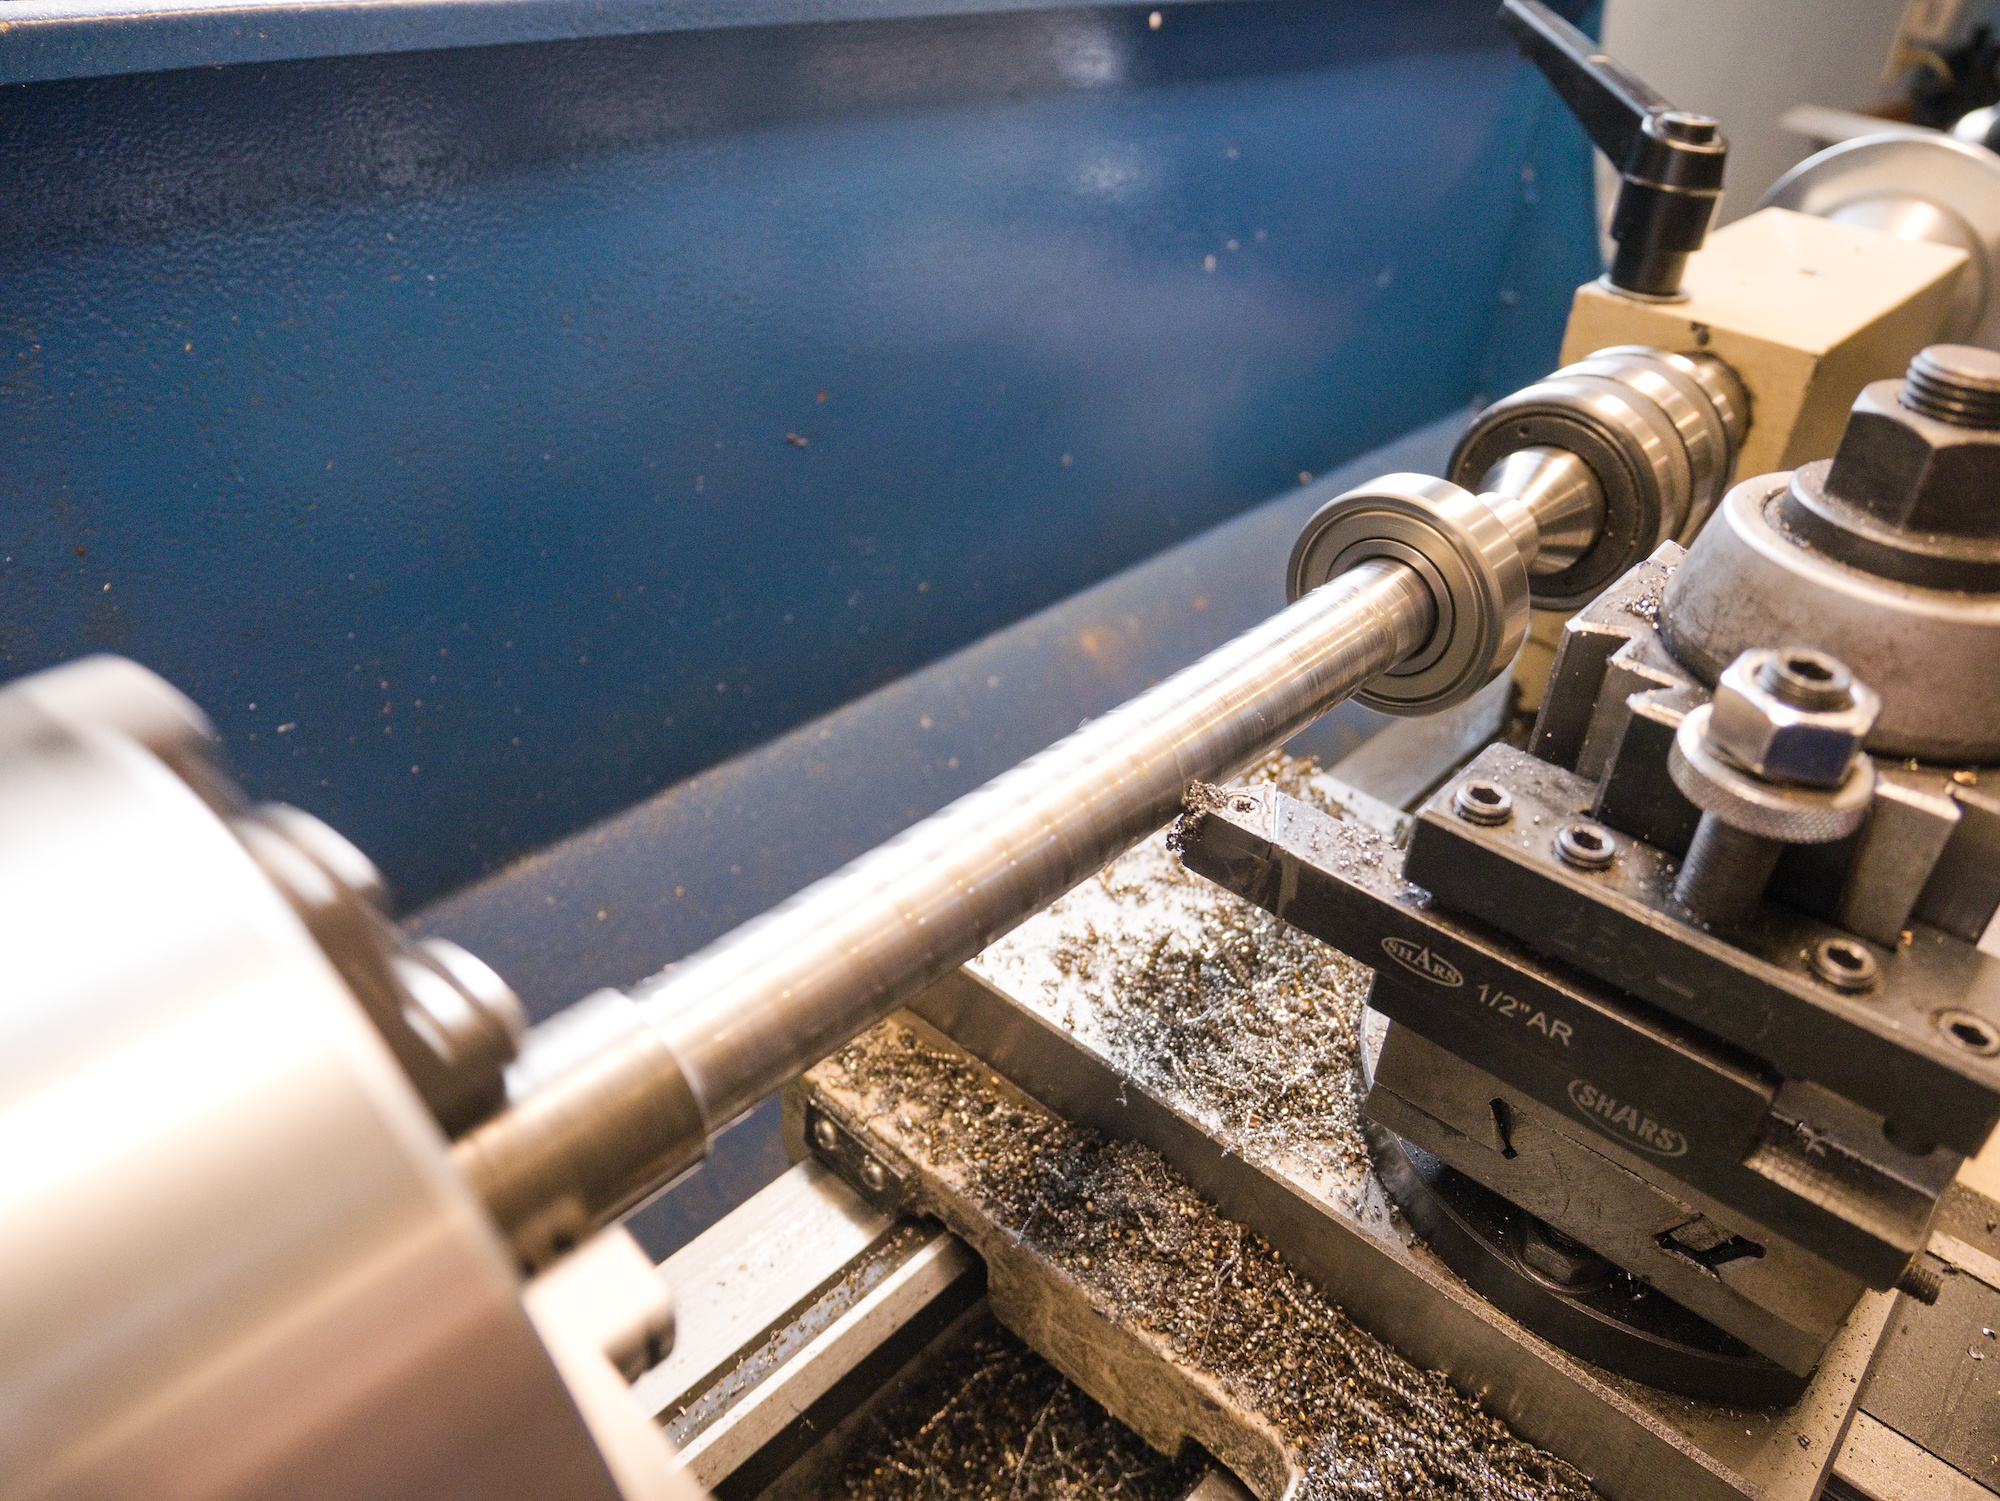
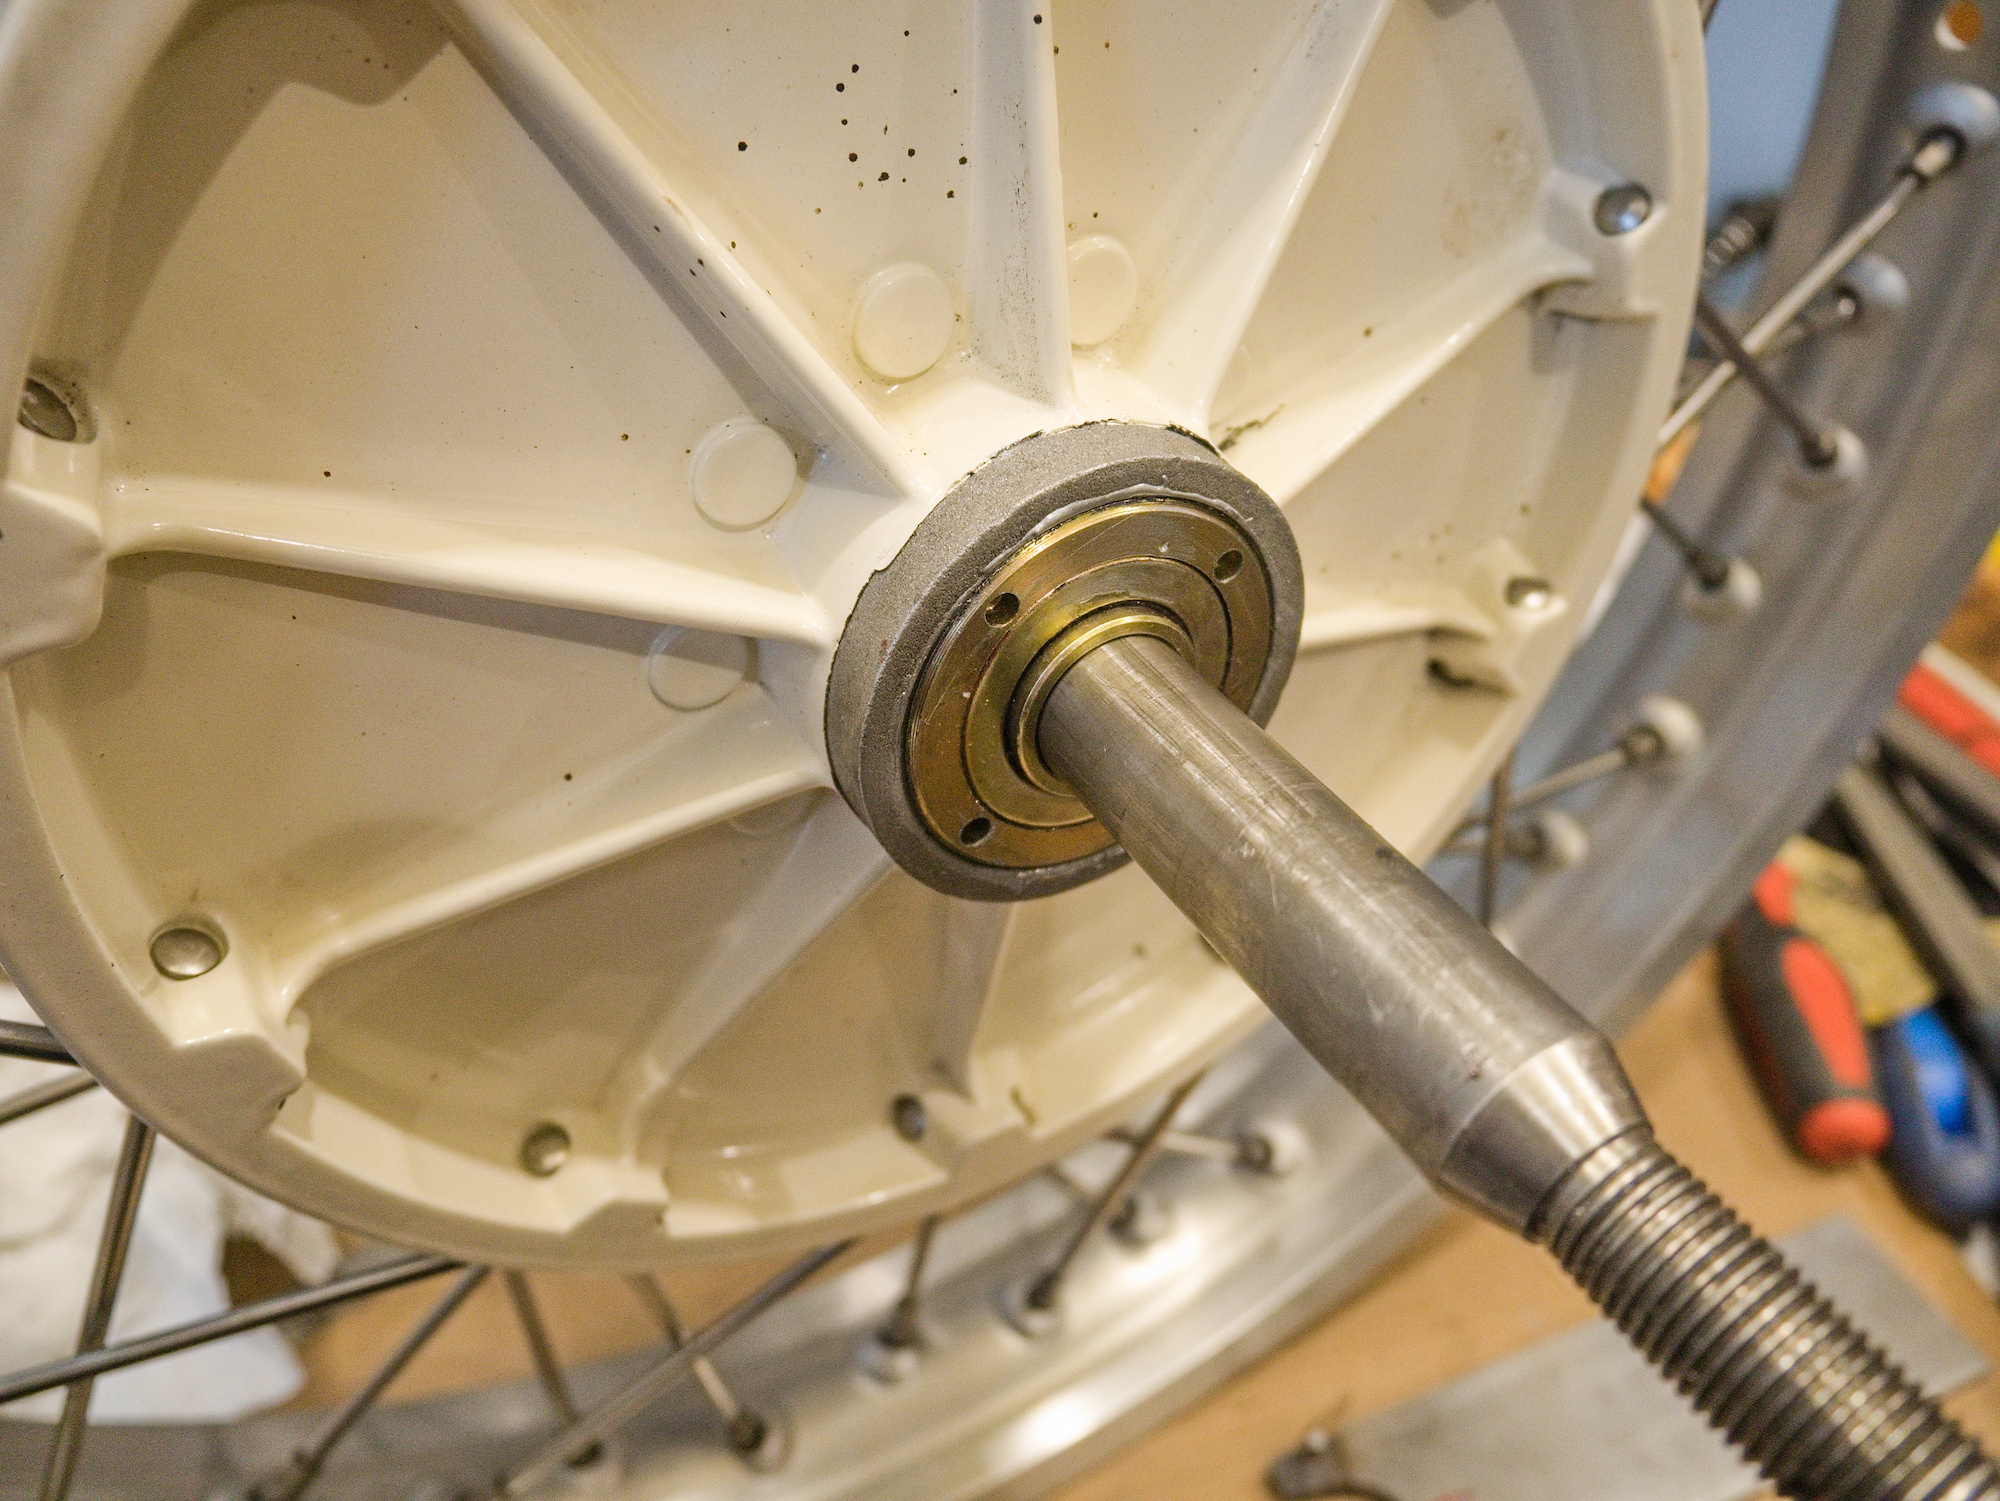
The reason for a side-to-side play in the rear wheel is because of the play between the wheel bearing and the axle. The bearing inner diameter is 20mm, and the outer axle diameter is about 19.95mm.
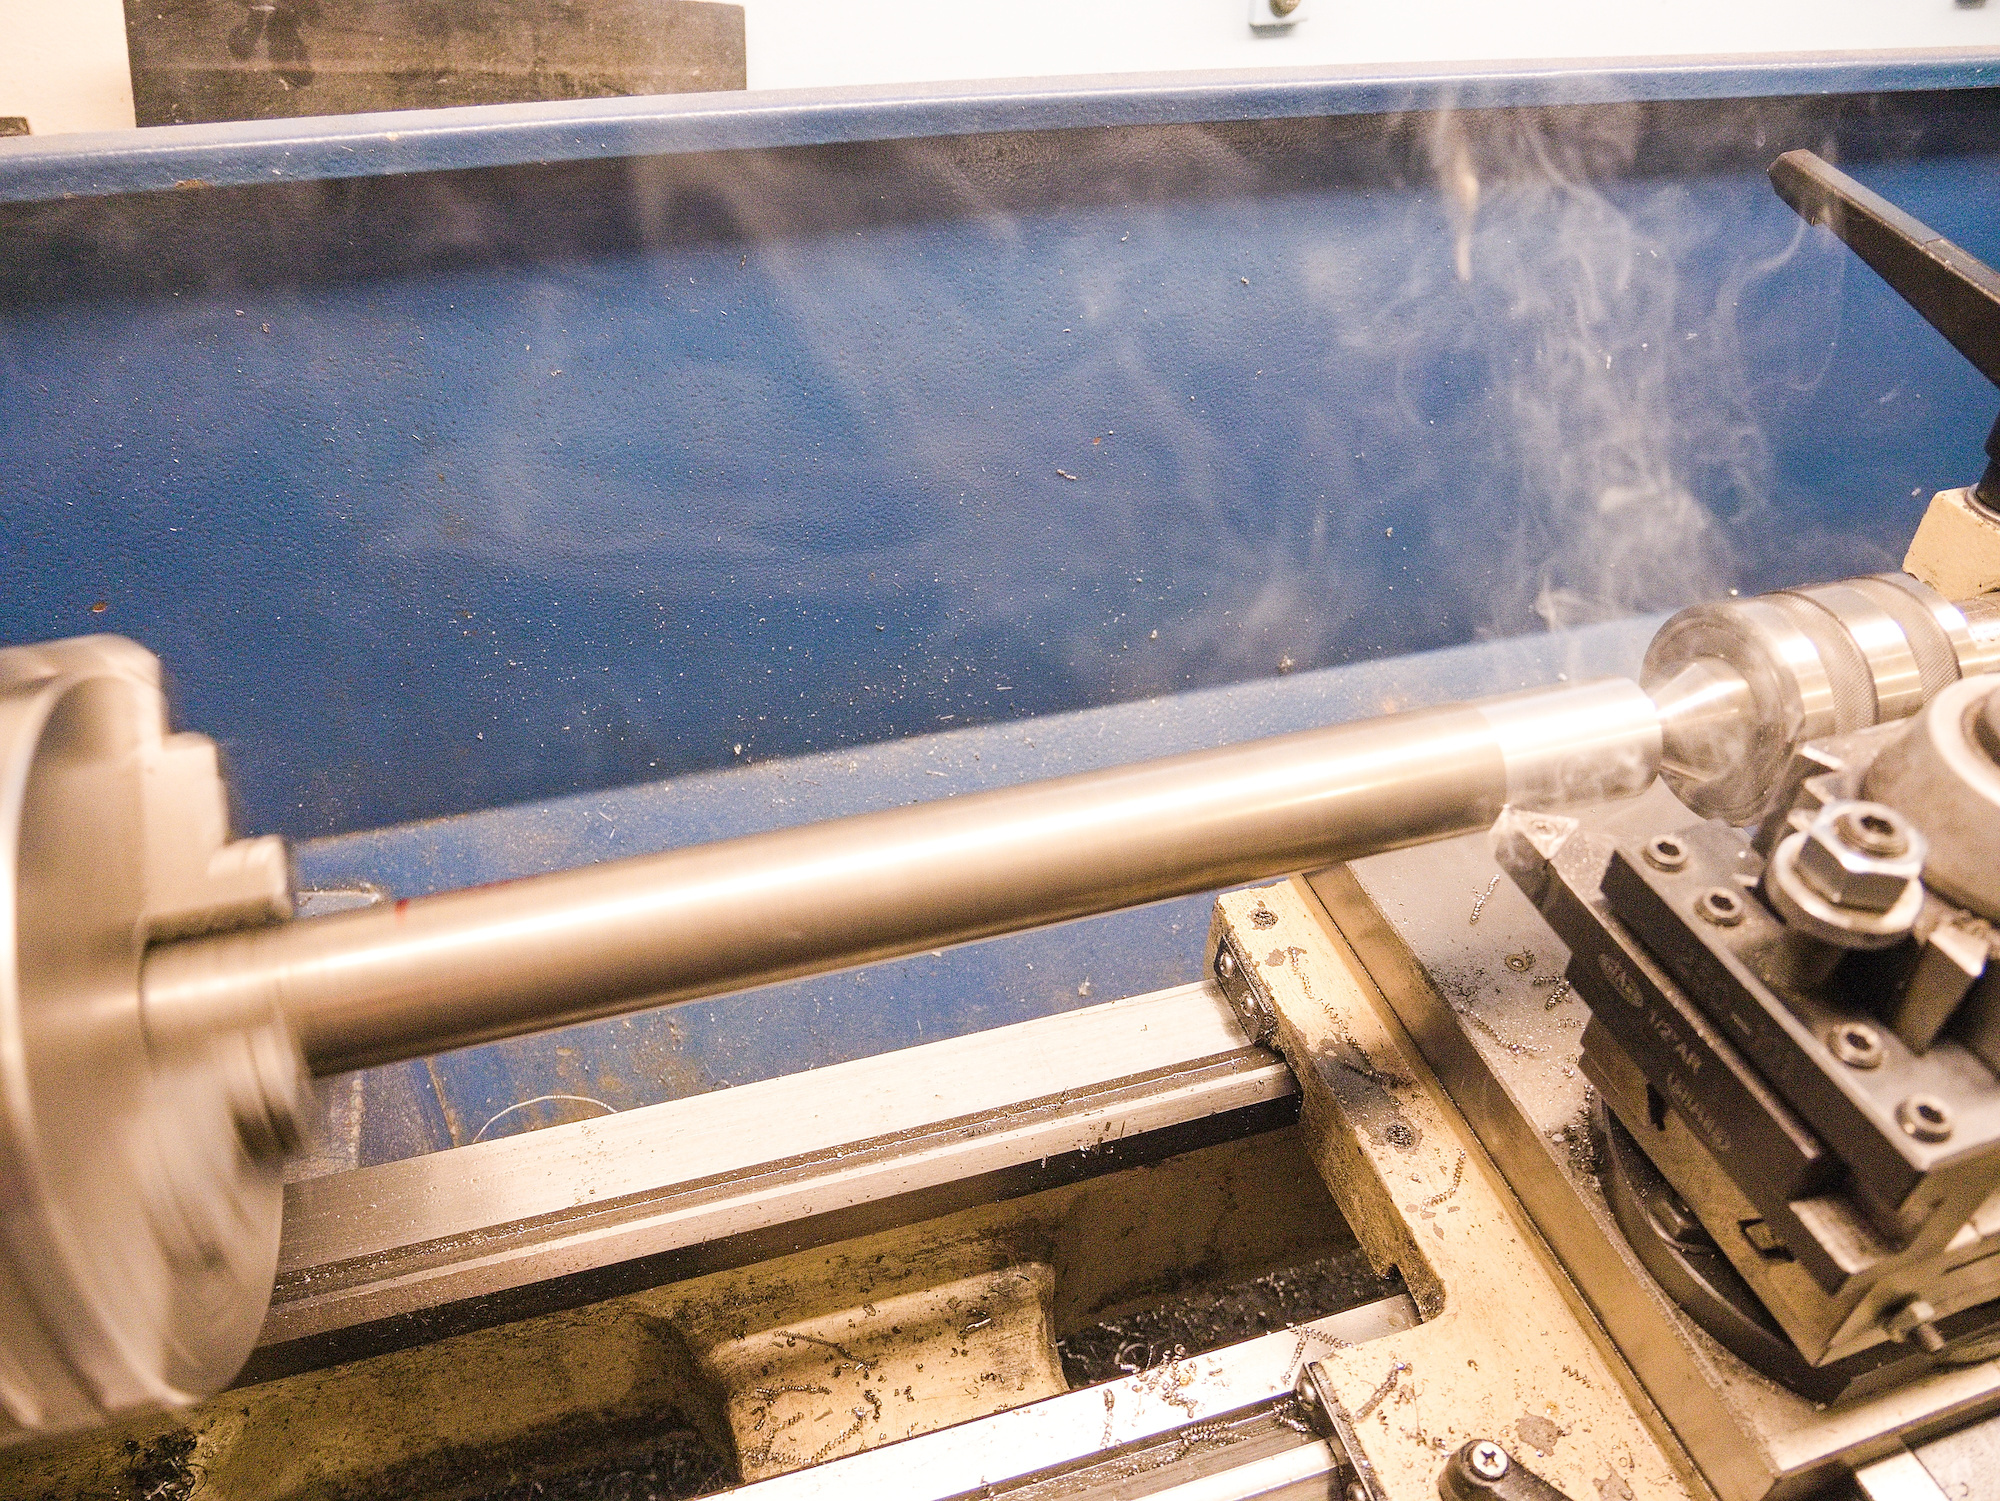
For the new final drive, I will make a new axle out of 4140 steel to have a transition fit. The bearing should slide without play on the axle.
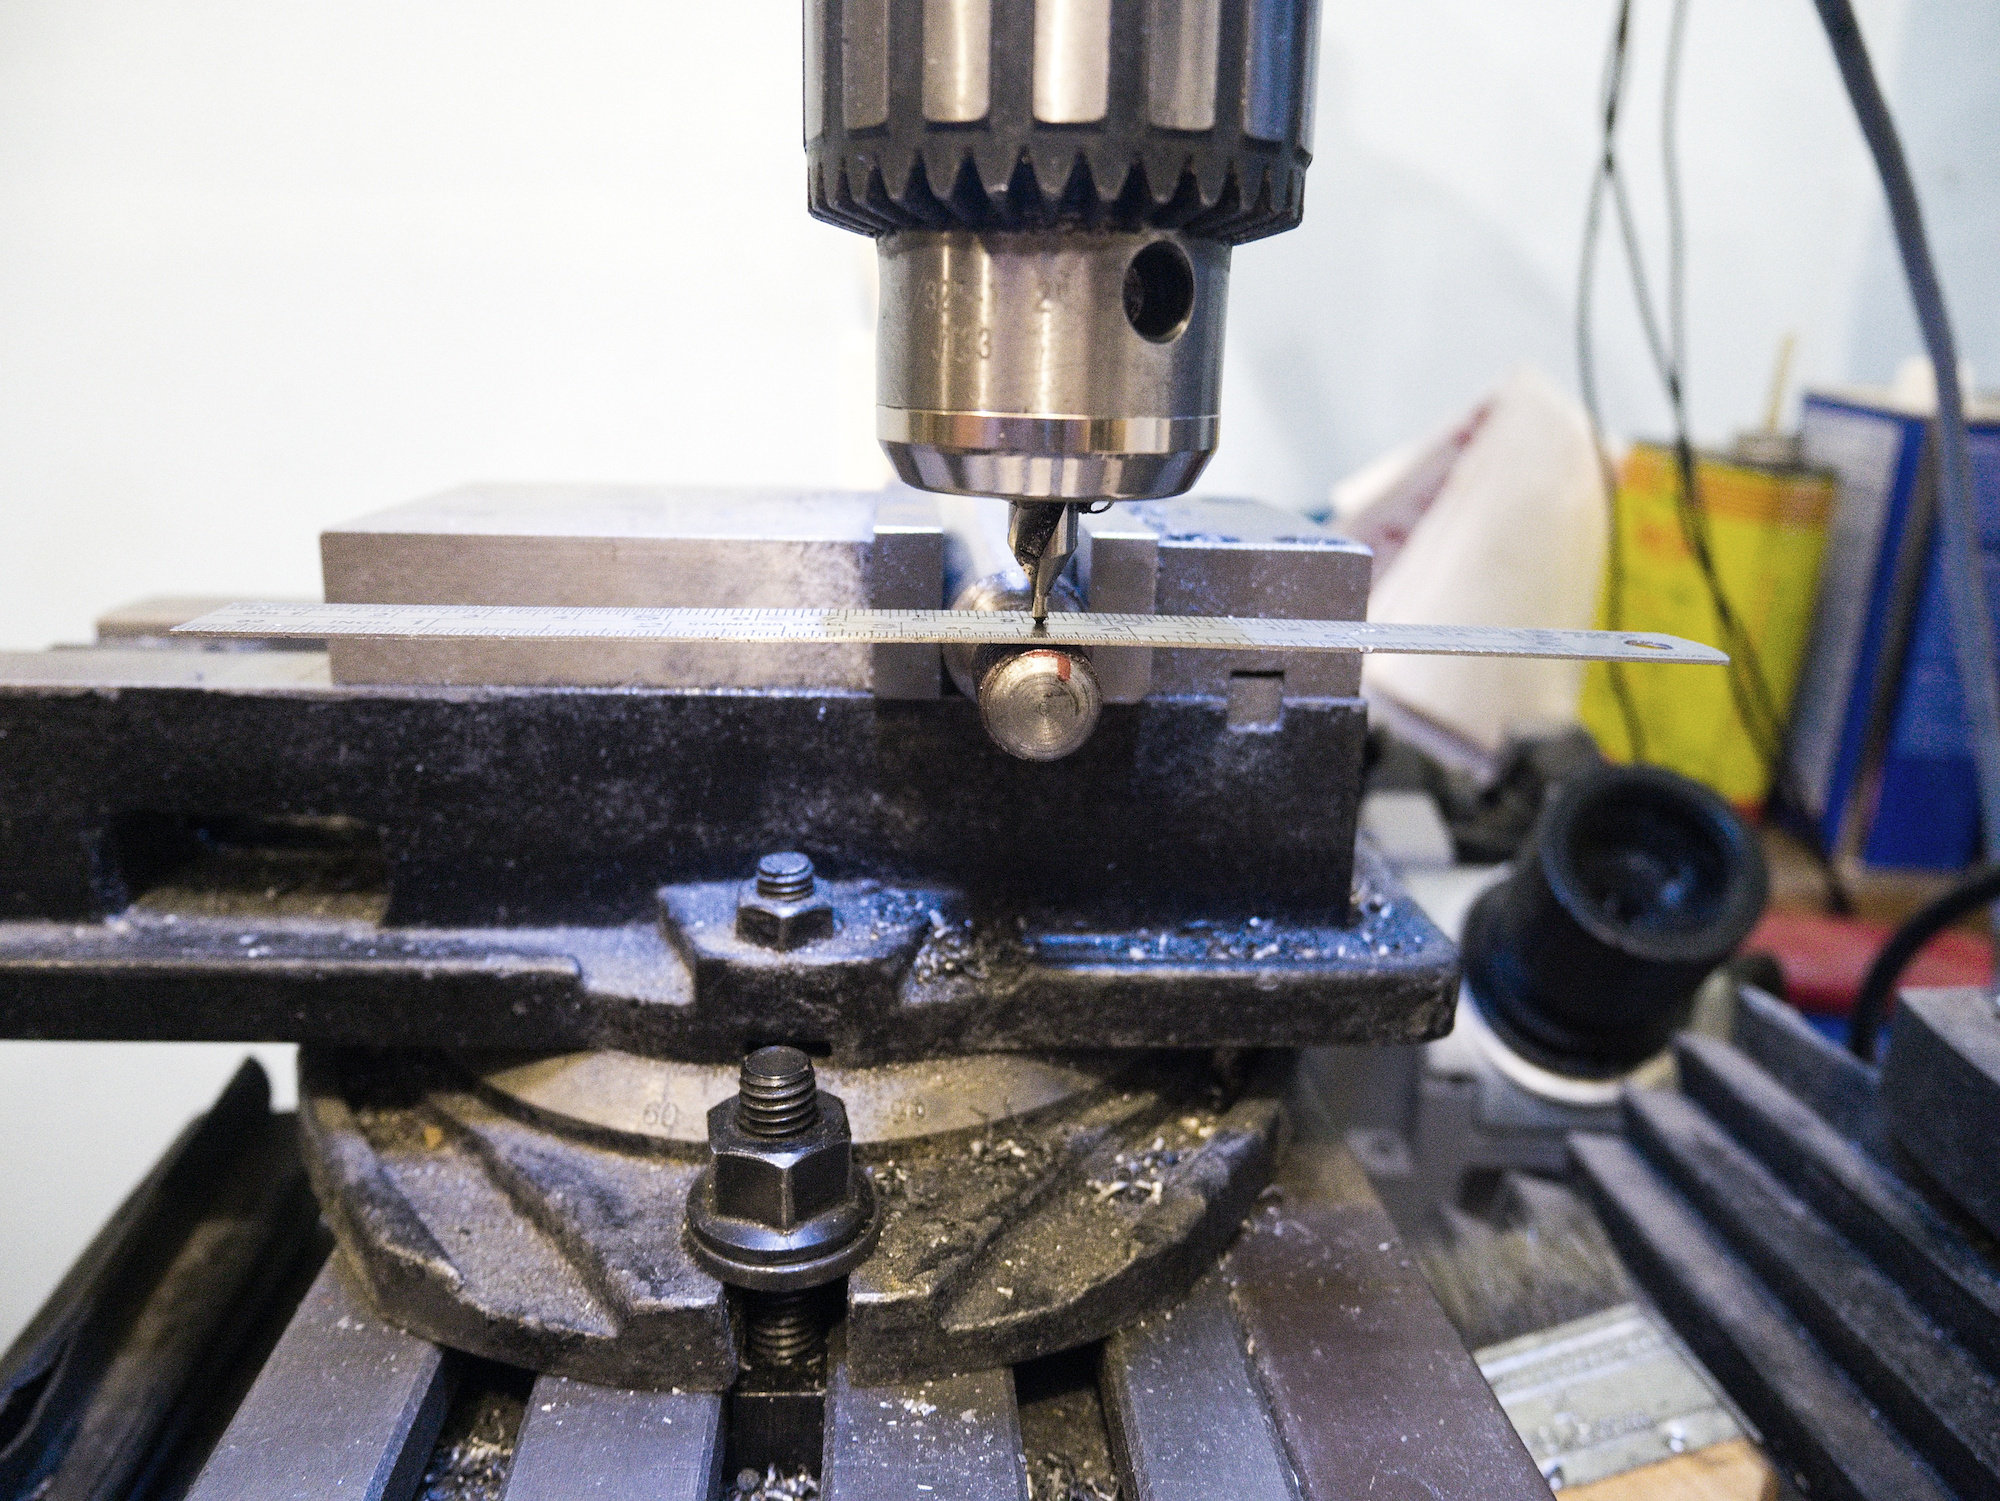
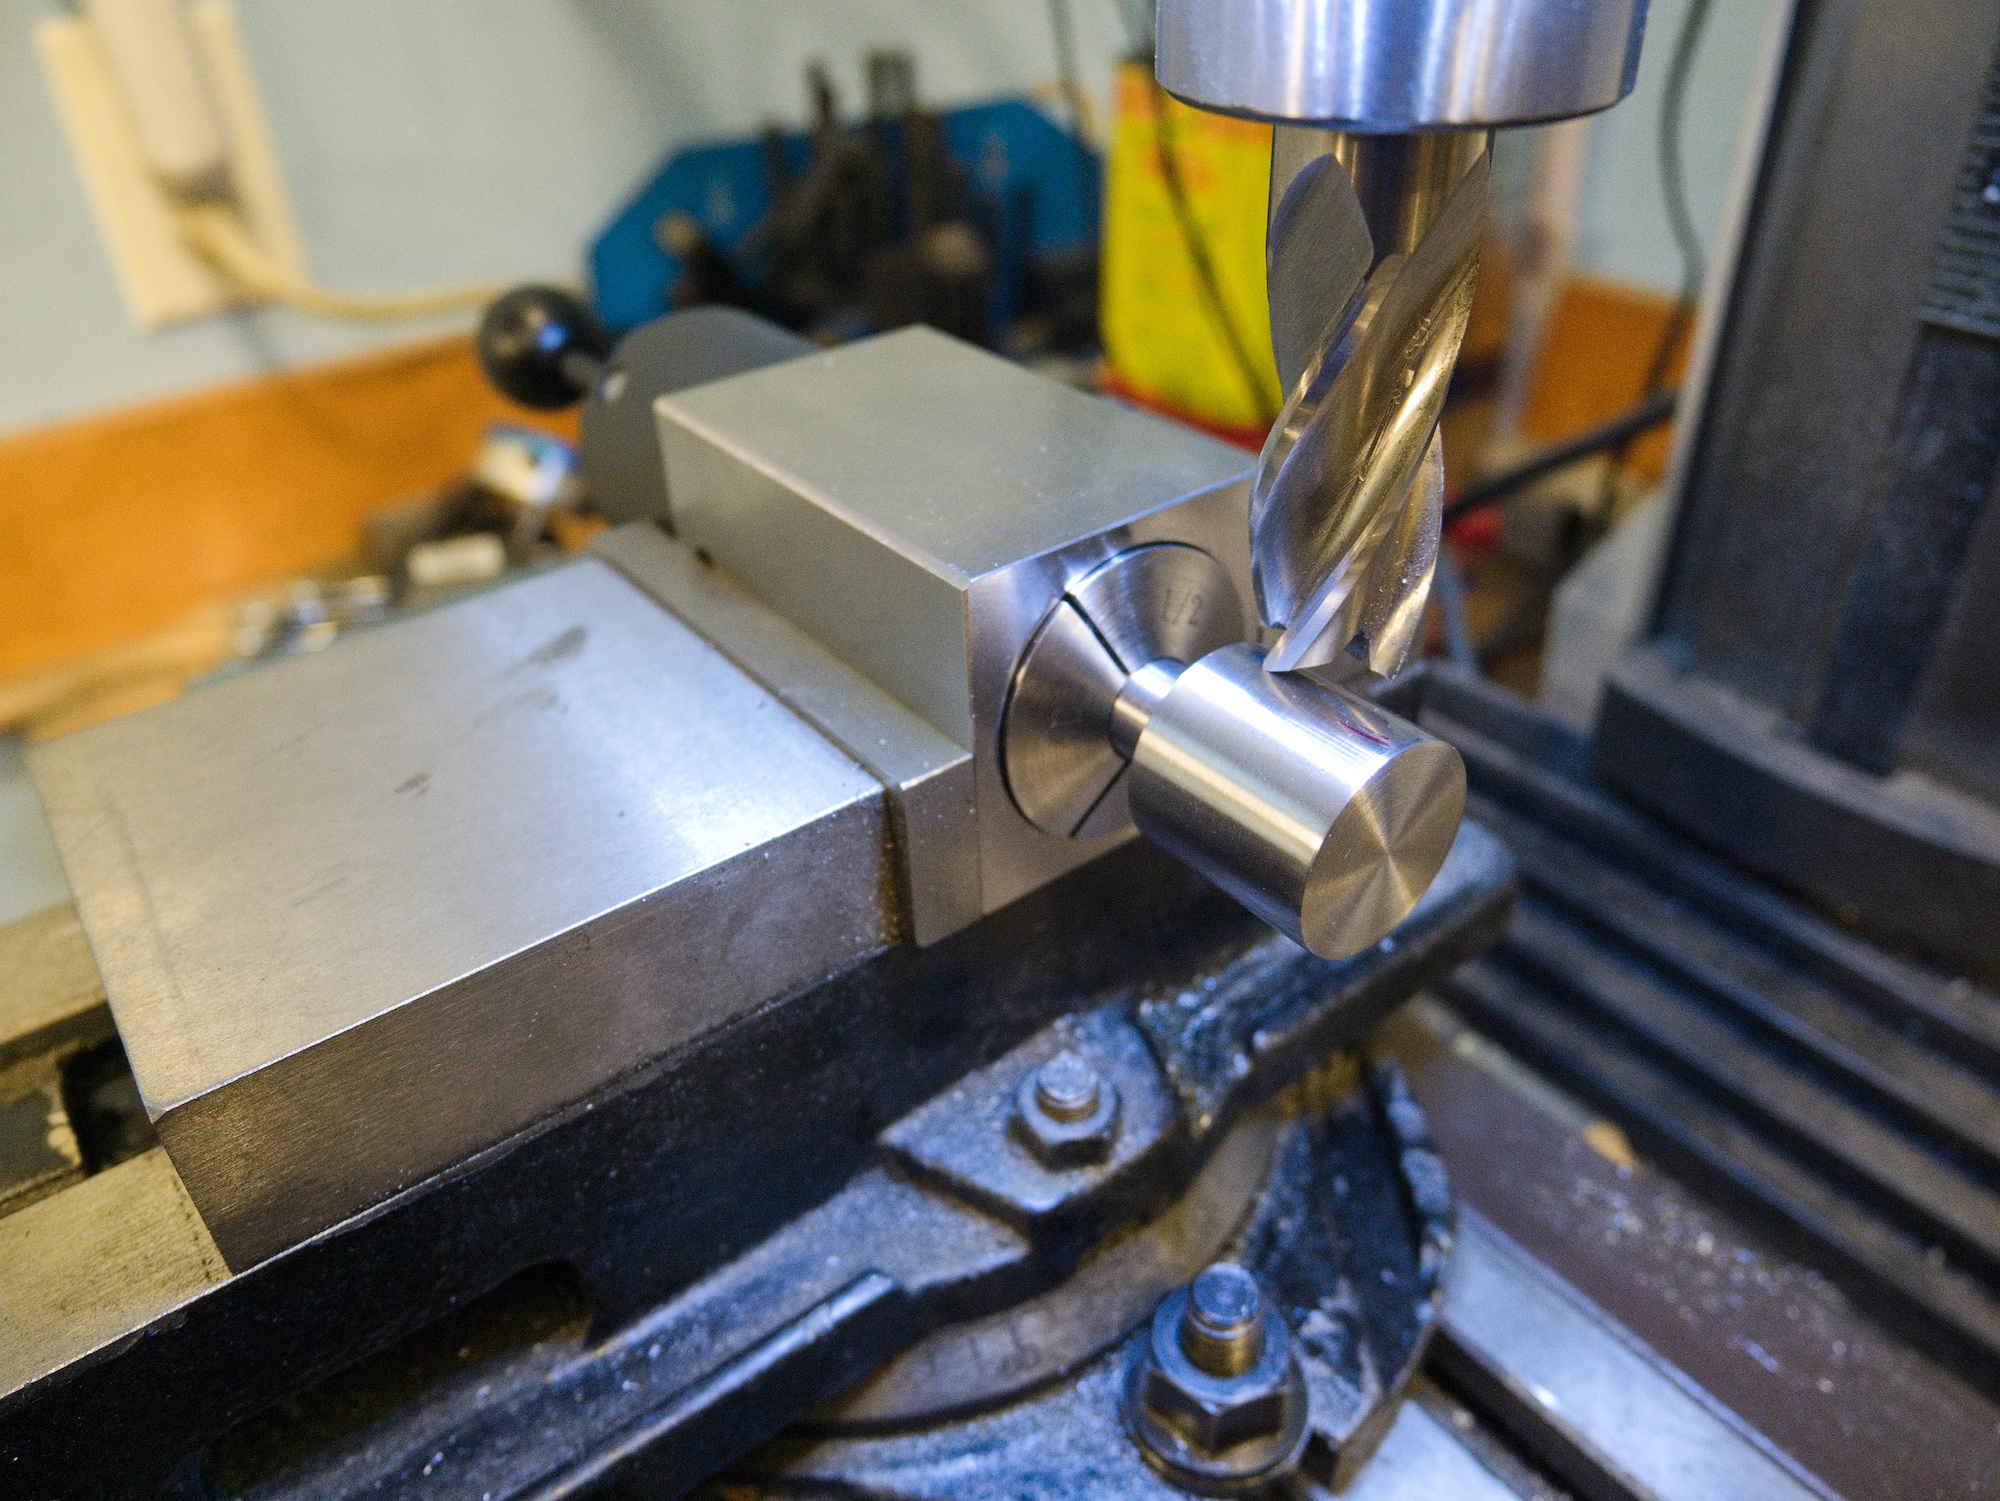
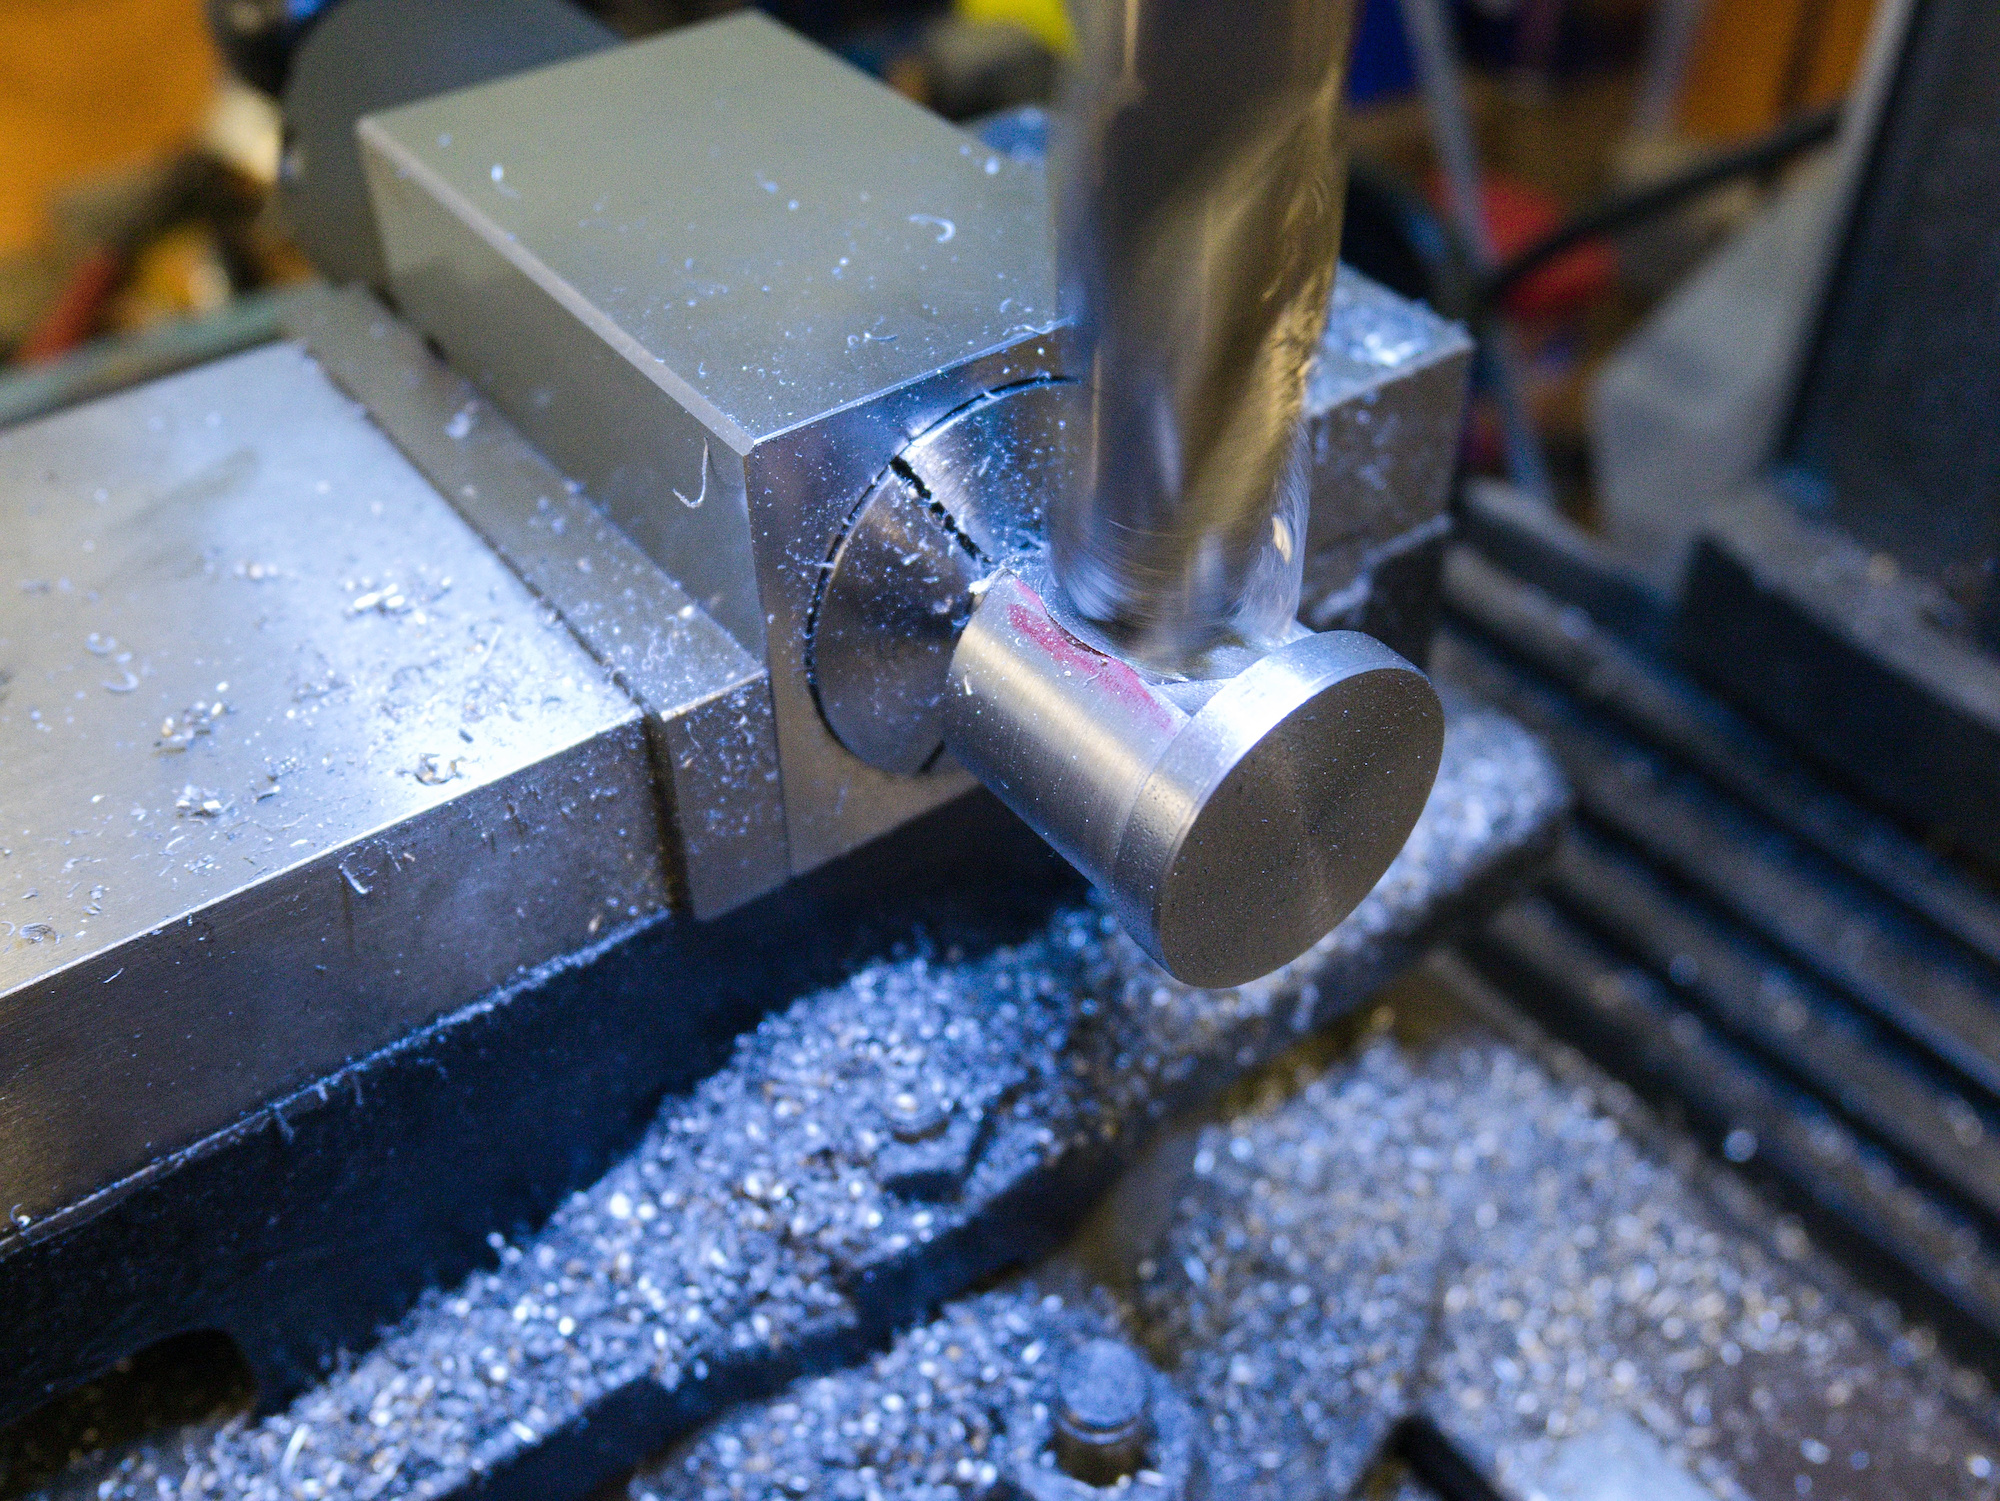
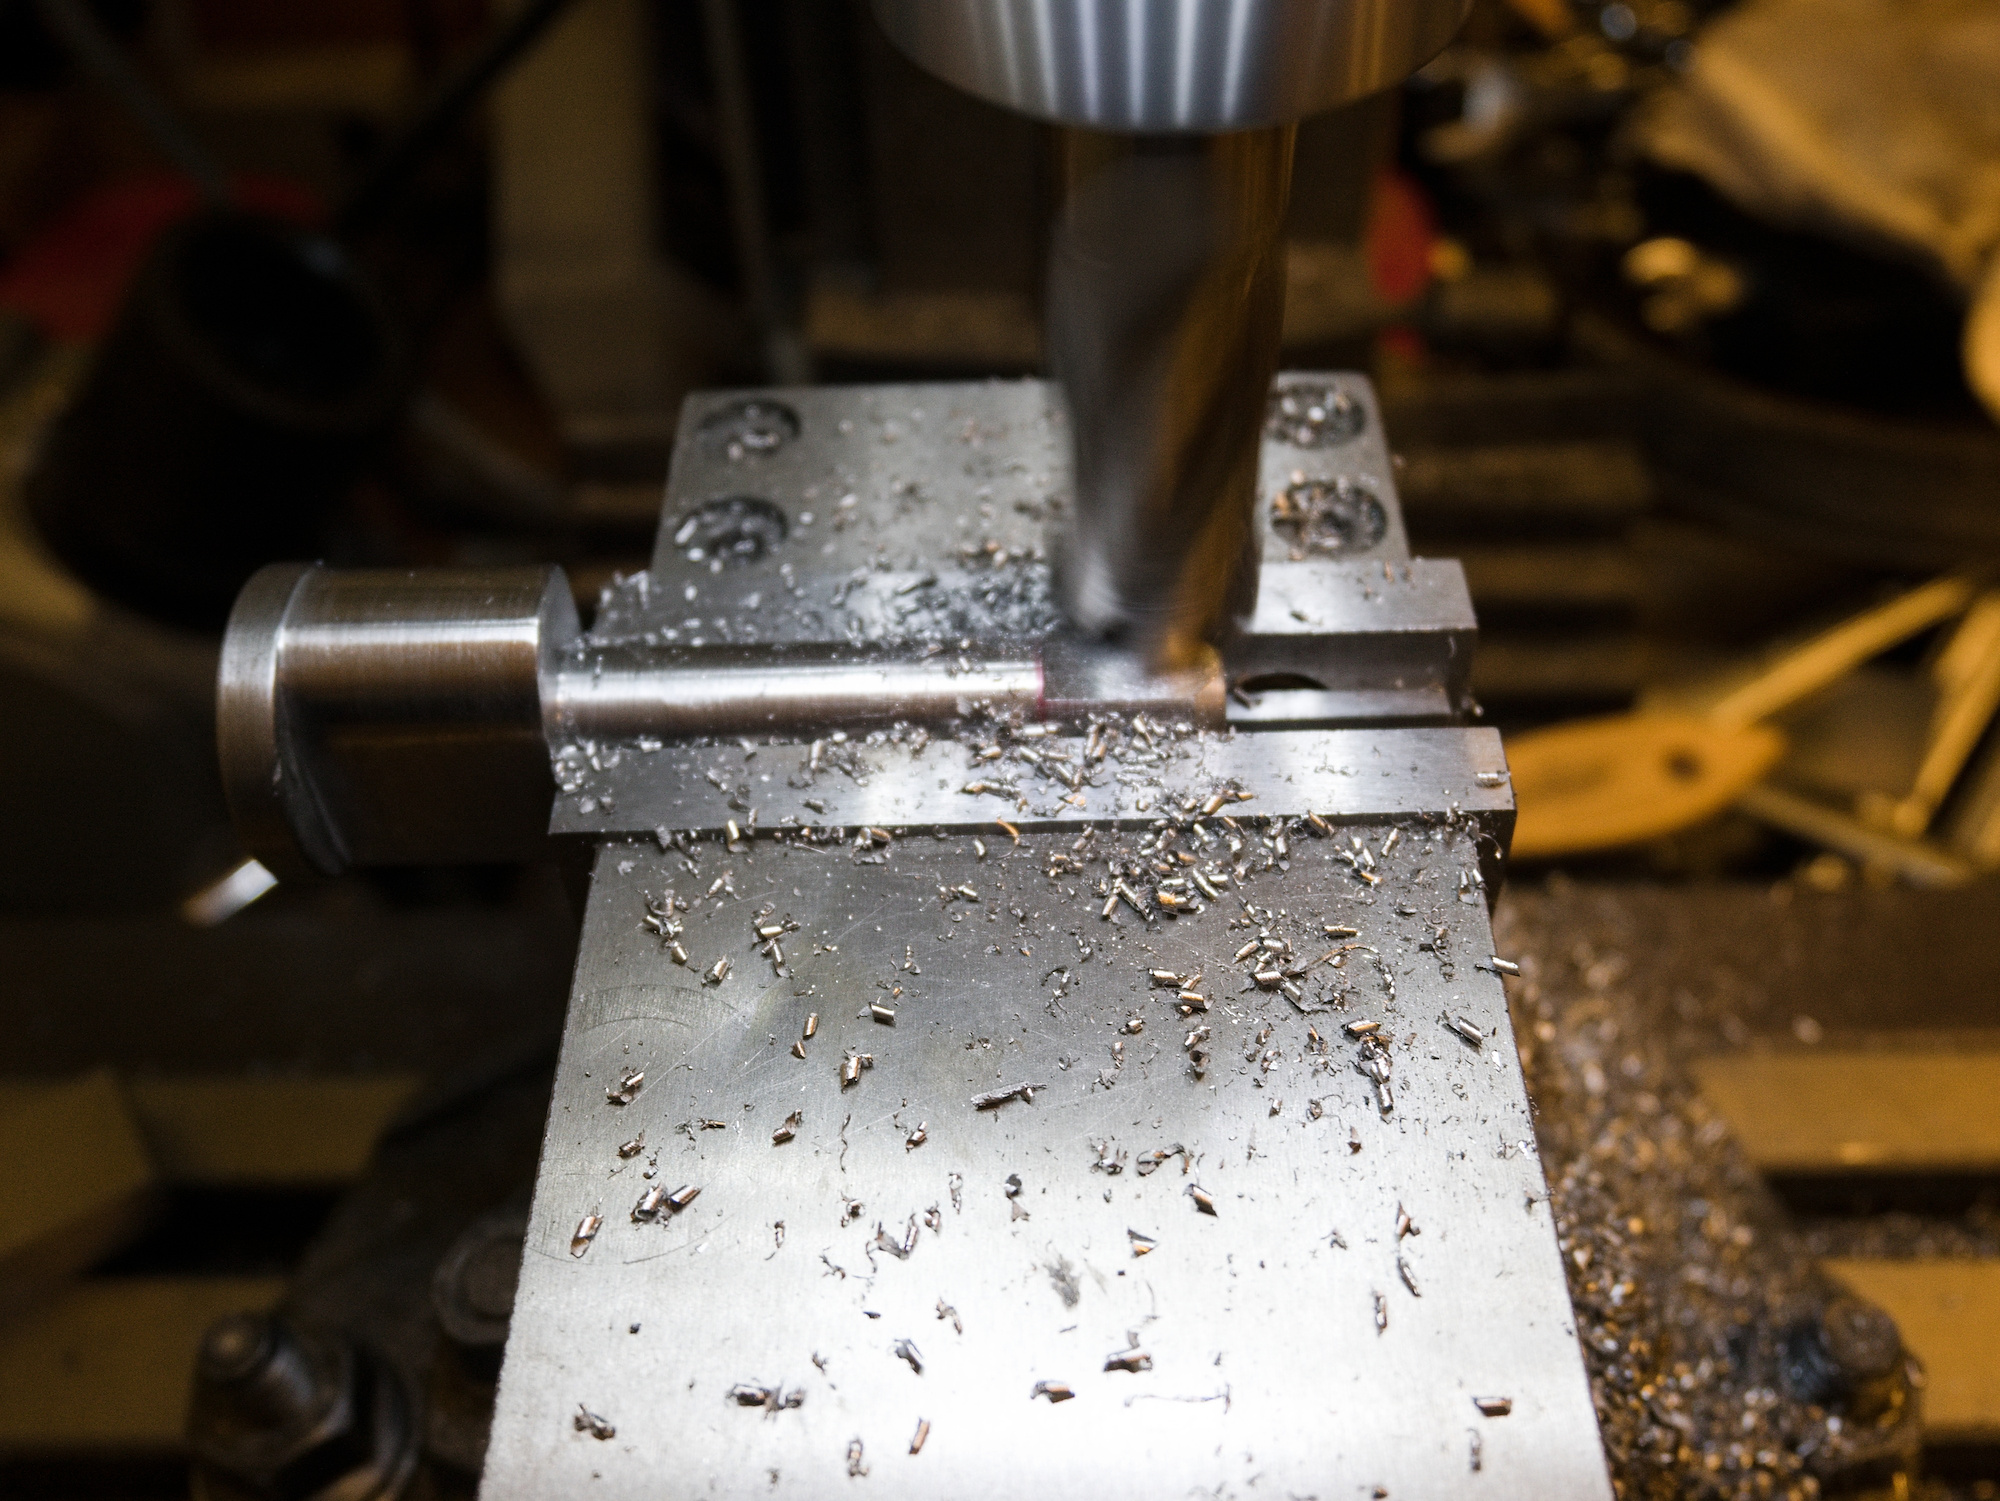
To center the hole for the split, the drill is positioned to have the ruler horizontal.
Top one is the new axle.
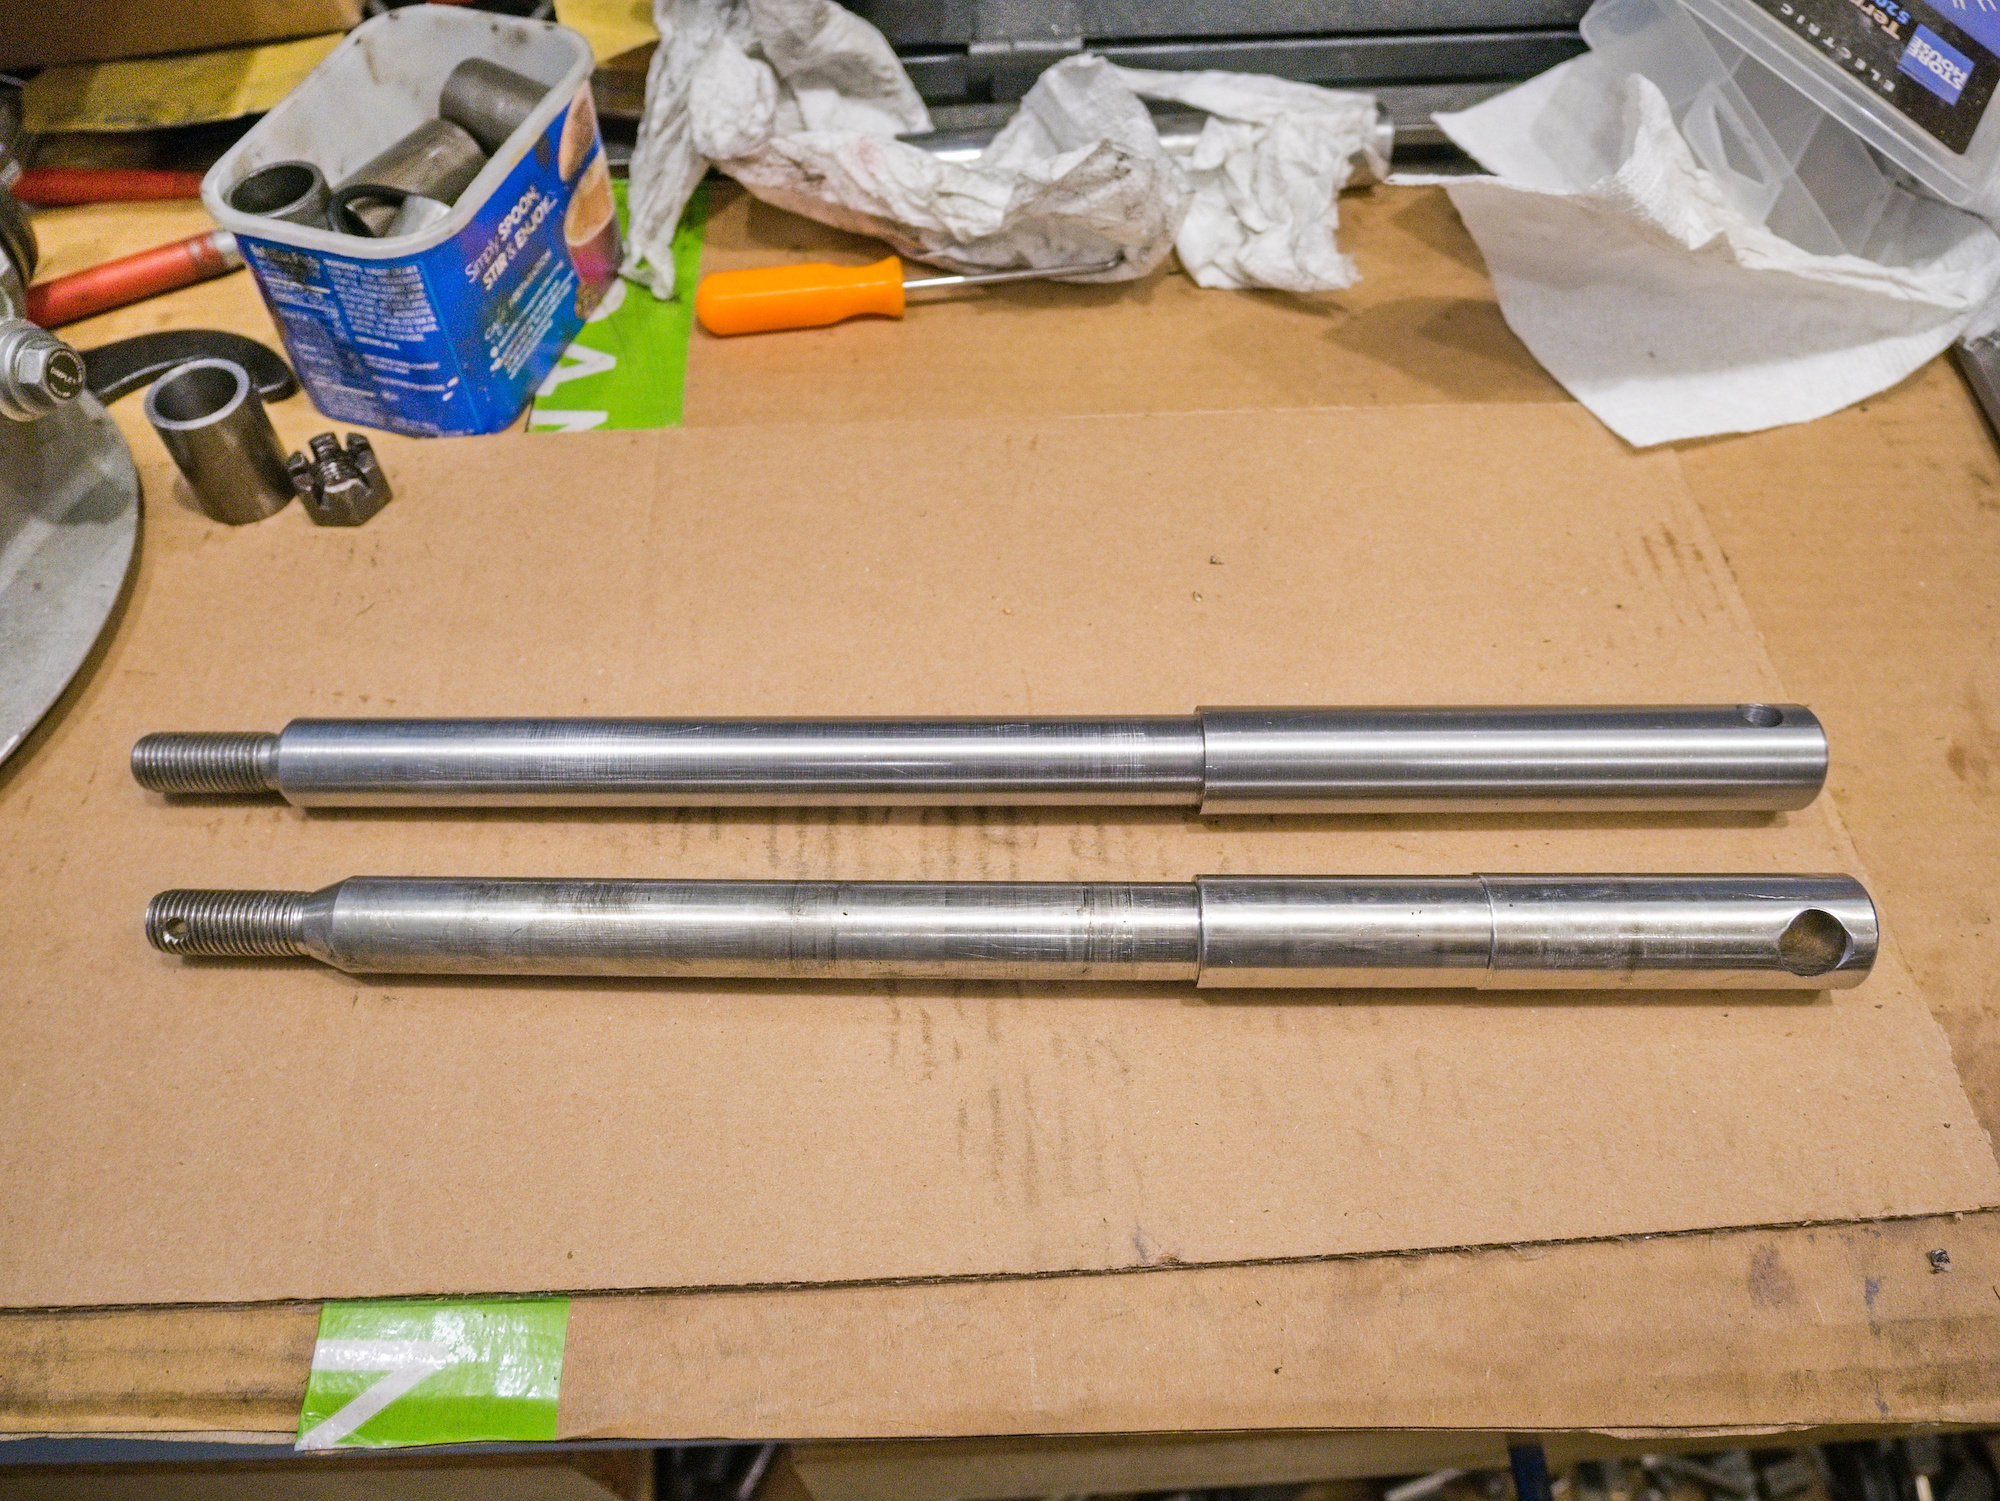
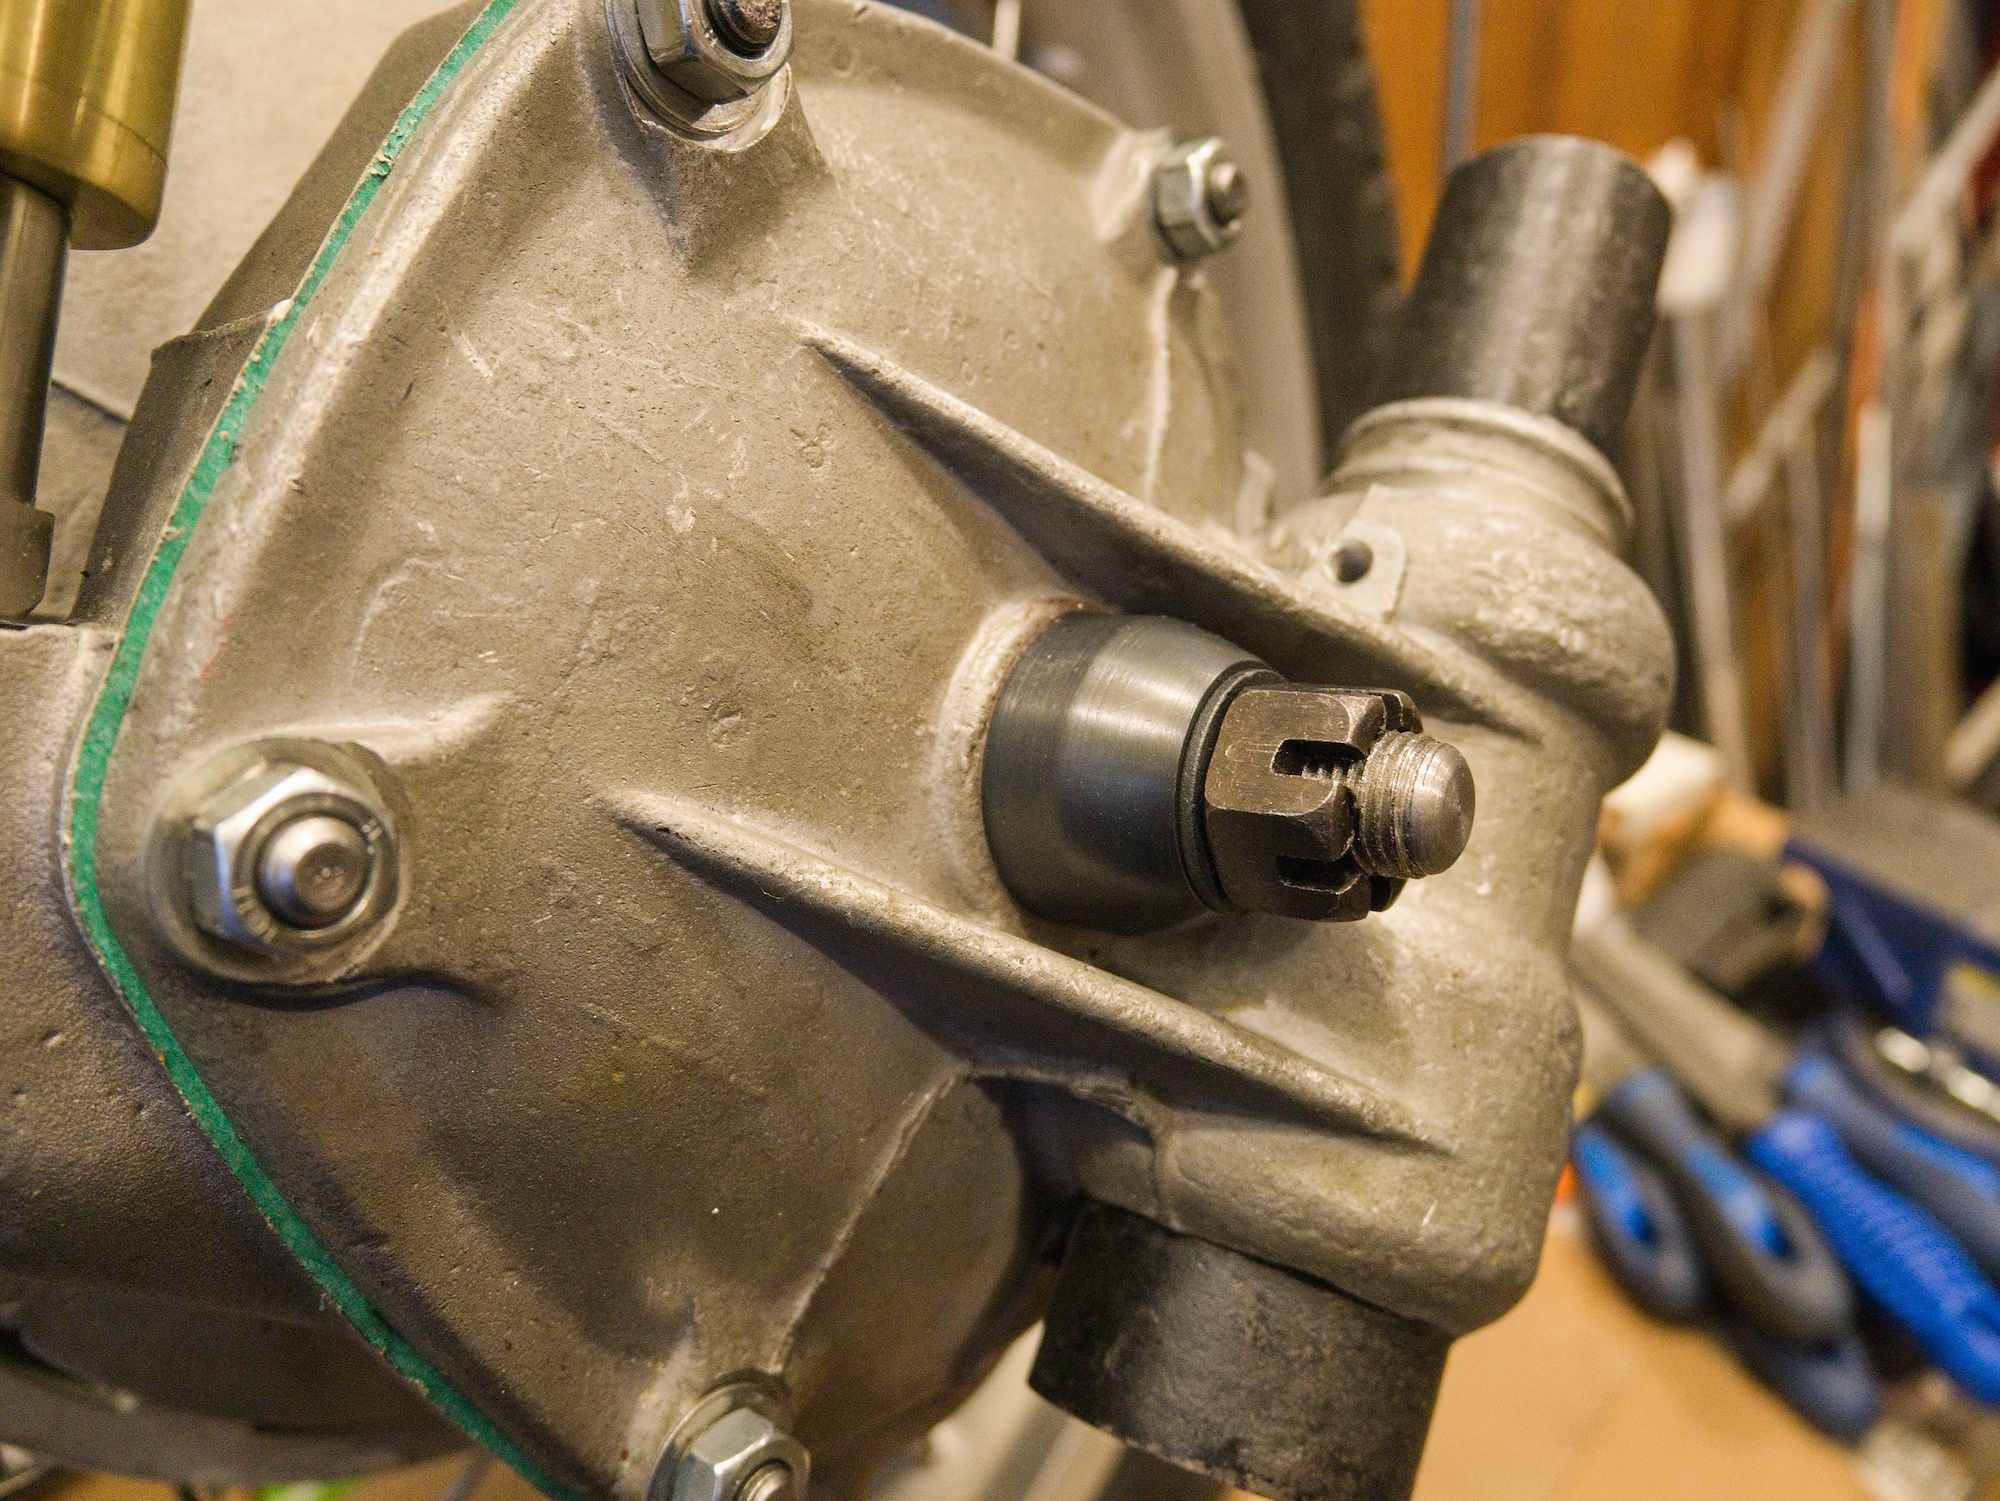
To make the access to the nut easier, I made the axle a bit longer and made a large distance washer.
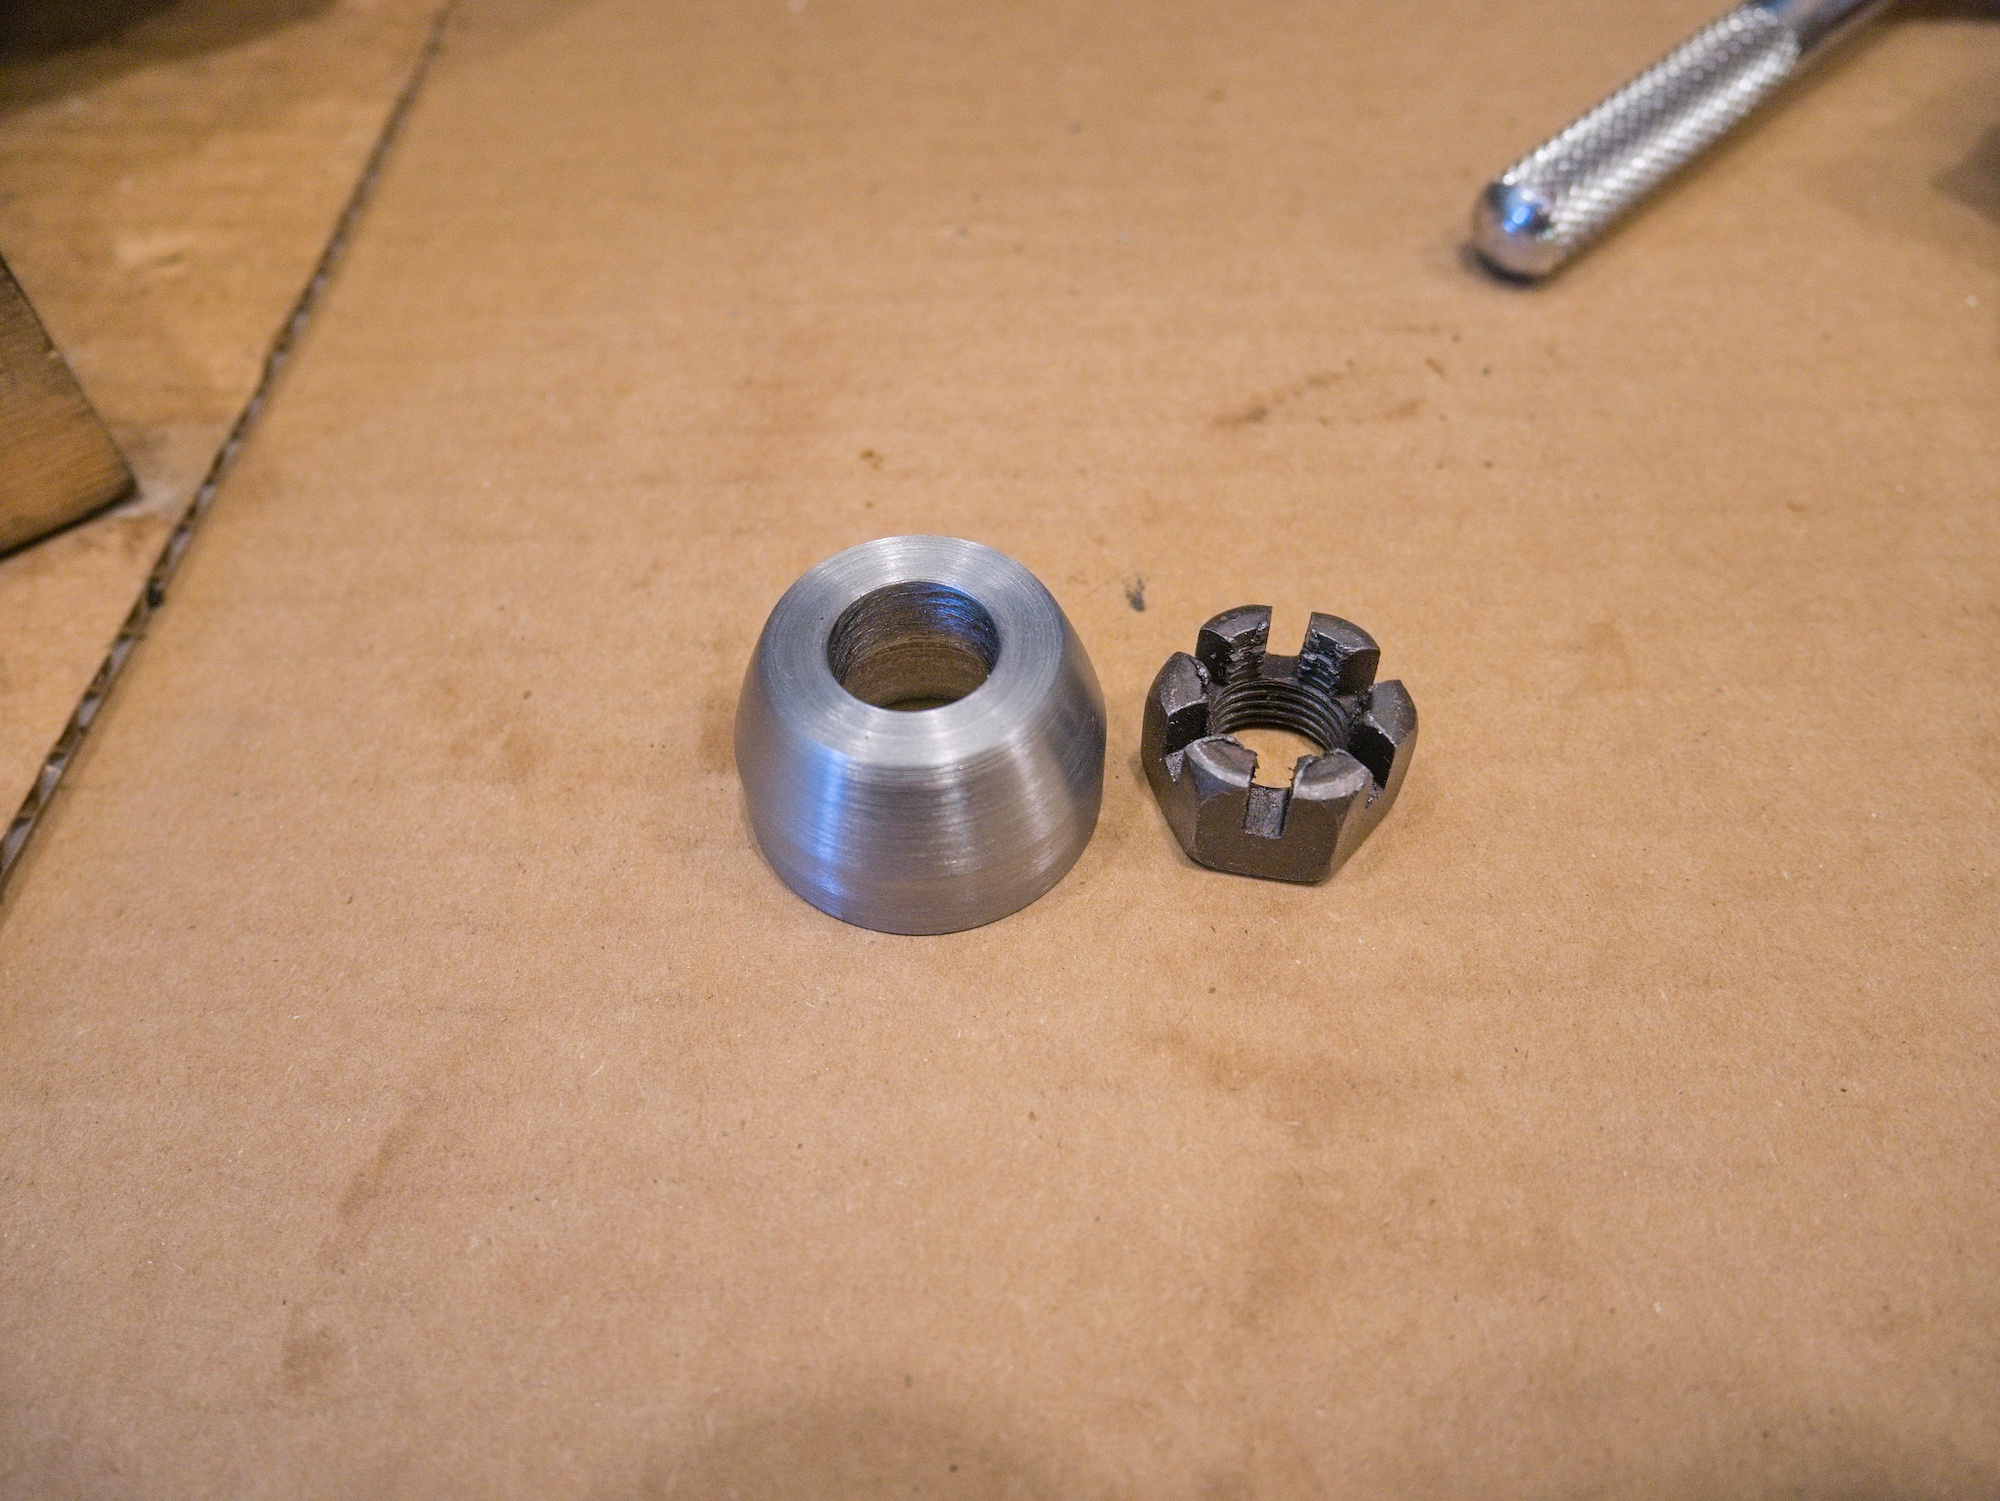
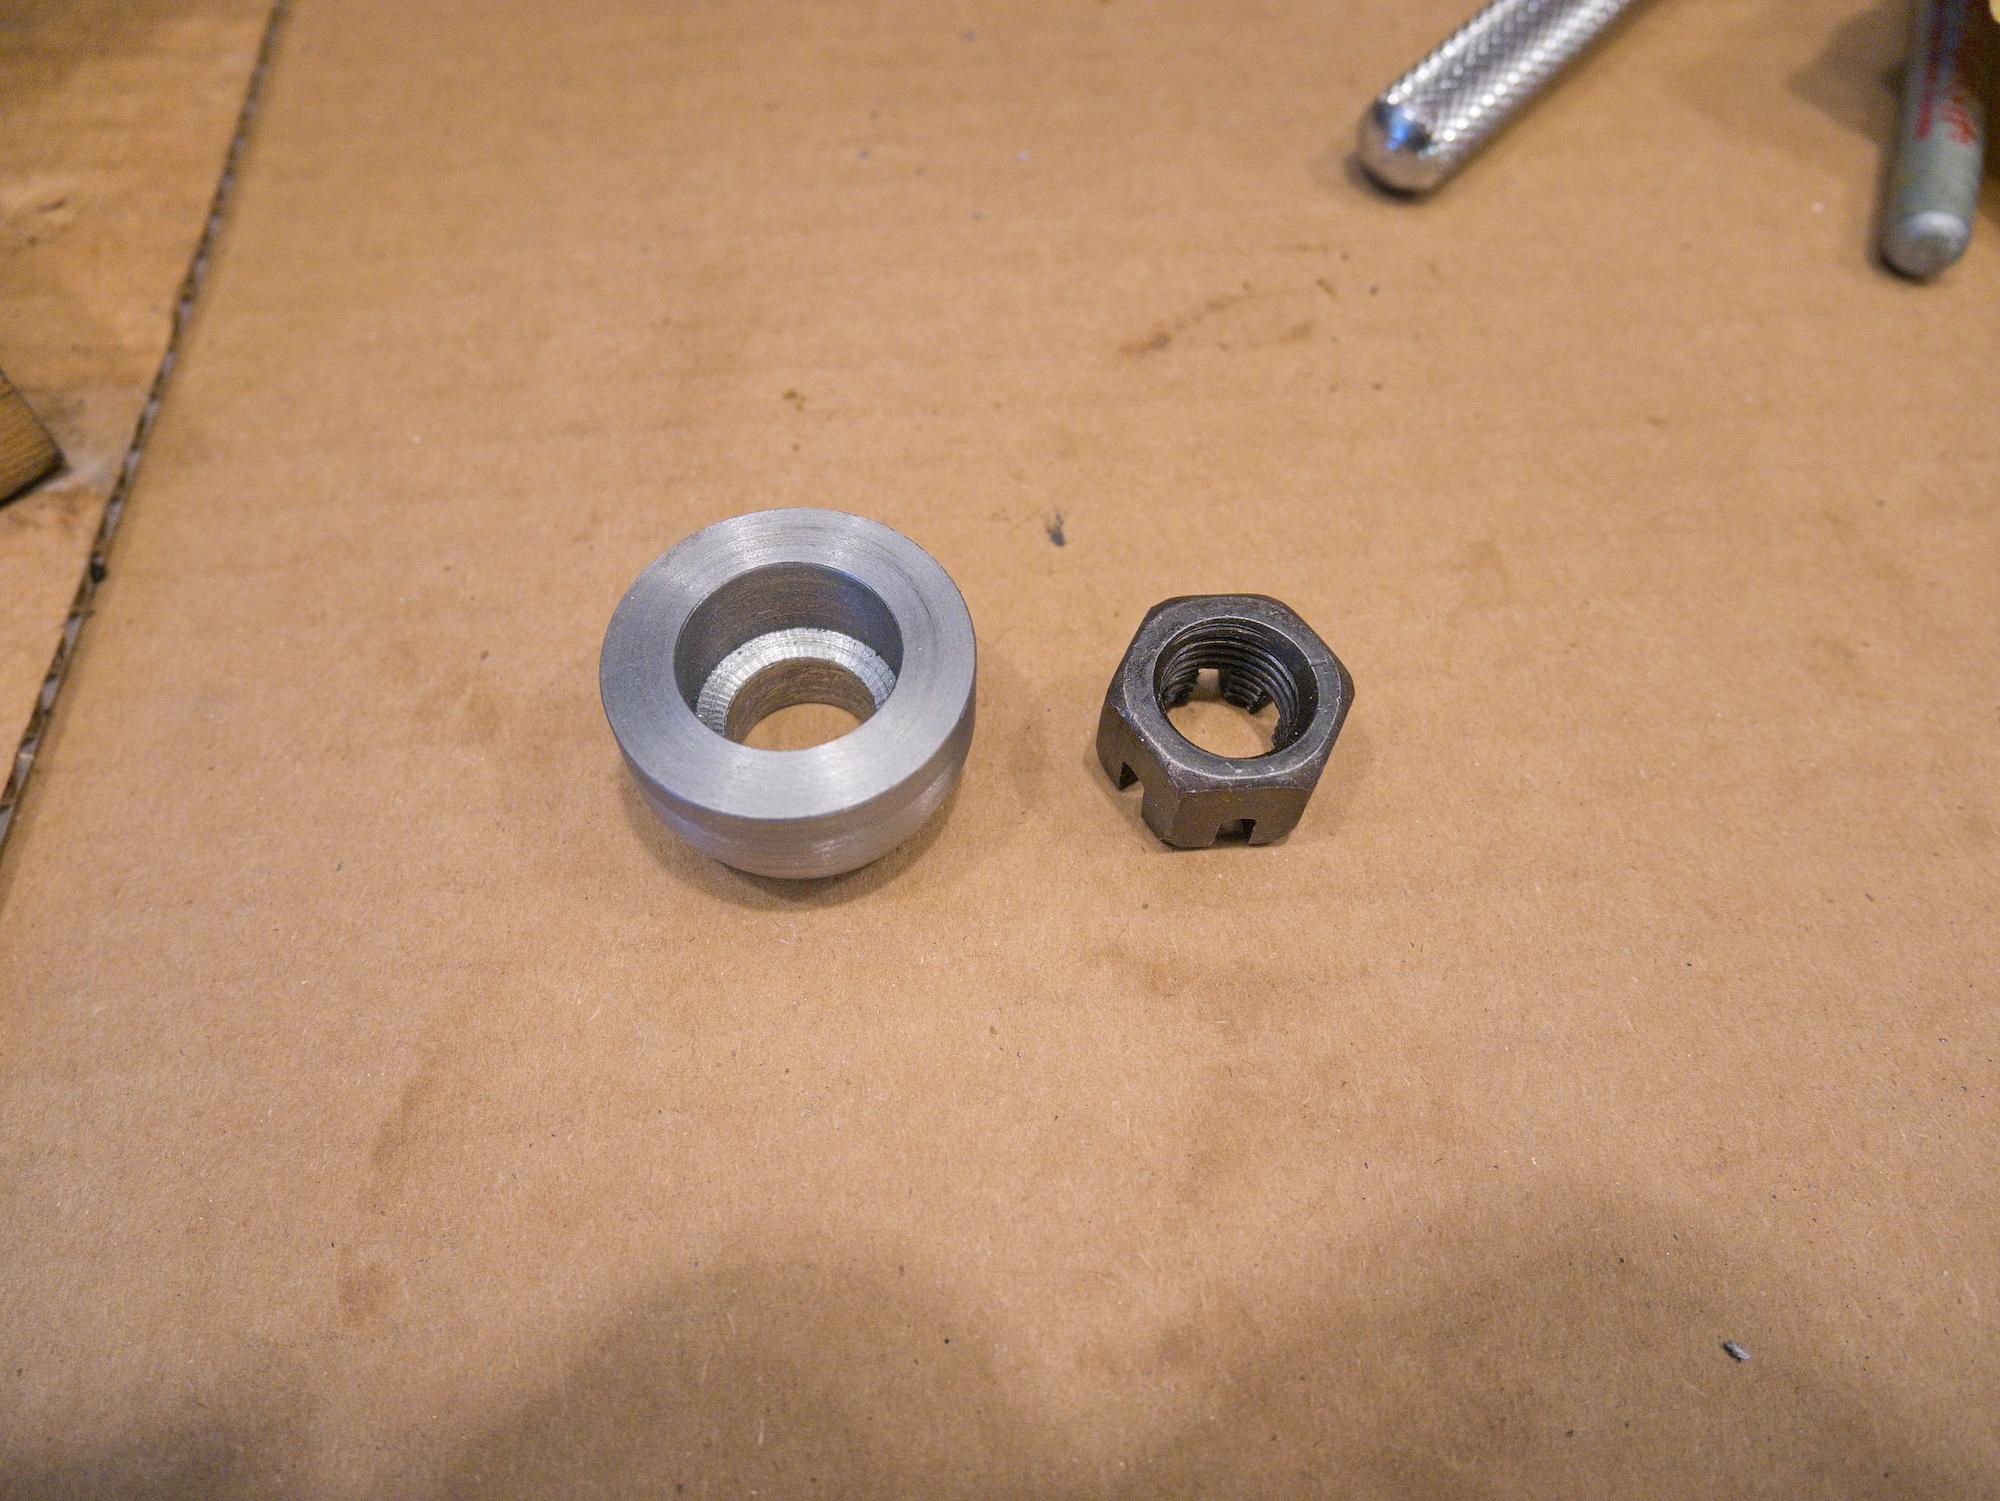
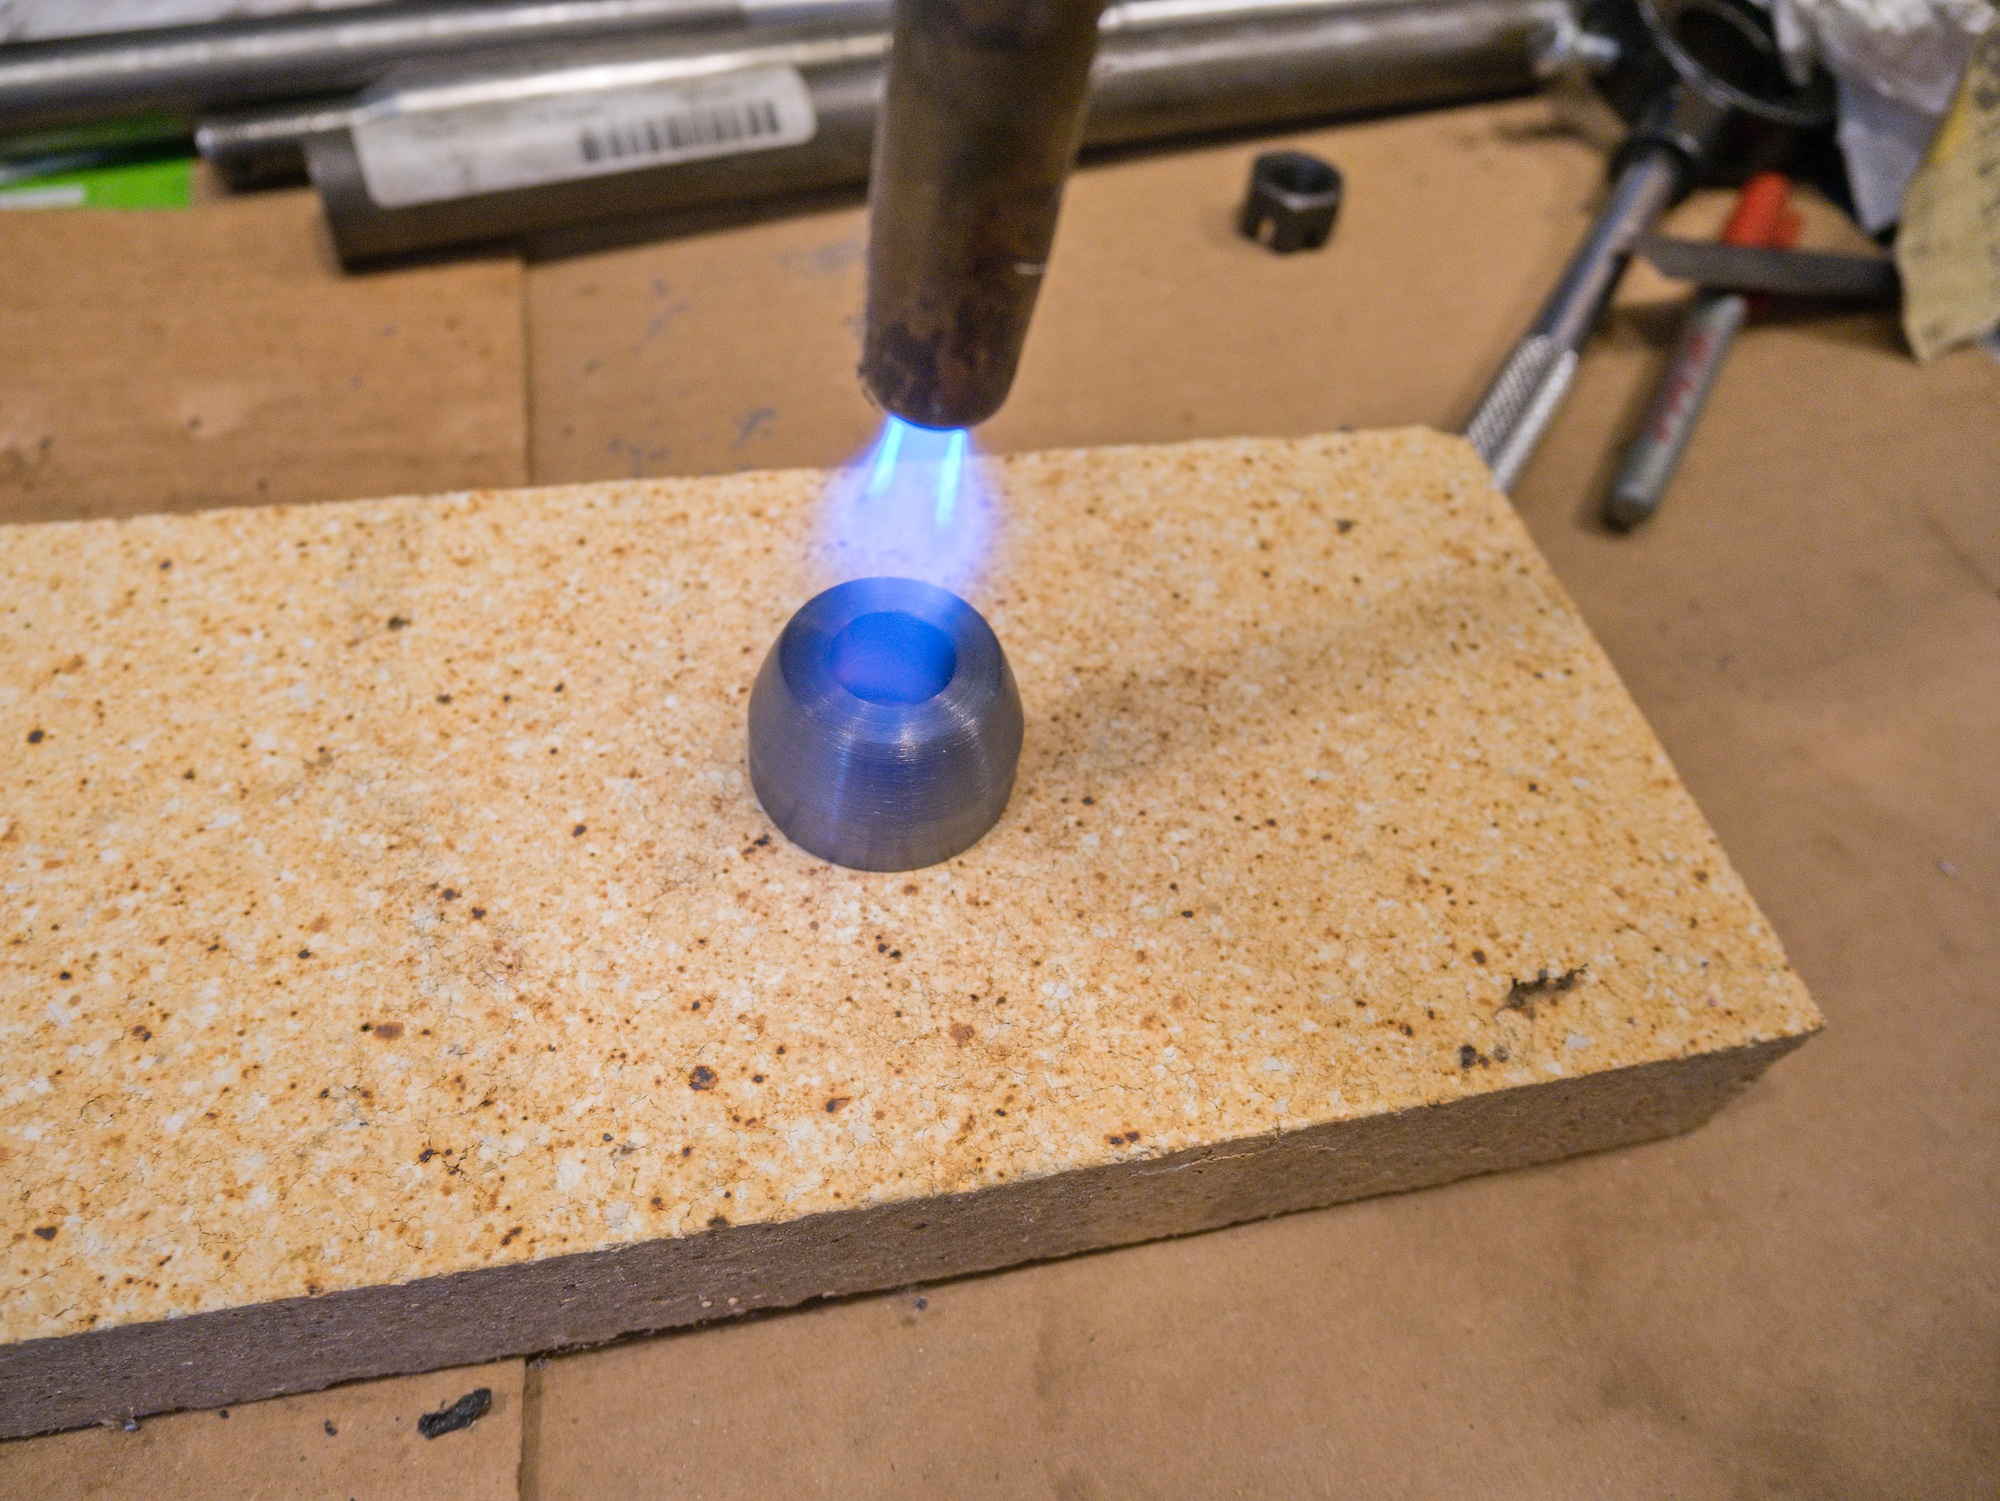
Make the distance washer the same color as the nut.
Test fit. No wheel play and the axle easily slides in and out.
Passed.
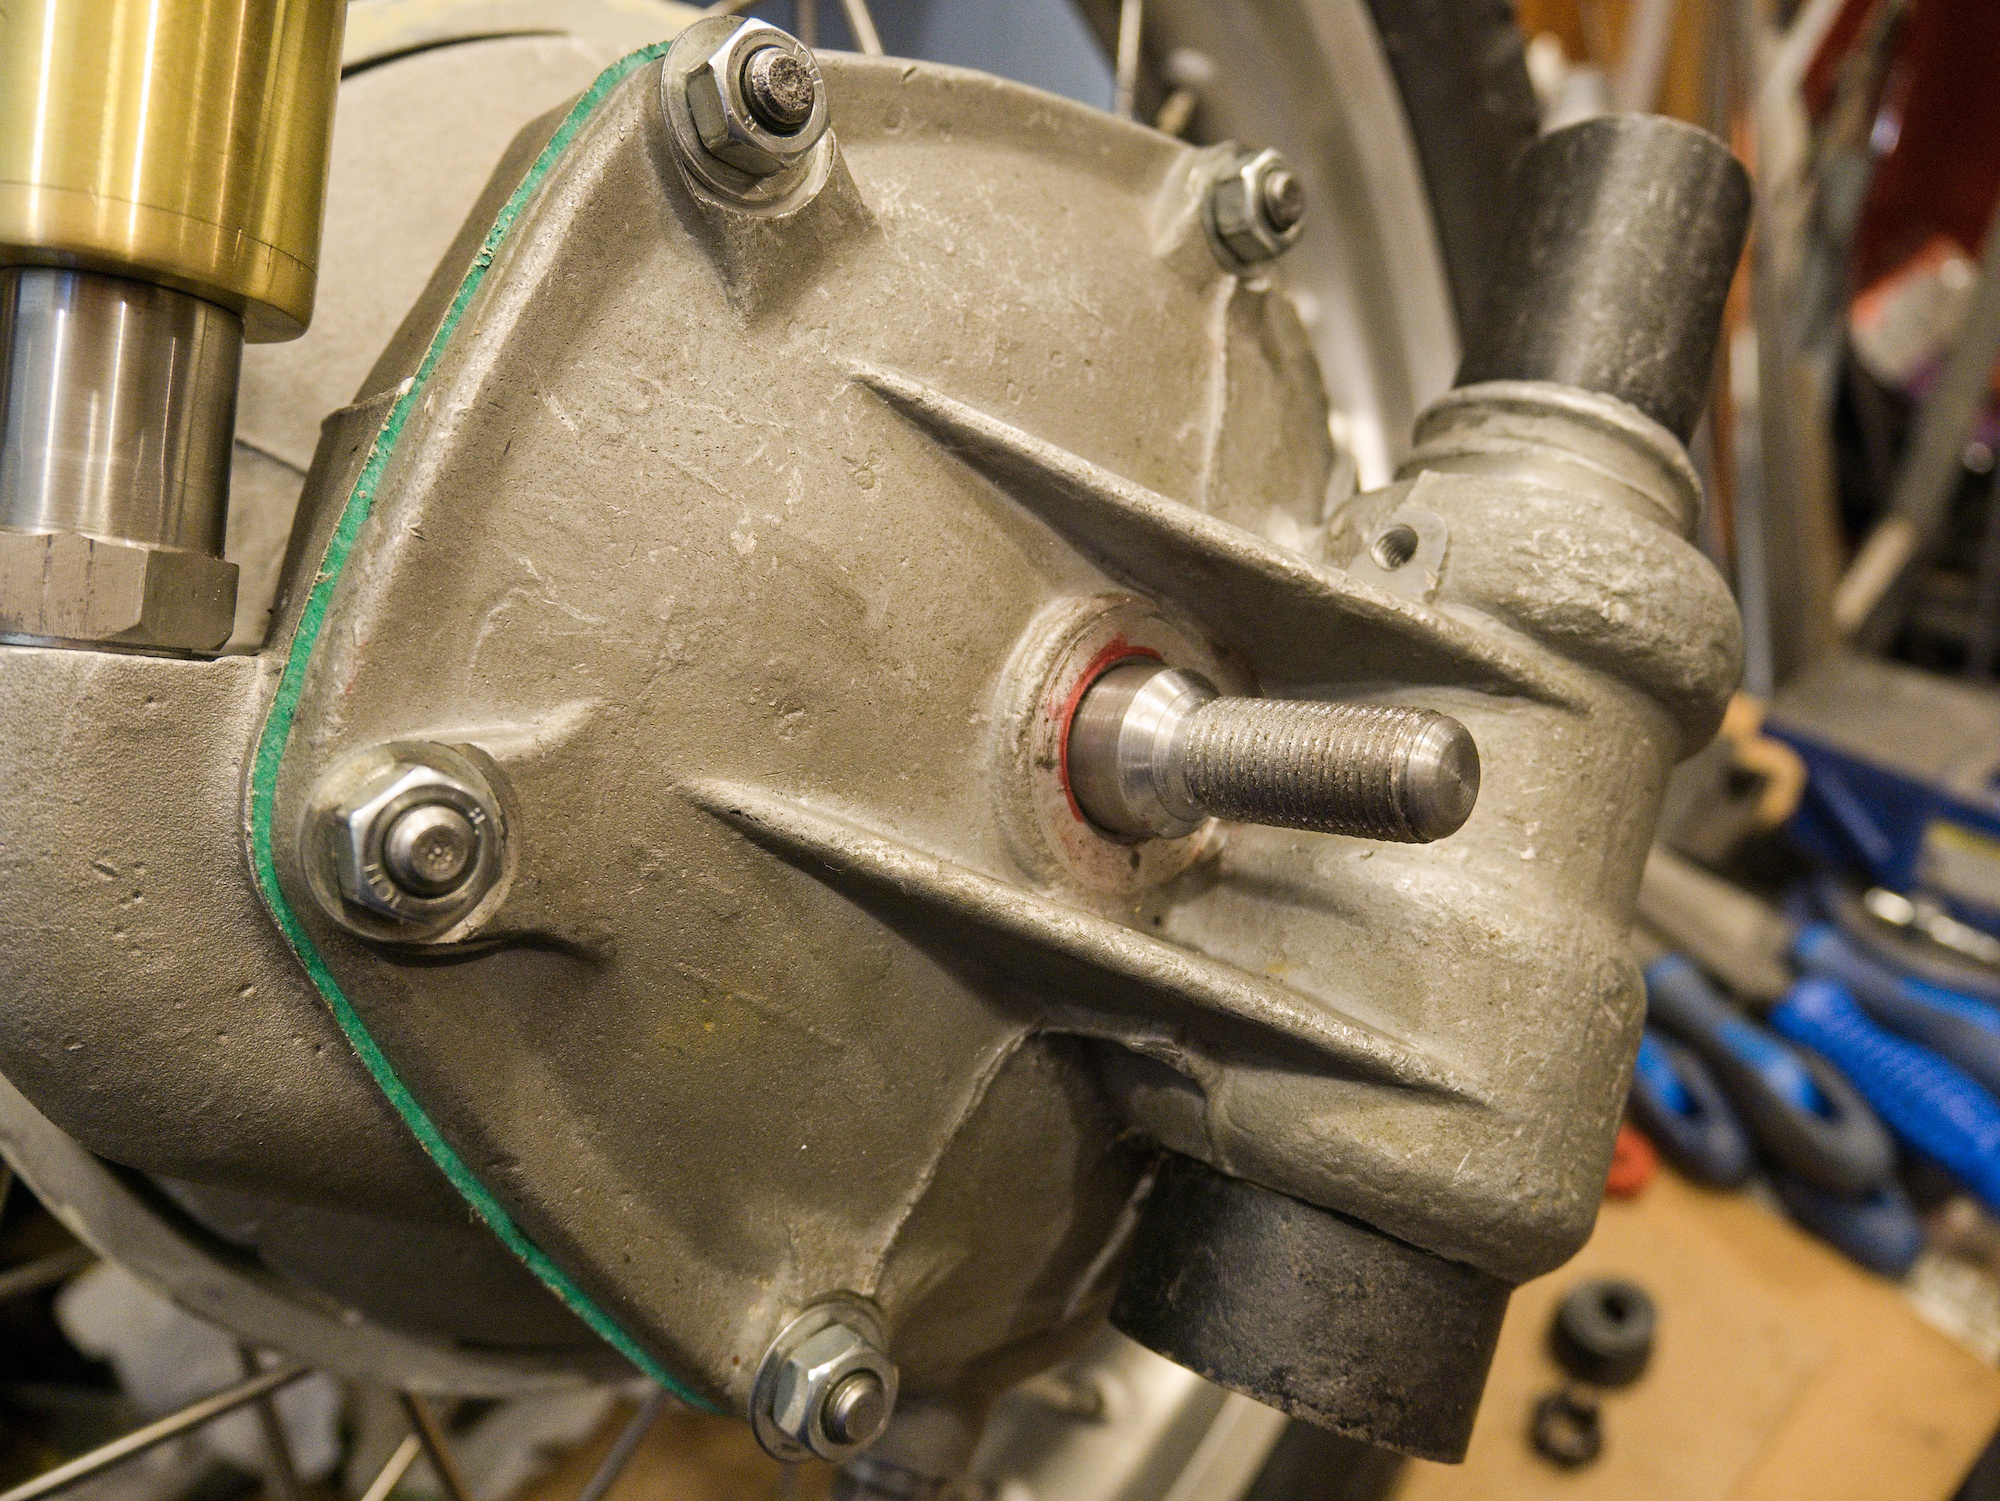
Easy access to the nut.
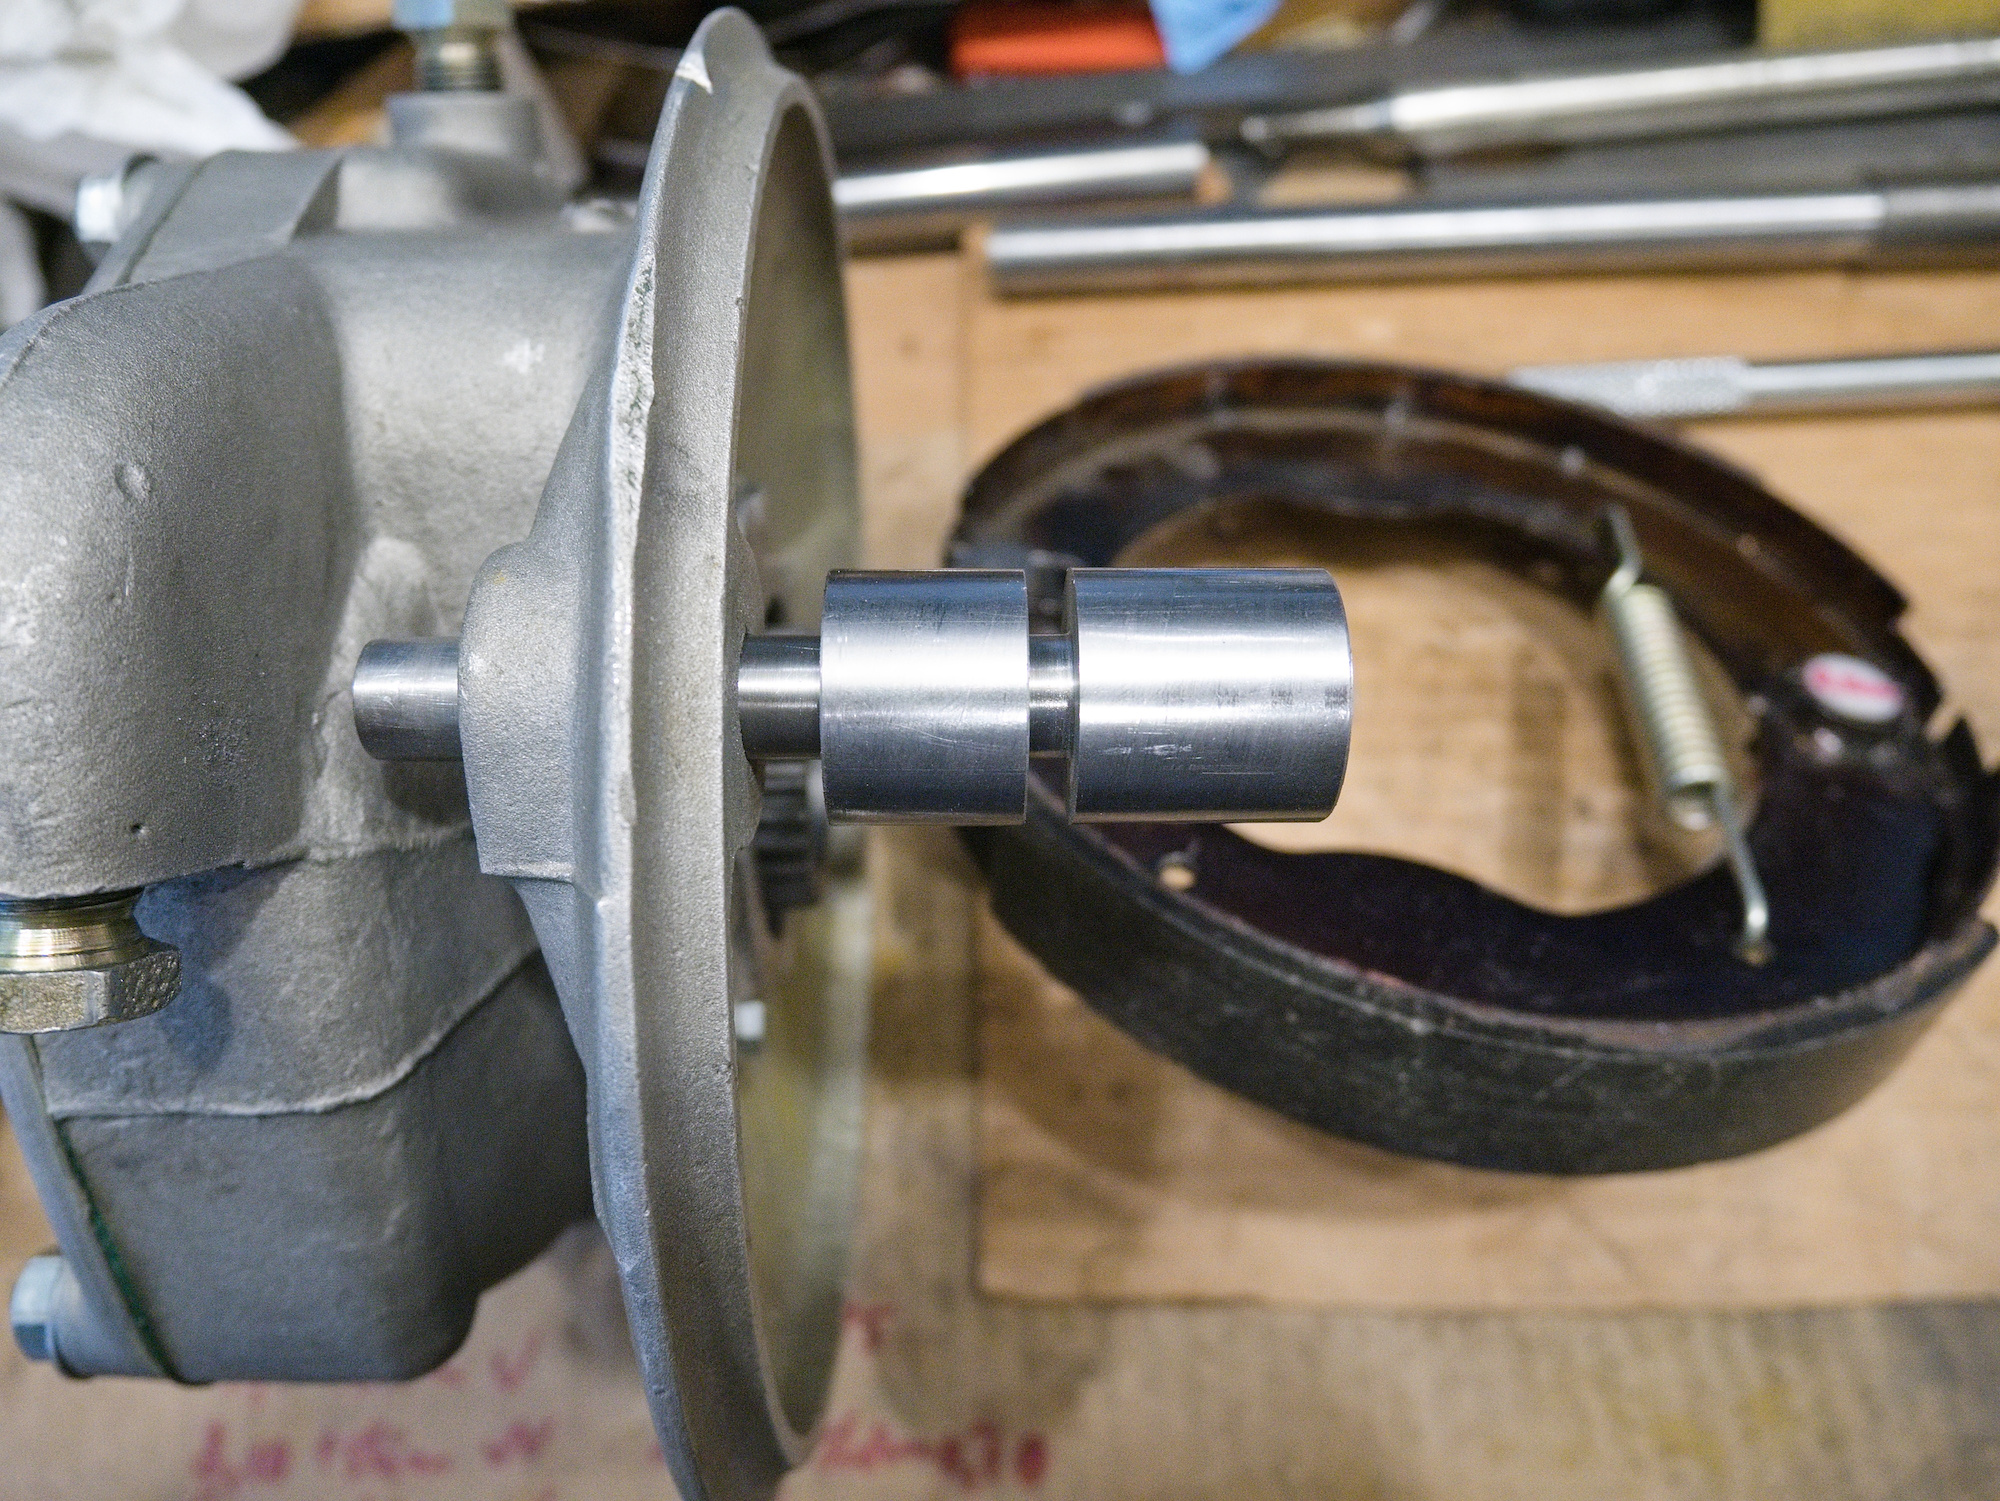
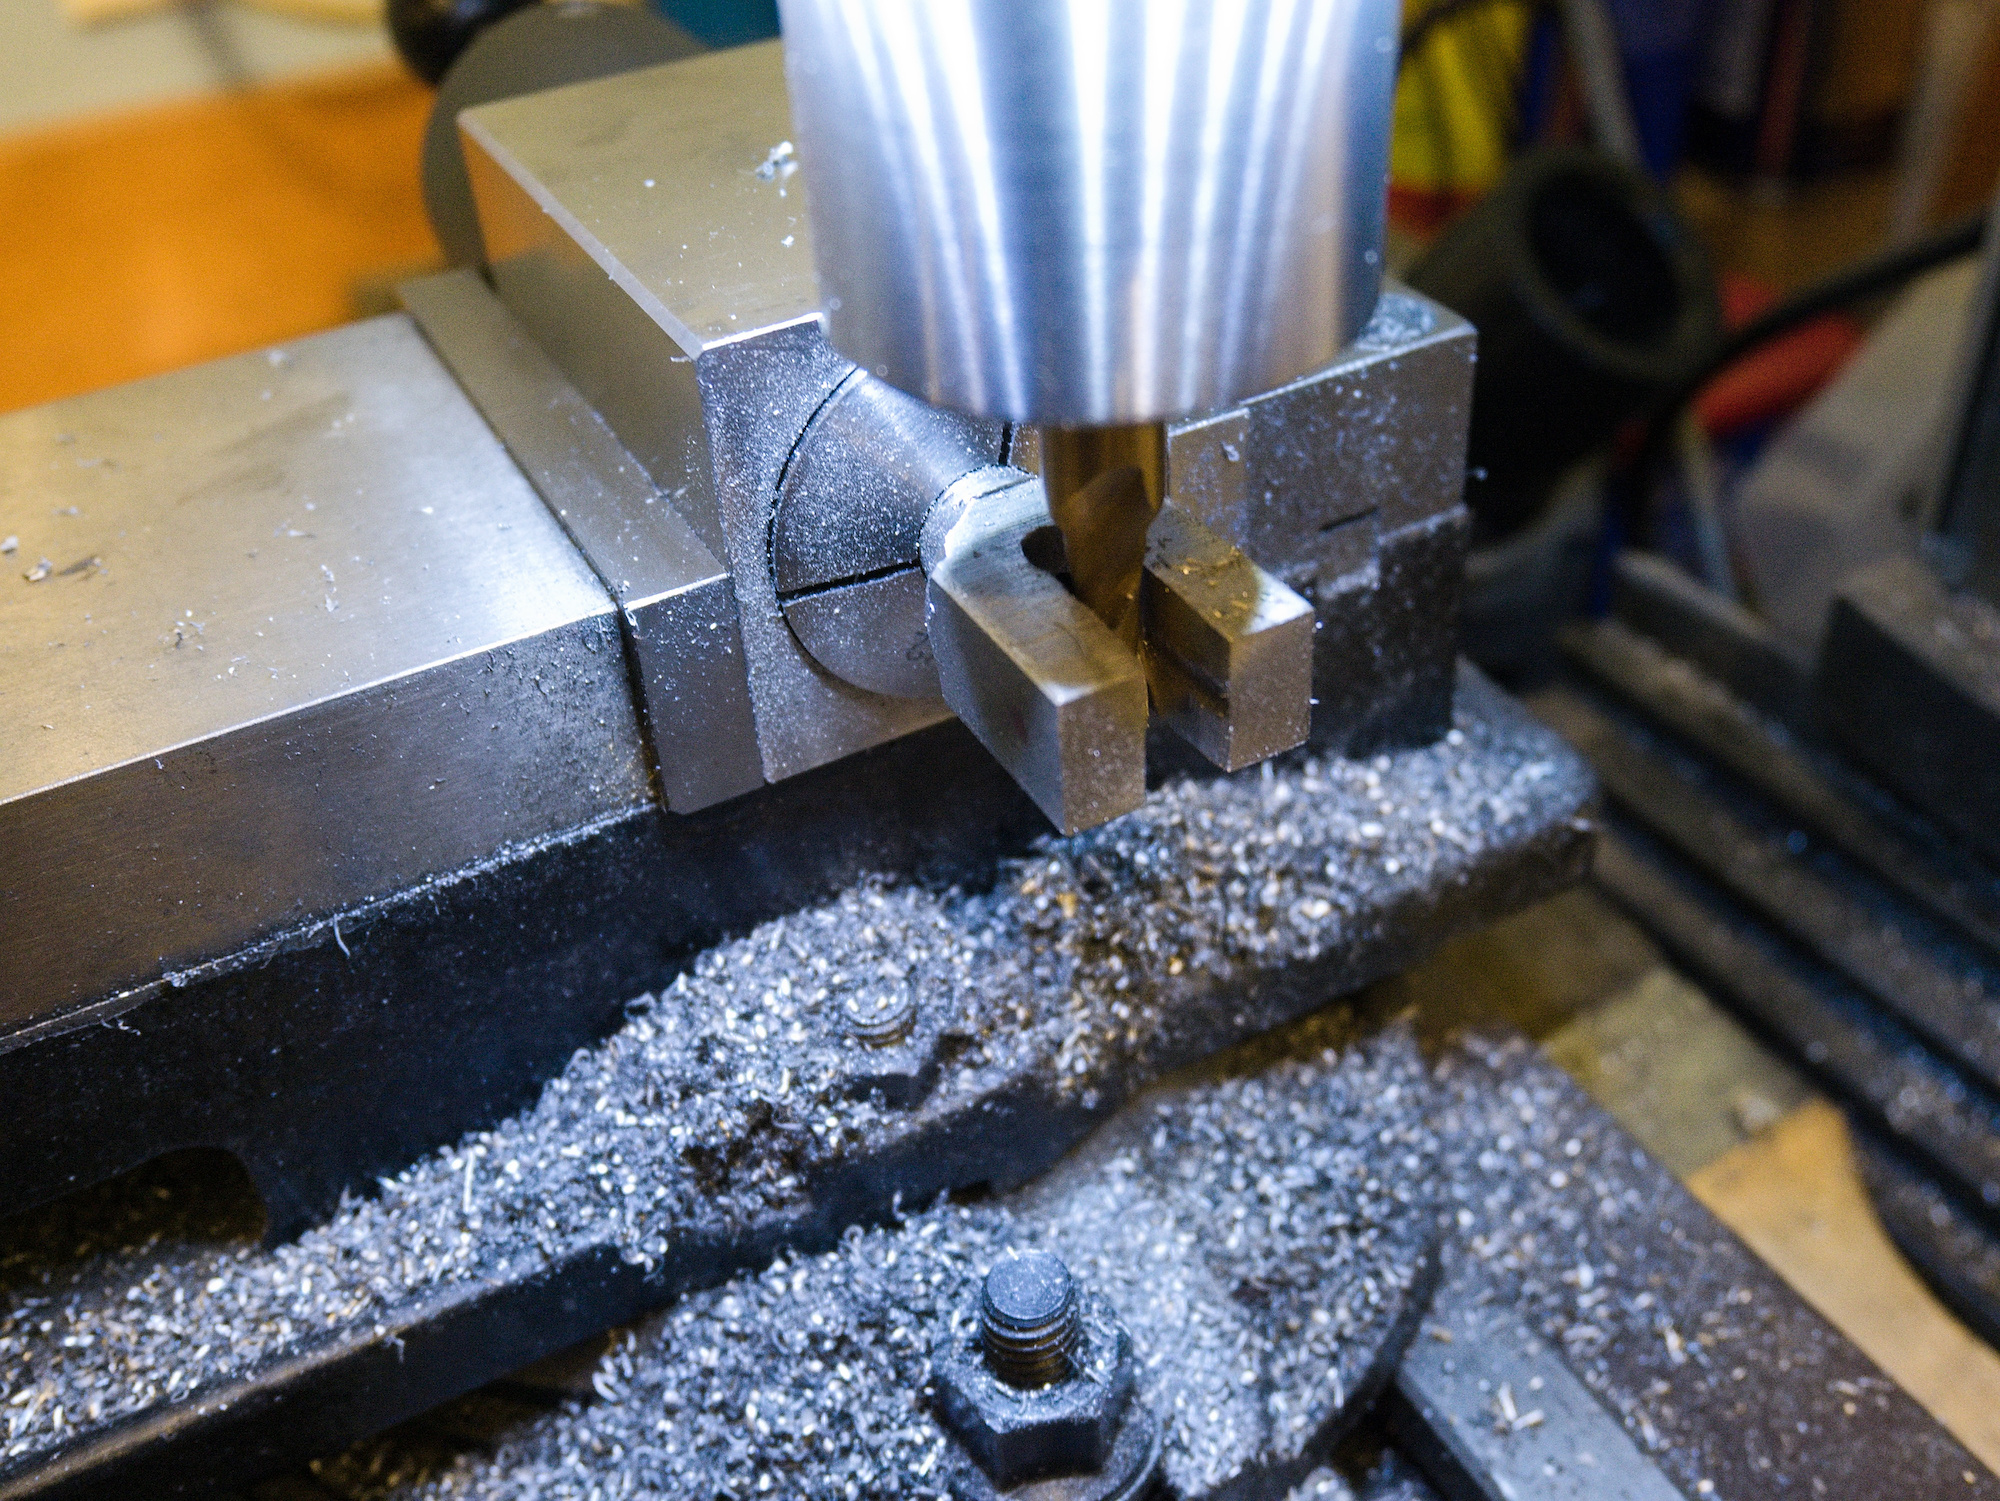
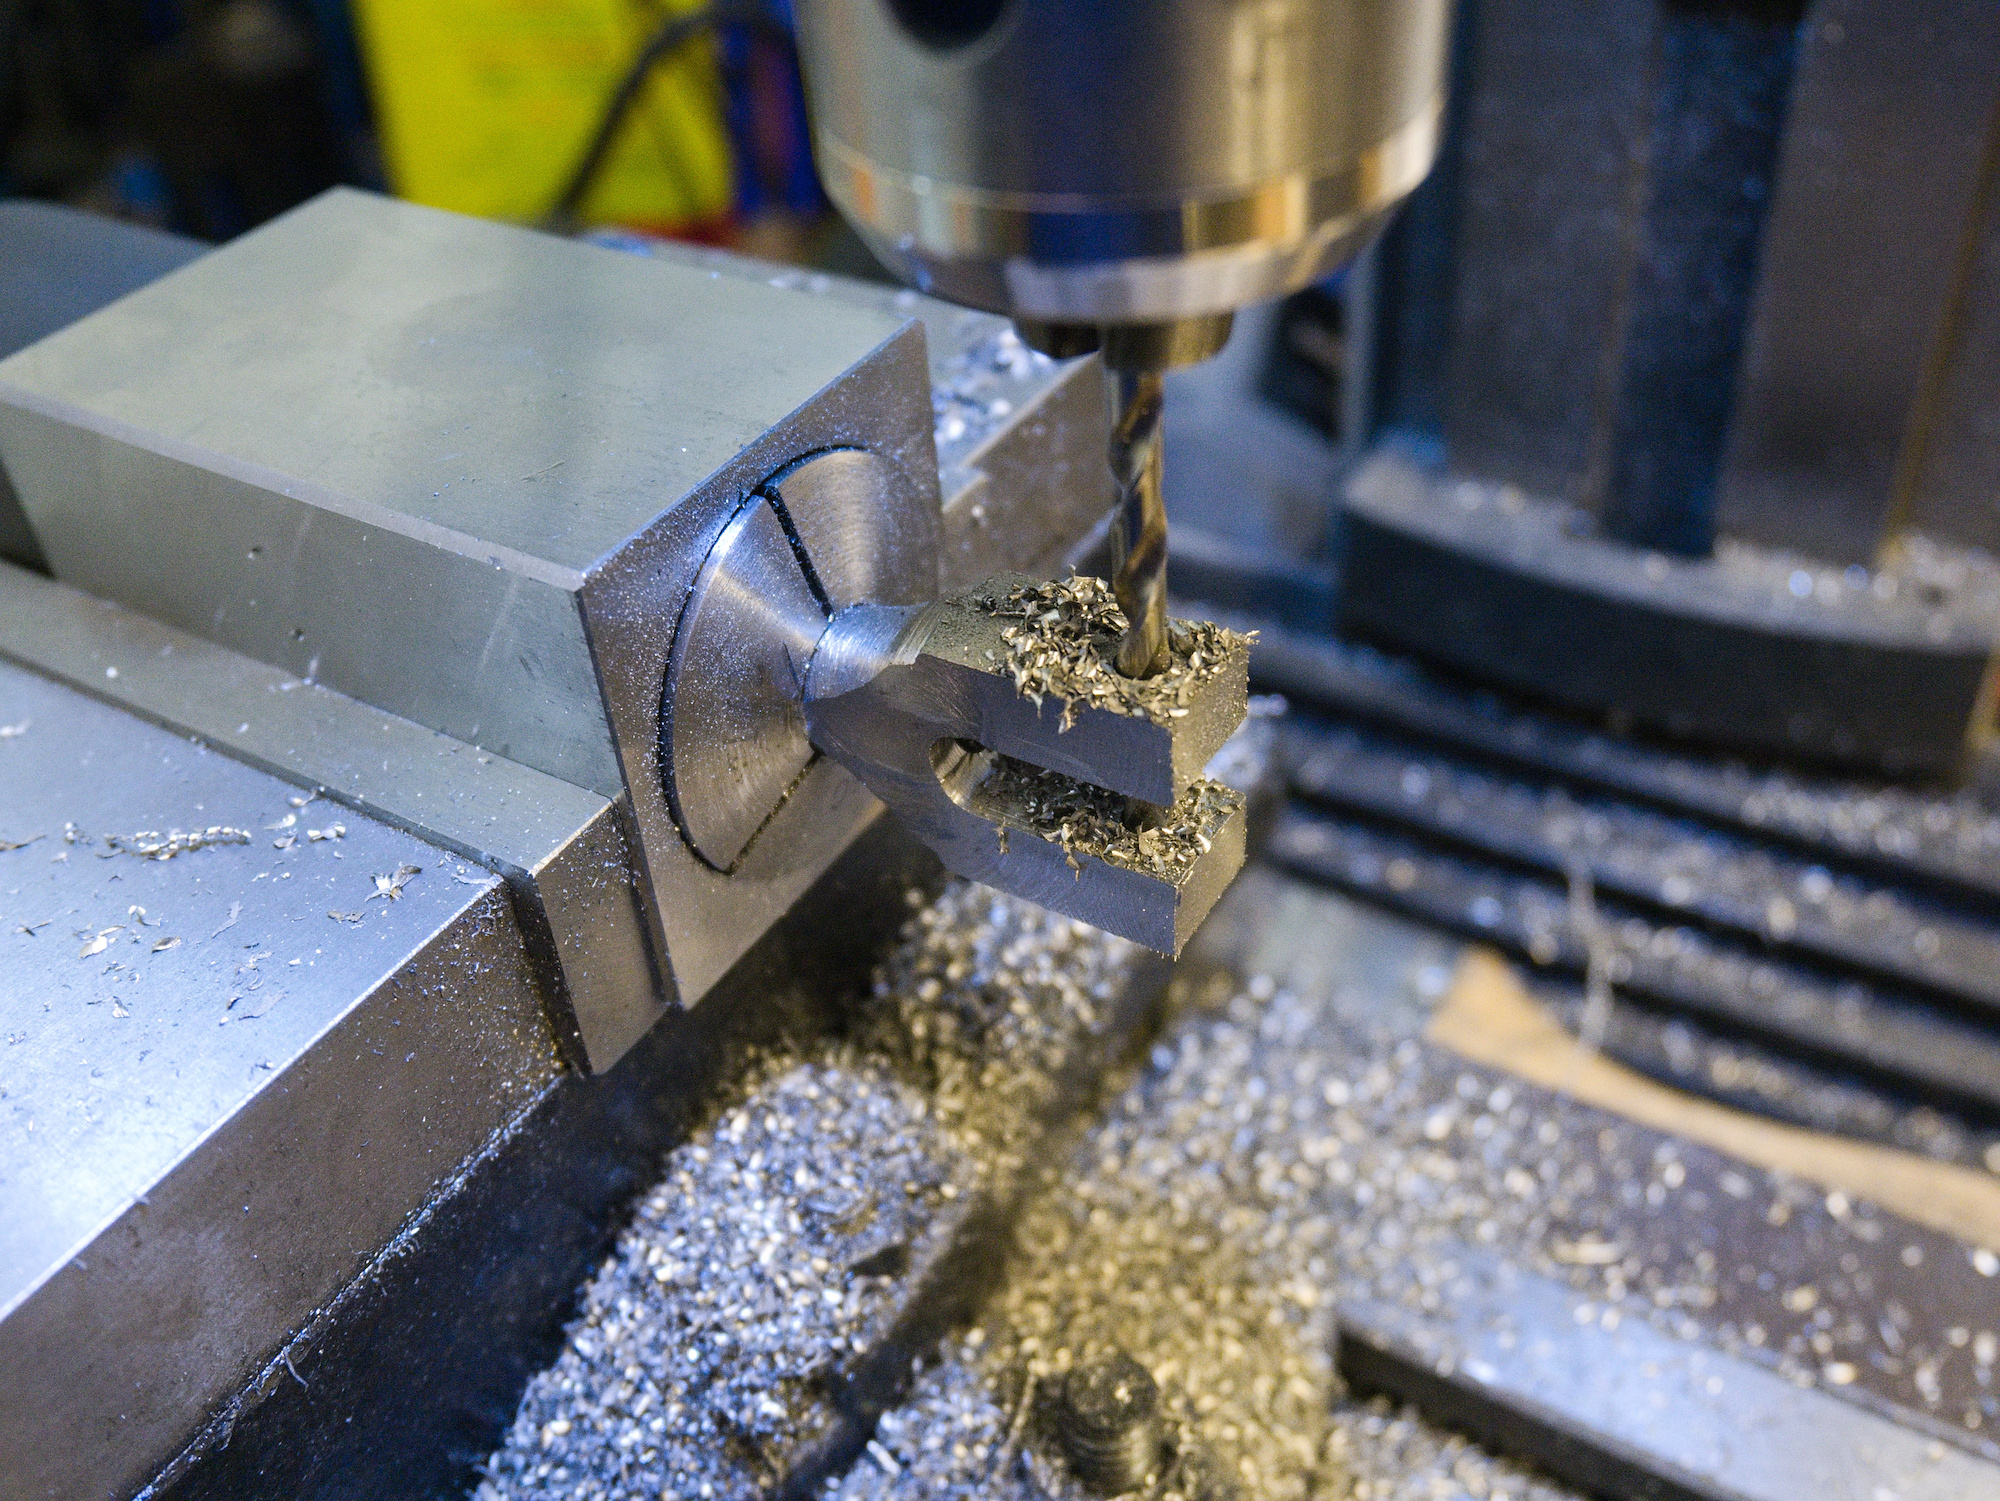
To support the wider brake pads used along with the M5 wheels on the CJ750, the existing brake cam and holder gets replaced.
Using plastic placeholders to get the correct size for a good fit.
The brake cams are made out of 4140 steel.
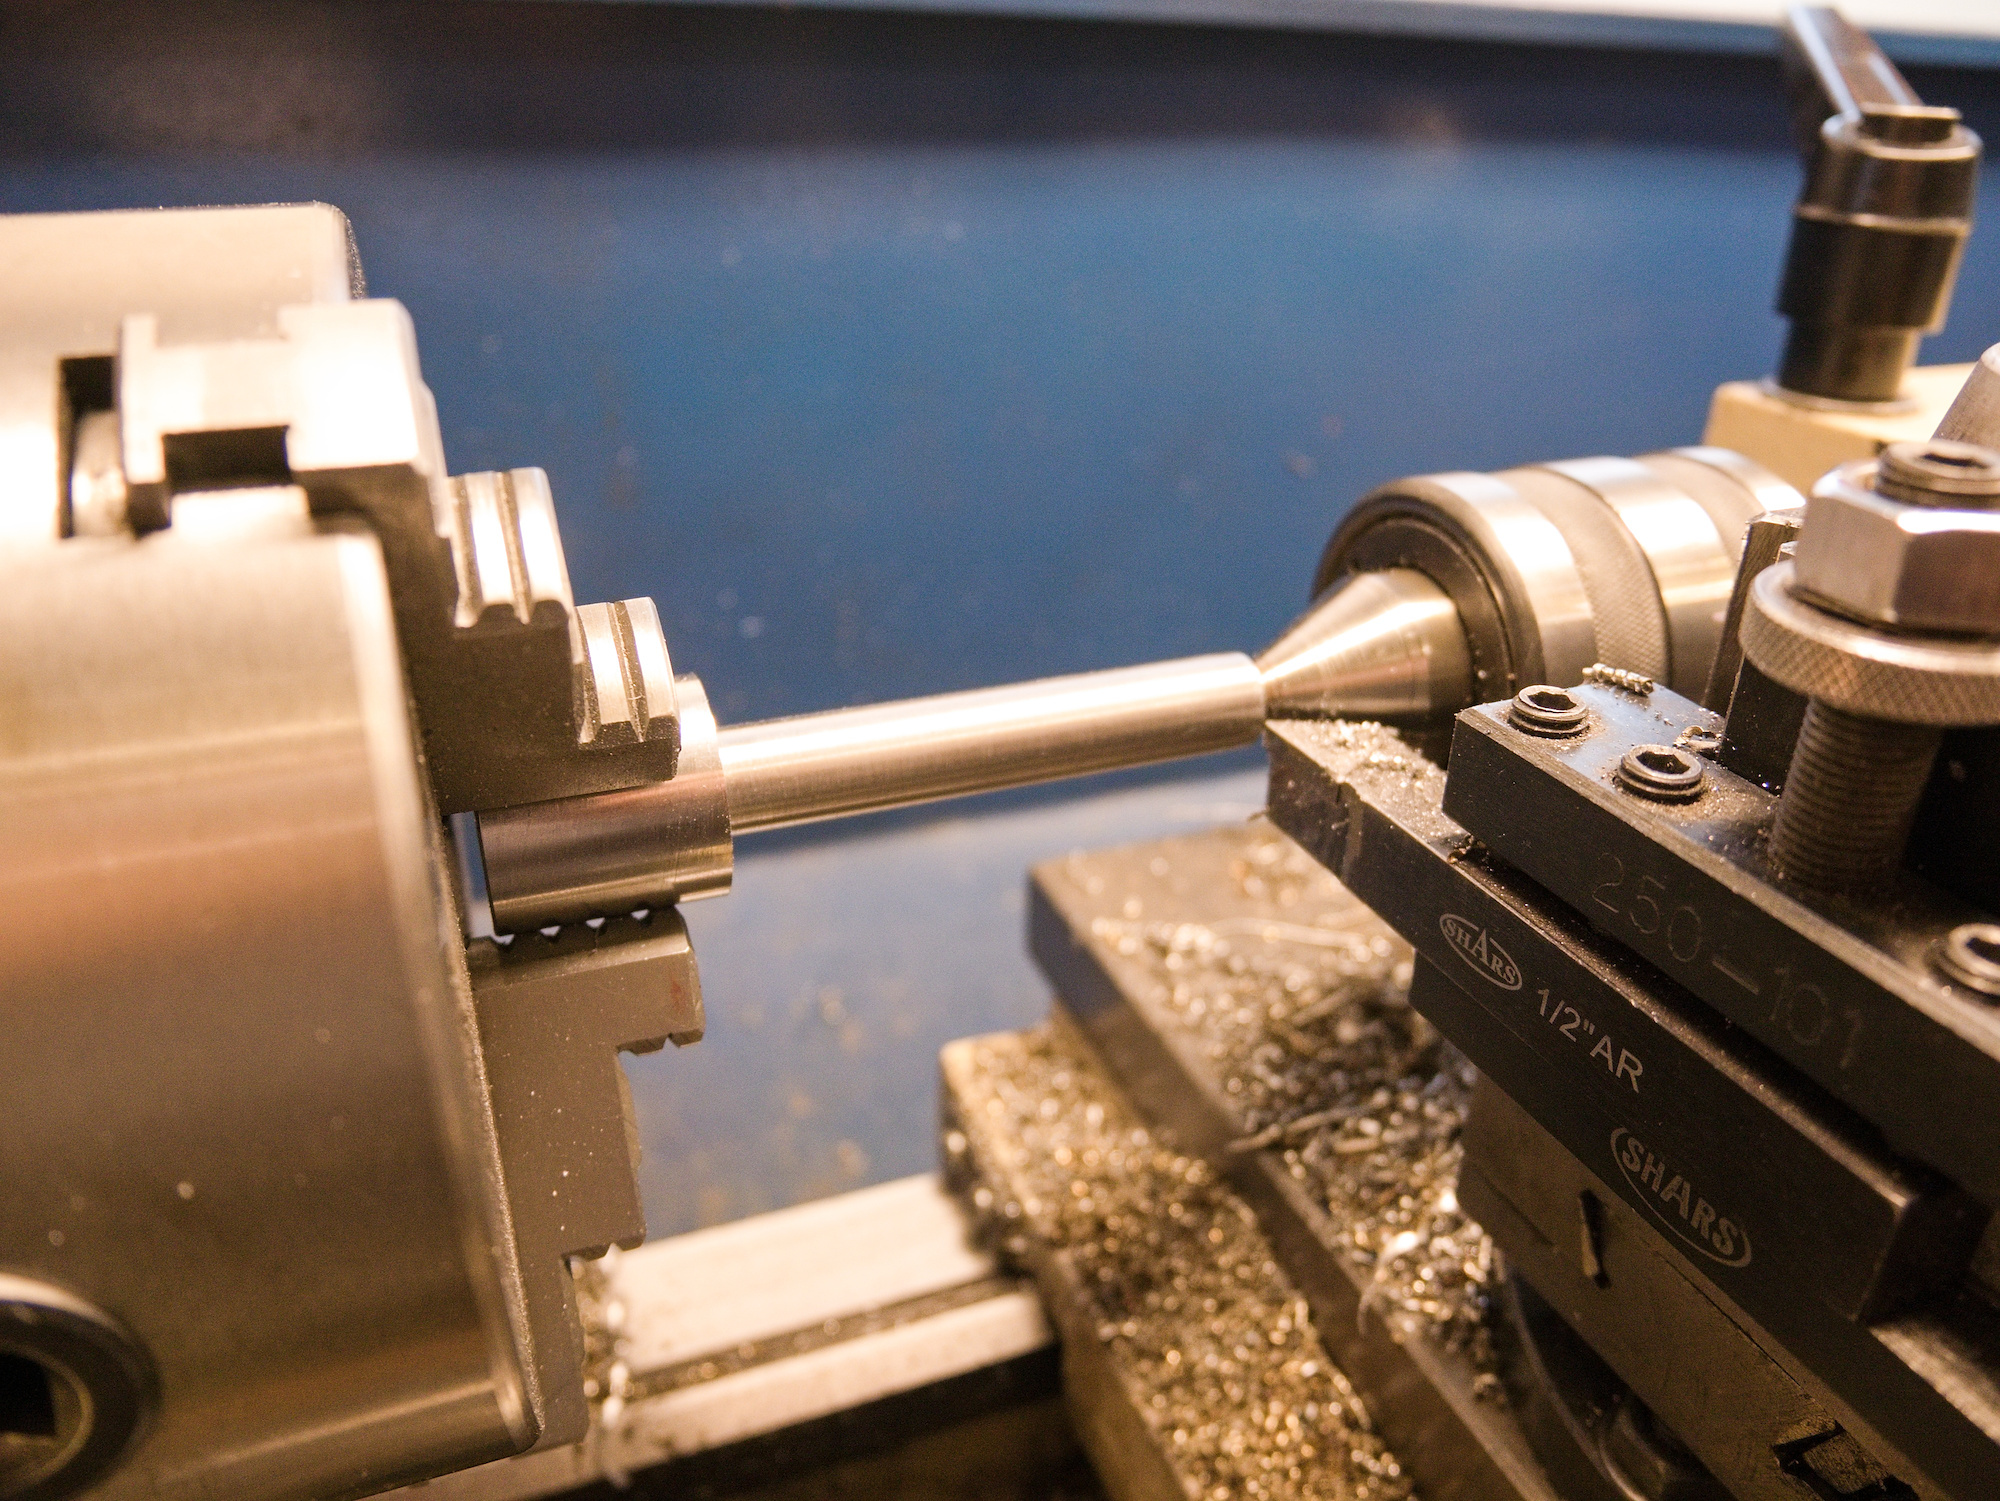
Transitional fit for no-play brake cams.
The new brake cam set.
The final drive is inserted and rotated a few times. This aligns both brake pads to maximize braking power.